
Hi there friends! I have a quick tutorial for the Box Card Tractor (SVG, Silhouette). This box card is so cute and versatile. Once everything is uploaded into Design Space be sure to attach the score lines on the card base and the middle insert. I cut all of the pieces out of various colored cardstock. There is three pieces for each tire. I used a Xyron sticker maker for the four smaller rings. The white ring stacks on top of the tire first then the thinner back ring stacks on top of white ring.


The insert only has one colored piece to glue into place and the two tabs on the ends are valley folds.

For the body of the card there is two tractor body pieces, a small rectangle, and a small square. The rectangle in glued in the middle of the body pieces and square is glued on the end. Fold all of the score lines as mountain folds. While the card base is still laying flat the two larger tires are glued on the outside edges with the smaller tires glued in the middle. Add the glue to only half of the smaller tires. The other half of the tire will be off the edge of the card base once the card is assembled. Flip the card over and fold the left side over and apply glue to the tab then fold the right side over on top of the tab to close up the card. You should have a tractor box now.

For the middle insert add glue to the tabs then line up the front edge of the tab to the front of the box card. Hold to secure the glue and repeat on the other side of the card.
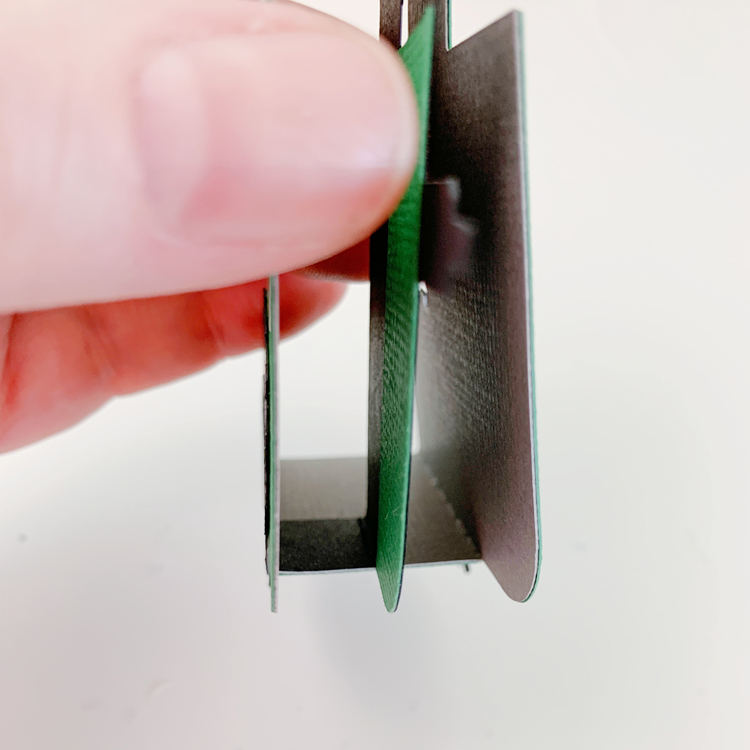
Fold the card flat to check that everything is lined up and that the card will fit into an envelope.

To embellish I added a floral sticker from the A Slice of Summer sticker book by Echo Park Paper Co.

