
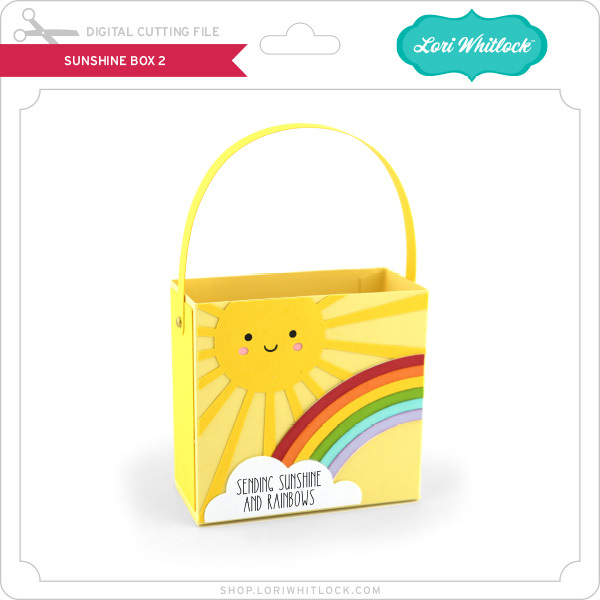
Hi Everyone! Lori has some new Sunshine Boxes in the shop. Here’s a quick tutorial on how to put one of them together. I used the Sunshine Box 2 (SVG, Silhouette)
To start, cut all your pieces on your digital cutter.

These are all the pieces that you have. Ink any edges first, if desired. Next, apply adhesive to the pieces, and start adhering the pieces while the box is flat.

If any of your rainbow pieces are not quite even, this is the time to trim them to line up with the edge. Fold the box into shape. Glue the side tab.

Now apply adhesive to the bottom panels and fold into place. Use brads to add the handle.
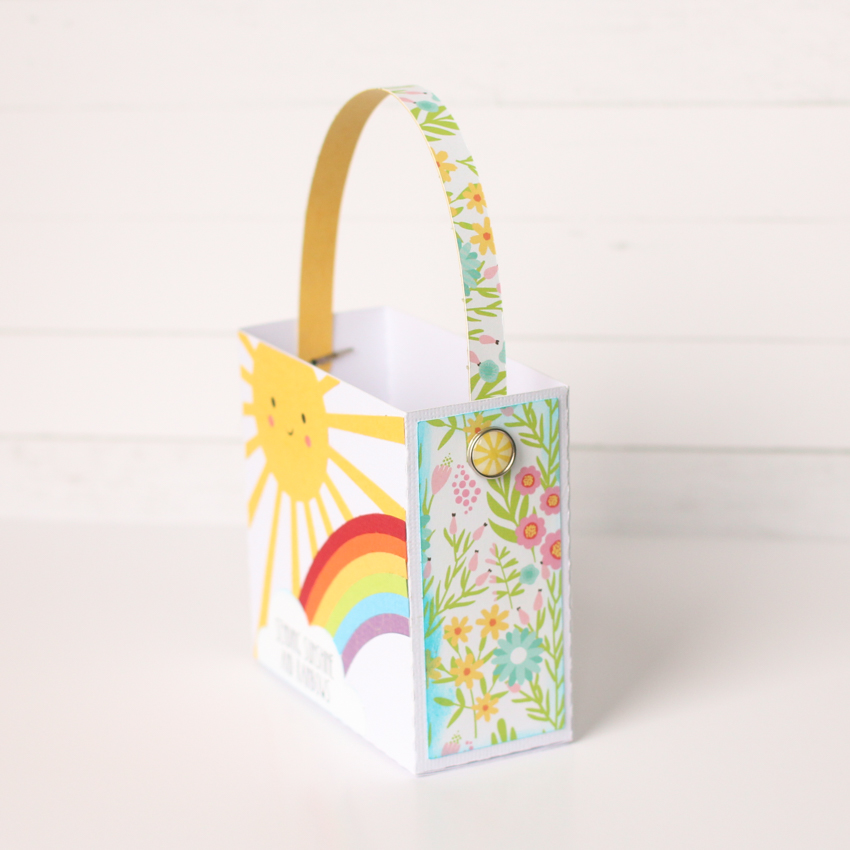
Now your box is ready for a fun gift to brighten someone’s day.

Lori also has a bundle which includes more sunshine bags and some coordinating cards here. Have a great day!