Hi friends! I have a quick tutorial on how I made a card with the Best Teacher Ever file (SVG, Silhouette). Now that Cricut has updated the design space software making a shaped card is easy!

First I resized the apple and leaf to be 5 inches high which made the width 3.96 inches. This file uploaded into Design Space grouped together for me. If it isn’t grouped I recommend grouping it together before resizing.

With the apple selected select the offset feature on the edit tool bar. In the offset window I slid the distance bar to 0.25 inches, selected rounded corners, and left the weld offset box checked.

I then duplicated the offset and flipped one of them horizontally.

Next I moved the two offsets together so they are touching in the center. With the just the offsets selected I aligned them on the bottom and welded the offsets together creating one piece.

I added a score line to the center and aligned and attached it to the offset. (I changed the color from black to white for this picture.)

I needed a solid white apple for the inside of the card and the front of the card. I duplicated the red apple and welded the image then hid all of the contours. I then duplicated the solid apple image so that I had two.
I also needed to flip the leaf horizontally so that it would fit correctly on the front of the card. (If you use solid paper you don’t need to do this. I used double sided paper and wanted the green to show.)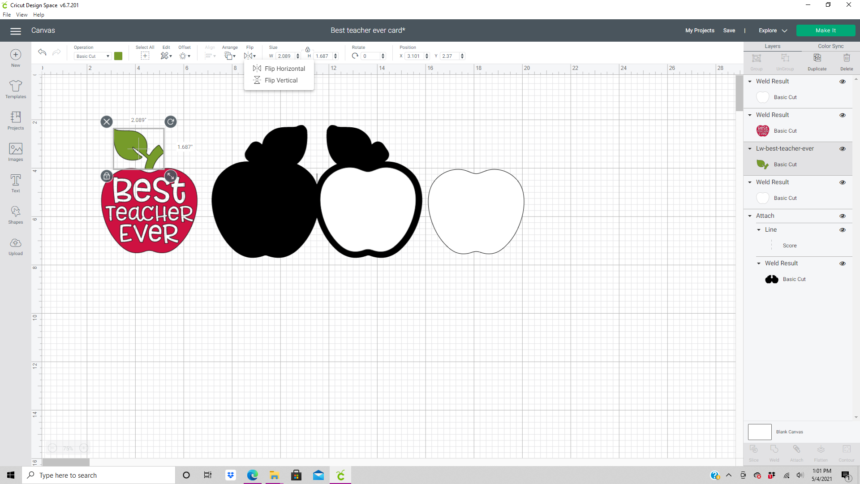
Once everything was cut I glued everything together with liquid glue in a fine liner bottle. (Be sure to keep all of the centers of the letters from the cutting mat.) I used papers from the School Rules collection by Echo Park Paper Co.