
Hi Everyone! Have you seen the new Hexagon Box with Dahlia (SVG, Silhouette) ? It’s the perfect size for a little treat or gift! It would be a great way to package up a Mother’s Day gift or a little something for someone special! Take a peek…
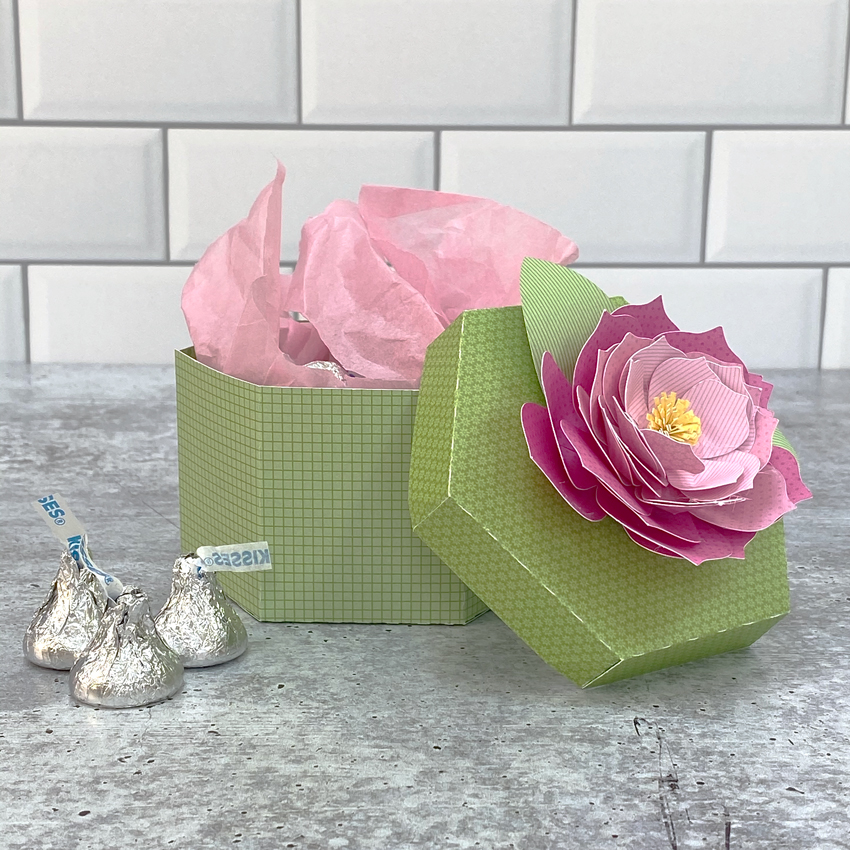
I put together a tutorial showing how to assemble the Dahlia flower. It takes a little patience, but the results are well worth it! You can also use this tutorial to assemble the flowers for the Rectangle Box Dahlia (SVG, Silhouette).

- The flowers are made up of 12 pieces (6 halves). Start by curling the petals back on each of the halves. I used the handle of my spatula, but you could use a pencil or dowel.
- There are splits at the bottom of each petal (3 total per half) For each petal, cross the splits over eachother slighly and glue. I used hot glue, it made the process go much faster. You can use regular glue, just make sure to hold the splits in place until they dry.
- Overlap and glue the two sides of each flower layer together. This does not need to be done perfectly, just try to make them relatively even.
- Do this for each of the flower layers (6 total).

- Stack the layers, largest on the bottom to smallest on top, gluing between the layers.
- For the flower center, roll the strip as shown. Glue the end to hold it in a rolled shape.
- Using your fingers, “fluff” out the top strips.
- Glue into center of the stacked petals.

- Curl the leaves back using a dowel or pencil. Overlap the split ends and glue.
- Glue leaves to bottom of the stacked flower.
- For the box base: Fold all of the score lines in the same direction. Form the hexagon box gluing the tabs to the bottom piece all around. Glue the side tab to complete the box.
- For the cover, fold the score lines all in the same direction. Connect the sides of the cover by gluing the triangular tabs as shown.
Finish the box by gluing the dahlia to the top of the box.
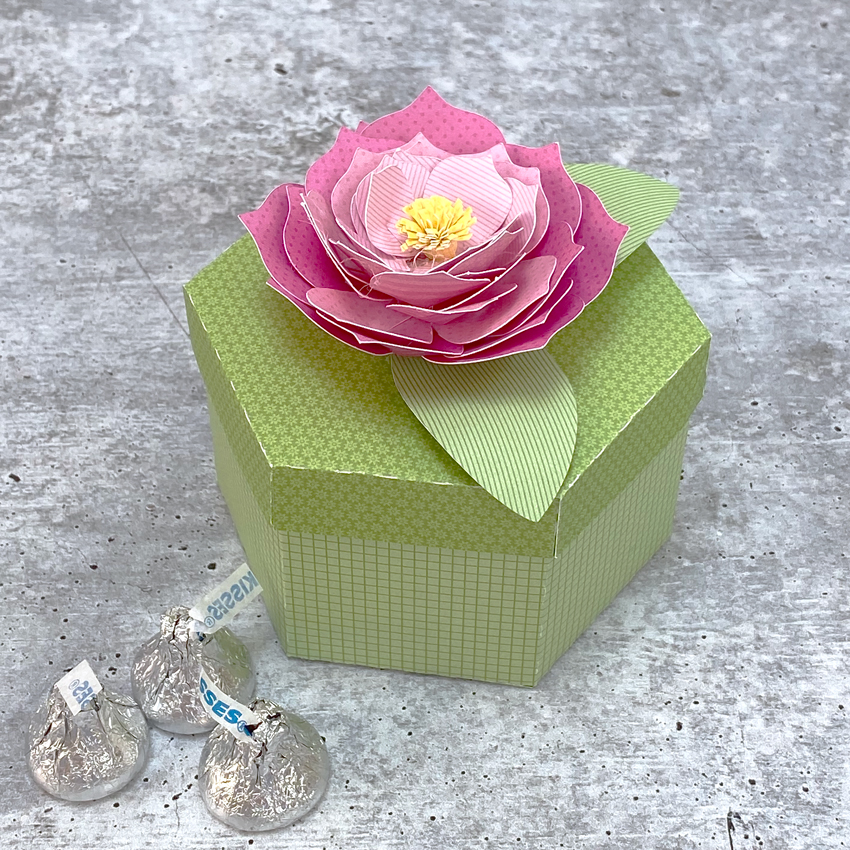
All that is left is to fill the box with a little something! The dahlia does take a little patience, but the results are SO worth it! That’s it for me today, thanks for stopping by to peek!

I bought and downloaded this yesterday into Cricut Design Space and cannot get the score lines onto the bottom of the box. Is there a problem with the SVG? I change “Cut” lines to “Score” lines and the “Attach” choice does not appear. I get “Contour” instead. What is the problem? I have no trouble changing the lid “Cut” lines to “Score” lines. The “Attach” choice comes right up and I attach them. HELP, please!
Hi Marilyn, I just tested the file and could not duplicate what you described. I was able to change the score lines and attach to both the top and bottom. Try selecting and moving the base piece & lines away from the group before changing. Also, this video may be of help: https://youtu.be/HgKXZ9MAU34