
Hi Everyone! Corri here today sharing a quick assembly tutorial for Lori’s 3d Backpack (Silhouette, SVG). This little backpack would make a great gift for a teacher or student for back to school!
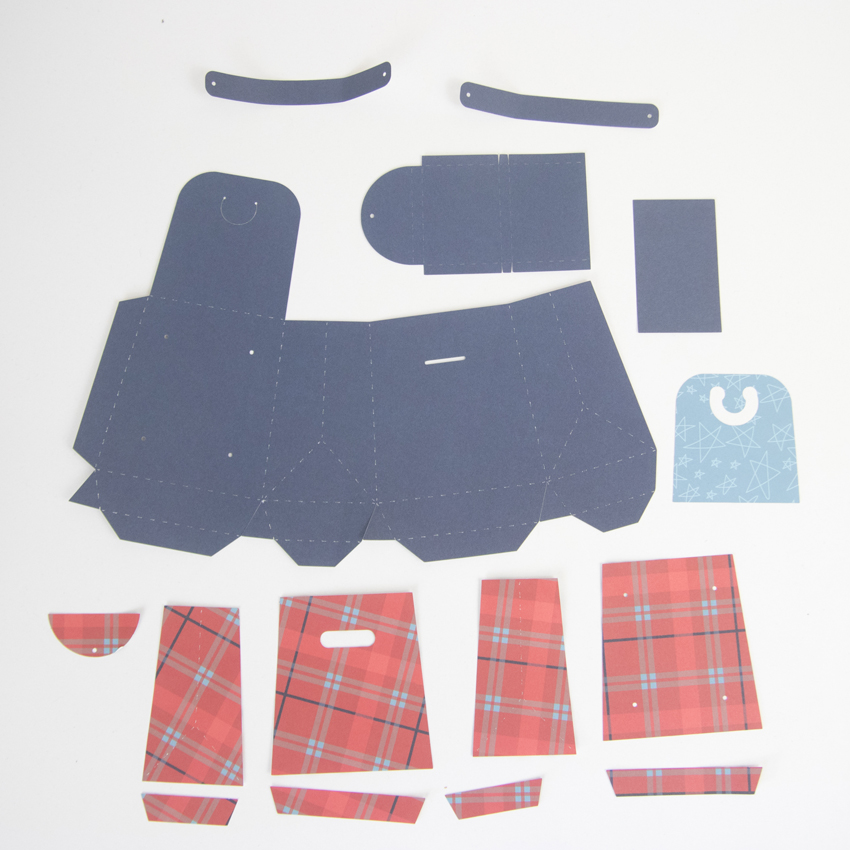
When you get the pieces cut out this is what you will have.
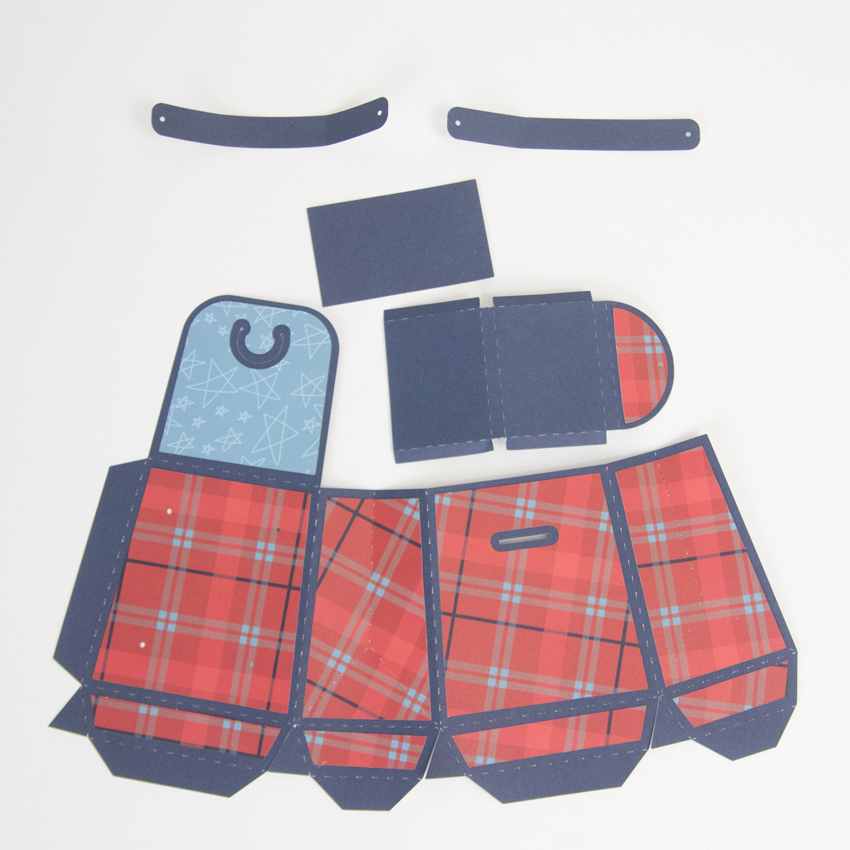
First, apply the pattern paper pieces to the base layer.
Using small brads, attach the straps to the backpack.

Fold along all the score lines and apply glue to the long glue tab and glue into place. Next, apply glue to 4 small triangle glue tabs and glue to form the slanted bottom portion. Then, fold the tabs for the bottom and glue the rectangle shape to complete the backpack. Form the pocket shape by folding into a “box” and applying glue to the tabs and then glue to the front of the backpack. To close the backpack, pinch in the score lines on the sides and pull the flap up and over the top and secure with the tab.

It turned out so cute! You could fill it with some candy and a gift card for a teacher or some candy and small school supplies for kids. Thanks so much for stopping by today!