
Hi Everyone! It’s Kathy today with a quick tutorial showing how to assemble some of the new 3D Flowers! Lori has a lot of Flowers and recently released a few more…
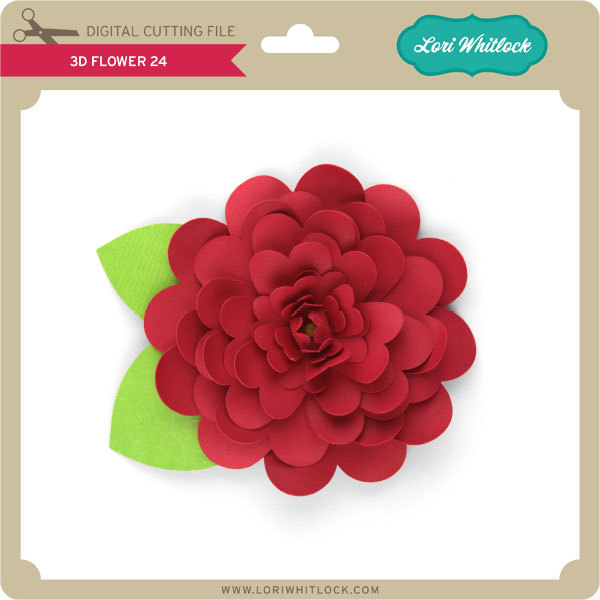
They are really very simple to assemble, and I just want to show you a couple of tricks to make them look more like a real flower. I chose 3D Flower 24 (here in Silhouette)for this purpose.
First, you want to cut your pieces, and find a brad that is a good size for the size you’ve made your flower. Remember, all of these flowers can be sized in your cutting software to meet the needs of your project.

Next, to get more volume in your flowers, you want to curl the petals. I use the handle of my Silhouette Spatula to do this, but you could use a pencil, or some other round tool. You can also ink the edges of the flowers to give them a more variegated look.

Once your petals and leaves are curled, you can start assembling your flower. I start by stacking my petal layers by size. You want to start with the smallest petals. Thread them onto the brad, making sure to alternate the petals to fill in the spaces and make your flower look fuller.

For my flower, I threaded the first 4 sizes of petals on with the flowers curled up. I flipped the last 2 layers so they curled down. This gave my flower a little more of a dome shape.


After all your petals are threaded onto the brad, add your leaves, and open the tines of the brad to secure it.

To finish the flower, use your fingers to “fluff” up the petals, and fold the very center petals up and around the brad. The flower is now ready to add to your project! These flowers can be added to frames, cards, scrapbook layouts… the possibilities are endless!

That’s it for me today, thank you for stopping by to peek!
Flowers shown:
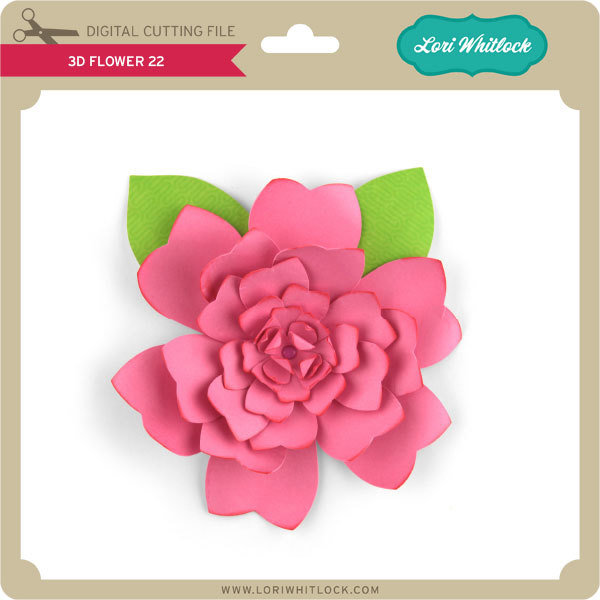
3D Flower 22 (here in Silhouette)
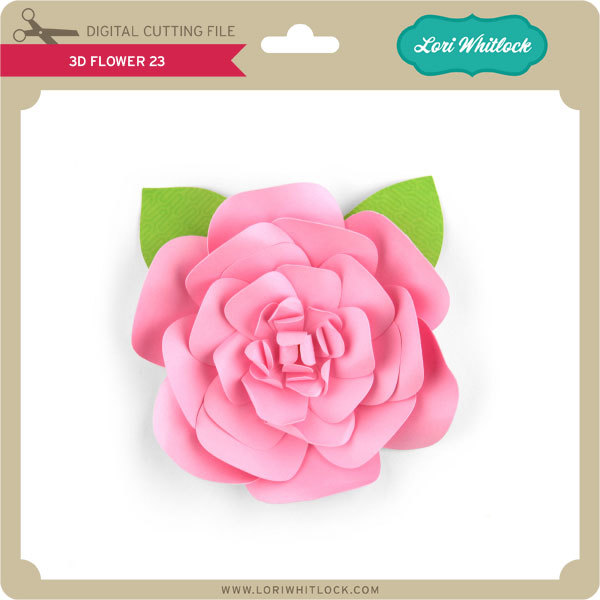
3D Flower 23 (here in Silhouette)
3D Flower 24 (here in Silhouette)
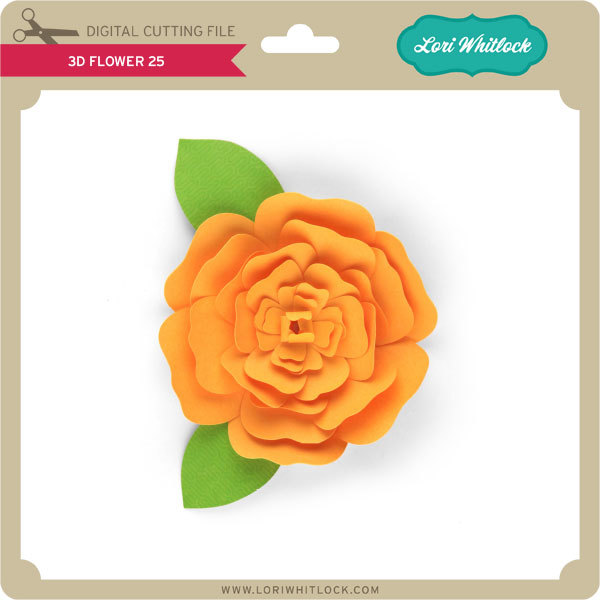
3D Flower 25 (here in Silhouette)