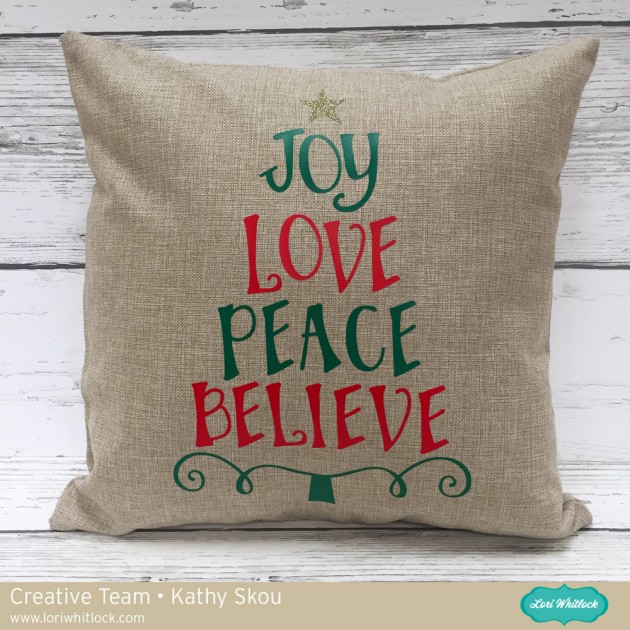
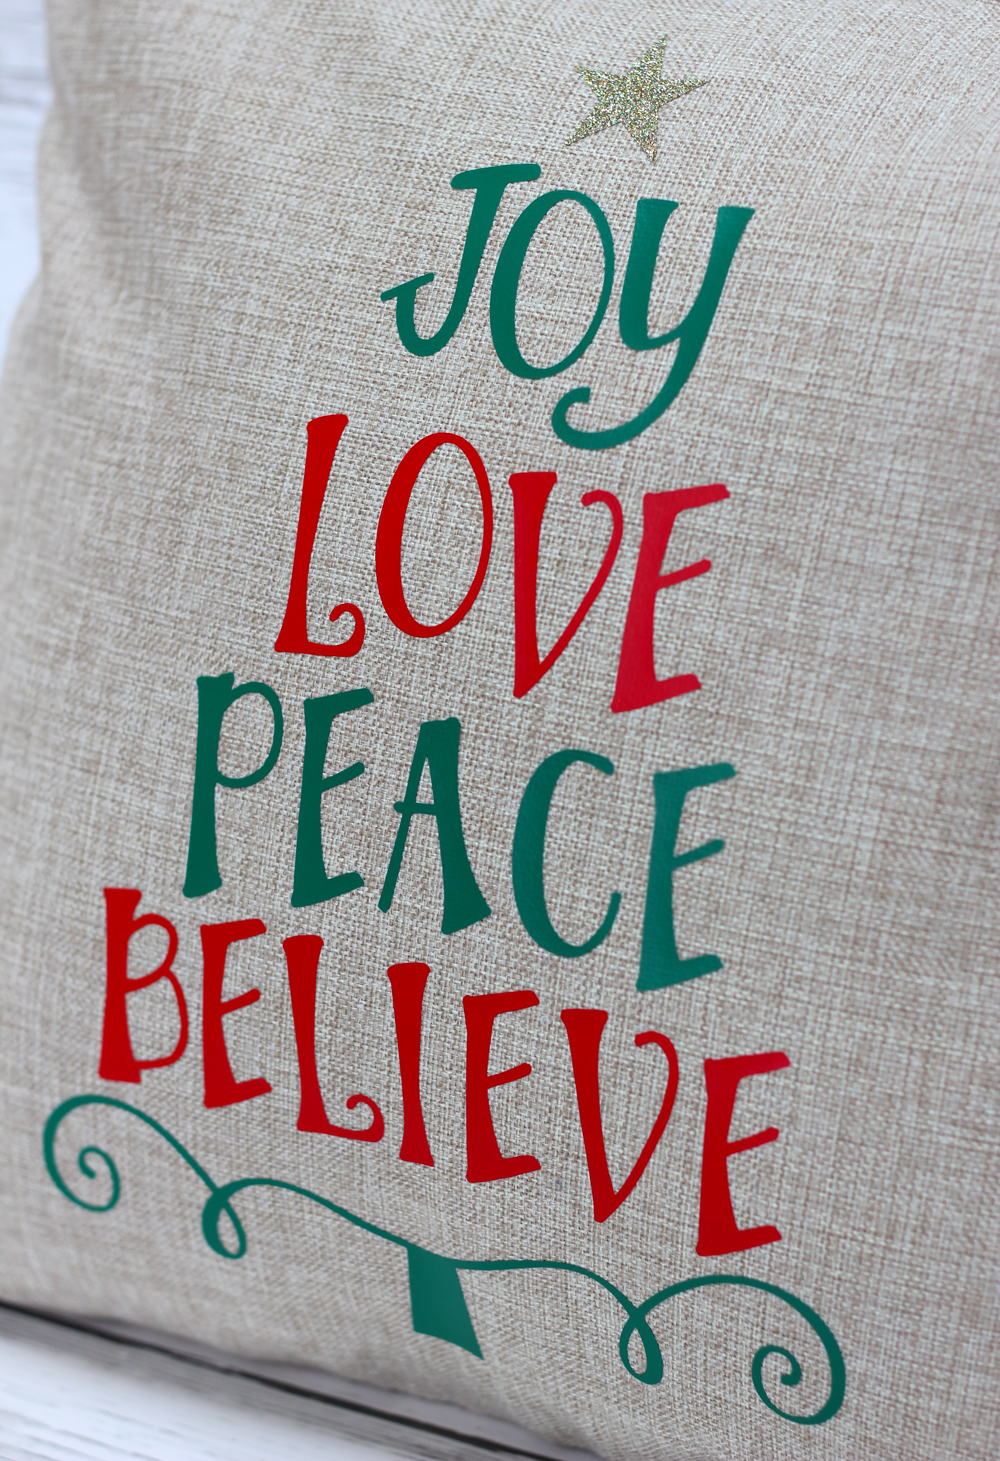
Hi Everyone and Happy Thanksgiving! It’s Kathy today with an easy tutorial showing how to keep a design’s shape and spacing when using multiple colors of heat transfer vinyl. I wanted to create some Holiday decor gifts, and I though some seasonal throw pillows would be fun. I found this Joy Love Peace Believe Tree design in Lori’s Shop (here in the Silhouette Store) and decided to add it to a throw pillow.

I loved how the different tiers were different colors and wanted to make sure I kept the shape. Here ‘s how I did it…

I started by loading the file into my Silhouette Software. Next, I sized it to fit on my pillow case. My pillow was 18″x 18″ so I knew I wanted the design bigger than the original.

I selected all parts of the design and right mouse clicked and selected group. This allowed me to change the shape of the whole design uniformly.

I clicked the corner of the design and dragged it to the size that I wanted. It is bigger than the mat, but I just needed to make sure that all of the green elements fit on the mat at once since that was the largest area of a single color in the design.

Once it was sized properly, I ungrouped the file. I then double checked that all elements of each individual color were grouped together, ( all the reds in one group, all the green in another) since I wanted to cut them at once, and in their original place in the design.

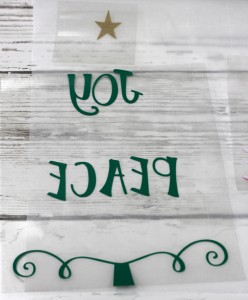
I dragged the red words and the star from the mat, and then mirrored the green words on the mat (you always want to do this when cutting words in vinyl) Notice they are still spaced as in the original design. Next I hit send.

I added the green heat transfer vinyl to my mat, with the shiny side down, selected the proper media from the menu, and set my blade depth to 2 and sent to cut. (for my design I used Siser Heat Transfer Vinyl in Green, Red and Glitter Gold)

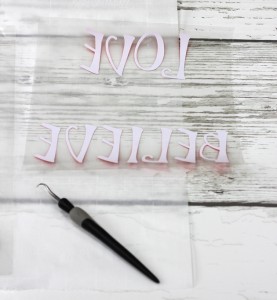
I repeated this process with the red and gold pieces of the design. Notice the red also maintain their original spacing.

One the vinyl was cut, I weeded out the negative space so all that was left were the parts of my design.
I centered the design on my pillowcase. (I purchased this plain pillow case on Amazon.)

To start, I ironed on the green since this was the largest part of my design. I put a piece of parchment paper over the clear plastic holding the design and ironed on a cotton setting, no steam for 10 seconds per each part of the design.

Next, I peeled off the plastic (be careful, it can get hot!) leaving only the design on my pillowcase.

To make sure it was ironed on well, I covered the design with my parchment again and ironed it a little more.

I then repeated this process with the gold star and the red words. It was easy to correctly place the red words because of the way I cut the pieces on my mat.
Once I ironed on all of the pieces, I added the pillow fill to the case and done!

This will make a fun, festive gift, I have plans on making a few more for friends, after I finish my turkey of course! That’s it for me today, thanks for stopping by to peek!


How can I make images on the Silhouette work on my Cricut? Work in Design Space? I love all your images on there.
How%20can%20I%20make%20images%20on%20the%20Silhouette%20work%20on%20my%20Cricut%3F%20Work%20in%20Design%20Space%3F%20I%20love%20all%20your%20images%20on%20there.%20