
Hi Everyone! It’s Kathy today with a tutorial showing how to assemble the new Tri Shutter Cards. Lori has a couple of new Tri Shutter Cards in the shop including the Tri Shutter Card Birthday (here in the Silhouette Store) and this card, the Tri Shutter Card Baby ( here in the Silhouette Store). Take a peek…

This card looks complicated, but it’s really easy to assemble. I started by picking my papers, and cutting the pieces of the card.

Start by folding the base piece, this takes a little thought, but is not difficult. Here are a couple of views of the piece once folded.


Next, add the decorative panels to the base piece.

Using the print and cut feature of your cutting machine, create the sentiment piece. A blank sentiment piece is also included if you prefer to customize it.

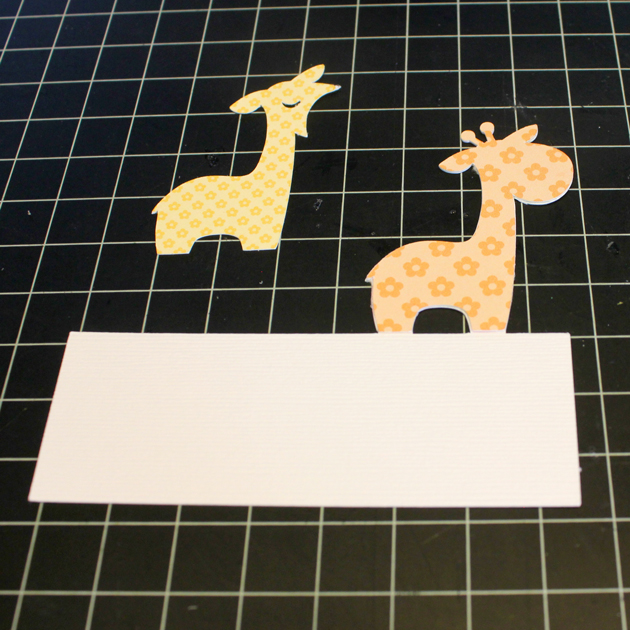
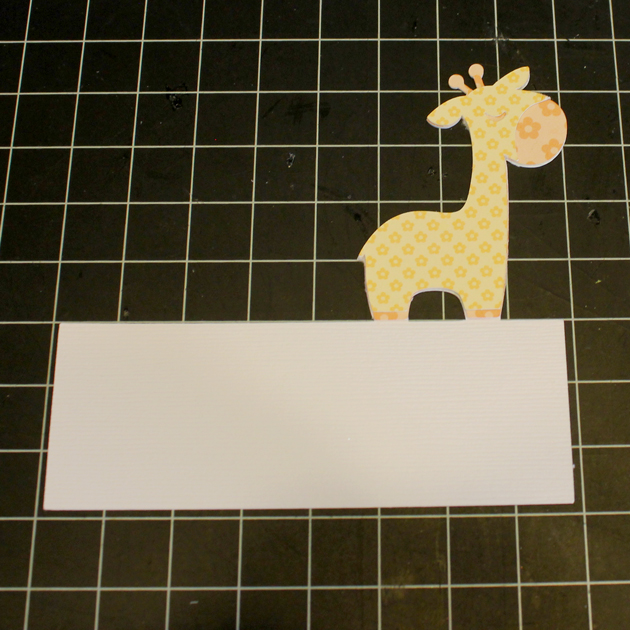
Assemble the giraffe piece by layering the pieces onto the white base. The white base then slips behind the lower section of the card base as shown and is glued in place.

To finish the card, add the BABY to the front piece. I used some foam tape to pop this up a little.

Another great feature of this card is that it folds flat and fits into a standard A2 envelope!

That’s it for me today, thanks for stopping by to peek!

Nice breakdown of the card assembly – clearly makes it possible for every level crafter and carmaker!
So very cute! I need someone to have a baby, so I can make the card and give it to them. Oh well. Who says I can’t go ahead and make it? LOL!! Adorable. <3
Thank you for this tutorial. I have not purchased any of these designs yet and the reason is because I was not sure I could figure out how to assemble them. Cannot wait to try one now.
What are the dimensions of the base white cardstock? I’m used to only seeing 8.5×11 cardstock or 12×12, and that looks much longer than 12″. But it could be the camera angle.
This is so cute. I can not wait to try my hand at it later this month. Thank you for the great ideas.
Hi Tanima,
It will fit on a 12 x 12. It’s 5.5 x 11.875. I hope that helps!
Very adorable! Nice tutorial as well – TFS
I love this project! That card is going on my must-make list!
Thanks for the inspiration!