
Hi there – Tya here and I am up on the blog today to give you a tutorial on how to put together this amazing card. It is called a Telescoping Card and it is such a fun, interactive card that I know will be sure to impress! The card measures about 5 inches and would be great for a card, or scrapbook layout or mini album feature.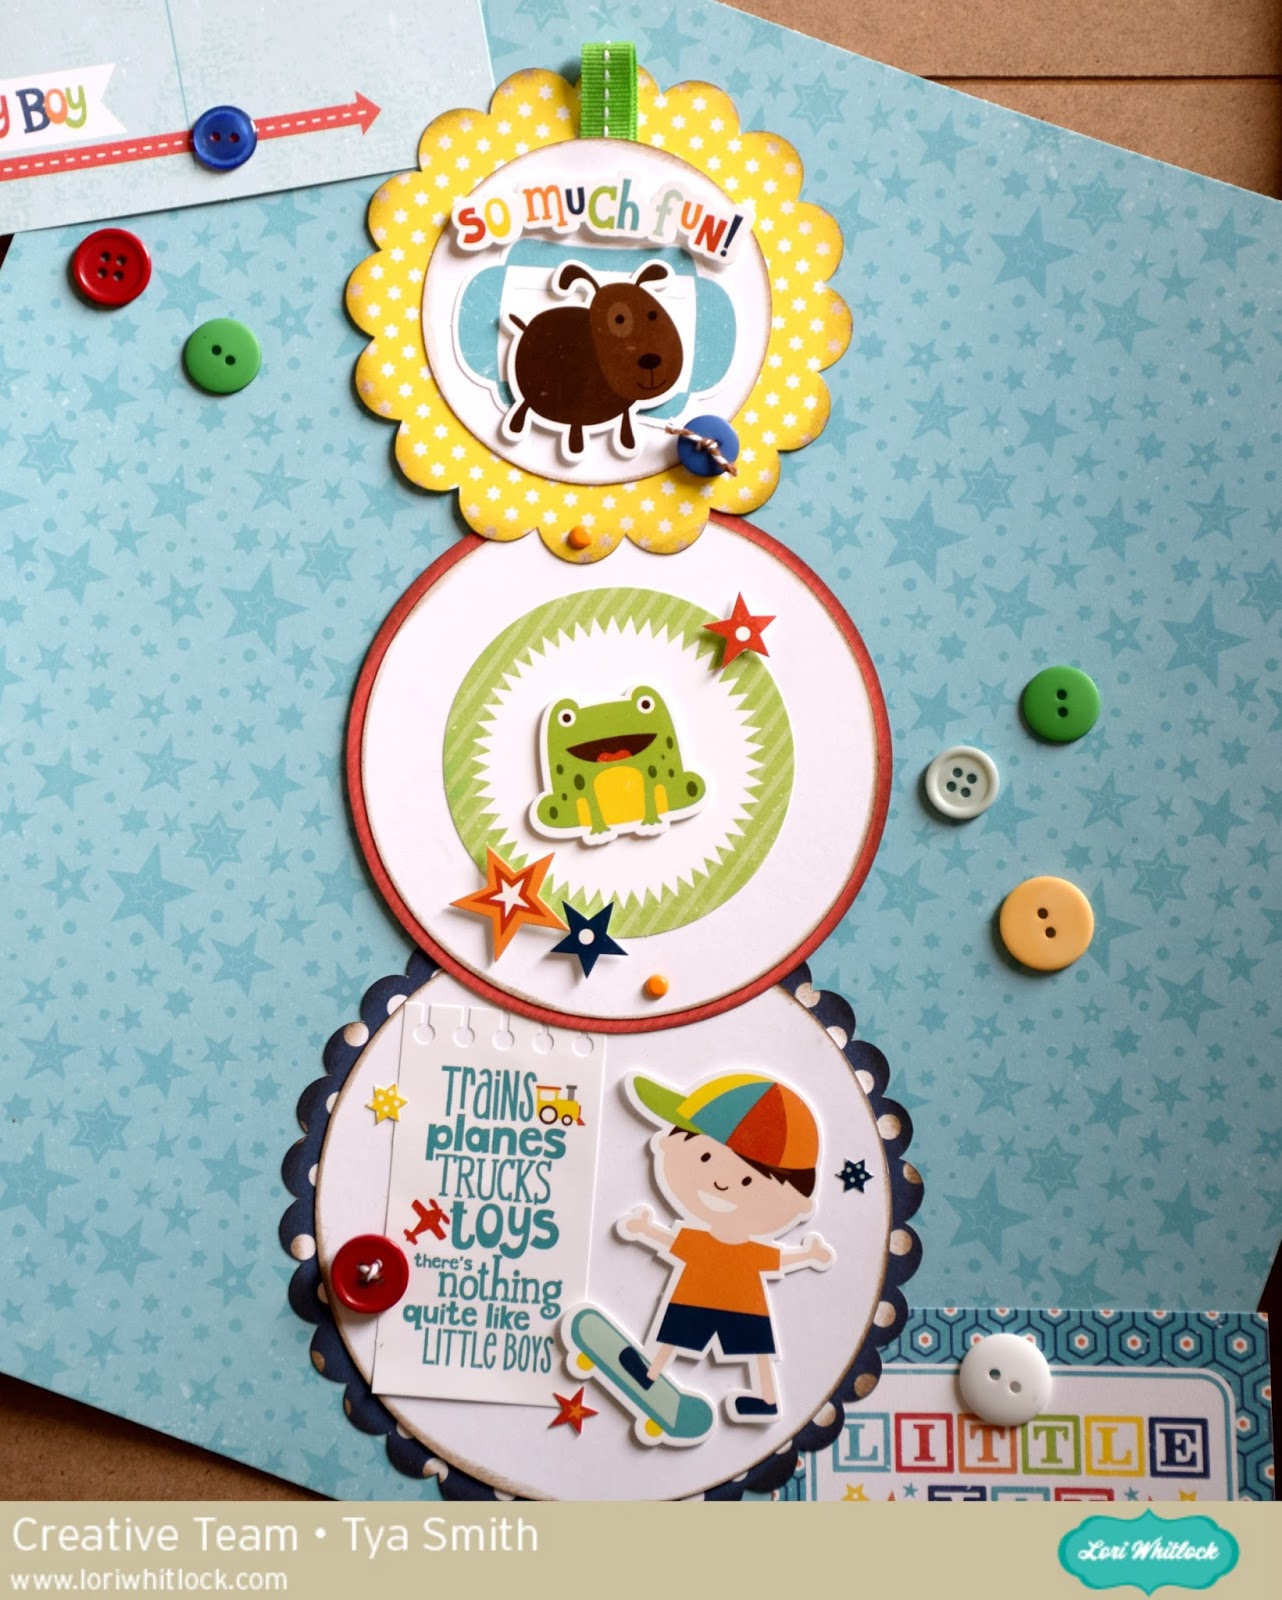

So the fun thing about this card is that it starts out looking like a normal, round shaped card. But with the help of a couple of mini brads – this card swings out and makes a 3 layered card. Isn’t it awesome!! Let me walk you through how I put this together.
Step 1-
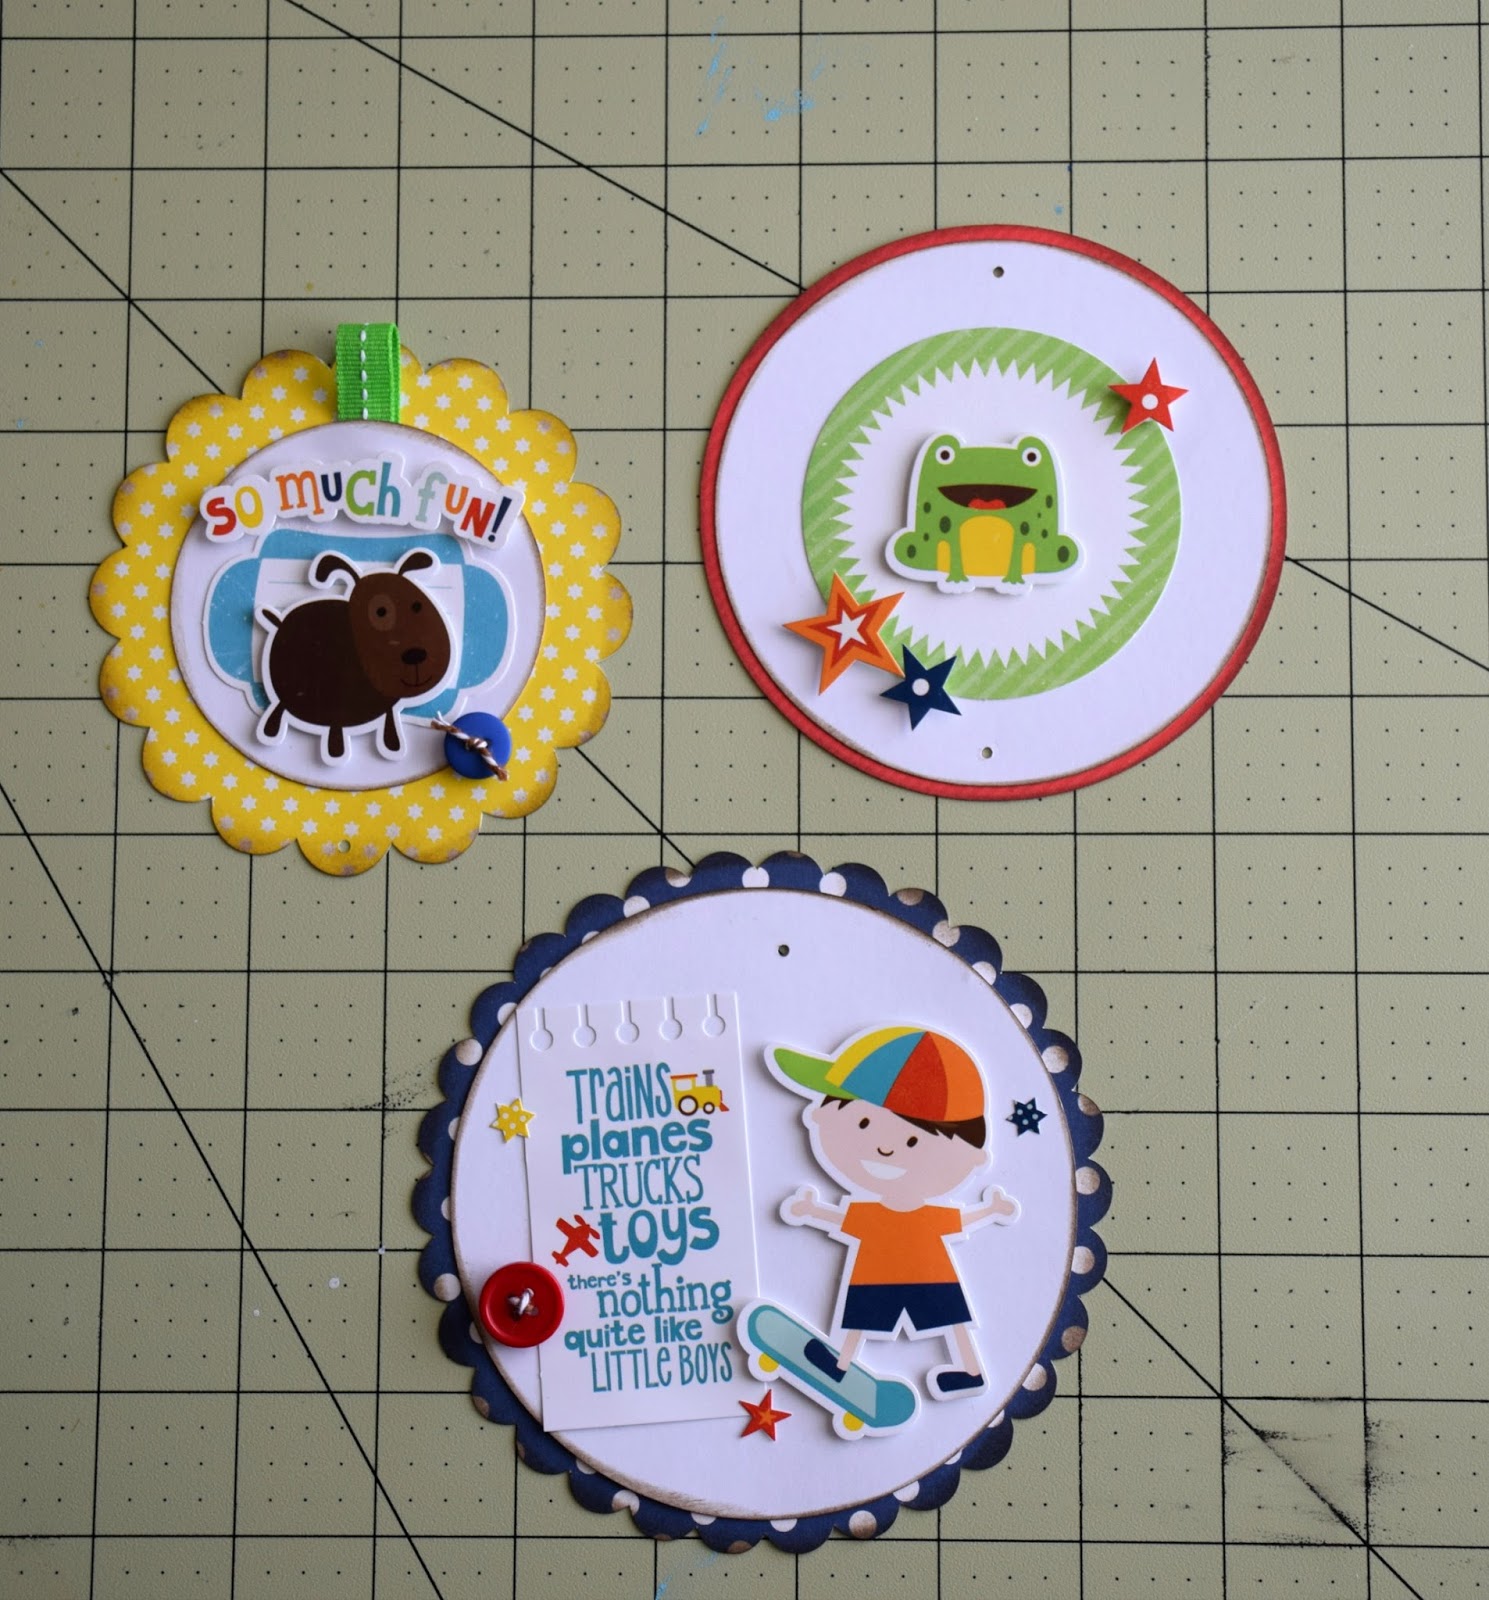
Cut out your shapes. I used my Silhouette Cameo. The file I used is called a Circle Telescope Card.
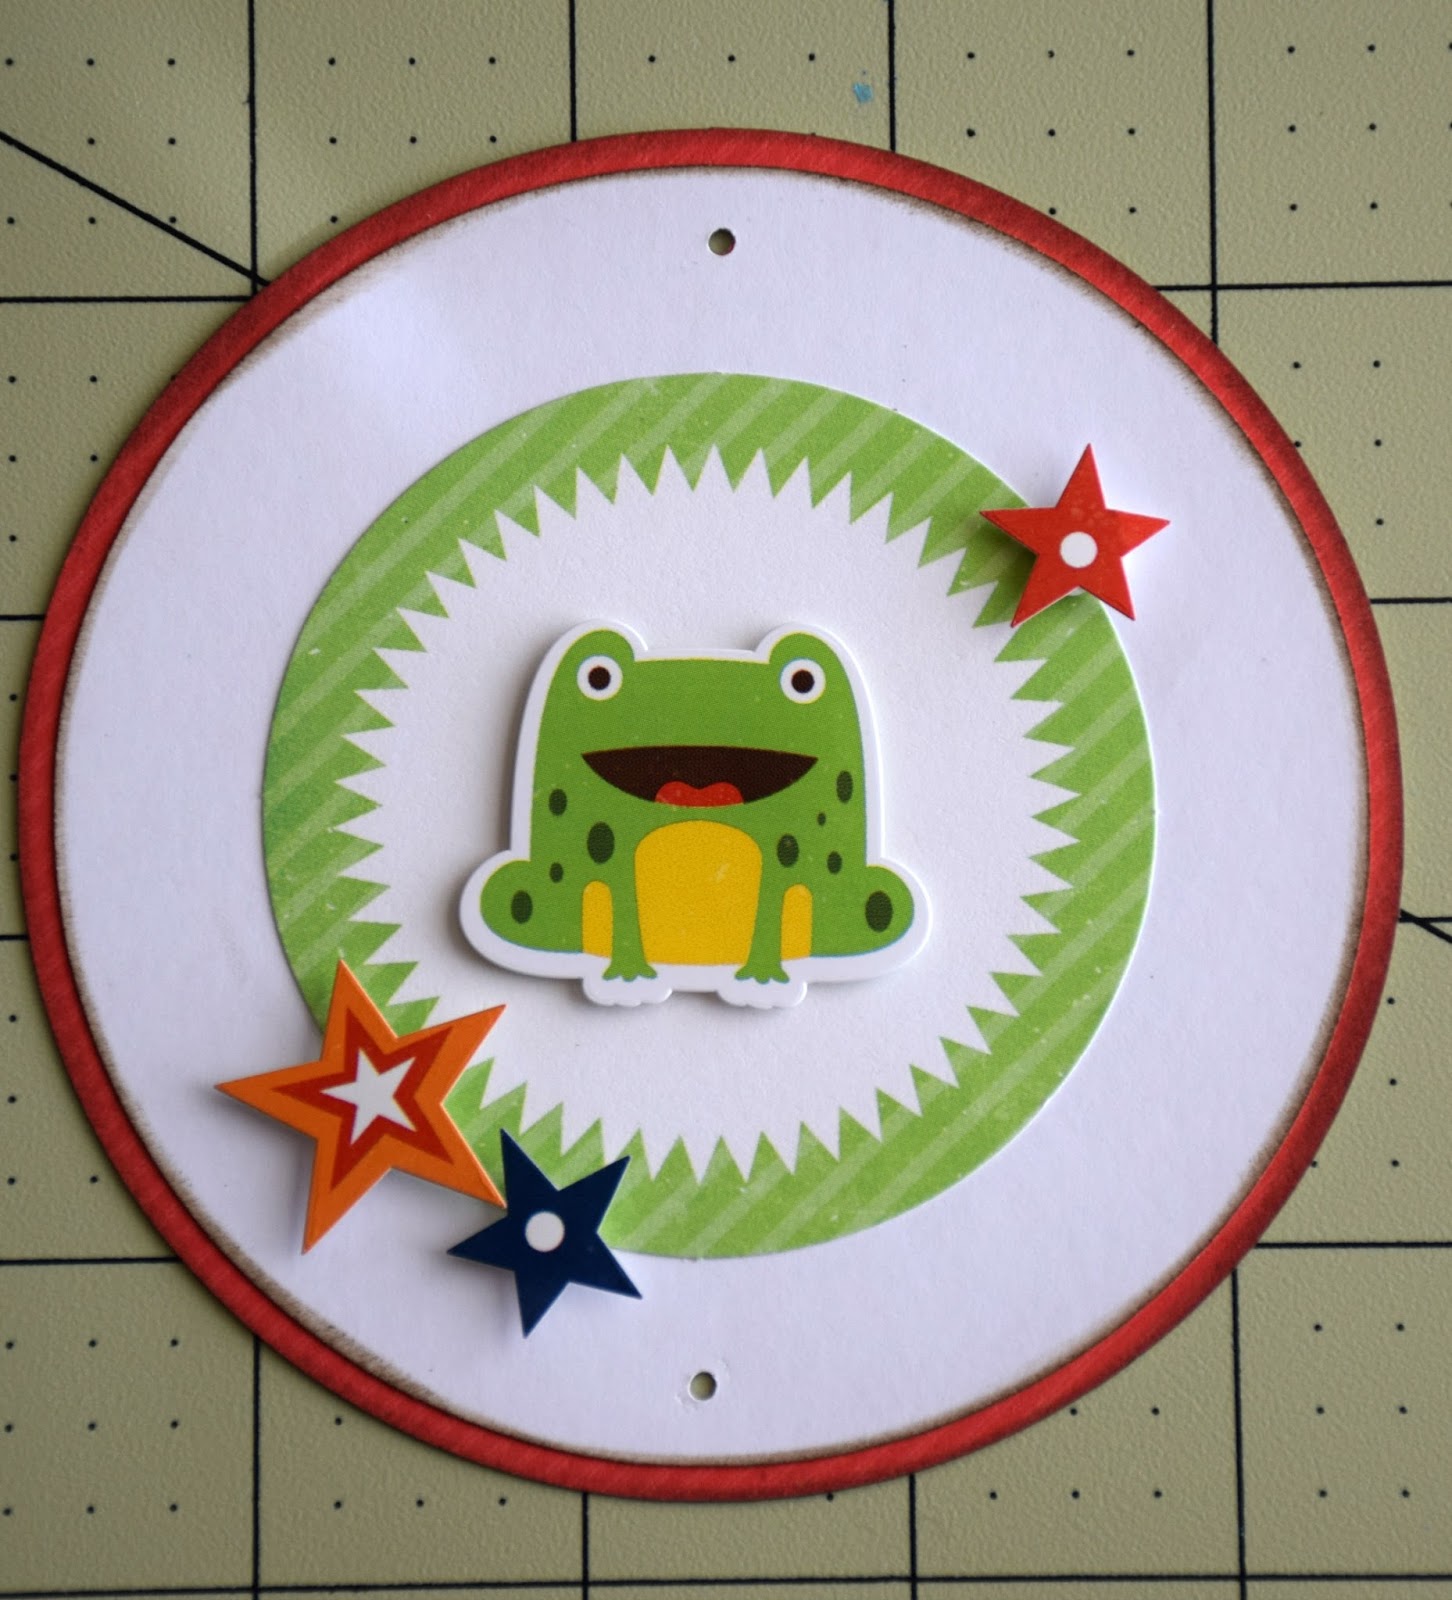
Notice the little holes cut from the shapes- these are important so make sure they cut out all the way.

Step 2 –
Place the white cardstock onto the bases.

Step 3-
Decorate the card fronts. I used Lori’s Little Man collection for Echo Park.


Step 4-
We will start building from the bottom up. Flip the middle section upside down and lay it on top of the bottom section. There a tiny holes that you simply line up, and place a mini brad in.
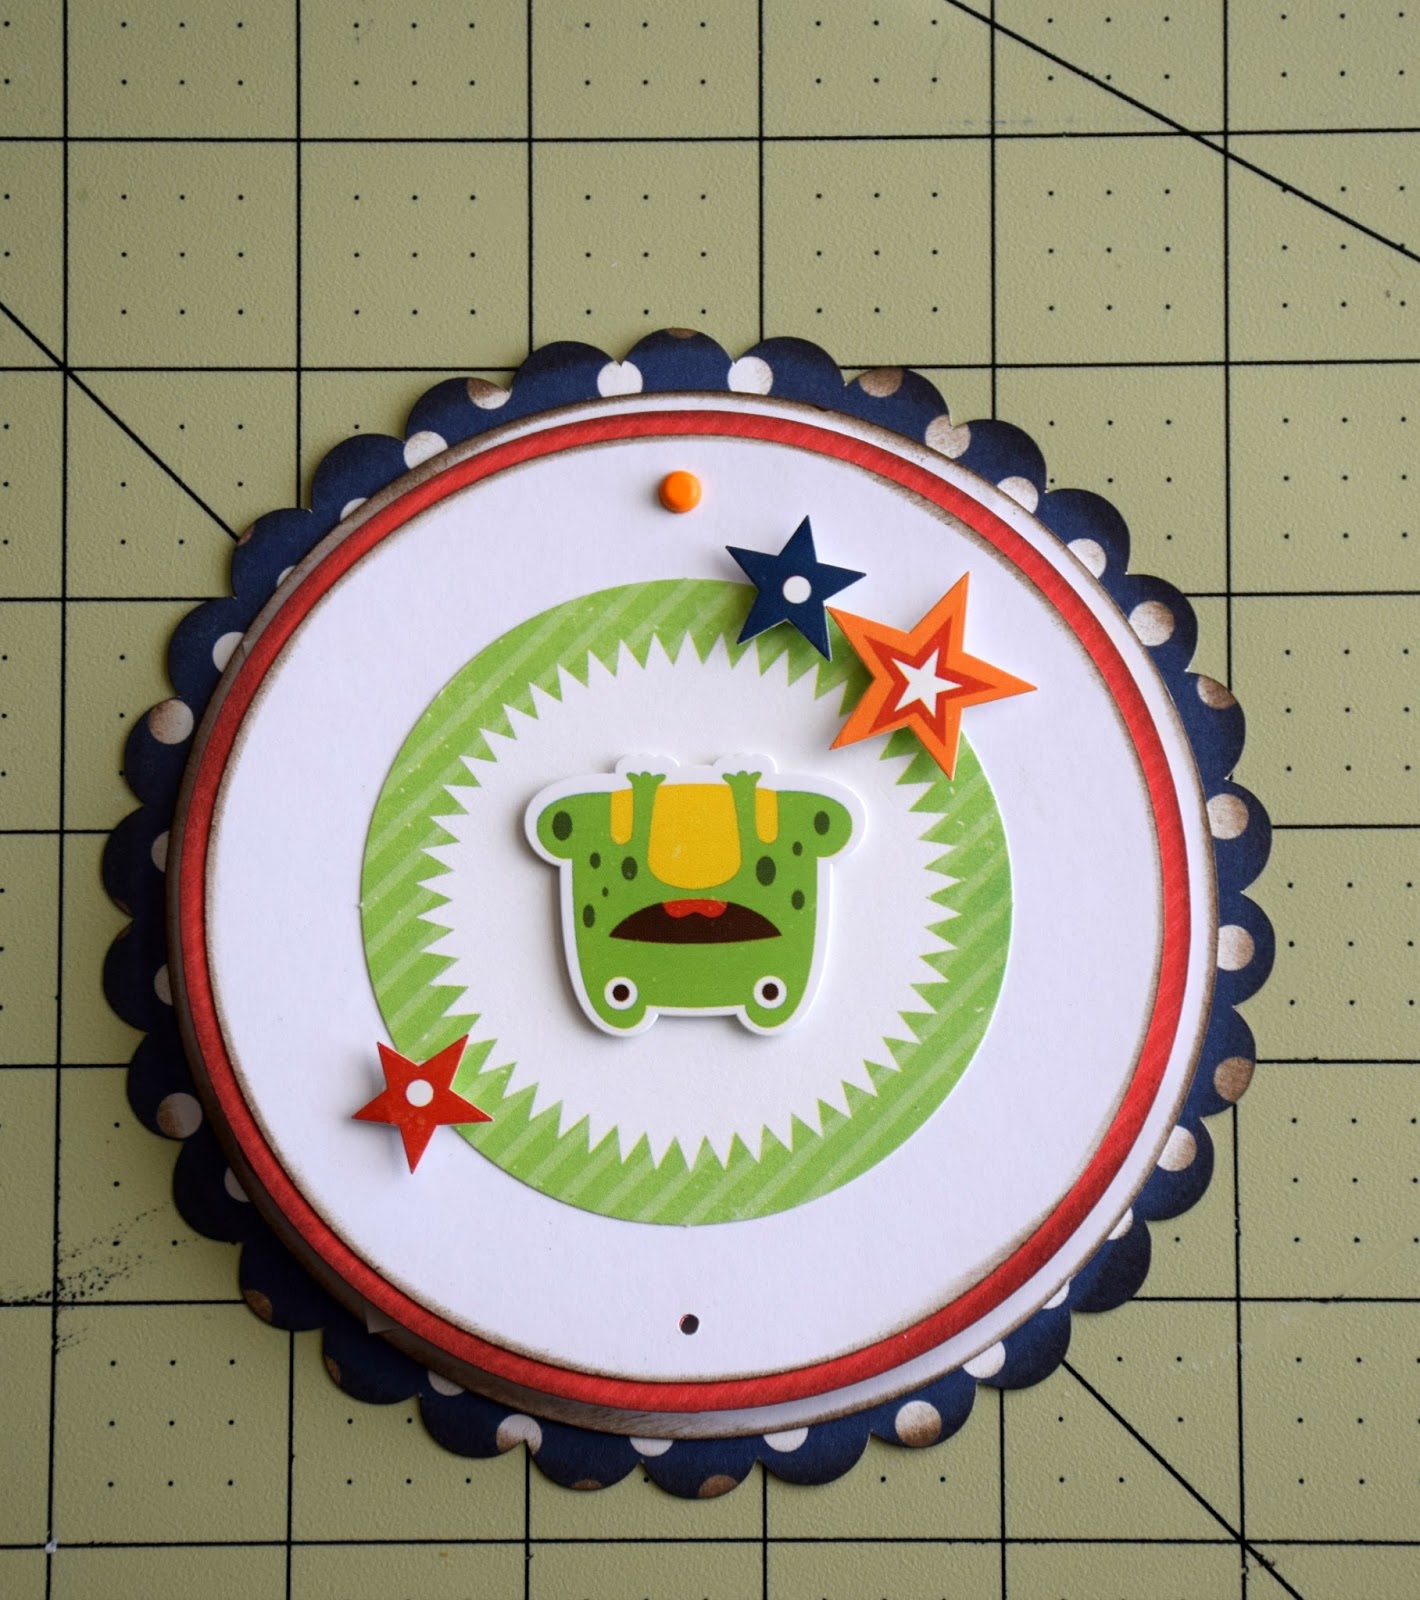
Attach the brad and spin the middle section right side up.

Step 5-
Flip the top section upside down, and place on top of middle section. The middle section has a tiny hole on the top and the bottom. Add a mini brad to the top hole.

Spin the card so the top section is facing the right way.
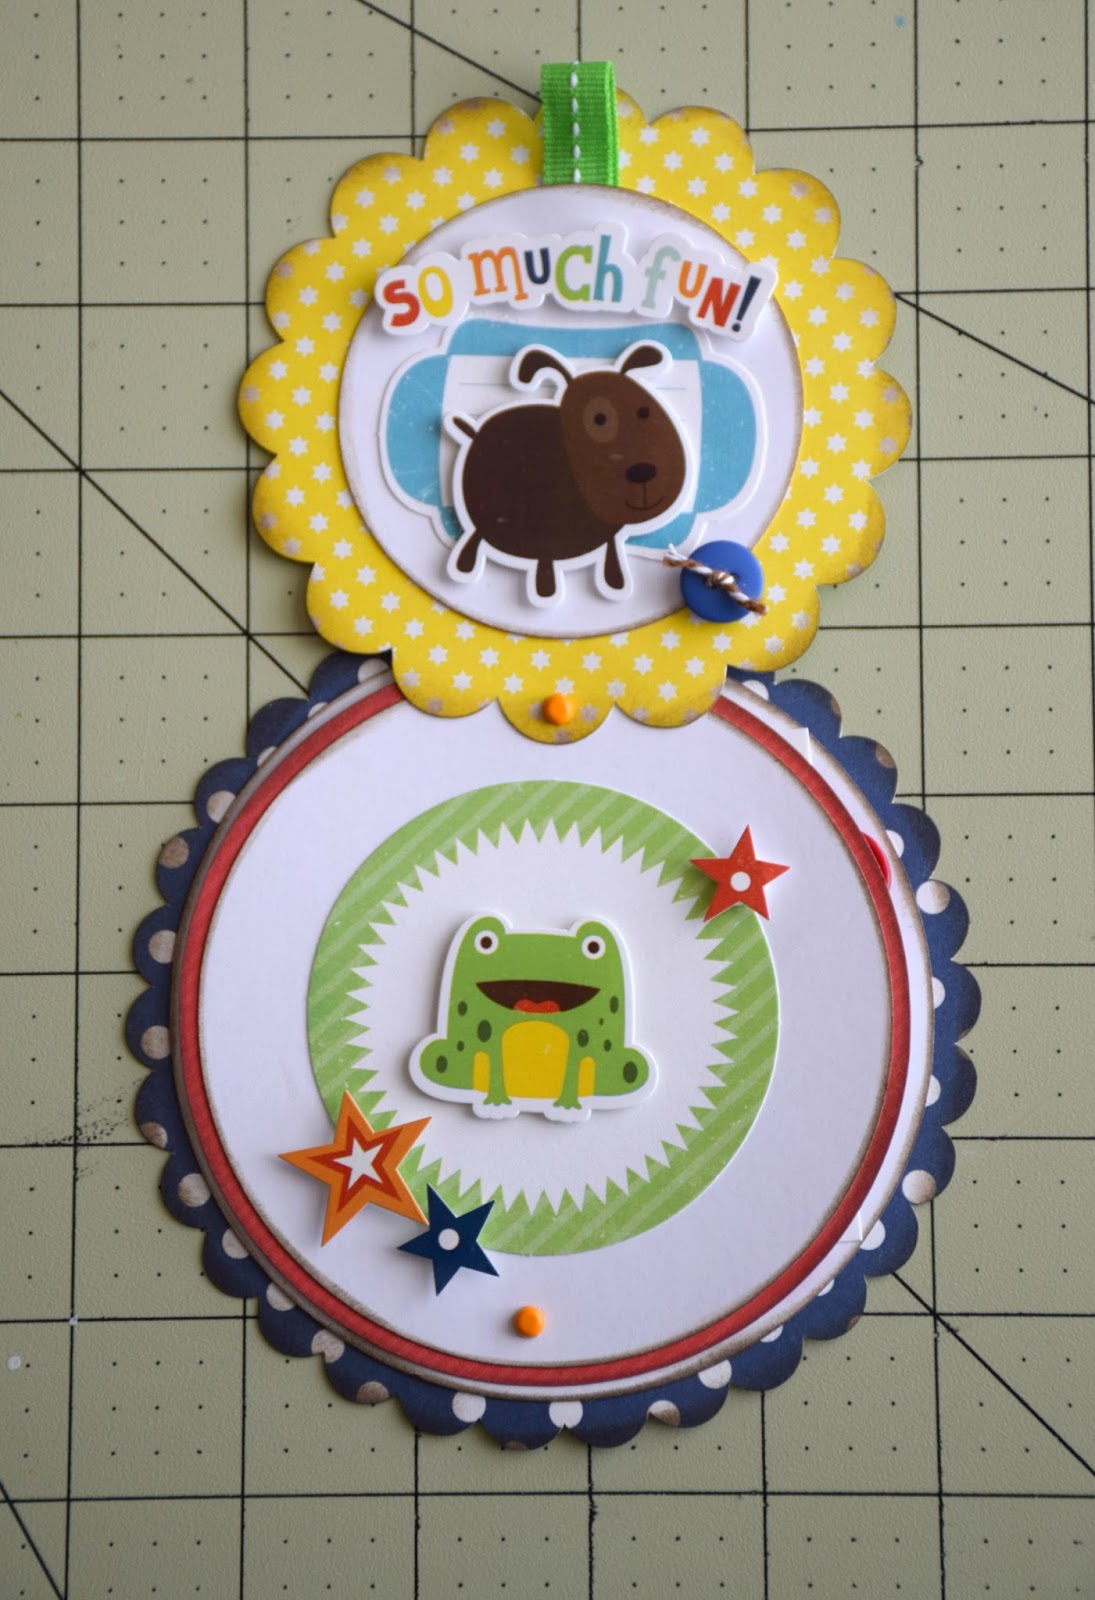
Here is the card all put together with the mini brads holding the sections together.
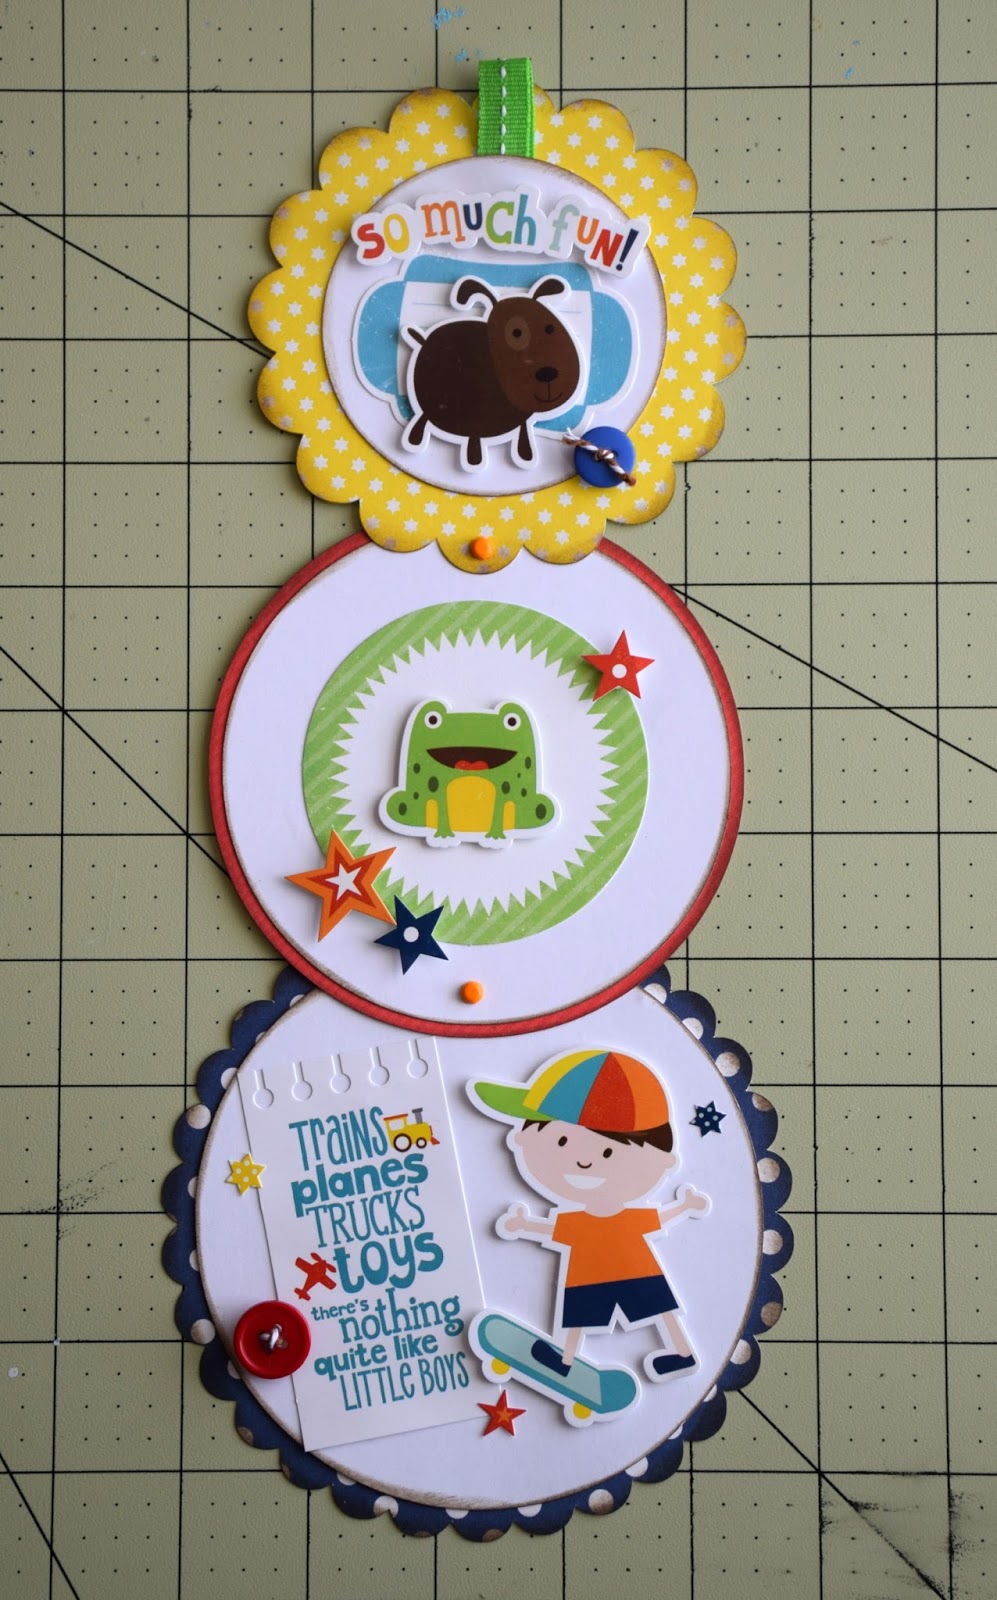
And that’s all there is to it! I had a lot of fun making this card and I know you will too! Hopefully I have inspired you to give this fun card a try! Thanks for stopping by today!

What a cute card! It looks complicated, but reading the directions, I see how easy it is.
I think this just might be the cutest card ever Tya! Love this!
This is such a clever idea! Very cute.