St. Patrick’s Day Tees

Happy Monday from Las Vegas!! While I’m enjoying some (hopefully) sunshine on vacation, I’m leaving you with these little shirts I made for my grandbabies for St. Patrick’s day.

Baby J (who is actually 2 1/2) will get the little No Pinching shirt and Miss Mary will get the Lucky Little Lady tee.
I used the No Pinching image (SVG, Silhouette) for Baby J’s shirt. I used green and gold glitter iron on for this shirt (which I’ve learned is really hard to photograph).
For Miss Mary’s tee I used the Lucky Little Lady image (SVGSilhouette). I did move the large shamrock on this tee because the only little girls tee I could find had some embroidery on it, so I used the large shamrock to cover that up.
Again, I used some pink and green glitter iron on to make this shirt sparkle.

I hope you enjoy these little tees. Wishing you all the luck o’ the Irish and happy crafting!

Chelsea

Pumpkins Sweets Spooks & Treats Sign

Hi friends! Today I wanted to share a cute little sign I made for my Halloween tiered tray décor. I used the Pumpkins Sweets Spooks & Treats file (SVG, Silhouette). I used my Glowforge laser cutter to engrave the image, but the same look can be achieved with vinyl. This saying would also be really cute on a shirt with iron on vinyl. This sign will be so cute in my kitchen for the spooky season.

And don’t forget, there’s a sale happening now in Lori’s SVG Shop!  All of the physical paper products from Echo Park Paper are 15% off through Saturday when you use code SAVE15 at checkout!  It’s the perfect time to stock up! **

Thanks for stopping by and happy spooky season!

Brandie


**These are physical paper collections that will be mailed to you and are only available to U.S. Residents. You may not use store credit for any physical products. Thank you for understanding.

Hello Sunshine!

Hello Sunshine!  I’m so glad that summer is here, time for summer decorating!  Do you ever go somewhere and see a super cute item, and then say to yourself, I don’t need to buy that, I can totally make it.  Well that happened to me a couple weeks ago, and I’m happy to say that I like what I created even more than the item I thought about buying.  I love taking Lori’s files and changing them up!  So here we go!

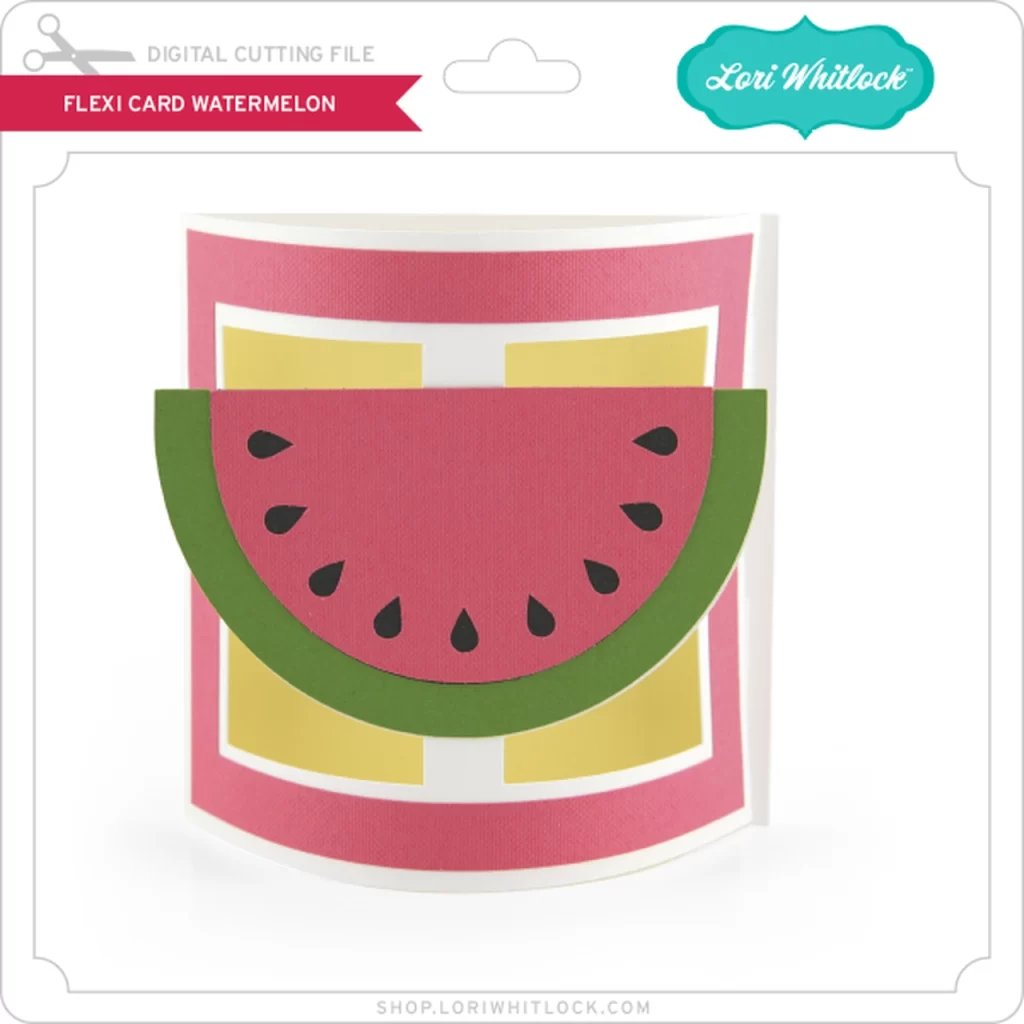
I started with this Watermelon Flexi Card that you can find here in Lori’s SVG Shop or here in the Silhouette Design Store.


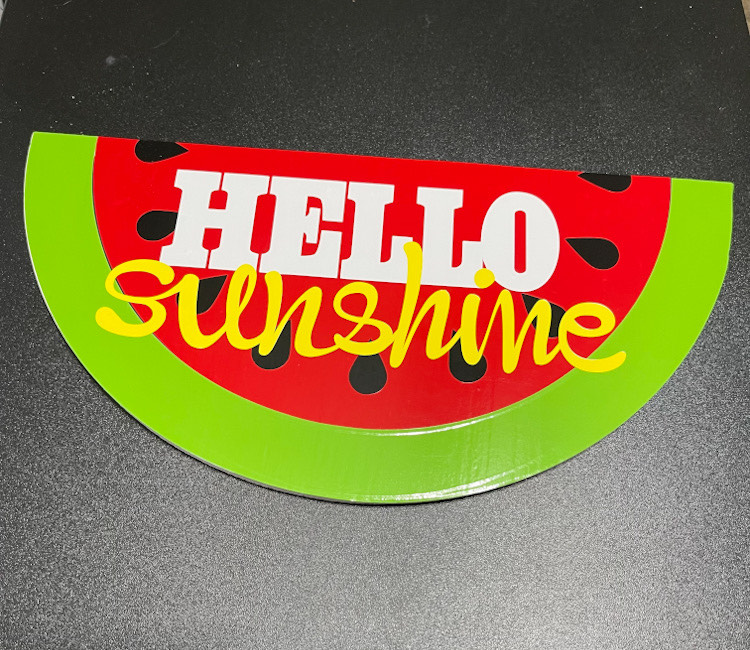
Which I tuned turned into this!

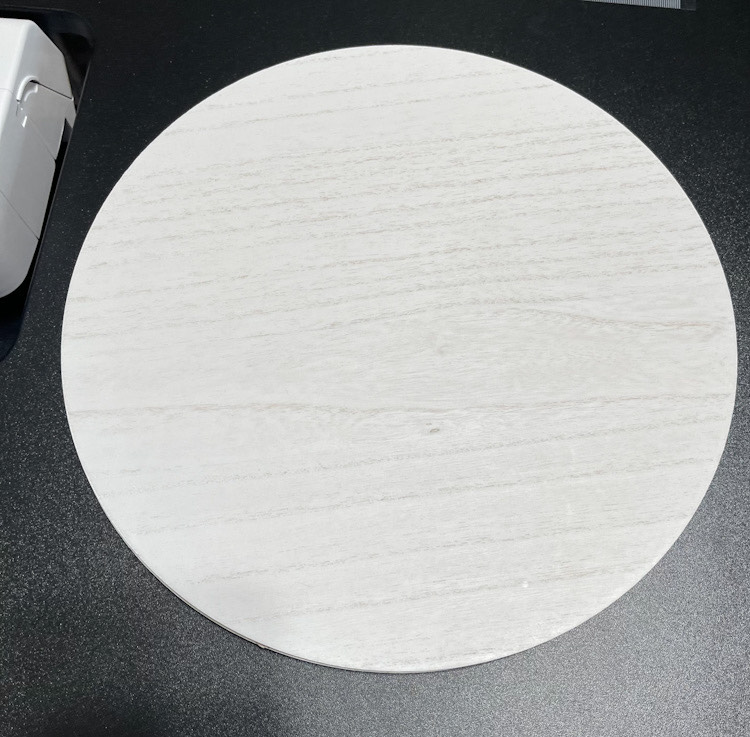
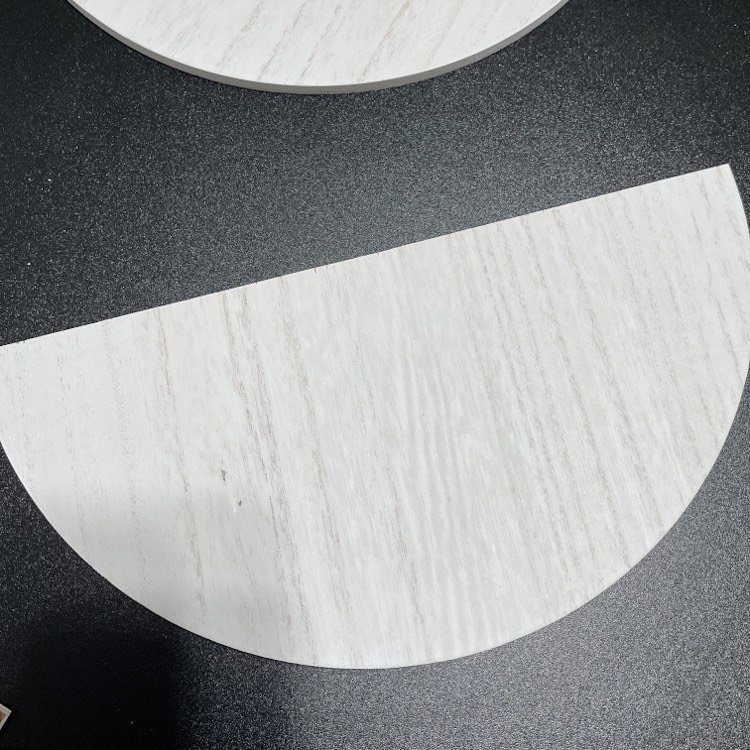
I started with an 11.75″ wood circle that I got at a craft store!

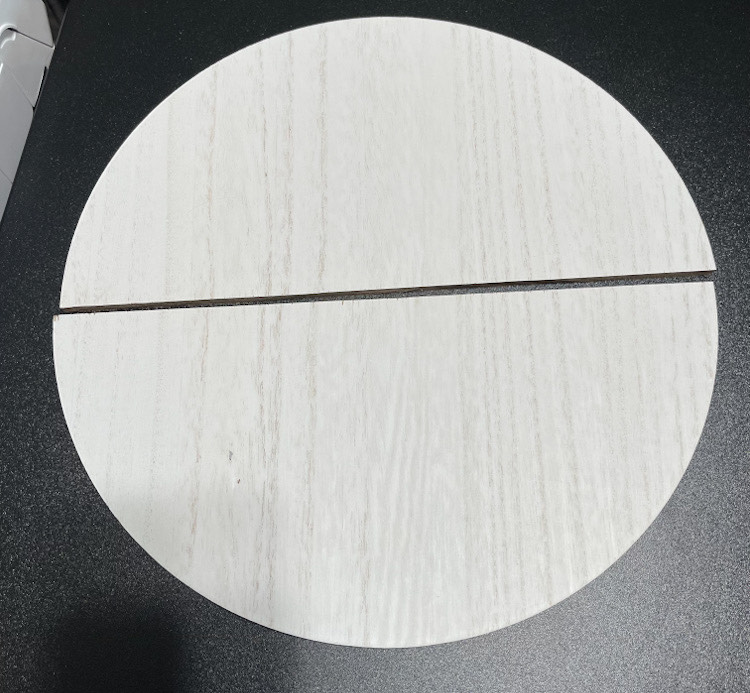
I cut the circle in half.  (Maybe I’ll make a lemon wreath with the other half!)

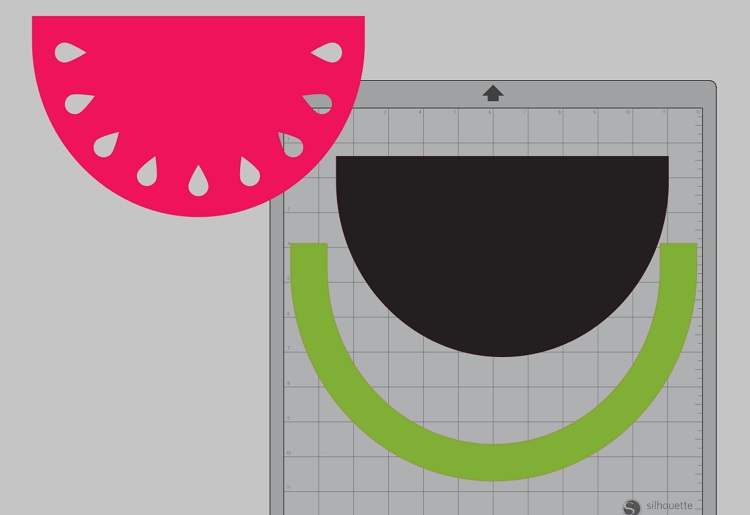
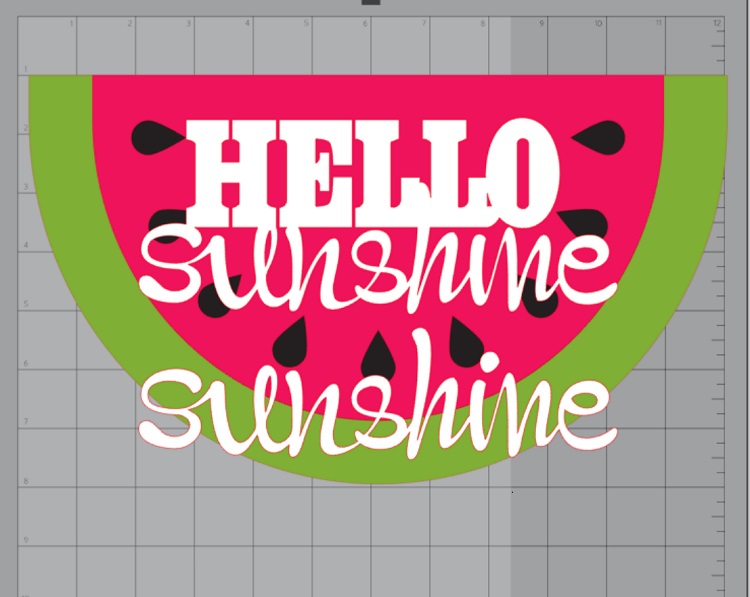
This is the card in my Silhouette.  I first ungrouped the pieces.

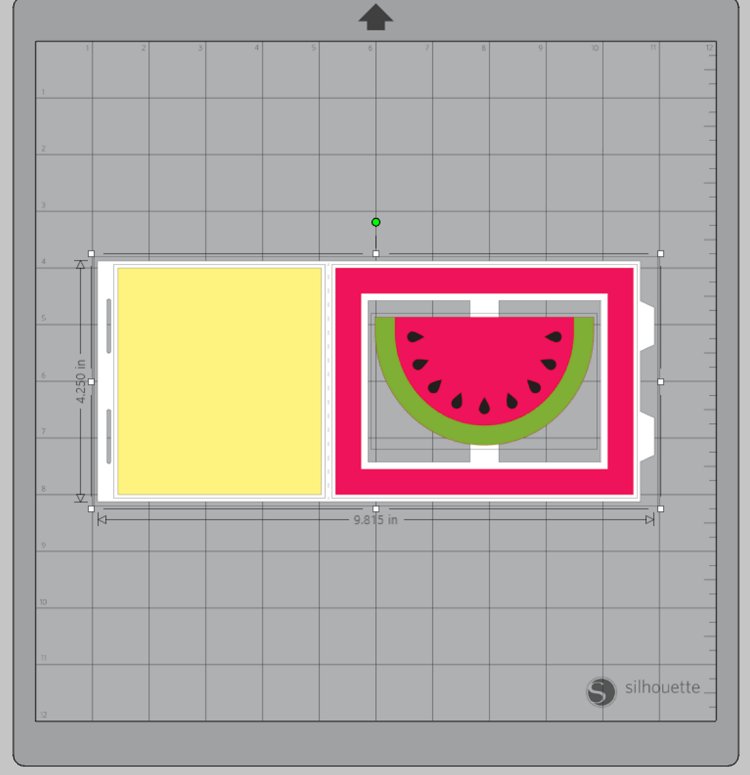
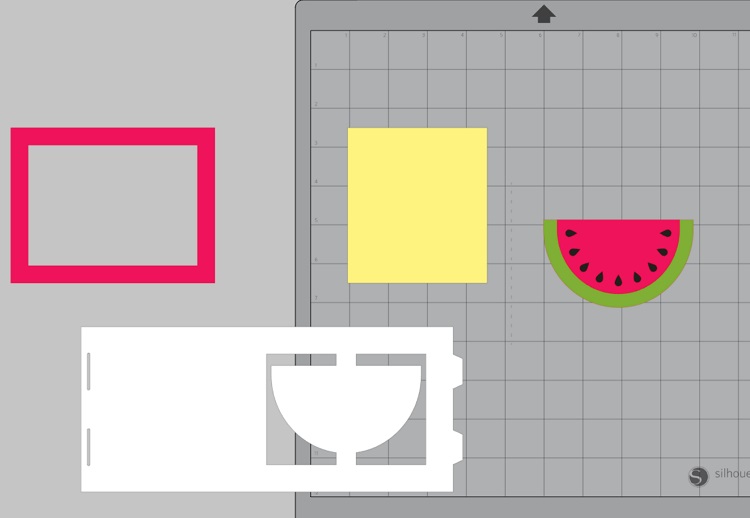
I deleted everything but the watermelon .. Then I resized it to fit the half circle.

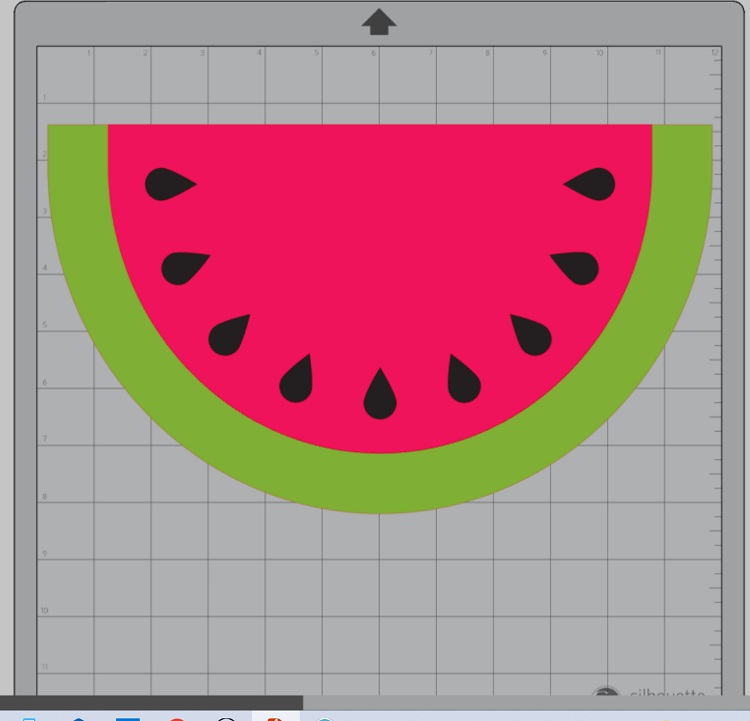
Next, I ungrouped the watermelon pieces and chose my vinyl colors.  I did use an outdoor vinyl for this project as I wanted to protect if from the sun and rain.

I cut the black, red and green vinyl.  These pieces are so large and basically just a giant sticker that I didn’t even need transfer paper to adhere to my half circle.  I put the black down first, then the red and next the green!

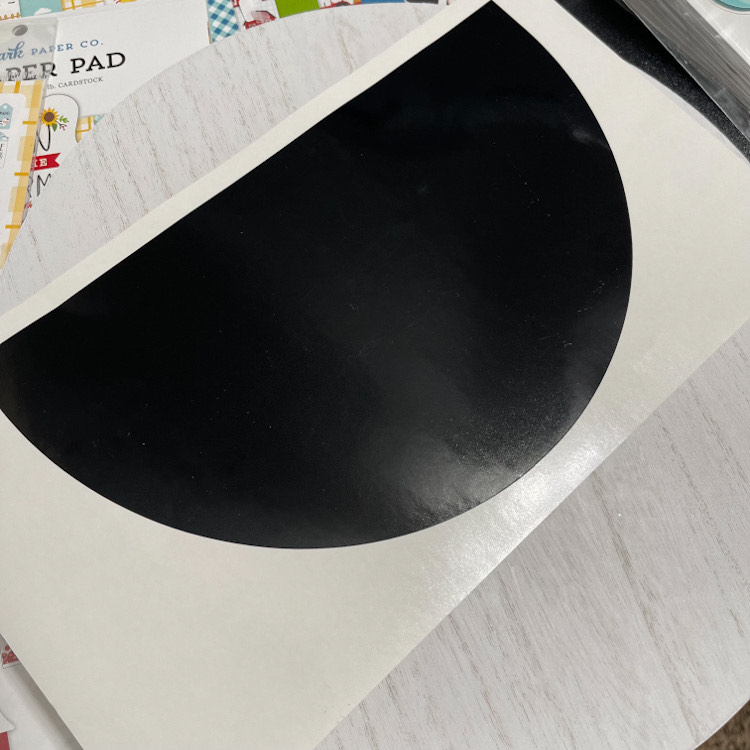
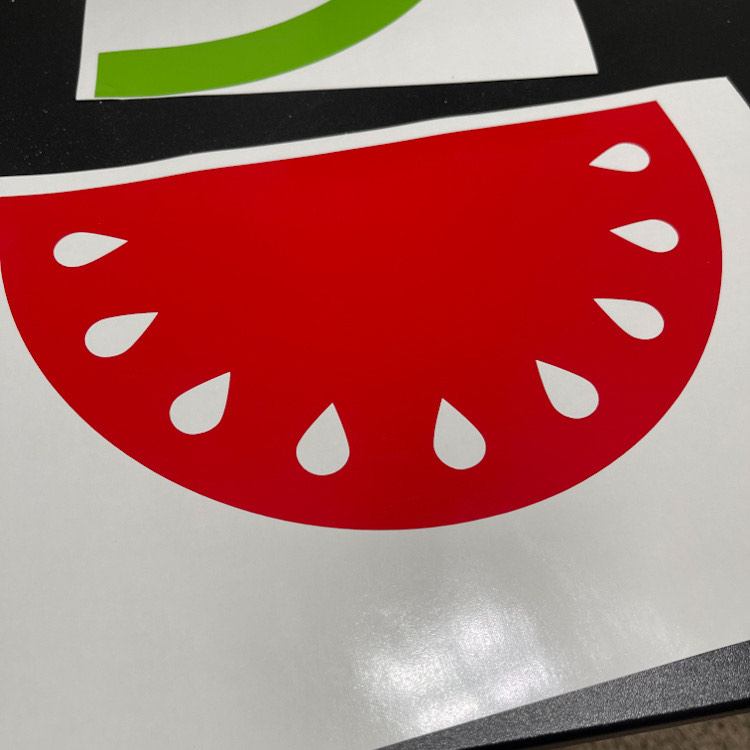
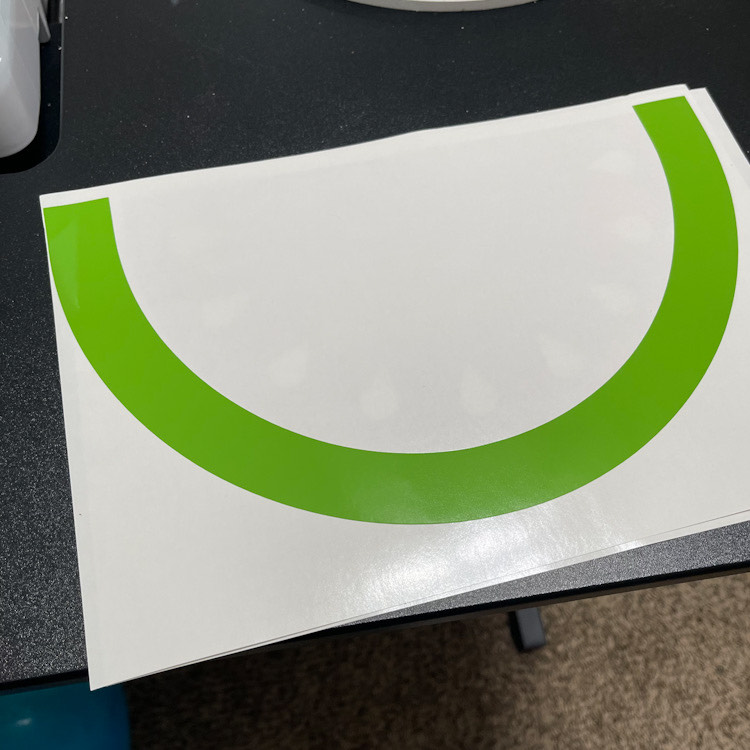
They went on with no problem, it think the outdoor vinyl is a bit sturdier and doesn’t fold over on itself or wrinkle!

Next my little slice of watermelon needed a cute saying!  I used Hello Sunshine here in the Silhouette Design Store.  I sized it to fit, cut the combined words in white and then just sunshine again in yellow!

I applied the phrase with transfer tape!

After finishing my watermelon slice, I adhered it to the grapevine wreath with hot glue and then just start adding greenery and ribbon!

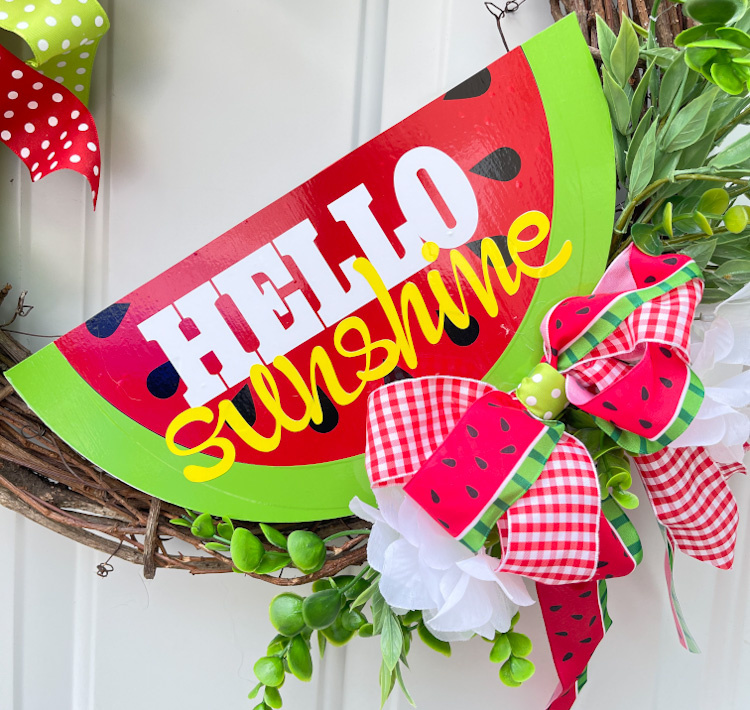
I’m pretty smitten with how this turned out!  You can create almost anything with Lori’s SVG Files!

Have a great day!

Cathy

Winter Signs with Vinyl

Christmas is almost here, just a couple days away.  I’m not ready, but I’m not letting that ruin my mood.  Everything will perfect just the way it is.  I have a couple of quick vinyl signs to share with you today.  I am just starting to create with vinyl, paper is my comfort zone.  But I fell in love with a couple of wood pieces that came from big box stores and I knew Lori would have the perfect vinyl files to make these projects super cute.

The snowman was already white, he is about 11×17 inches.  All I had to do was paint his hat and add the ribbon, then off to my library of Lori’s files to find the perfect saying!  I chose the Baby it’s Cold Outside SVG that you can find in Lori’s shop or here in the Silhouette Design Store.  I used a sparkly charcoal vinyl, doesn’t show well in the picture, but super pretty.  I love how this guy turned out and he is now adorning my front door for the rest of the frigid winter here in South Dakota.

My next vinyl project was this adorable sled.  It is about 6×11 inches.  Now for this one I had to paint the red and the white, the add the red vinyl.  And of course, Lori had this fun new SVG file in the shop, Sleigh Rides and Hot Cocoa or you can find it here in the Silhouette Design Store.  I just adore how both of these turned out.  The sleigh will be a gift for my neighbor.  I know she will love it.  If you are always a paper crafter, like me, don’t be afraid of vinyl….it’s so easy and you can affordably make décor for your home.  These projects both cost me under $8.00 to make.

I’ll see all of you next year, have a blessed Christmas with you and yours!  And a very Happy New Year!

~Cathy

Vinyl Tutorial – Hinge Method

Do you love camping? Or have people in your life that camp? Lori recently added some fun files that could be used for camping décor or even camping trailer décor.  I have several tubs that have camping gear in them. The bins aren’t labeled, and I thought using the camping file would be a fun way to “label” them.  I also added the same file to a white bucket.  The bucket can be used to stow camping items, and at night, well look what I did below!

For this project I used the Life is Better When You’re Camping File (SVG, Silhouette).  It can be difficult applying a large vinyl decal to a curved surface, I used a method called the hinge method. I’ve outlined how I did it below.

1. Cut and weed your vinyl. Apply transfer tape to your vinyl project.  Leave the backing piece on.

2. Place your vinyl on the surface, making sure it’s centered, leaving the backing paper on for now, and tape it down the middle with some painter’s or washi tape.

3.  Working on one side of the tape, peel back the transfer tape with vinyl, separating it from the backing paper.  Cut or rip the paper backing off.  I just rip the backing straight down.

4. Now you have one side of your vinyl ready to apply.  Smooth the vinyl to the surface. And repeat for the other side.

5. Burnish the vinyl to the surface before peeling back the transfer tape.

campingbucket

Repeat on all the surfaces.

With a white or light colored bucket, a light can be placed inside for a fun night time glow at the campground!

Now you are ready to vinyl all the things!

Have a great day!

Ashley