Box Card Rose Box

Hi there friends! With Valentine’s Day fast approaching I have been busy making cards to send out. Today I’m sharing one that I am sending this year. I love the roses in this box card, they are so fun and easy to adapt to any season and person. Box Card Rose Box (SVGSilhouette).


Thanks for stopping by today. Have a great week!

Brandie

Mini Vertical Mailbox Tutorial with Brandie

Hi there! Today I am sharing another cute Valentine’s Day project. This little mailbox is a perfect size for a tiered tray or a small space that needs a little holiday decor. It can also be filled with treats to give to a special someone.

The file is the Mini Vertical Mailbox (SVGSilhouette). I cut everything out of 80lb cardstock. All of the score lines are mountain folds except for the front door.

I started with the bottom and glued the tabs to the longest piece while lining the bottom edge up with the score line on the tab. I then glued the sides of the mailbox to the bottom, again using the score lines and edge of the tab to line everything up.
This part can be a little tricky but go slow and really secure the sides before moving to the arches of the mailbox. I applied the glue to the front straight sides first and made sure they were secure.
As I moved along to the arches, I applied glue to a few of the small tabs at a time and made sure they were dry before moving around the arch. I glued each side separately. Then when the arches were dry, I applied glue to the three remaining tabs, lined them up then flipped the mailbox onto its back, and pressed the tabs down from the inside through the front door.
I then glued the pattern papers on the sides and front door and assembled the little envelope. I then glued the red trim strips of paper to the edges of the mailbox.  I glued the largest heart to the front door and added a floral sticker. I also glued the little envelope to the front of the mailbox.
Now, this little mailbox is ready to be displayed with my other holiday decor. Thanks for stopping by today friends!
Brandie

Valentine Sticker Tutorial for Cricut Design Space

Today I’m sharing a tutorial for stickers in Cricut Design Space.  Lori has many sticker files in her shop.  I’m showcasing the Valentine Cute Stickers (SVGSilhouette).

Valentine Cute Stickers

To begin, download and upzip your sticker file to your computer.

Open Design Space.

Click on upload on the Canvas screen.

Upload the file under the Image tab.

Then open the file onto your canvas.

The file comes in at this size.  Notice the 7.07″ x 9.94″ size.


Make sure your file is selected and select Flatten.


At this point, you will notice a warning exclamation mark.


This is because of the size of the project.

Select the stickers and resize them until it is smaller than 6.75″ x 9.25″.

This is what the stickers look like on the make screen.  Select Continue.

I like to select printer settings on the Use System Dialogue screen.  Select that option. Select print settings and paper settings for your printer.  And print.

Now it’s time to cut.  I’m using the Cricut Explore 2.  If you have Cricut Sticker paper, making sure to select Custom on the dial and select Sticker Paper for the material.

I have some Avery Project Sticker paper.  It isn’t as thick as the Cricut Sticker paper.  My first sheet of stickers cut all the way through the paper with the Sticker Paper material selection.  So I selected Iron on to get the kiss cut for my second sheet.

This is the kiss cut.

These are my first stickers.

If you want smaller stickers, resize your project to the desired size.

Here I duplicated the sticker sheet and resized it smaller.  Select both sheets and select attach.  This will cut the stickers on one page rather than separating the 2 smaller sheets on 2 pages.

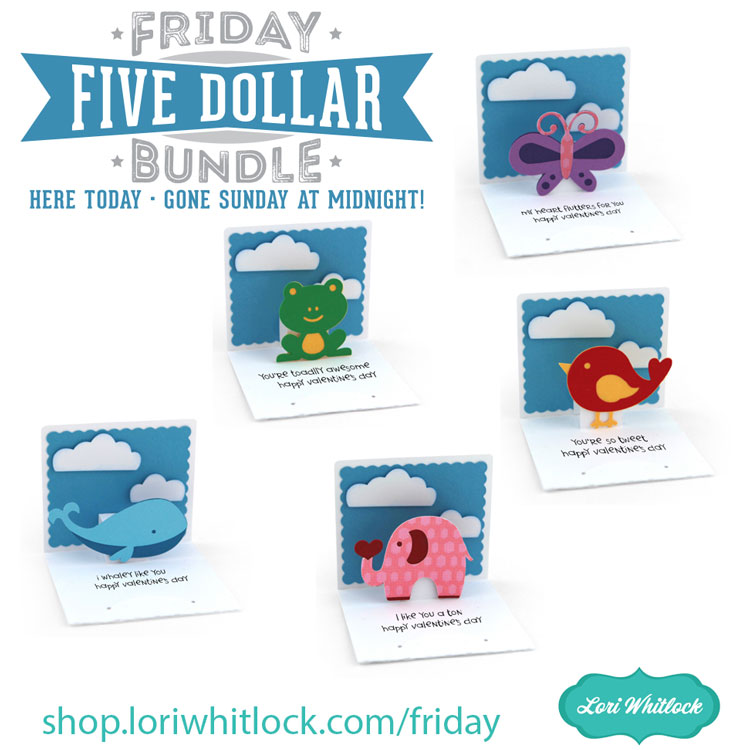
Now you are ready to cut all sorts of stickers.  Pick some up during the sale this week.

Ashley


Cherry Pie Valentine

Hi Everyone:

Anita here with an adorable Valentine that I made for my daughter-in-law who loves pie.  It is called Pop Up Card Valentine Pie (SVG, Silhouette).  Lori also has a tutorial which you can find here on how to put together pop up cards.  I love how easily they go together.  Next to Christmas, Valentine’s Day is my favorite holiday.  I love these interactive cards and that you can fold them flat and easily slip them into an envelope for mailing.

Here is a photo of the card opened.

Thanks for looking and have a great day.

Hugs,

Anita

The Friday $5 SVG Bundle is Gone at Midnight!

This awesome Friday $5Bundle is available until midnight and when it’s gone it’s gone.  These SVG files can be used with Cricut Explore, Silhouette Studio (with the Designer Edition upgrade), Scan N Cut, and any other cutter that will work with SVG files. Help spread the word by telling your friends and announcing it on social media!

Be sure to pick up this 3×3 Valentine Card Bundle including 5 SVG files for just $5**!

The cost of this bundle is $5, for $9.95 worth of SVG files, over a 49% savings! But don’t wait, this bundle willonly be around until TODAY at midnight!

** Because Friday $5 Bundles are already heavily discounted they are not eligible for further discounts including monthly, seasonal and flash sales.

Have a great day!