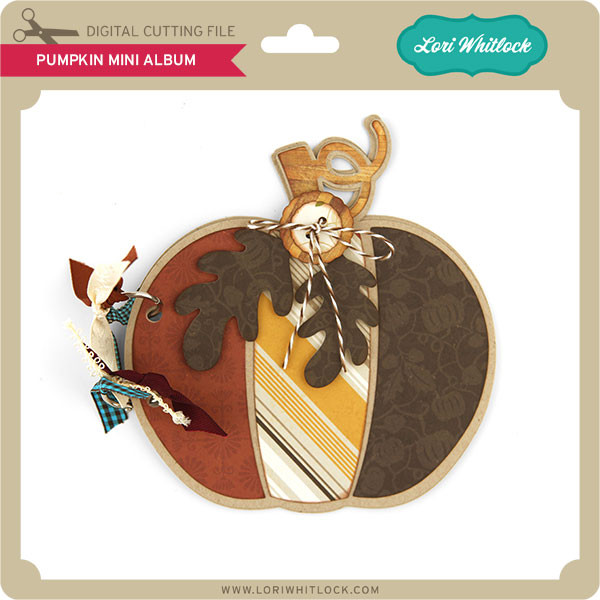
Give Thanks Pumpkin Card

Hi, Crafty Friends!! Creative Team Member, Mitsyana Wright, here. It’s a new month and I’m not going to lie, I’m missing Halloween already.  It’s ok, I have lots to look forward to and lots to be thankful for. And speaking of thankful… Today, I’m bringing you this Give Thanks, Pumpkin Card.

Let me show you how I made it…

Here are the supplies you need:

  • Pumpkin Mini Album (here in the Silhouette Store)
  • Give Thanks (here in the Silhouette Store)
  • Patterned Cardstock (Autumn Leaves Stack- DCWV)
  • Xyron Creative Station
  • Tim Holtz Distress Ink- Vintage Photo
  • Hemp Twine
  • Glue Pen

I used Lori Whitlock’s Pumpkin Mini Album to create my card base.

I opened the SVG file using my ecal software.

Then “UNGROUP”ed the holes from that are in the pumpkin base and files.

Then, I cut and pasted the window base onto a new page.

I made a mirror image then slightly had them overlap at the center. Then I highlighted the whole and “WELDED” the two pumpkins together.

Once the welded pumpkins were cut, I used my bone folder to crease my card.

Then I die cut the panel pieces, stem, and accessories that come with the file.

Next, I ran the patterned paper through my Xyron Creative Station Lite. Then I inked up the edges with Tim Holtz’ in Vintage Photo. Then All I simply did was peel and stick! Easy-Peasy!!

I also used Lori Whitlock’s Give Thanks Title for my cards sentiment.
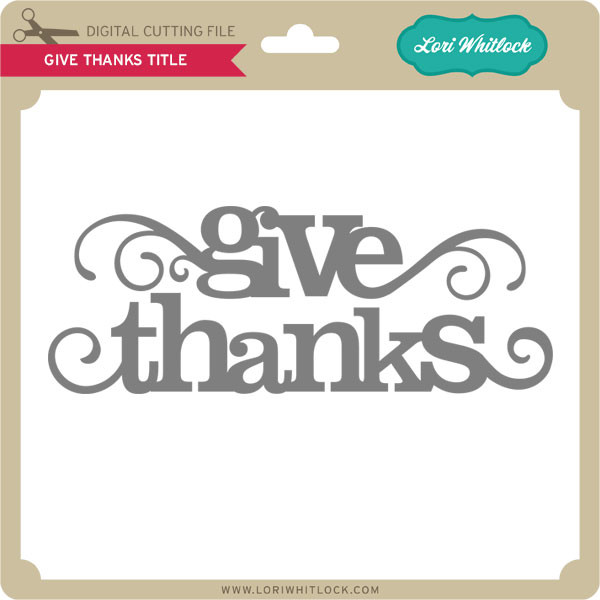
I sized it to fit the pumpkin cover in my ecal software. Then opened a new window and cut and pasted it there.

After cutting these words out, I left them in their negative space and inked the edges. Keeping them in the negative space helps to reduce bends and tears.

I used a glue pen to attached my sentiment onto the front cover.

Then, I  added the leaves and button. I  fastened them together with hemp twine.

I also used a micron pen to add details to the words and swirls for a little definition.

And here is my finished card…

Now, it’s ready to give to someone I am very thankful for…

It’s so hard to choose!! I’m going to have to make more!! There are too many people I am incredibly thankful for! I guess that is a good problem to have!

Hope you all enjoyed my project for today!! See you soon!!

~Mitsyana

Scottie THANK YOU Cards

Hello, Crafty Friends!! It’s Design Team Member, Mitsyana, back to bring you these quick and easy (and  SUPER CUTE) Scottie Thank You Cards.

In light of current events, sitting her crafting during Hurricane Harvey, I am compelled to make Thank you cards. It’s always a good thing to tell people just how grateful you are. Even a little gratitude goes a long way!

These Scottie Thank You(s) come together so quickly that I was able to make them in different colors! I like being able to have an arsenal of cards at my disposal at any given moment!

To make these I used Lori Whitlock’s A2 Cutout Scottie Dog file. (here in the Silhouette Store)

I opened the file using my Sizzix ecal software and grouped the pieces by color for easier cutting. It helps with out having to reload the mat for each color used. And as long as all the pieces fit on my mat I can cut them all at once.

I decided not to use the pre-scored card that came included because I wanted to change the direction the flap opened. So, I removed it off of my virtual cutting mat.

The card front is sized to a standard A2 card so me changing the direction of the card fold will not affect the overall look or assembly of the card whatsoever.

I cut all my paper using my Sizzix eclips machine. Then used my Xyron Mega Runner to layer and adhere the pieces together.

I used a glue pen to attach Scottie’s little bow then added highlights to it using a white gel pen.

I used a fine-tipped black ink pen to draw stitch lines around the perimeter of the stamp-shaped card mat.

I pieced the tiny flag sentiment together then added stitch lines along that as well.

Once the card front was pieced together I used my Mega Runner to attach it to my card base. This time the card flaps from top to bottom instead of side to side.

As a last minute touch, I added a little glitter enamel dot to the center of Scottie’s bow for a little bling.

Here is the finished card…

And it was so super easy to make that I decided to make it in other colors as well!

It looks great in brown!

And it’s absolutely fabulous in teal!!

These are so much fun to make!

I think I need to make much more… I have many people I want to send thanks to but this is a great start!

Hope you enjoyed my project for today!

“Thanks” for stopping by!!

~Mitsyana

Thank You Card by Natalie

Today we have a beautiful Thank You card by Natalie…
The other day I was in need of a thank you cards for some cute neighbors.  They needed to be signed by a group of girls, so they needed to be big enough to hold lots of comments.  So I made these cute mini albums which turned out to be the perfect thank yous.
I used Lori’s mini album with the round end found here.  I love that it comes with files for all the middle pages, but a little binding piece and a cover for the front.  I cut it out with Echo Park‘s For the Record 2, which had the perfect embellishments to cover the front and back pages.  I filled them full of blank pages and handed out each page to all the girls who were writing notes, then took all them and bound it into a cute book.  I hope that these become a treasure for the recipients of the books and know how much we love them!

Thank you Gifts by Natalie and Christine

Hello – man is it cold outside.  I am such hermit when it is cold outside, it’s got to be important for me to head out in the cold.
I also am also always looking for gift to say thanks, so when I saw this cute snowman file at Lori’s shop, I just had to make one.  I used Lori’s Winter Park collection from Echo Park, which is a great collection for those frosty projects.  I also used her Snowman tote file, found here, to make this cute little bag, just perfect filled with some warm hot chocolate and homemade marshmallows.  Then I added a quick tag with ribbon and twine.  This would warm up anyones day! Check out her blog here.


After the excitement of the holidays dies down, it’s time to start thinking about thank you cards.  My family received so many wonderful things from our extended family, I wanted to make a special thank you card for each of them.

Please stop by my blog to get all of the details on exactly how I made each card and envelope.  You will be making up a batch of your own in no time.
Lori Whitlock supplies used: