Here is the card folded flat and ready to be mailed to someone who is off on an adventure this summer.
That’s it for me today. Be sure to check out all of Lori’s fun summer cards.
Here is the card folded flat and ready to be mailed to someone who is off on an adventure this summer.
That’s it for me today. Be sure to check out all of Lori’s fun summer cards.
Hi guys, Traci here! Today, I’m sharing a great summer card that has me dreamin’ about the sun, sand and tropical vibes. It’s made with one of Lori’s awesome cutting files called Box Card Tropical Suitcase (SVG, Silhouette) and the flamingo, hibiscus and palm tree are perfect for this time of year.
I love all the details on this card … especially on the little blue suitcase. Check out the handle and those tiny corner pieces with the enamel dots. So cute! This card would be perfect for a summer themed party, a birthday, someone who loves flamingos or traveling, or simply telling someone you’re thinkin’ of them!
It looks great sitting on a desk or a counter for a little summertime décor and it folds flat for mailing and storage. I made this with cardstock from my stash and Echo Park’s Endless Summer collection designed by Lori.
Lori has so many amazing cards … I hope you’ll try this one next. Happy crafting!
Hello crafty friends! Aimee here to share a tutorial on how to make the new Suitcase Favor Box (Lori’s SVG Shop, Silhouette). This new cut file is so cute and perfect for so many occasions.
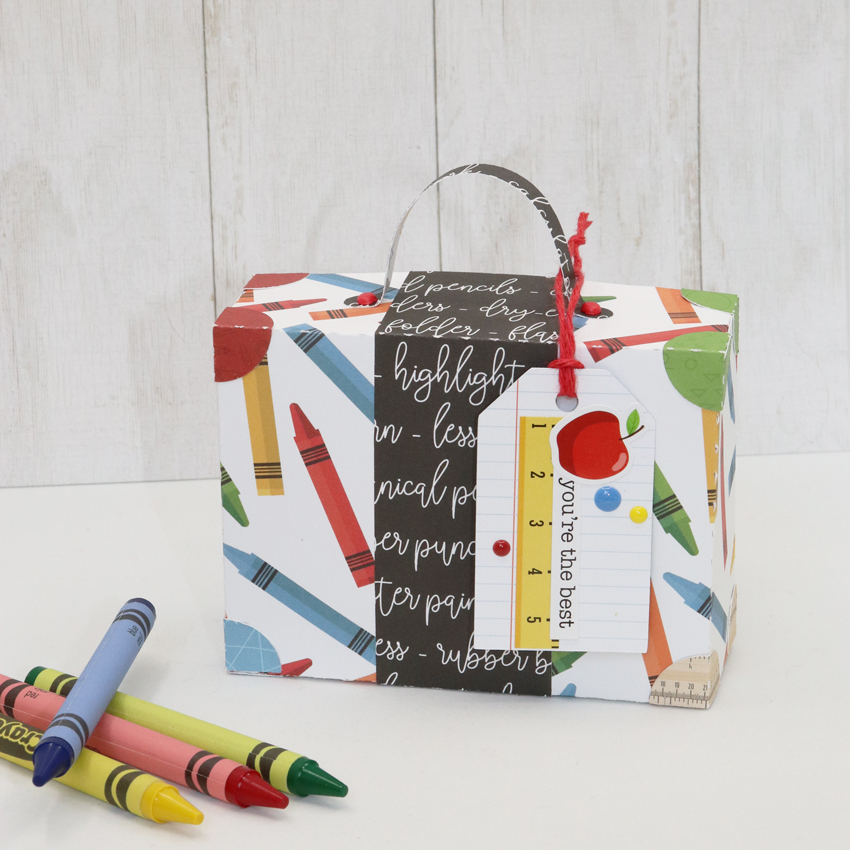
I used the new School Rules to create this sweet little suitcase filled with some goodies for the teacher. It is the perfect size to hold a box of 24 crayons and a gift card. I have a little step by step tutorial for you today to guide you in making one for yourself.

So let’s get started…

2. Start assembling the suitcase box


3. Adhere the belly band to the front, top, and bottom

4. Add the suitcase handle with small brads
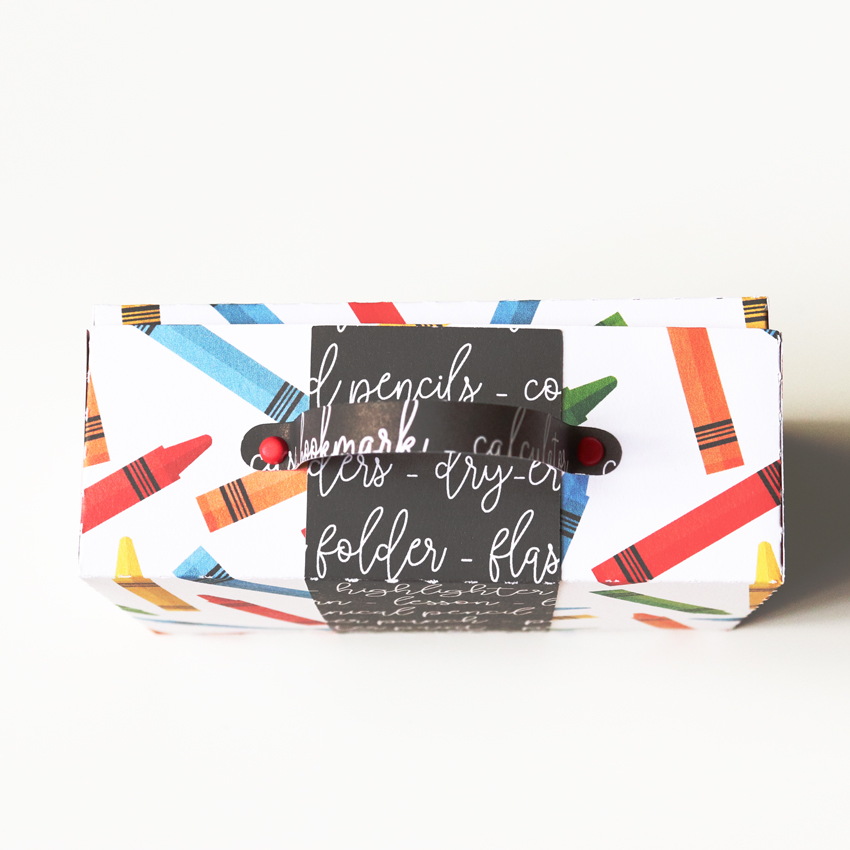
5. Fold all of the suitcase corner pieces and adhere the full circle piece to make a complete corner


6. Adhere these corner pieces to the corners of the suitcase box
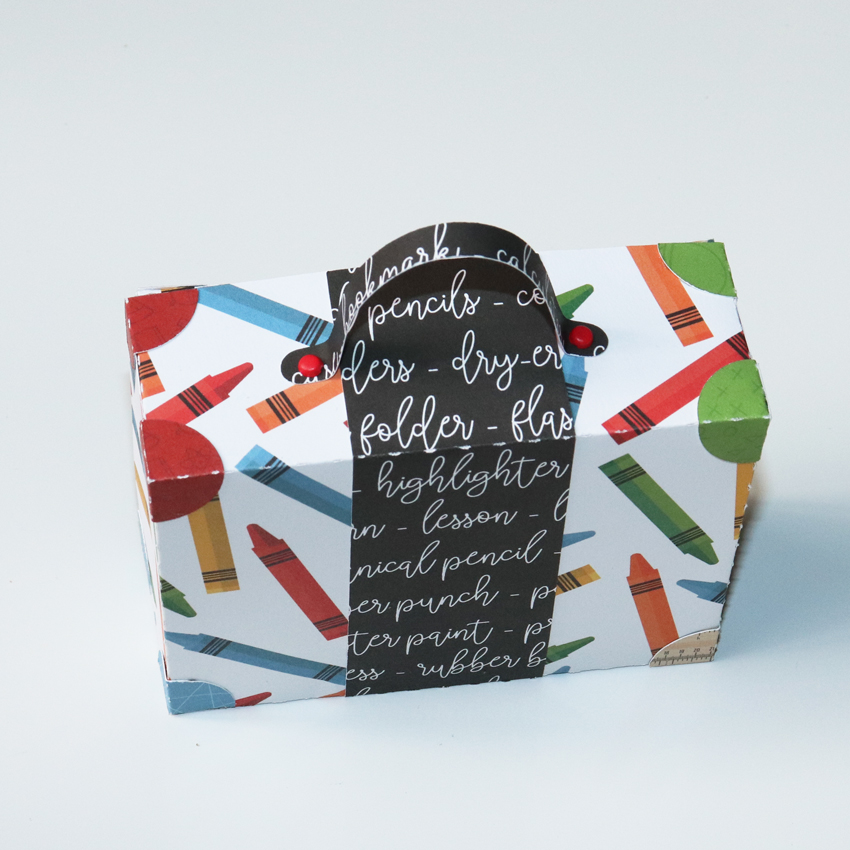

7. Decorate the tag and use the twine to tie it to the suitcase box

And now you have an adorable little suitcase box to give as a sweet gift that any teacher would just gush over!

Thanks for stopping by today!
Aimee
Hope you had a very Happy Thanksgiving to those of you in the states, I for one did. So many things I am grateful for. Today we have 2 beautiful projects to share with you. Amanda used the “Vintage Suitcase” file and made this adorable kit. We are sharing pictures here, but she has lots of instructions on her blog.
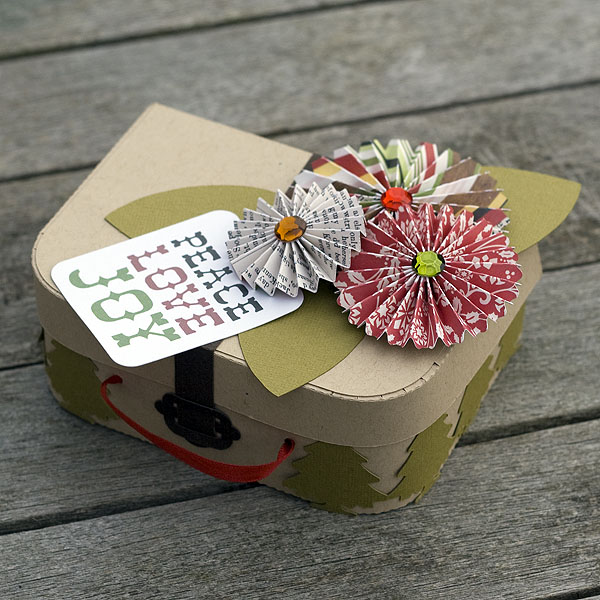
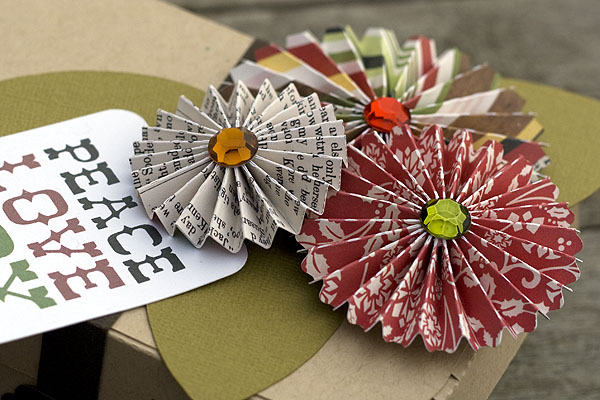
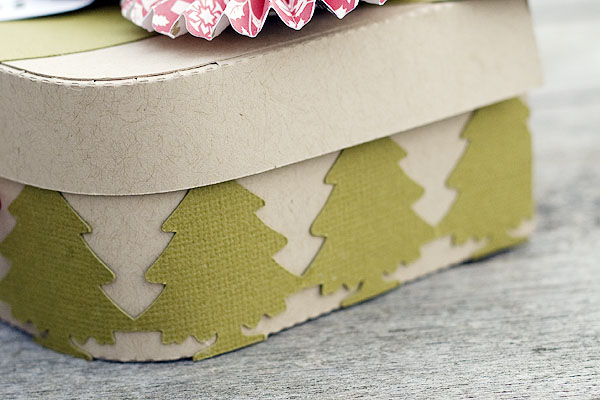
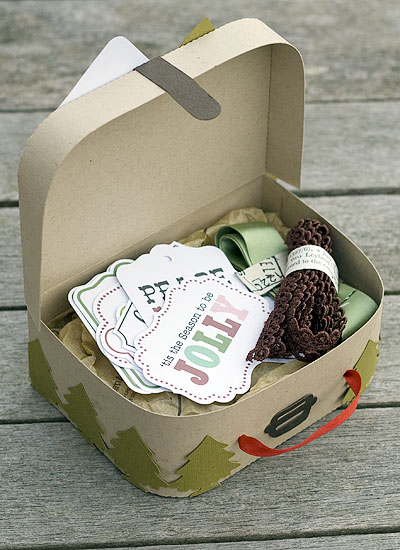
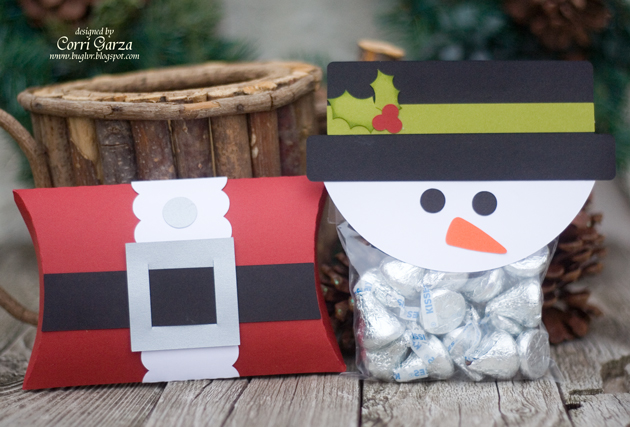
do you really need words from me? These projects are beautiful and don’e need any descriptions from me. I will let their owners share with you. More info at Corri’s blog on the Santa Pillow Box and the snowman topper that can both be found in the store. Thanks for stopping by.