
Hi Everyone! It’s Kathy today with a tutorial showing how to assemble Lori’s new Spring House Box (here in the Silhouette Store). This is such a sweet box that can hold a small gift or some treats! Take a peek….

It looks like there is a lot to this house, but it’s really pretty simple to assemble. First, cut all of the pieces…

Next, assemble the main box. To begin, add the decorative panels, trim, door and window the box piece. It’s easier to do this before the box shape is formed.

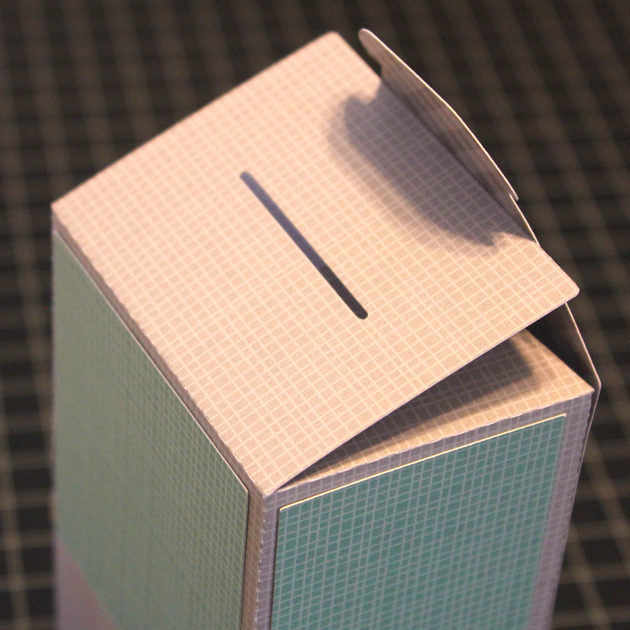
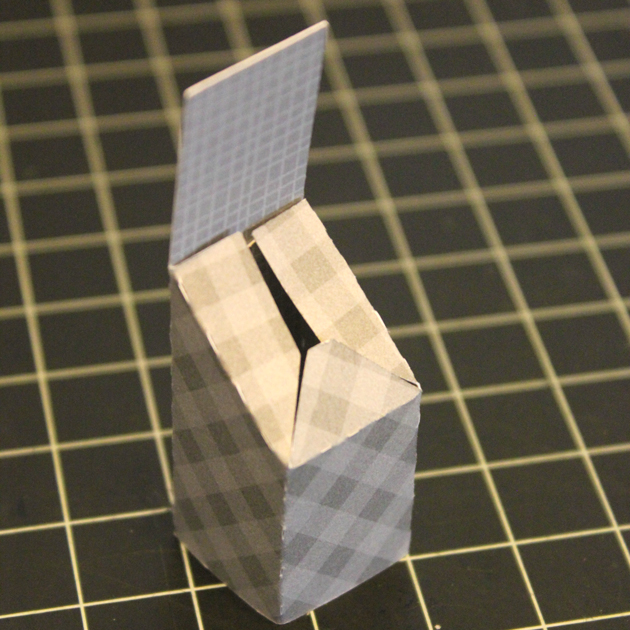
Fold the house on all of the score lines to form the box shape, here is a close-up of how the top of the box is folded. It folds similar to a milk carton.

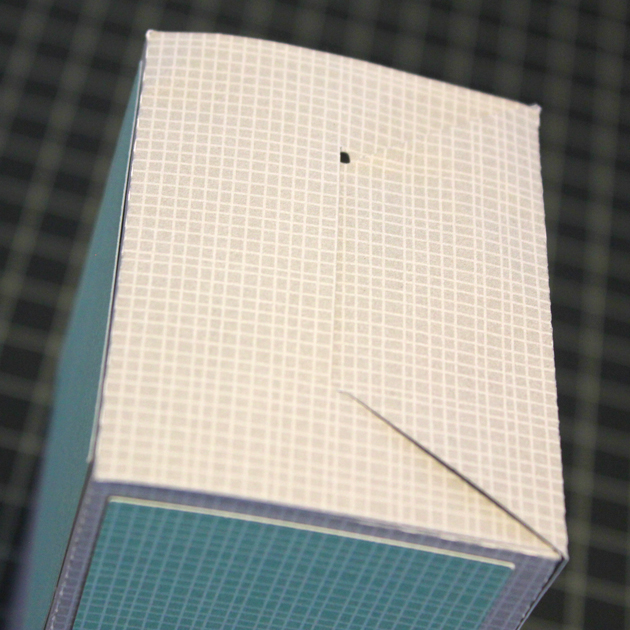
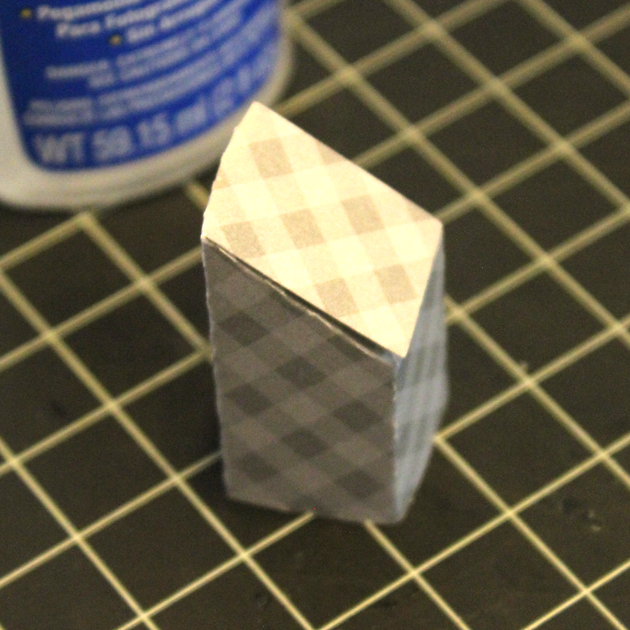
Glue the house box together, tab on the inside of the box.

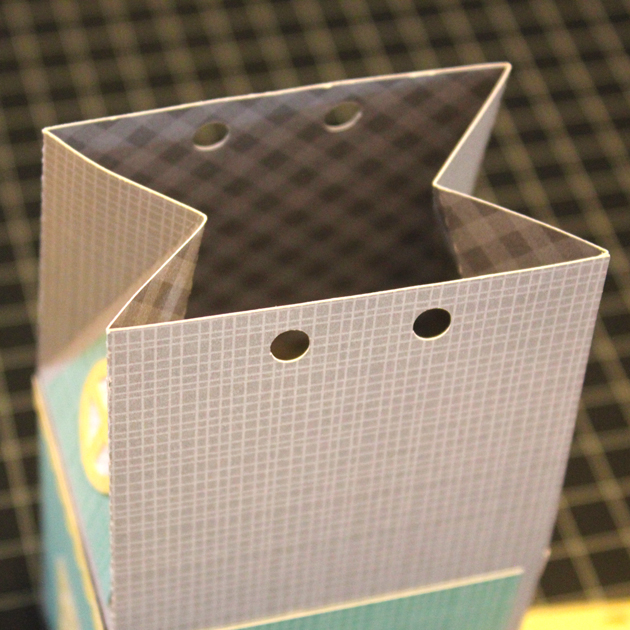
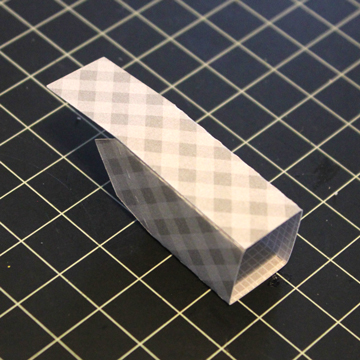
The bottom of the box is not glued, the flaps fold as shown, then the insert the tab into the slot to hold it shut. This allows you to fill the box from the bottom.
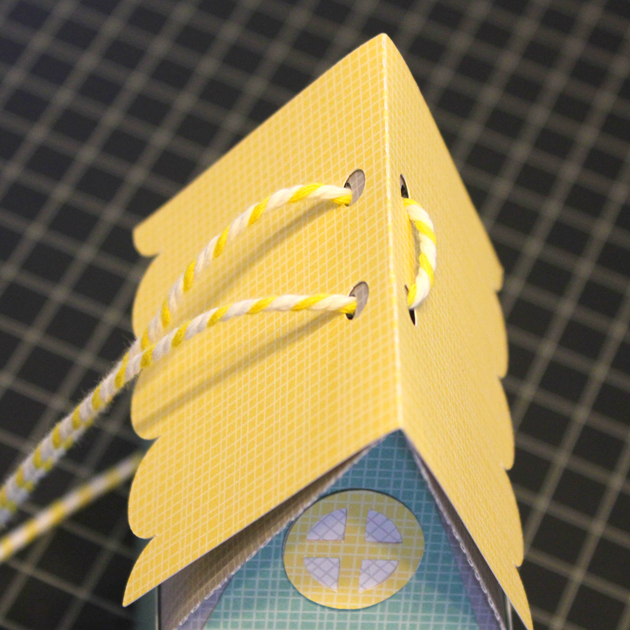
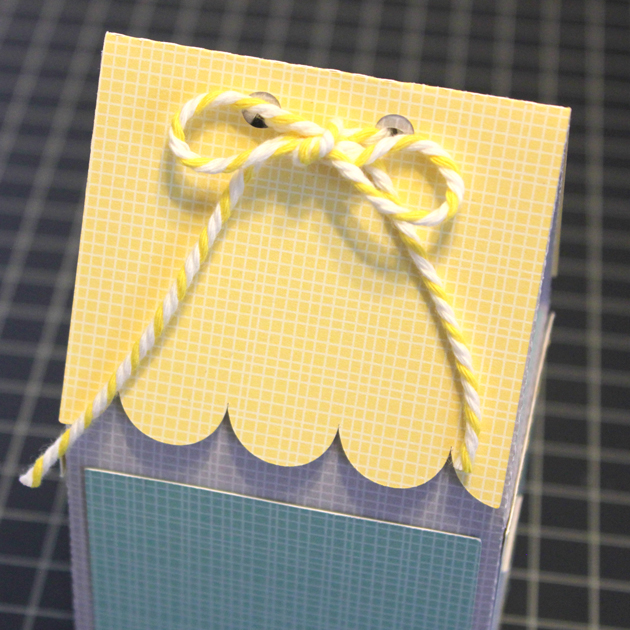
The top of the box is next. Pinch the top of the box together as shown. Fold the roof piece along the score line and place over the top of the box aligning the ribbon holes. Thread a ribbon or twine through the holes and tie a bow to hold it together.
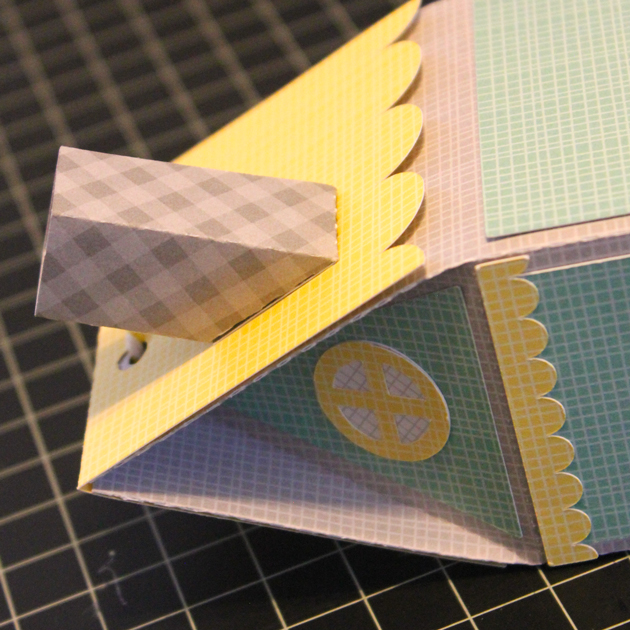
To assemble the chimney, fold the chimney piece into a box shape, and glue, tab inside. Fold in the tabs on the bottom, and glue shut. Glue the chimney to the side of the roof, slanted part against the roof.
Next assemble the trees. The file comes with circles to fill the center of the flowers, I replaced them with enamel dots.

Glue the fence onto the front of the house as shown. Add the smaller tree afterwards.

The larger tree is glued to the back of the house. Half of the trunk should stick out on the right side of the house. You may want to add a couple of glue dots to the branches where they meet the house roof.

And you’re done!

This box could be used for a number of occasions, including birthdays, Mother’s Day or just because! That’s it for me today, thanks for stopping by to peek!
