Baby Mini Album with Anita

Hi Everyone:

Anita here with a fun tutorial to make this mini baby album.  My brother’s girlfriend just became a grandmother of a beautiful baby boy and I made this album for her to fill and to share with her friends.

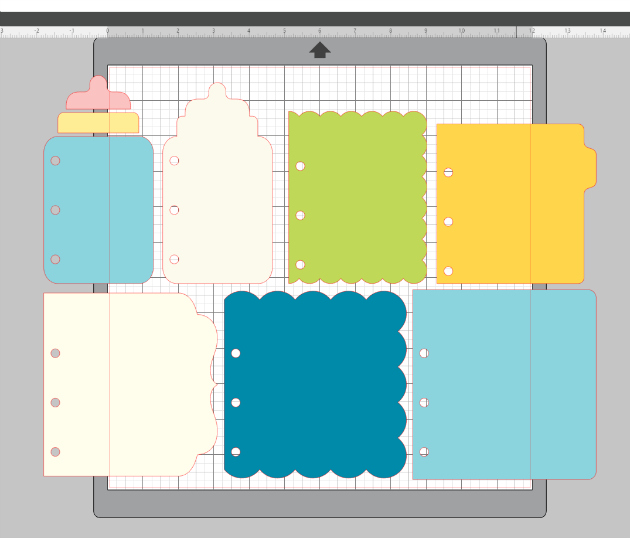
This is a photo of the cut file.  It is called Baby Layered Mini Album and you can find it in Lori’s store and in the Silhouette Store.  I mixed and matched some wonderful collections  from Echo Park to make my album including A Perfect Winter, A Perfect Autumn, A Perfect Christmas and I Love Family.  I bought 1.5 inch colored rings from Amazon for the album.

I decided that I wanted each page the same print/color so I used the replicate function on my Silhouette to mirror the left tabbed page to the right so that I could glue them together to create a heavier page.  I then cut both pages from the same paper and adhered them back to back.

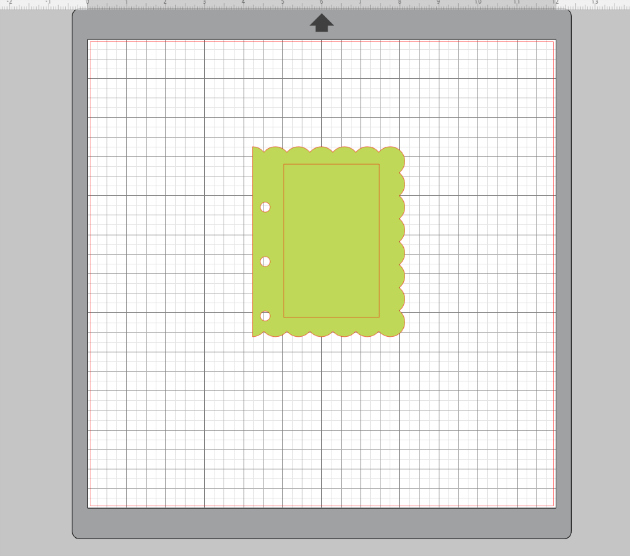
I then  used the rectangle tool on the left side bar to create a white piece to be a photo mat.    I like to put the item I am trying to match the size on my mat.

Here is the sized rectangle on my mat.

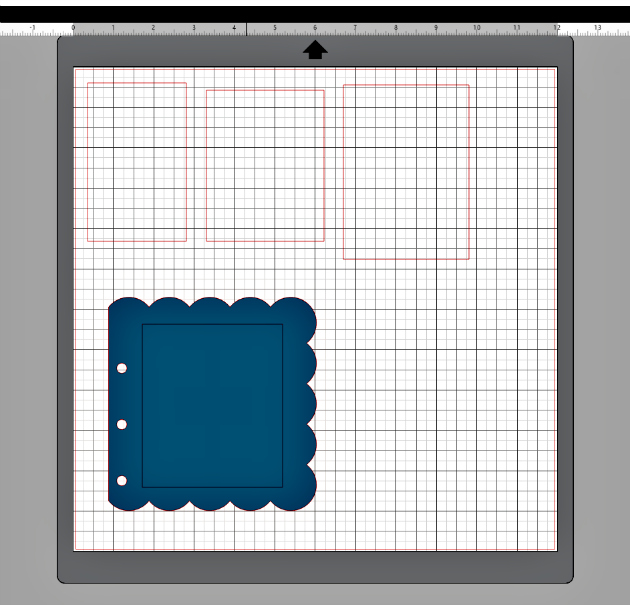
Here is a photo that shows the other rectangles that I created for the pages of my album.  I then cut two of each for each page of the album.


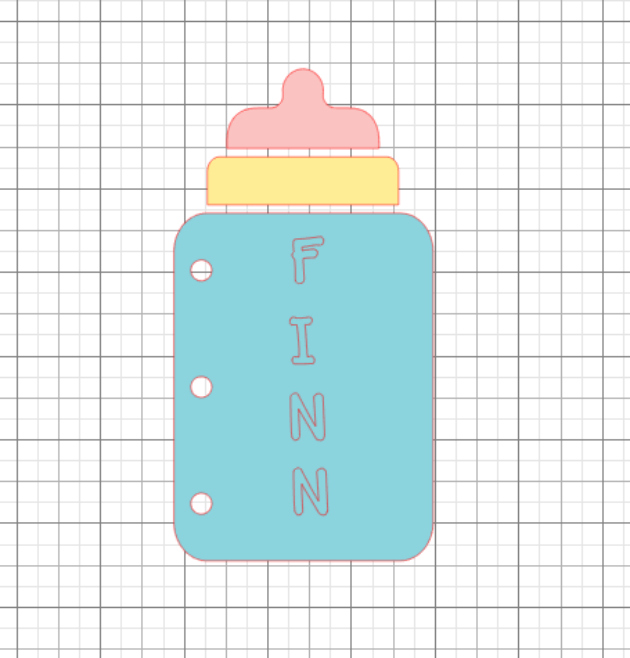
I used Lori’s font called Wide Marker at the 56.0 font size and moved them on to the bottle to see how it would look.


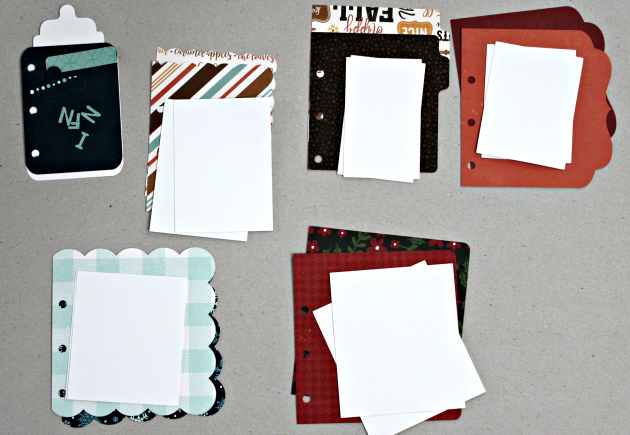
Here are the pieces for my album.

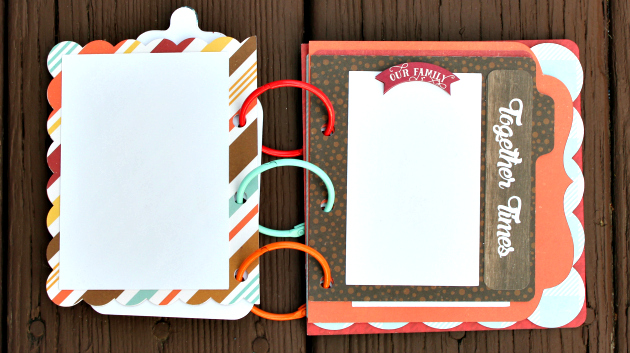
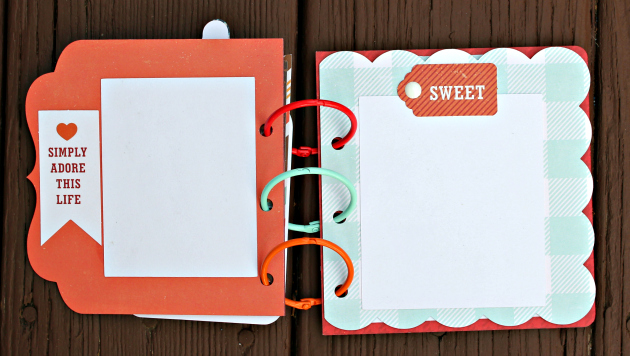
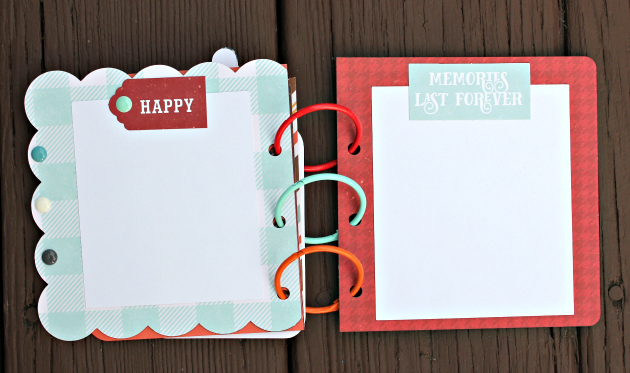
There you have it.  This worked up very quickly and it so cute.  Can’t wait to send it off to it’s recipient.

Hugs,

Anita


“Faux Stamping” with Dingbats Technique by Michelle

Cozy up with the Winter Dingbat Font and make these sweet little stocking-stuffer notebooks!  This is Michelle Zerull and I’d like to share a pocket sized project that can made in practically no time at all.  Perfect for stockings, classroom gifts and coworkers. Make one for yourself too!

For these mini notebooks, I used “A Perfect Winter” papers by Echo Park.  The colors and patterns are great for the holidays and beyond. For the “Faux Stamped” covers, I downloaded the Winter Dingbat Font which can be found in the Silhouette Design Store and also at Lori Whitlock’s SVG Shop.  The books themselves were made from the 2×2 Accordion Mini Album SVG files that can be found here in the Silhouette Design Store and also here at Lori Whitlock’s SVG Shop.  Lori has an excellent Tutorial Video where she shows how to assemble the books. Be sure to watch the seven minute video for Lori’s tips and tricks! I’ll show you here, how to use the adorable Winter Dingbat Font to make the book covers.

I’ve been a rubber stamper for over 20 years.  I love the look, but I hate stamping on my favorite patterned papers.  I’m always afraid that I’m going to get a bad impression and ruin them.  Sadly, it happens.  By using the Winter Dingbat Font, I know that I’m going to get a consistently perfect image every time without actually stamping.  The Winter Dingbat Font contain 26 images and phrases that can be cut, colored and printed in any size your heart desires!  Yes, that’s right…26 images…in ANY size!  This “Faux Stamping” technique is so easy to do with the print and cut feature on my Silhouette Cameo.  It’s my latest obsession!

After downloading your font and SVG design, open up your design area and type in the alphabet using your dingbat font.  Look at all of those images! The hard part is choosing which ones to use!  For this project, I’m going to use three of the phrases. I clicked on the designs, clicked on the fill tool and chose the color black.  I ungrouped all 26 images and deleted the images that I was not going to use.

Next, I opened the 2×2 Accordion Mini Album files. I’m going to cut them all eventually, but right now, I’m working with the covers. I ungrouped the pieces and set them off to the side for later.

I copied the teal front cover piece and made three covers. (I made a lot of little books!)  Move your phrases to the front of the covers and remove the cut lines by selecting “no cut.” Important! Remember to remove the teal color from your pieces and change it to transparent. At this time, I also changed my page setup.  I don’t have a 12×12 printer, so I am going to cut my 12×12 patterned paper down to 8.5×11 so it will feed through my printer.  In order for the Silhouette to read the registration marks, you will need to choose a light colored patterned paper.

Add your registration marks to your letter sized page setup.  Place your light colored 8.5×11 patterned paper in your printer and hit “print.” Voila! Perfectly printed on patterned paper!  Now you can put this sheet through the Silhouette Cameo for perfectly cut book covers that already have the phrases printed, or “Faux Stamped”on them.

Cut and assemble the other pieces like Lori shows in the tutorial video. Instead of using designer paper for the pages, I chose to use plain white pages so I could make them into mini notebooks.

I hope that you enjoyed my “Faux Stamping” with Dingbats technique. The dingbat fonts are so fun to play with!

Burp Cloths Tutorial

Hello Everyone:

Anita here with a tutorial showing how to make these adorable burp cloths.  Someone dear to me is going to be a grandmother in the next four months,  and they just found out that the baby is a boy,  so I was inspired to make these burp cloths.  Did you know that in addition to creating for Echo Park and her own cut files, Lori also designs fabric?  I used a collection called Fine and Dandy and I also used a print from her Oh Boy collection for my elephant.


The cut files that I used are called:

Baby Boy Onesie Card                                    In Lori’s store                                      in the Silhouette store
Baby Elephant                                                 In Lori’s store                                       in the Silhouette store
A2 Baby Bottle Shaped Card                        In Lori’s store                                       in the Silhouette store
Lion                                                                                                                                    in the Silhouette store

The are the materials that you will need to make this project.  I used Heat N Bond Lite and of course Lori’s awesome fabric.  I also used my Silhouette Cameo and the fabric blade to cut the fabric.  I used the Cricut Strong Grip mat which comes in their multi pack and a brayer.

I used my cutting mat to organize my cut shapes.  I decided which fabrics I wanted to use for which parts and then put them together on a mat to determine the size of fabric,  and the size of the Heat N Bond I needed to complete my project.  I grouped the shapes together and then figured out the dimensions to cut my interfacing.  I cut that first and then labeled it, including any directional hints I needed to remember.

Here are two that are ready to go.  The onesie haf a directional arrow and the elephant didn’t.  I  ironed on the interfacing and cut around the fabric leaving a 1/4″ border on all sides.  Before you cut, you should peel off the paper backing from the interfacing and place it with the fabric face up on your mat.  Use your brayer on a flat surface to make sure that the fabric is well adhered.  I set my Silhouette to thin cotton fabric and a blade depth of 3.  The more fabric you cut at one time, the greater the likelihood that you might have to increase the blade depth.

Here is what it looks like after it was cut.

Once everything was all cut I pressed the burp cloths and then ironed on the pieces that I had cut out for each design (no steam setting).  Next I headed to my sewing machine to use a blanket stitch to reinforce the designs, to make sure that it could stand up to the many washes that I am expecting them to undergo.

There you have it.  There are so many cute burp cloths out there and you can also use the thick Gerber cloth diapers to delight new parents.  Lori has so many wonderful baby cut files to choose from.  Be sure to check out her SVG store for these and many more awesome files.

Hugs,

Anita


Valentine Gift Bag and Cookies with Anita

Hi Everyone!  Anita here with an easy and fun Valentine project that I created for my husband.  My daughter bought some items on Etsy and they came in this awesome cotton bag which I just needed to repurpose!

In addition to some twine, I used Printable Fabric from Cricut which is adhesive back and very easy to use.

I used two different files for this project.  The Valentine’s above are from a file called 3 Valentine’s Cards and you can find them here in the Silhouette Store.  I also used 2 Doily Hearts which you can find here in Lori’s SVG Store and here in the Silhouette Store.  I love using the print and cut feature because you are able to print exactly what you see and then cut it out perfectly.  Don’t forget to add  your registration marks to your mat before you print so your machine will know where the cut lines are.  When I cut the printable cotton canvas using my Silhouette,  I chose Printable Cotton Canvas Silhouette Brand from the media type, and used a cut depth of 5.  It worked perfectly.  The packaging gives directions for using a Cricut to cut the canvas and suggests Fabric, Printable (Cricut).

Make sure to position your printed cotton canvas fabric in the top left hand corner of your mat as in the photo, so that your machine can easily read the registration marks.

Here is what mine looked like after they were cut out.  I would suggest printing one on paper as a sample before putting  your canvas into the printer.

After I cut out the Doily Hearts,  I ran them through my Xyron to put strong adhesive on the back.  I wanted to make sure that they would adhere to the bag and stay in place once it was filled.

I added some twine to the string that was already in the bag.  I threaded the three colored pieces of twine through the same hole to match the embellishments on my bag.

Before I stuck everything down well I pulled the strings tight on the bag to see how the hearts and Valentine card would lay.

Lastly here is a photo of the completed bag with the sugar cookies that I made for my Valentine and I know that he will love them.  Hope you are inspired to start working on some Valentine’s for the loved one’s in  your life and that you will check out all of Lori’s wonderful cut files for what is one of my favorite holidays.

Hugs,

Anita

Car Monogram Tutorial with Anita

Hi!  Anita here with a tutorial to make your own car window monogram. This is for my daughter’s car and she loves anything that is monogrammed.  I previously purchased one and it came off in the car wash.    I used Lori’s Monogram Set A-Z which is a lovely file set with so many different options for your personalization needs.  You can find this file here in Lori’s store and they are sold as individual letters in the Silhouette store.  Here is the M, here is the C and the L.

There are a few supplies that you will need for your project.  You will need some kind of vinyl and transfer tape.   I chose some glitter vinyl from Cricut.  You will also need a brayer, a craft stick or scraper and a weeding tool, or pick.

Open all three files on your mat, they will likely overlap but you can move them around.

Ungroup your monogram files one set at a time.  Move the three initial groups that you want to use onto your mat.

Ungroup the desired monogram files from the remaining files and leave them on your mat.  I am using  CLM.

I  decided that I wanted to use a round monogram so I kept that file on my mat.  The other files were off to the left and messy so you can highlight them all and delete them.

I made the circle and monogram large so that I could get the placement that I wanted within the circle.  I  measured the space on her rear window which would allow for the monogram to be positioned so that the rear wiper would not touch it when in use.

I resized it to fit her window.

When you put the vinyl on your mat,  you want to use a brayer or a pizza roller to make sure that the vinyl is stuck to the mat well and will not move.

Next, select the vinyl setting for cutting on your machine and adjust your blade.  This is very important because you want it to make what is called a kiss cut which is essentially to cut through the vinyl but not the backing.  This will make more sense as we move forward.

Once your design is cut, you need to weed out the pieces of vinyl that you do not want to have in your final design.

After weeding,  cut the backing with your design on it so that you have at least 1/2″ clearance on all sides.  Cut a piece of the transfer tape to the same size or slightly bigger dimension than your design piece.  Remove the liner from the transfer tape piece and gently place it over your cut image.   Use a scraper to burnish the transfer tape onto the vinyl.

Now you might be wondering why my sample above is pink and my actual monogram that I put on the window is silver. Well, things don’t always work out and you might have to start again.  I worked hard at trying to burnish the pink monogram and just believe that the vinyl was old and the design was a bit intricate so it just did not work.  I moved on to plan B and it worked like a charm.

Peel the backing paper from the design,  leaving the transfer tape, with your design, sticky and exposed.  Be sure to clean the window first and then put the transfer tape with the vinyl images onto the window.  Use your scraper to make sure that it is burnished to the window.

Pull back a tiny piece of the transfer tape to make sure that the letters are sticking.  When you know they set, pull the whole piece of tape off at a 45 degree angle, slowly and carefully.  I’m so happy with this design!  I’m sure my daughter will love it!

Happy monograming.  You can monogram so many things, from clothing, to home goods, to a car window.  Lori has so many adorable files that would look so awesome in vinyl on a surface of your choice.

Hugs,

Anita