Mickey Mouse 3D First Birthday Blocks Tutorial

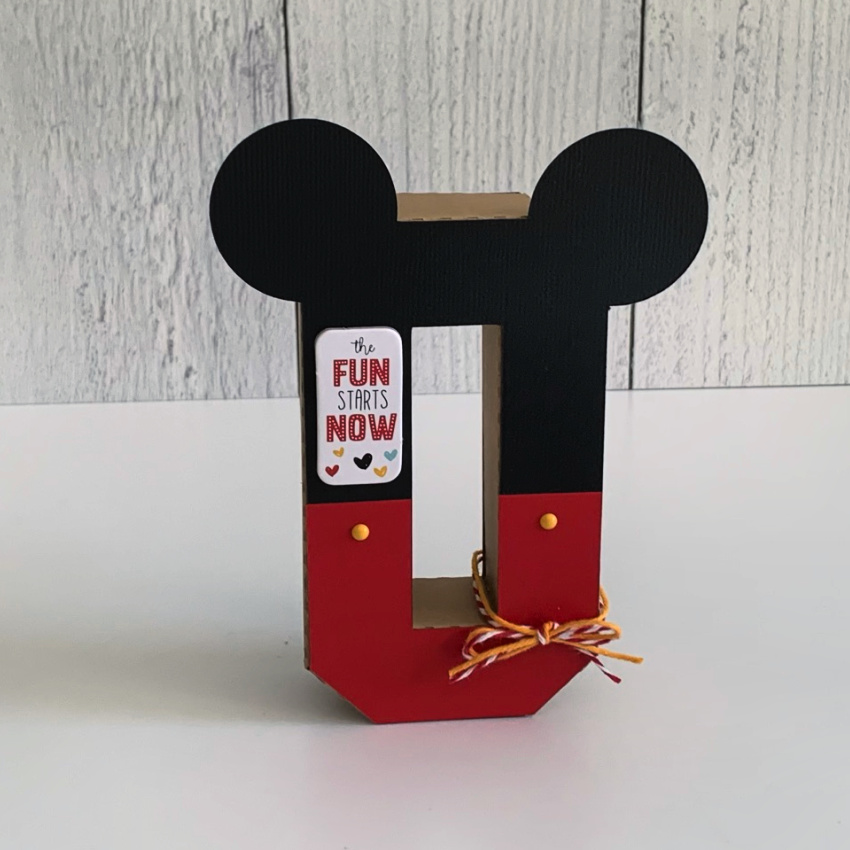
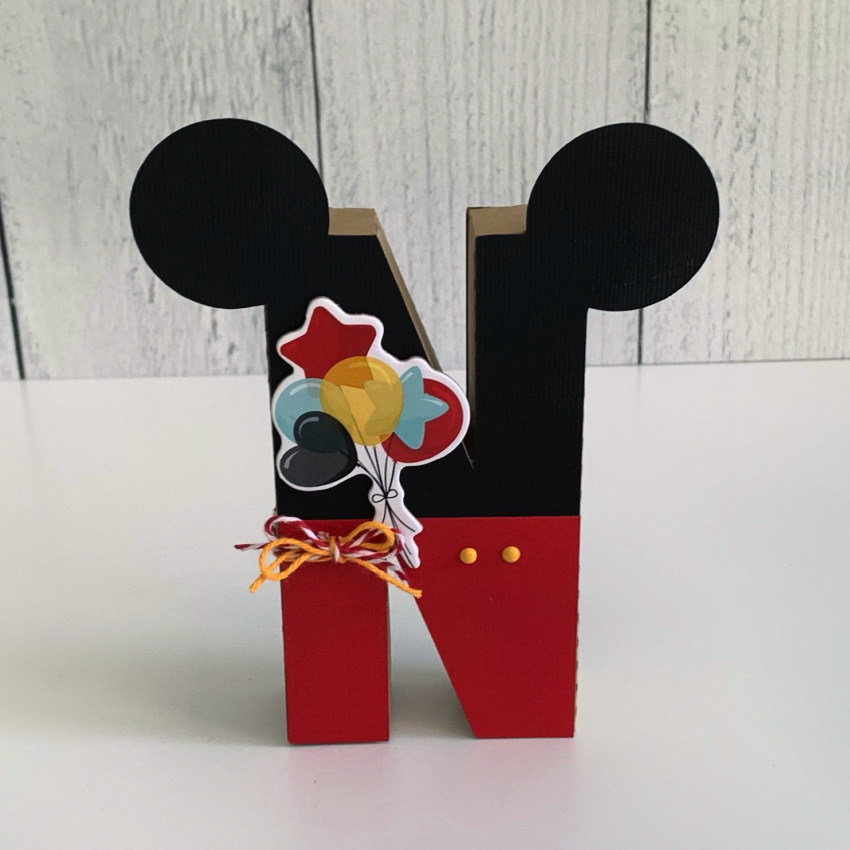
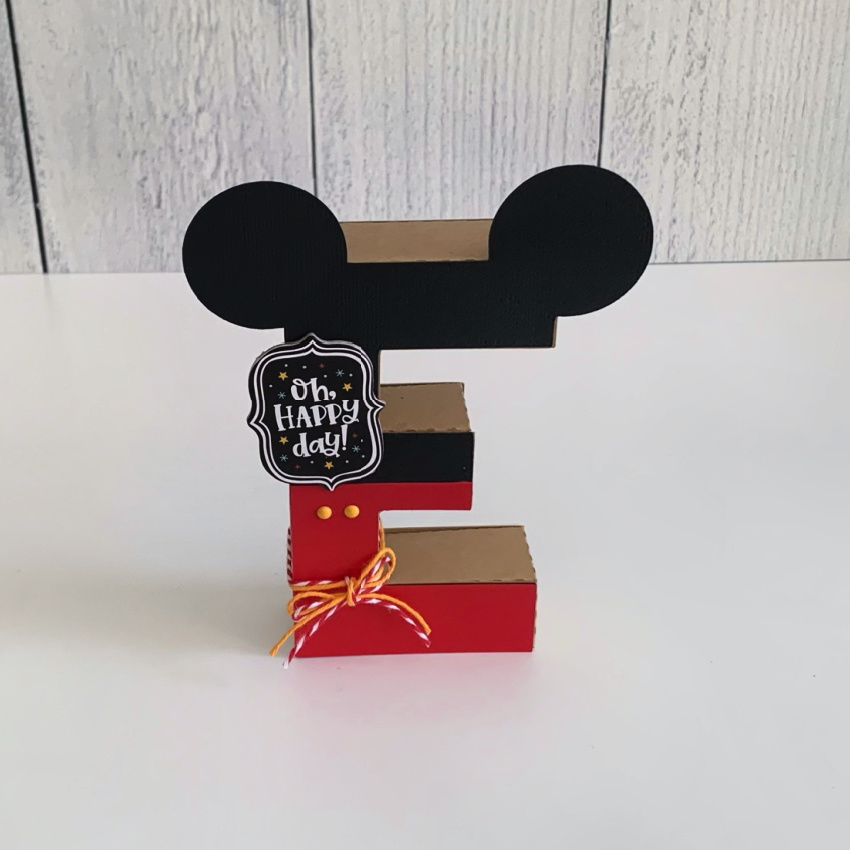
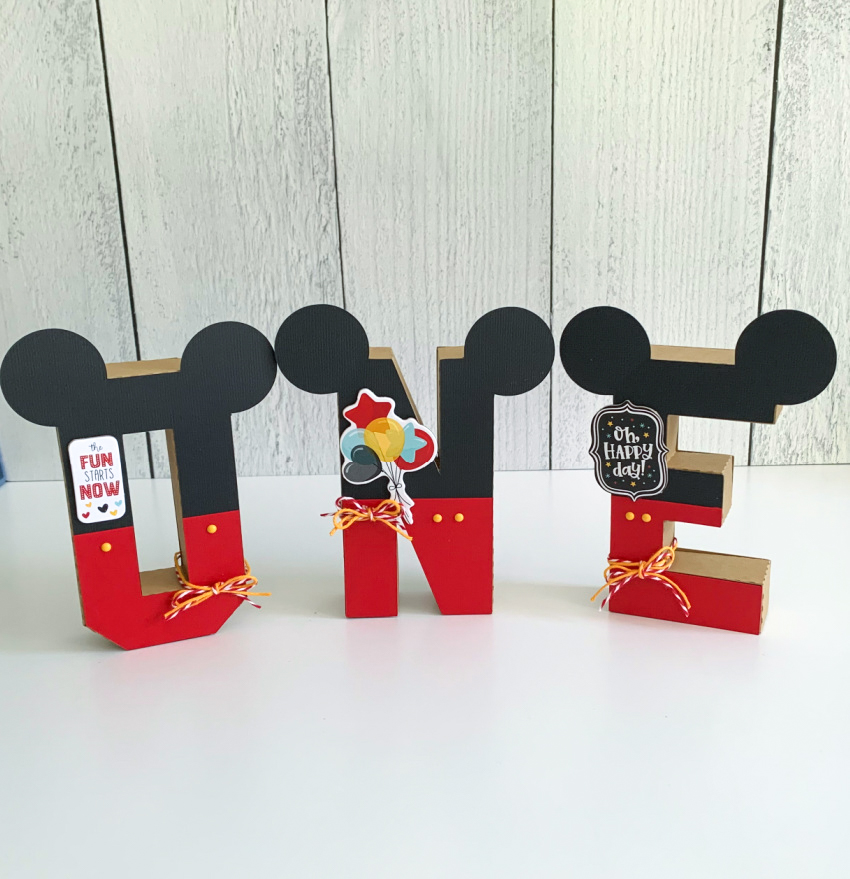
Anita here with a tutorial to show you how I made Mickey Mouse letters for my grandson’s first birthday party.  I used Lori’s awesome files for the 3D Letters, including the 3D Letter Alphabet O (SVG, Silhouette), the 3D Letter Alphabet N (SVG, Silhouette) and the 3D Letter Alphabet E (SVG, Silhouette).   Lori also has a wonderful tutorial on her YouTube page which you can watch here to assist with putting the letters together.

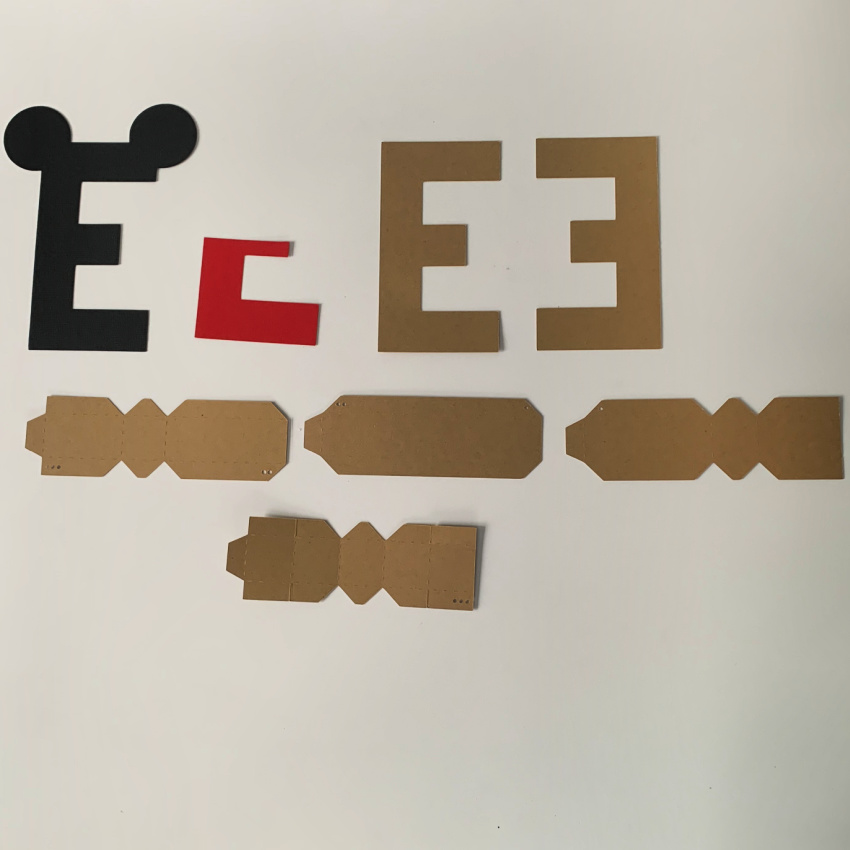
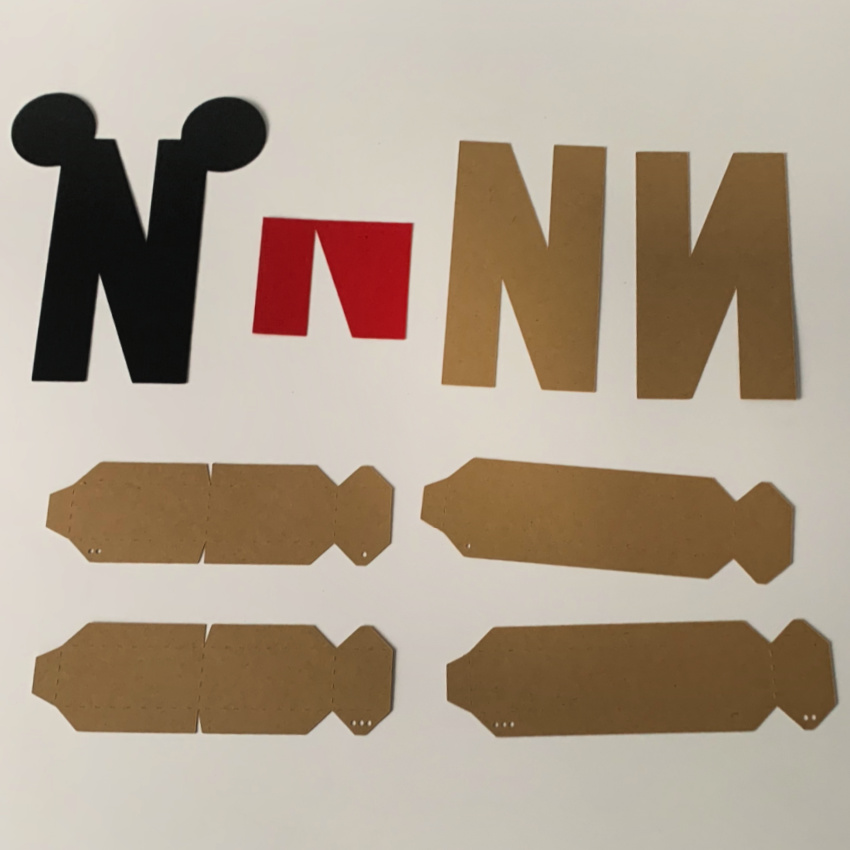
Here are all the pieces that I cut out to make my blocks.  I used kraft cardstock papers for assembling my letters.  I will describe what I did to create the Mickey ears at the top of the letter and cut an extra letter in the red, and cut it to fit near the bottom third of the letters.
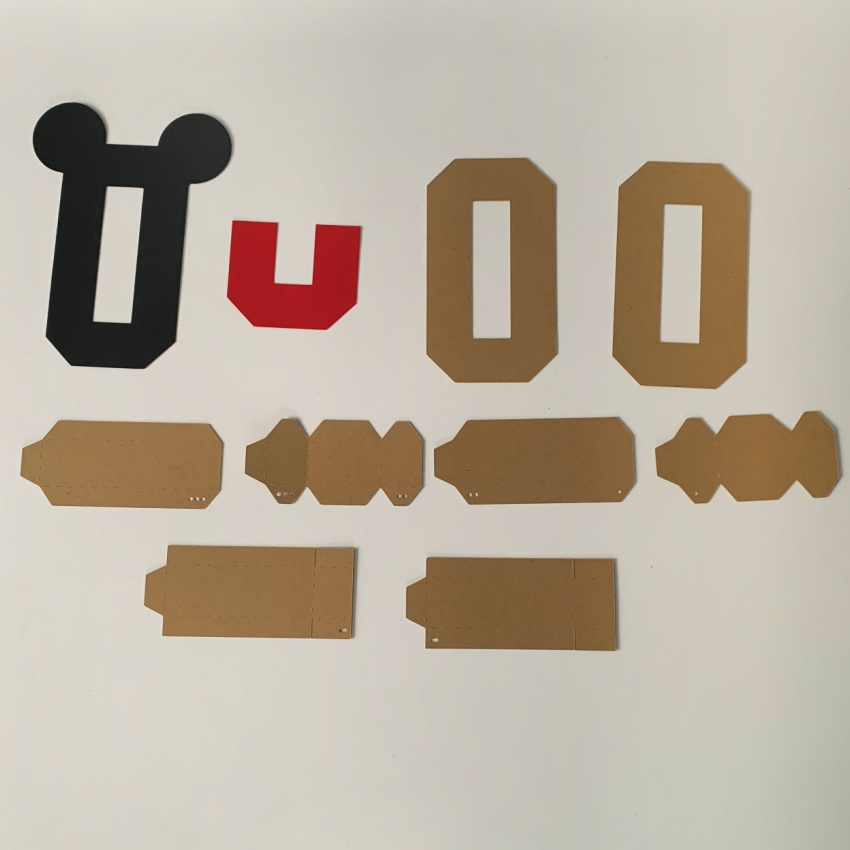
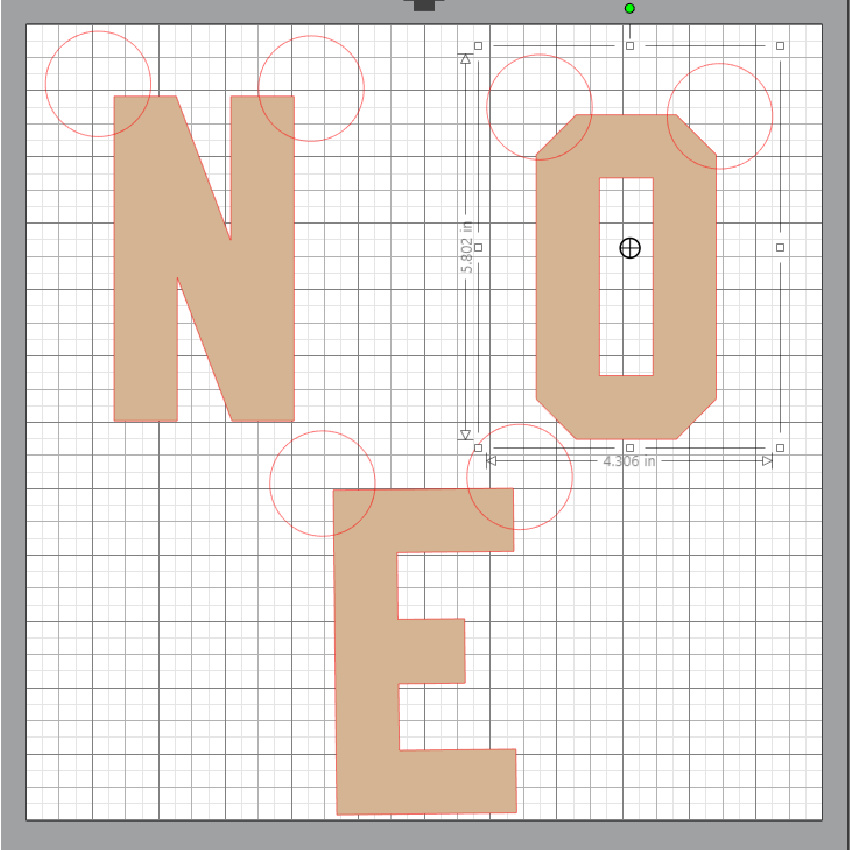
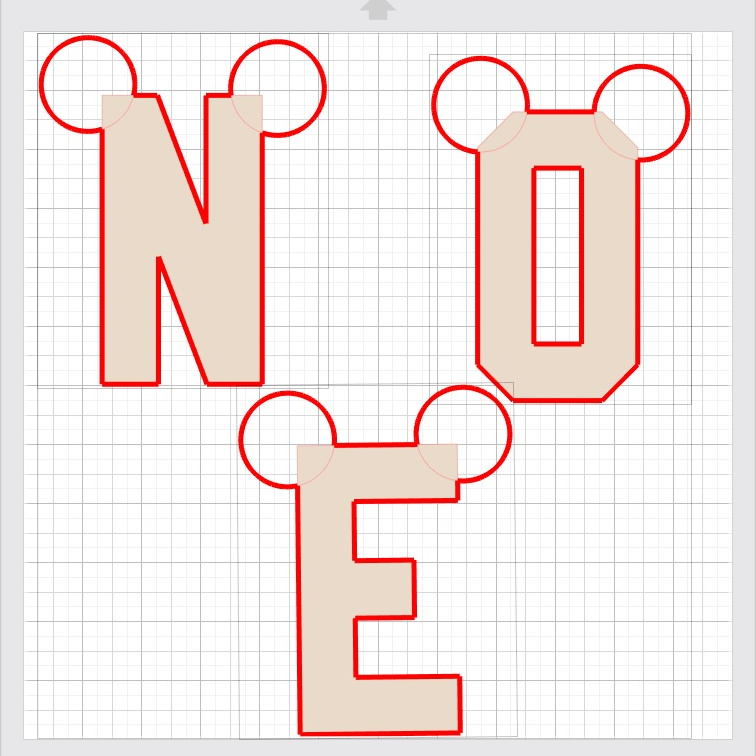
To create the ears, I used the shape tool in my Silhouette Studio software and created a small circles that were the size that I wanted for the ears.  I copy and pasted a copy of the larger front piece from the file as I didn’t want the layered look as shown in the original cut file.  Once I had all three of the letters on the mat I added two circles to each letter.  I then grouped each letter with the ears and arranged them on the mat so that they all fit.  I then sent the file to cut and selected each letter one at a time and then selected cut edge.  I sent it to my Silhouette and it came out perfect.
Thanks for looking and have a great day.

Hugs,

Anita

It’s Beginning To Look A Lot Like Christmas


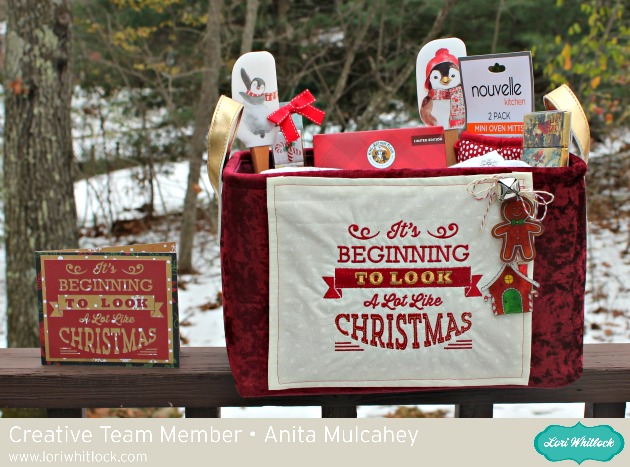
Anita here with a fun tutorial to make this gift set.  I love to quilt and embroider as much as I love to paper craft and I was thrilled to recently discover that Lori Whitlock has embroidery files that she has designed, many of which mirror her paper craft SVG files.  You can find her gorgeous embroidery files at Embroidery Online.  I will give you all the links in the post .
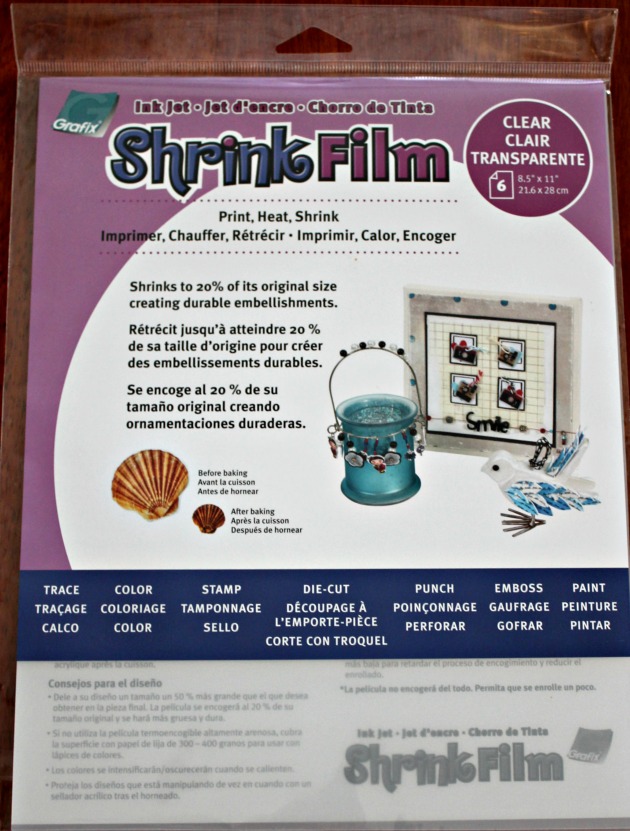
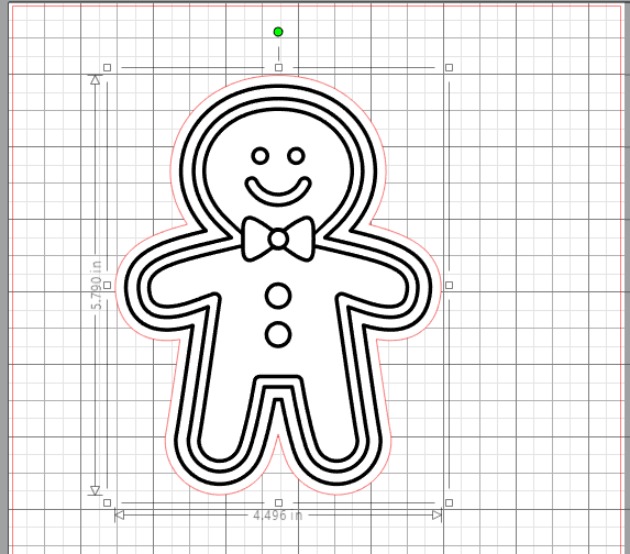
I bought shrink film from Amazon and used Lori’s Print & Cut Stamps Christmas Cookies which you can find here in her store .  I resized the image of the gingerbread man so that it would come out the size that I wanted.  I then printed the image onto the shrink film through my laser printer.  Just let it dry for a few minutes before coloring it.
I then used my Copic markers to color the shrink film.  I knew that the colors would deepen once I shrunk the image so chose my colors with that in mind.  I used R37, E11, G14, G07, E99 for the gingerbread man and Y08, E99, R37, G07 for the Gingerbread house.  Be sure to punch a hole in your shrink film before you put it in the oven and remember that the hole shrinks also.  The directions say to bake the film on parchment at 300 degrees for 2-3 minutes but I found that my heat gun worked much better as I could control the plastic as it shrank.  Below is the before picture.
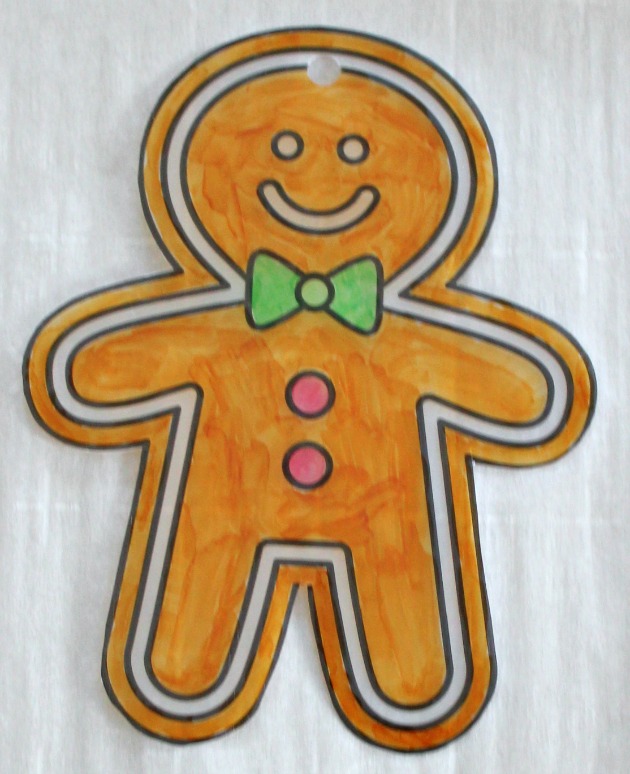
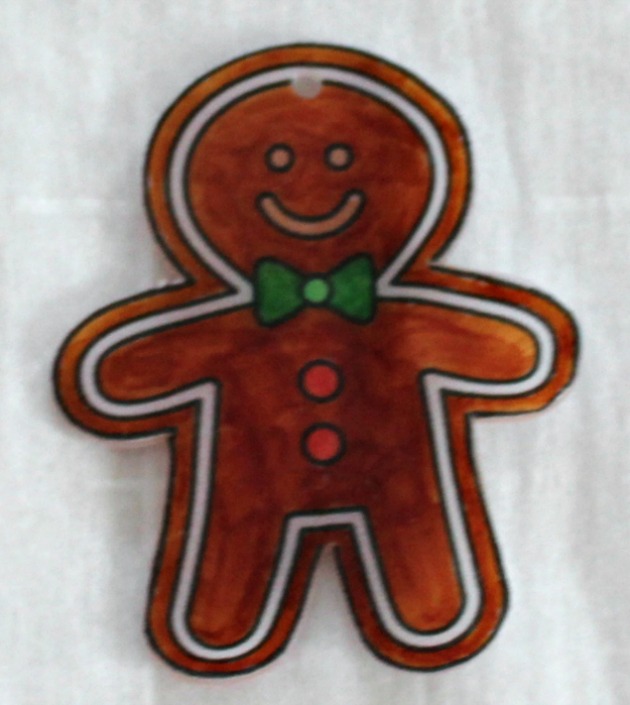
Here is the photo of the shrink plastic after it was  done.
I went to Embroidery online and bought the bundle which had all the Christmas embroidery files that I wanted to use for this project.  It is called Christmas Time by Lori Whitlock.  You can buy the collection or the individual embroidery files.  I embroidered the phrase It’s Beginning to Look a Lot Like Christmas on a piece cotton.  I then finished the edges and glued it to the front of my tote.  I also embroidered my daughter-in-law’s name on the top of the apron as this set is for her.  She is an amazing baker.
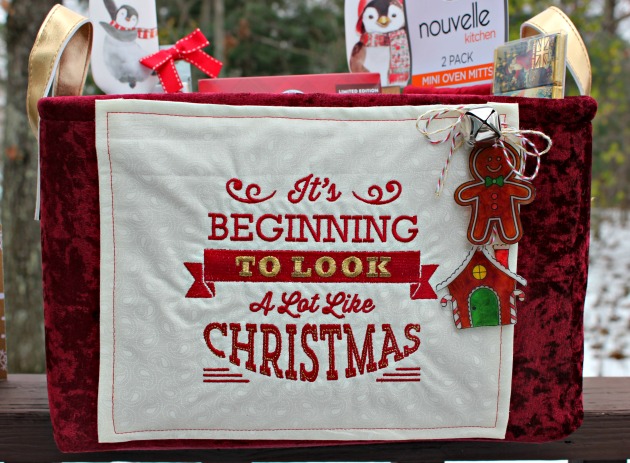
I then strung my two adorable gingerbread embellishments on some yummy twine, added a bell and glued that down as well.
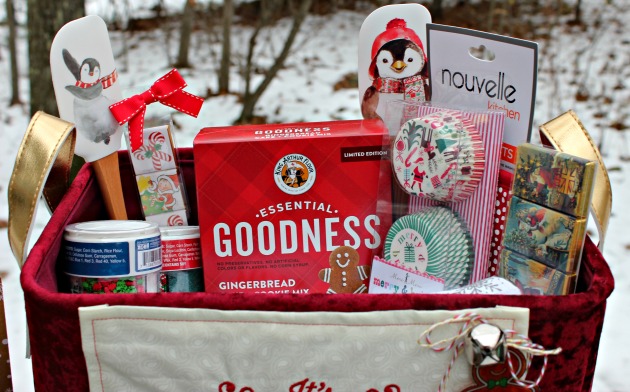
I really love to match things and  have been so excited to make this project.  Here is a close up of all the goodies that I put inside the basket.

The last thing that I did was made a card that used the SVG cut file which matched the embroidery.  I used Lori’s new Christmas collection called Celebrate Christmas.  The cut file can be found here in Lori’s store and here in the Silhouette store and is called Look a lot Like Christmas Phrase.
That’s it for me.  Hope that you have a wonderful holiday season.
Hugs,

Anita


Reindeer Petal Box Tutorial with Brigit

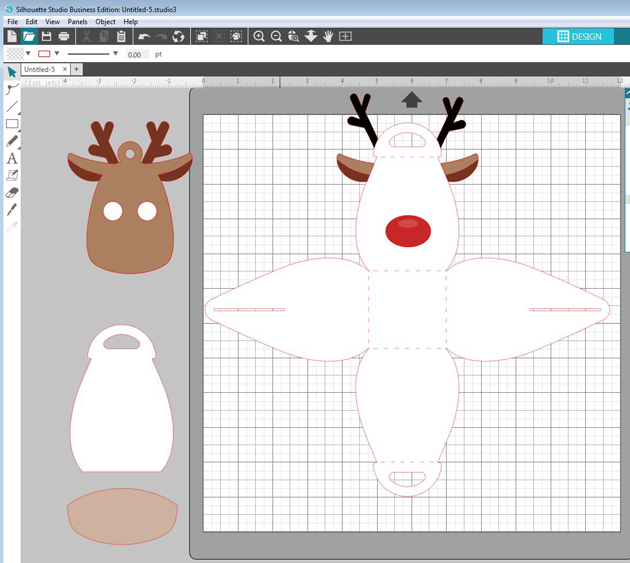
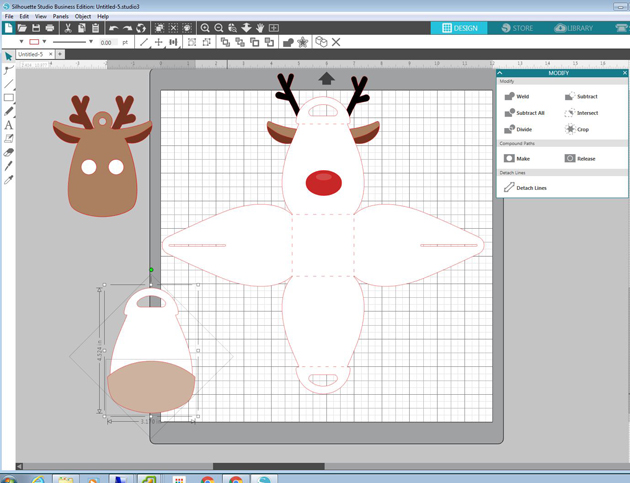
Hello everyone, I have a Silhouette Studio tutorial to share with you today on how I created this reindeer box. To make this I combined the Bunny Petal Box and Christmas Tag Reindeer svg files from Lori’s shop. You can also get both of these files here and here from the Silhouette Design Store.

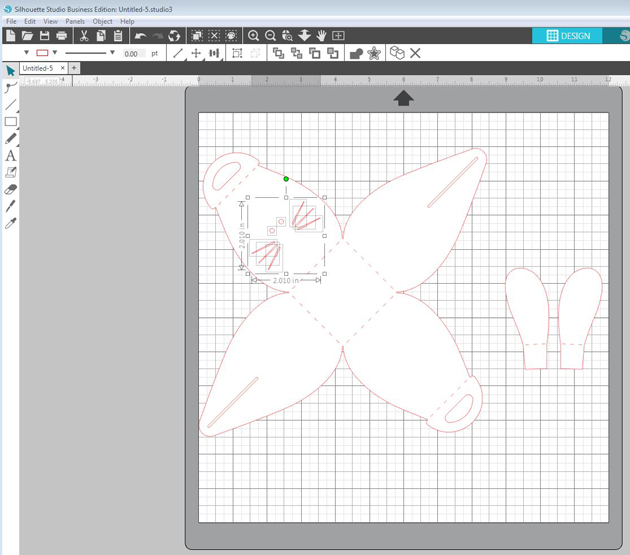
I started with the box, ungrouped and did a release compound path to get rid of the bunny face.

I grouped the box together again and rotated 45 degrees, added the tag and resized it to fit one of the box flaps.

I ungrouped the tag and separated the black layer and with the knife tool I cut off the antlers. I also cut off the ears from the brown and dark brown layer. (I always duplicate my piece first before I do any slicing just in case I mess up).

I duplicated the box and cut off one of the flaps with the handle and enlarged the deer’s muzzle from the tag placing it over the box flap and selected both and cropped.

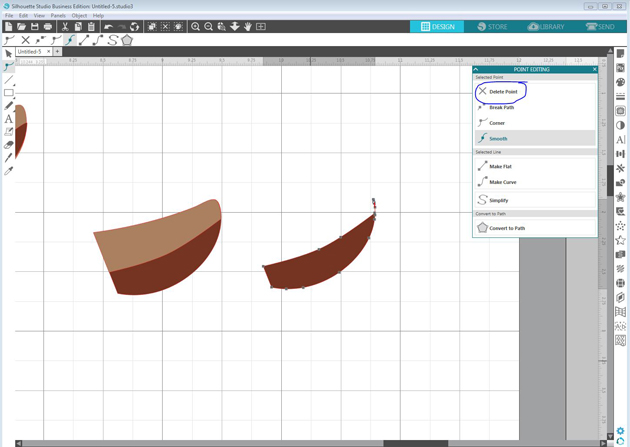
For the ear, I selected both pieces and subtracted under modify menu, I wanted the bottom part as a layer instead of the top so I could weld the top piece to the box, you will see that below.

If you have little points left you can double-click on the piece and delete points.

Last I rotated the ears and welded them to the box as shown below. Now when I put the box together I just have to fold the ears out. I did make new solid score lines, I have the Silhouette Studio Business Edition and save my files as an svg so I can import them into Cricut Design Space and cut them out on my Cricut Maker.

It seems like a lot of steps but it really went together very quickly, makes a nice Christmas treat box!

Thanks for stopping by and have a wonderful day!

Blog – Pinterest – Instagram

Pineapple Box Tutorial with Brigit

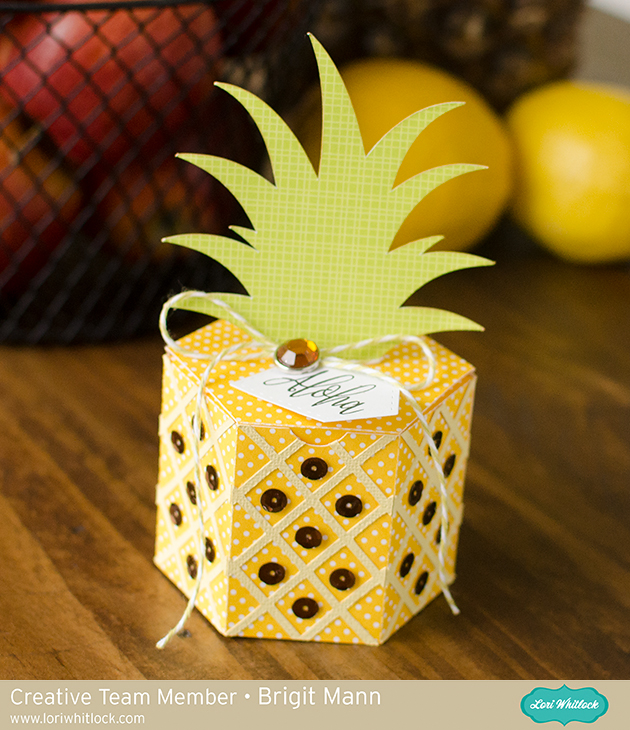
Hello everyone, it’s Brigit here today sharing a quick tutorial on making this adorable pineapple box. I just added the criss-cross panels from the shaped card pineapple file. You can get both of these files from the Silhouette Design Store, here and19 here.

I used Silhouette Studio to edit my project, I have the business edition and use the files from Lori’s shop so I’m able to save my project as an svg and cut it out with my Cricut Maker.

I imported the pineapple shaped card and only kept the criss-cross piece.

I imported the pineapple box next.

I zoomed in really close and sized the criss-cross to fit inside one of the sides.

I double clicked on the criss-cross piece which brought up point editing and I selected the point in the corner and moved it so it would reach the score lines, I did that on all four corners.

I duplicated until I had 6 pieces, saved, imported into Cricut Design Space and cut out.

Added some twine, decorative brad from Echo Park’s For the Record 2 collection and some brown sequins. The sentiment is from My Creative Time and paper is from Doodlebug Design.

Hope you enjoyed this project, thanks for stopping by and have a wonderful day!!

Mini Wreath Place Setting Tutorial with Michelle

With family so far away, our Easter Dinner is a quiet gathering where we use our everyday plates. This year, I (Michelle) decided to make dinner fun with some Mini Paper Wreaths.

Lori Whitlock Easter Rabbit Place Setting Svg

Making the mini wreaths was fairly easy with my Silhouette Cameo, but I have a couple hints and tricks to make it really easy! I started with Lori’s Circle Monogram Frame (Silhouette Design Store or Lori Whitlock SVG Shop) to make the wreath. This is possibly my favorite SVG file. The wreath is actually 6 seperate pieces. Since I am making a small wreath, I’m going to release the compound path and make all of the leaves filled in, which is easier for me to cut.

Release Compound Path

I’m also going to cut a 5-inch circle to fit my plate. (Hint: When making a circle hold down the shift key and your circle will be perfect each time.) I recommend cutting three or four monogram wreaths to make your mini wreath nice and full.

Next, I cut some BRAND NEW Bunnies. This Easter Bunny Silhouette is absolutely darling! I love his little tail cut-out. He’s new in the shops and you can find him in the Lori Whitlock SVG Shop and the Silhouette Design Store. I cut two 4-inches bunnies and glued them back to back, but one would’ve been enough. I wanted to add a cute sentiment, and I found exactly what I was looking for in the Bunny Dingbats Font. You can find this in the Silhouette Design Store and the Lori Whitlock SVG Shop. You will find additional bunny silhouettes in the font. They would be cute too. With the bunnies so small, I had trouble getting the sentiment cut cleanly with paper, so I used vinyl instead. It came out perfect the first time!

Lori Whitlock custom vinyl SVG sticker on paper

Yes! Paper crafters can use vinyl too! I love how it came out.

I topped off my wreath with a cute paper bow found in the Silhouette Design Store or at the Lori Whitlock SVG Shop and my project was finished. This would be a great project to try new techniques such as releasing the compound path and using vinyl. if you would like even more information, I would encourage you to check out Lori’s class on Craftsy. With the class, Lori explains numerous techniques for getting the most out of your Silhouette Cameo.

I hope that you’ve enjoyed my Mini Wreath Tutorial. Happy Easter!

Michelle