A Shaker Tutorial

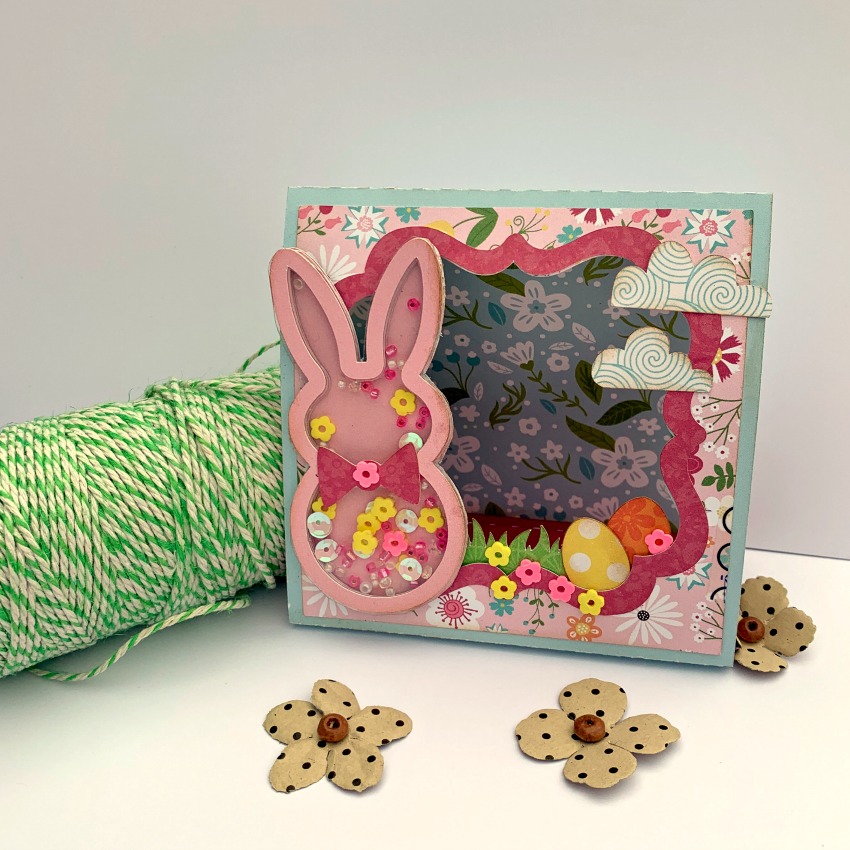
It’s no secret that I love to make shakers for my projects.  They are a go to in my Lori Whitlock library.  You can change up the sizes and customize your shaker for any project.  I thought I would share a quick tutorial with you.  I wanted to use Lori’s new Pocket Page Mini Album (SVG, Silhouette) using her Echo Park A Magical Place collection,  I just need the perfect embellishment for the cover, so I chose Lori’s Shaker Camera (SVG Silhouette)

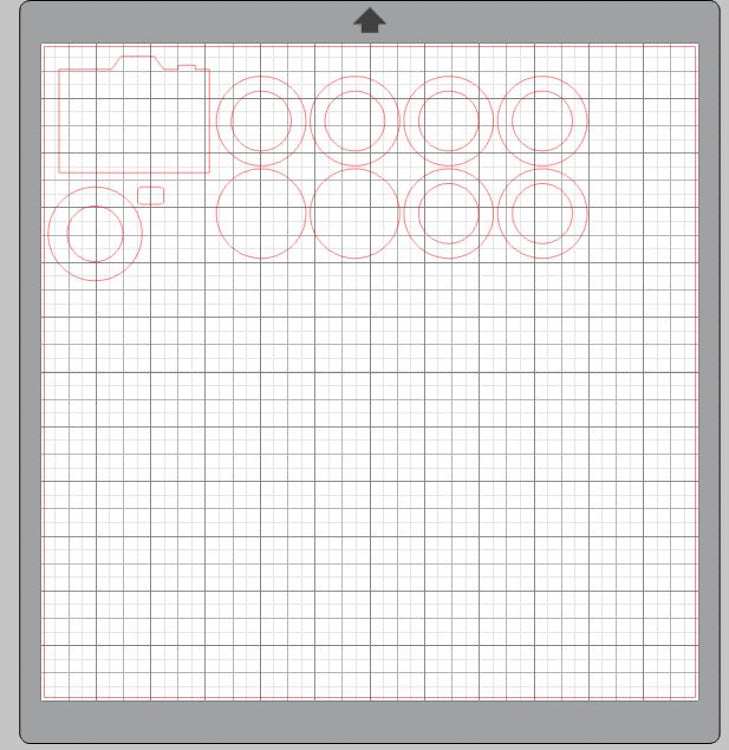
Here you can see how the file comes up on your screen.  I did not change this size at all, as I knew if would be a perfect fit for the cover of my mini!  You will just need to choose your colors, I did a black camera with a teal lens and button.  You will also need a piece of this acetate for your lens window.  I’m always amazed at how easily my machine cuts acetate.

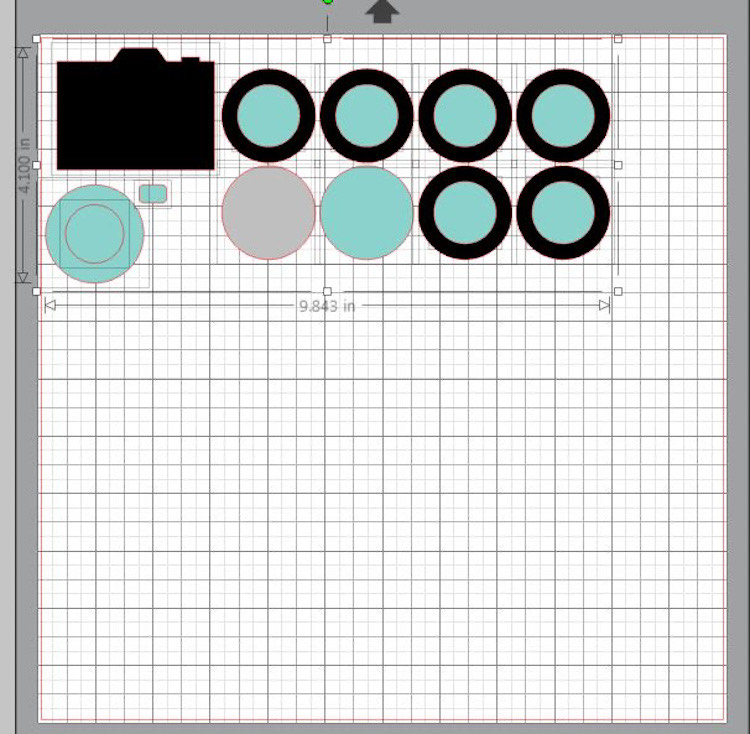
You can see the colors I chose.  Keep in mind that the inside of the black circles, where I highlighted them blue, will not be used in your shaker, nor will the inside teal circle,  The two complete circle’s are the back of your shaker leans, and the grey piece represents your acetate circle.

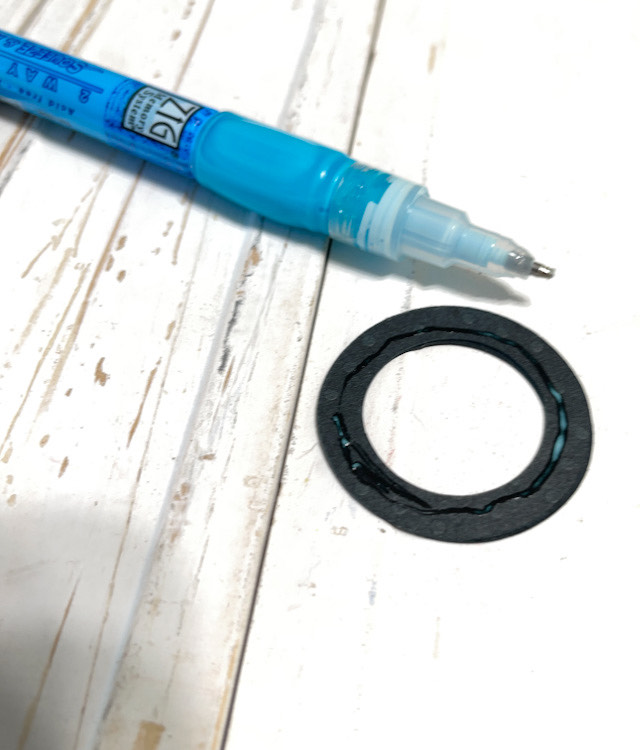
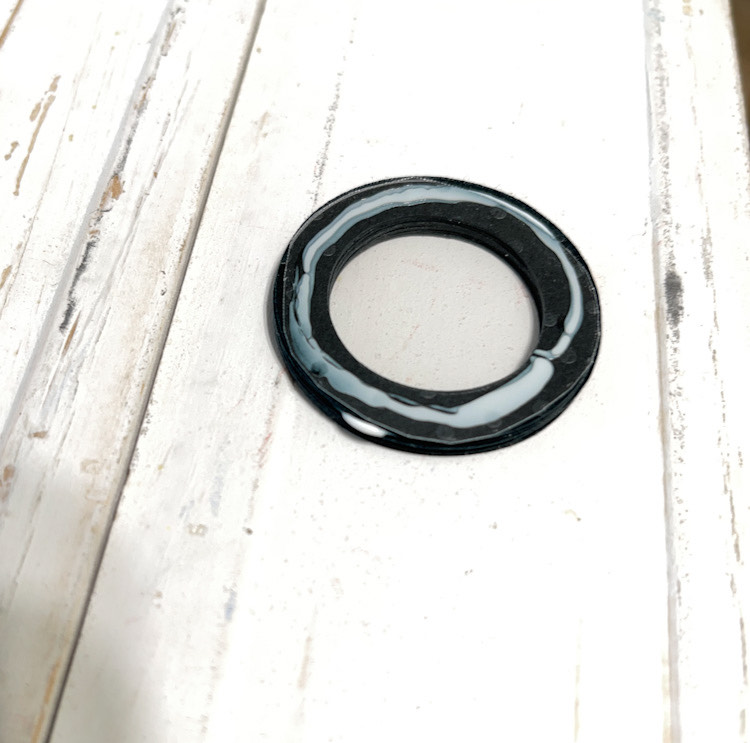
Here you can see all the circle’s that I cut.  Grab a glue pen and get to gluing a stack of circles together.

Layer or stack all your black circles up.

Keep stacking them up, you want to add quite a bit of depth so that your embellishments move freely in the shaker.

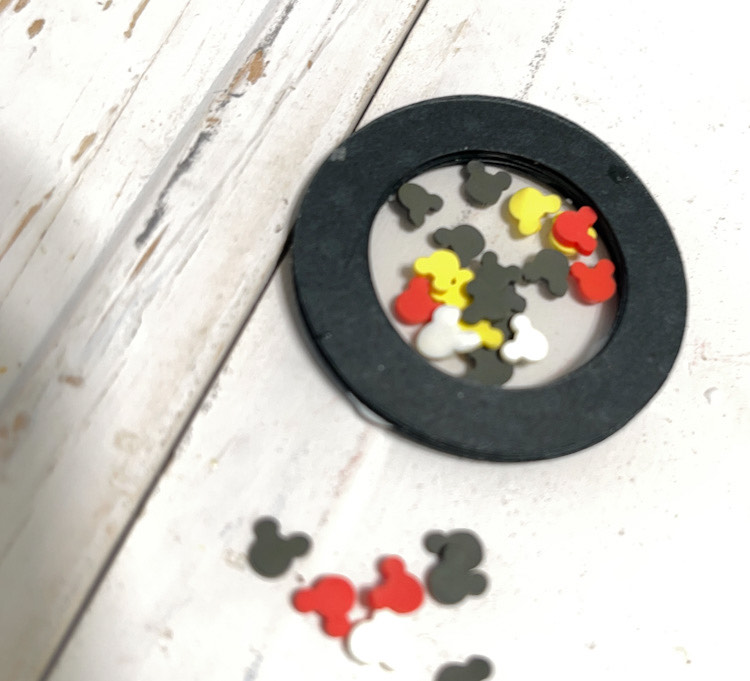
Add your acetate circle to the front of you stack of circles, fill with your embellishments and the glue on the back circle of the lens.  Center your little shaker lens on your camera piece and you’ve got the perfect embellishment.

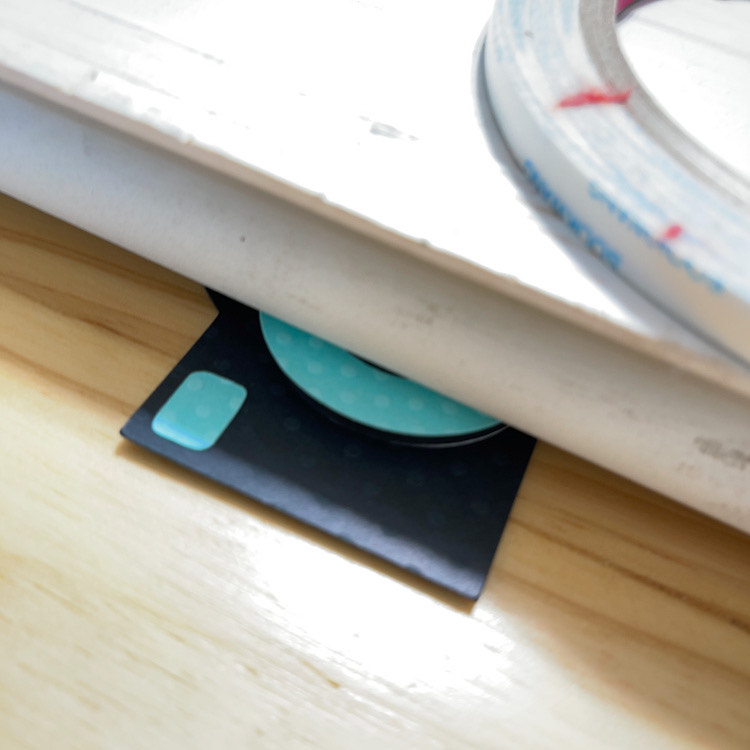
I always set mine under something heavy to make sure I get a good seal on everything so no little bits and pieces escape when someone shakes it up.  I let it dry for an hour or sol

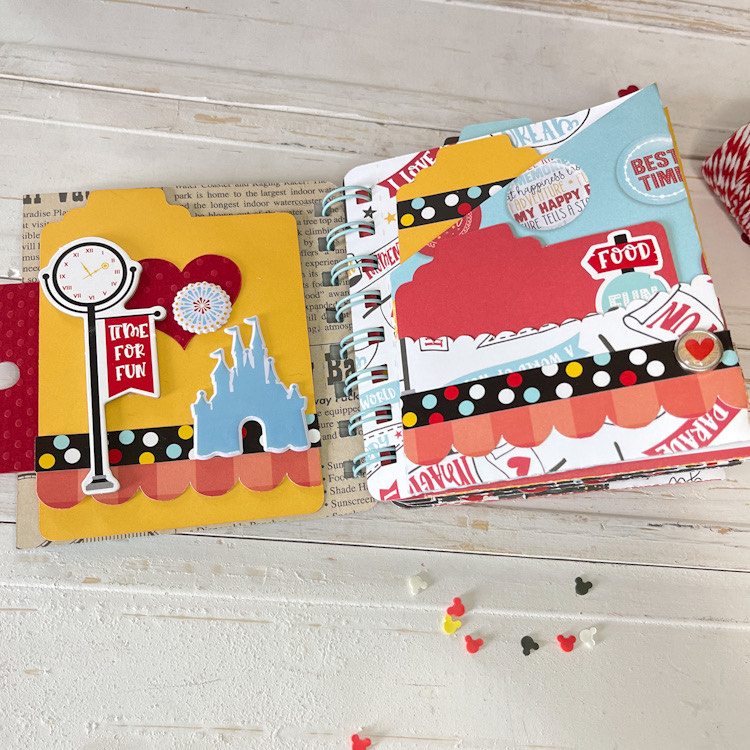
How cute is this?!!!  I love it.  The shakers are just so much fun, they make everybody smile.  This is the cutest little book too.

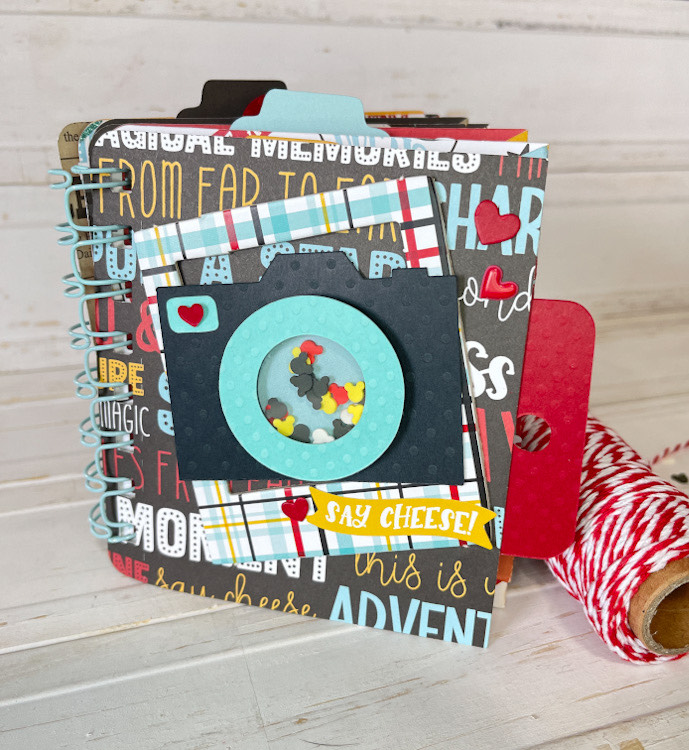
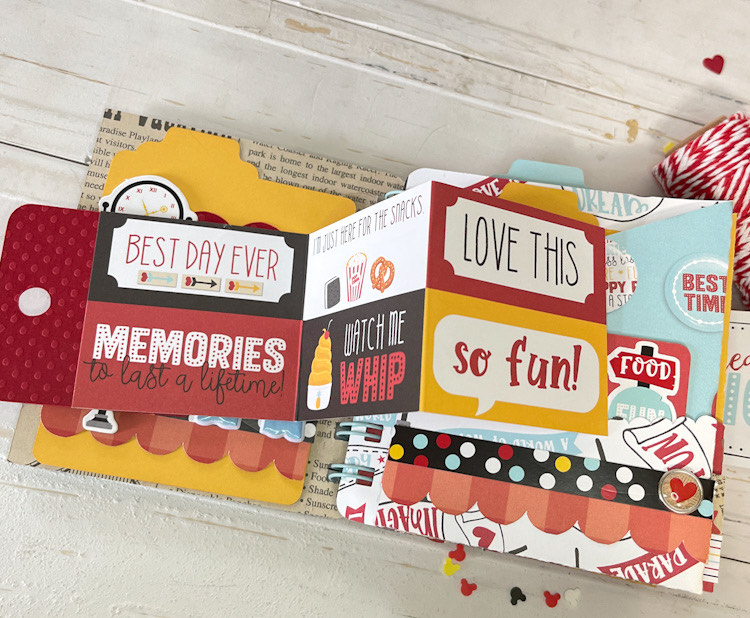
I’ll share the book on my Facebook and Blog soon….here’s a sneak peek of the inside that features lots more of Lori’s files.

Have a great day!

Cathy

July 4th Shaker Star Tutorial

Hi everyone!  Corri here today sharing a quick assembly tutorial for Lori’s Shaker Star (SVG, Silhouette).    To make this, you will need cardstock, chipboard (I used a soda box), a dowel or straw and a piece of clear acetate.   I normally use transparency sheets for the clear part but this time I used a piece of a clam shell package from some craft supplies.

When you cut out all the pieces, this is what you will have plus a bunch of confetti pieces that will go inside the shaker.

First, glue the three chipboard stars together.  This step creates a spacer that will allow the confetti pieces to shake.

Next, glue the chipboard to the solid red star and glue the star frame piece on top of the acetate star.

Now you can add the confetti pieces to the inside of the star and then glue the clear star on top.

I wrapped the paper strips around a pencil to form into corkscrew shapes.   I glued those and a wooden dowel to to the back of the completed star and then cut an extra star “back” to cover up where they were attached.

There you have it!  Super simple to put together and so much fun!  The kids will love to wave them to celebrate the 4th!  Thanks so much for stopping by!

Bunny Shaker Card Tutorial

Hi everyone!  I know we are all trying to navigate through what’s going on in the world today, I hope you are all safe and well!  I am spending my time creating, it relaxes me and gives me focus in this uncertain time.  So with all that said, I have a little project to share with you.  It takes a bit of time, but I promise it’s worth the effort.  I love using Lori’s shaker card files.  She has lots, but I wanted one for Easter, so I decided to create my own.  After making several of Lori’s shakers, I’ve kind of figured out how to make my own.

I started with a this Easter Bunny Candy Wrap (SVG, Silhouette) in my Silhouette Software.  First bring up the box in the design page of your machine (box 1). Next release the compound path and ungroup.  You should be able just to select the bunny shape and bow now, (box 2 and 3).  Enlarge your bunny and bow to whatever size you need (box 4).

Now use the internal offset button and set to .145, move that little inset bunny over now from the original bunny.  On the inset bunny, now click the offset button and set to .145 and group the together.  Now your bunny perfectly matches up with the original shape (box 5).  Now keep your solid bunny shape and duplicate your outline shape 8 times (box 6).  You need 7 bunny shapes to make your shaker deep enough to fill with little sprinkles.  Now cut your shapes (box 7).  Layer 7 outline bunny shapes to the original bunny shape with liquid glue, stacking them on top of each other, box 4. Save one outline bunny to glue over the acetate.

Your stack of bunnies should be thick like below, make sure to let it dry really well (box 8).

Now for the fun part….add all your favorite little bits and glue a piece of acetate on.  Let it dry really well before trimming the acetate away.  Finish with your last bunny outline shape to make a nice finished shaker.

After my shaker was complete, I attached it with scor-tape to Lori’s 3D Stand up Easter Card (SVG, Silhouette) .  I just removed the original brown bunny and added my shaker bunny.  I used Echo Park Paper’s All Girl and I Love Sunshine papers.

Stay safe and well ~Cathy

Birthday Shaker Card by Lezlye

Welcome Lori Whitlock Fans!  Today I have fun a Birthday Shaker Card to share!


I cut the file out of white cardstock and then did a bit of “card surgery” cutting it in half.  I did this so that I could add acetate and foam squares to the back to form a well to hold the sequins and confetti.

Simply add foam and sequins, and finish it off with the panel you cut from the file.  I then glued it to the card base.  My sentiment came from another card file of Lori’s, the links are below.


Lace A2 Birthday  In Silhouette Store here

Happy Birthday Cards. In Silhouette Store here


Have a great Day!