Happy Halloween! Traci here and today, I’m sharing a pumpkin shaped mini scrapbook that’s great for saving fall photos. I used one of Lori’s super fun cutting files called Hidden Binding Mini Album Apple (SVG, Silhouette). With some orange cardstock and pretty patterns, I turned it into an autumn themed pumpkin!
First, let’s take a look inside then I’ll explain how I made it with a tutorial below.
To create this, I cut the base out of solid cardstock and decorated it with the beautiful Echo Park, I Love Fall Collection designed by Lori. On the cover, I added a pretty 6×6 print (the small size is so cute!), a few enamel dots, an acorn brad, and the pumpkin farm sticker from the 12×12 elements sheet.
The album has 5 pages (including the covers) and inside, I layered each one with a different pattern paper. Then, I added cute round photo mats using a 3″ scallop punch and a 2.5″ circle punch by Marvy Uchida.
I embellished the pages with stickers from the 12×12 sheet and the sticker book. For the smaller round photo mat on the right side, I used a 2″ scallop punch and a 1.75″ circle punch.
Above, I added a few more stickers, a brad, and on the right … I punched the round “thankful, grateful, blessed” circle out of one of the I Love Fall 4×6 journaling cards. I used the 2.5″ circle punch.
It’s such a pretty little album, right? Now let me show you how simple it is to make!
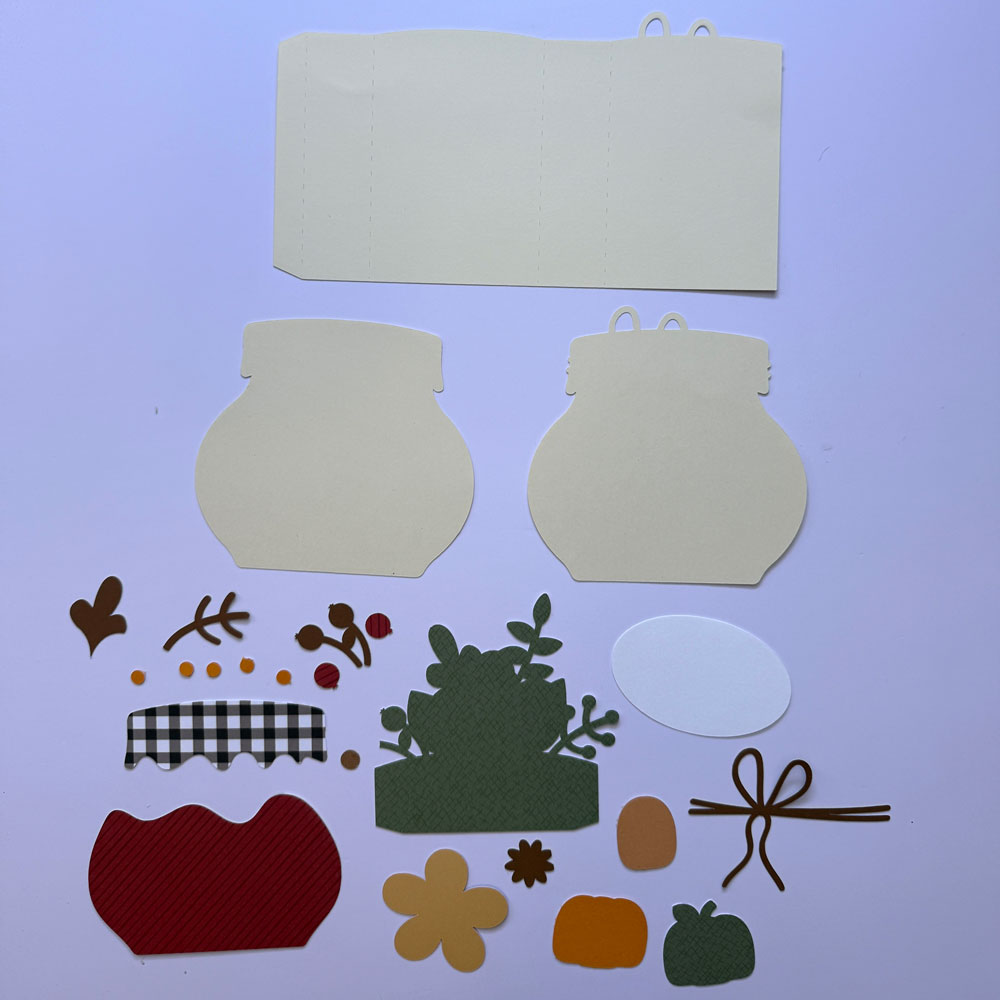
1. Cut the pieces out – I cut the binding pieces and 10 apple shapes out of apricot cardstock by Bazzill. Then, I cut 10 leaves out of the green I Love Fall paper and 10 stems out of the brown Fall Flowers pattern.
2. Once those are cut, take the binding piece and fold it along the score lines.
3. You’ll end up with mountains and valleys like in the photo above. Add adhesive inside the valleys.
4. Press the valley sides together to create the spine of the album.
5. Then, adhere the rectangular cover piece over the flat side of the folds.
6. Gather your page pieces and adhere the leaves and stems to the front of 5 left-side facing pumpkins and 5 right-side facing pumpkins.
7. Now adhere the pumpkin pages to each of the accordion spine folds. Add one to the front and one to the back of each fold, matching the shapes back-to-back. This creates layered pages that are nice and sturdy.
8. Continue to adhere the rest of the pumpkin pages to each of the folds until the album is complete. Then it’s time to decorate!
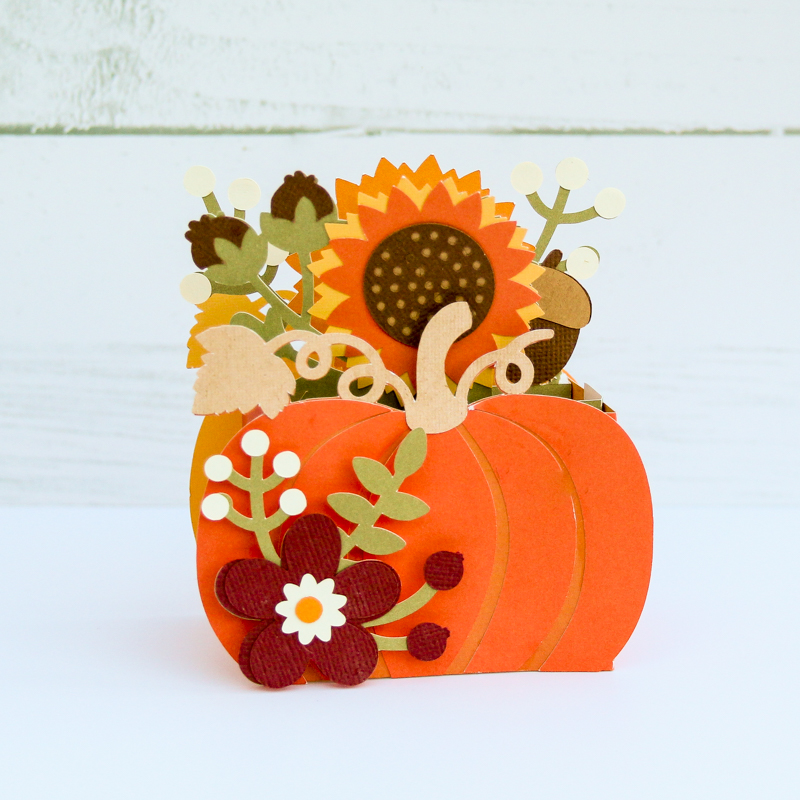
When you’re finished, you’ll end up with a fabulous mini album that’s perfect for pictures of autumn, a pumpkin patch, fall leaves, and everyday memories.
Lori has so many wonderful hidden binding mini album shapes. I’ve made the (haunted) house that’s perfect for Halloween, the flower, telephone, and the tag shape. I love these and they make the cutest gifts. She has even more designs in her shop, so be sure to check those out.
I hope you’ll try this fun project made with Lori’s Hidden Binding Mini Album Apple SVG file. Have a great day!
Blog * Shop * Facebook * Instagram * Pinterest


.JPG)

.JPG)

.jpg)
.JPG)
.JPG)
.JPG)
.JPG)


.jpg)
.jpg)
.jpg)
.jpg)
.jpg)
.jpg)
.jpg)
.jpg)
.jpg)
.jpg)
.jpg)