Be Mine by Lezlye

Welcome and Happy New Year 2017! I decided to skip right to Valentine’s Cards. They are among my favorite to make. These box card files can be done up so many ways! You can add other files like I did here.

I decided to weld my sentiment, You simply Ungroup the image in Cricut Design Space then move the letter so they are touching and Highlight all the letters and hit the weld button! Voila the letters are connected!

I did a little double embossing trick dry emboss then using distress ink on raised area and clear embossing powder on the outside rectangles. I added and inside layer by hand-cutting that layer to fit inside.

I also stamped the red layers with a music note background stamp. Using stamps with cuts is a  great way to dress them up.

I dipped my sentiment into my versamark pad then added clear embossing powder and heated it to make it shiny.

Hope you enjoy my mini tutorial.  Happy New Year!

Here are the files I used:

A2 Box Card Valentine

4 Valentine Titles

Heart Cluster

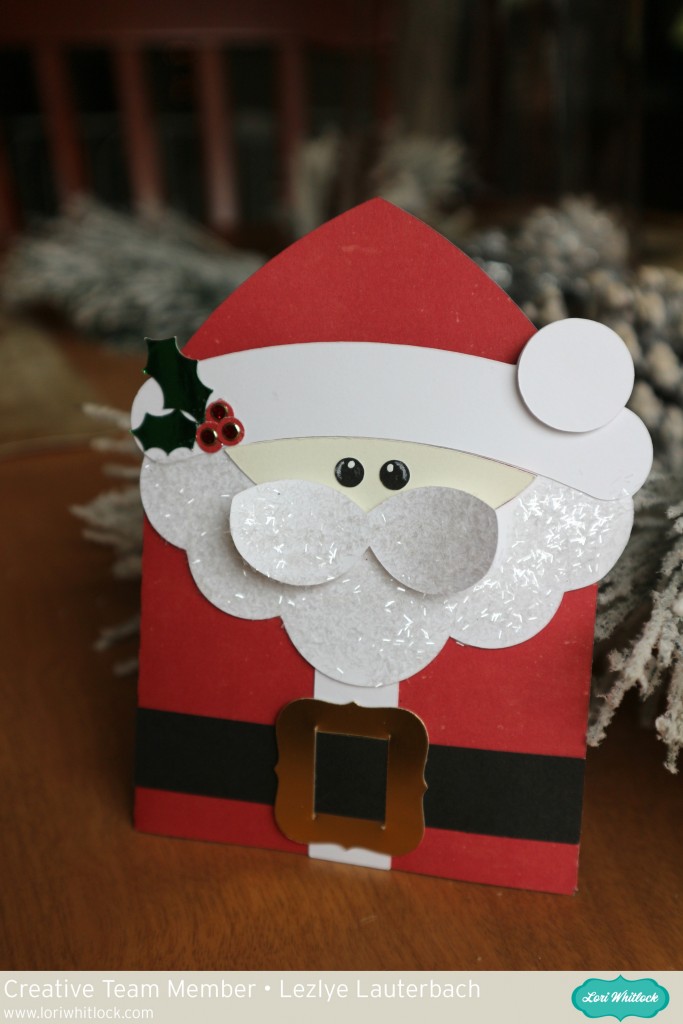
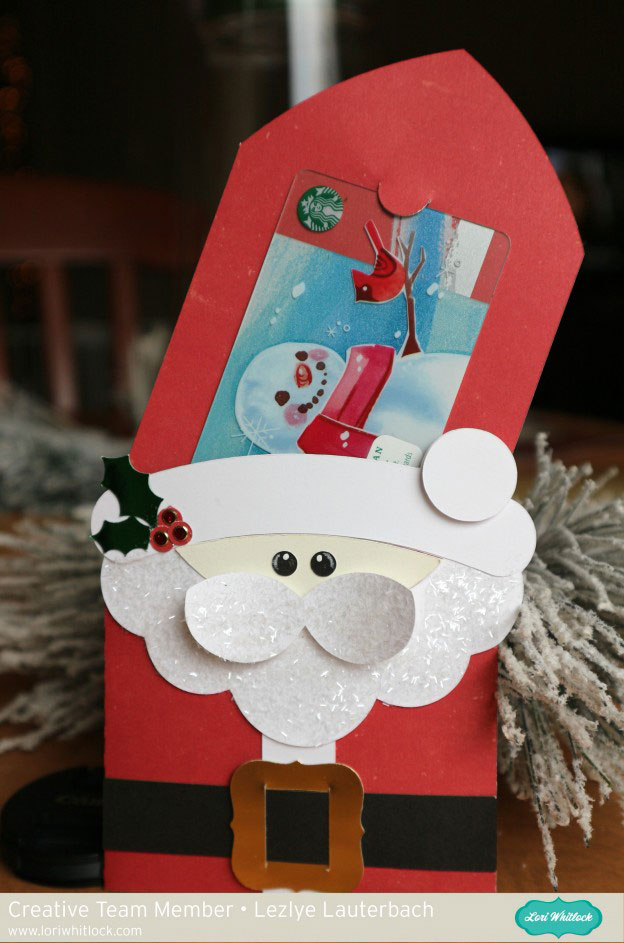
Santa Gift Card Holder with Lezlye

Welcome to Lori Whitlock’s Blog! The Holidays are fast approaching and sometimes we have to think fast for an unexpected gift!

Today I am sharing the Santa Gift Card holder.

These are the pieces you will need to cut.

I added Tinsel Glitter to his beard, highlighted the eyes and added a few red sparkle stickers to his holly sprig.

Of course Santa has my back with a Starbuck’s Card! LOL Happy Holidays!

Santa Gift Card Holder (in Silhouette Store here)

Echo Park I Love Winter Paper Collection by Lori Whitlock

Happy Thanksgiving- By Lezlye

Welcome Lori Whitlock fans! With our clocks being set back for daylight savings it always makes me think fall and Thanksgiving.

I decided to use some of Lori’s leaves files to cut out of watercolor papers and distress them up in beautiful fall colors.

I used Ranger Distress Inks and some background stamps to give the leaves that I cut using watercolor paper. This is great if you don’t want to have to go look for all the different colors to cut.

I thought they would make excellent place-cards too! I used the layered frame cut for my card  and here as well, very quick and easy!


Just another way to stretch your dies by custom coloring them!

Here are the links to the files I used:

Fall Leaves 8

Fall Leaves

2 nested frames

Hope you enjoyed my projects today!


I Love Warm Hugs with Lezlye

Welcome Lori Whitlock Fans! Lezlye, here today with and adorable snowman card and a quick tutorial for you newbies to Lori’s files.

When you first import the file it is all together and black, if you were to size it all together and click cut using the cricut explore it would put all these on a black mat.

You need to click on the layers and un-group them once you have your desired size set.

Hit the layers button and each individual piece and then add the color you want to cut. Now it will cut them all individually on your desired colors.

This is just one way to do it. Now on to the card…

I used the I Love Winter 6 x 6 Pad that Lori designed for Echo Park Paper, along with the coordinating embellishments. I love to bling up my cuts with stickles and dimensional buttons or gems.

My card measures 5.5 x 5.5

Files and Products used:

Snowman

Nesting Banners

I Love Winter by Lori Whitlock for Echo Park

Have a great Day!


Save

Time to Par-Tee with Lezlye

Welcome Lori Whitlock Fans! Today’s inspiration and photo tutorial provided by Lezlye Lauterbach Designs. I am a bit new at this tutorial posting, so bear with me. Today I have cut, embellished and assembled the fabulous pop up box golf cards that Lori has designed.

A few things to point out what works for me, (I toggle back and forth with Cricut and Silhoutte ) I import the SVG file into Cricut Design Space and un-group it. This next step is where you need to  each image with score lines and hit attach so that when you cut those pieces the scores happen on each piece.

I also decided to draw my sentiment instead of cut those tiny little letters. You simply highlight the whole sentiment and attach then change from cut to write as illustrated above. I used a simple uniball pen I had on hand, only because I do not own the pens made by Cricut.

I used watercolors and inks along with stickles and glossy accents for the tires to enhance the card design. Since this could potentially be for a man I didn’t want to get too fancy.

Here is my final result.

This card makes me happy and now I want to go play a round of golf! Anyone?

Have a Happy Day!