Circle Graduation Hat Box Tutorial

Well finally after 2 years, my daughter’s college is holding an in-person graduation ceremony for the class of 2020!  Here friends are coming in from all over to once again sleep in the dorms and party like it was 2020!  I decided to celebrate by creating a little graduation cap gift box in her school’s colors using the Circle Graduation Hat Box File (SVG, Silhouette).  Take a peek…

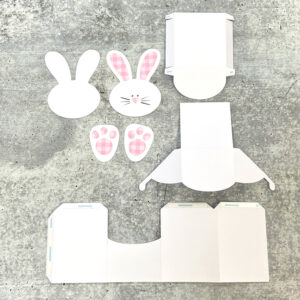
This little box is super easy to assemble. I’ve outlined the steps below.  I started by cutting the pieces of the file.  I also created a little tassel using some embroidery thread and a “2020” using Lori’s Varsity Font (Lori’s Shop, Silhouette)

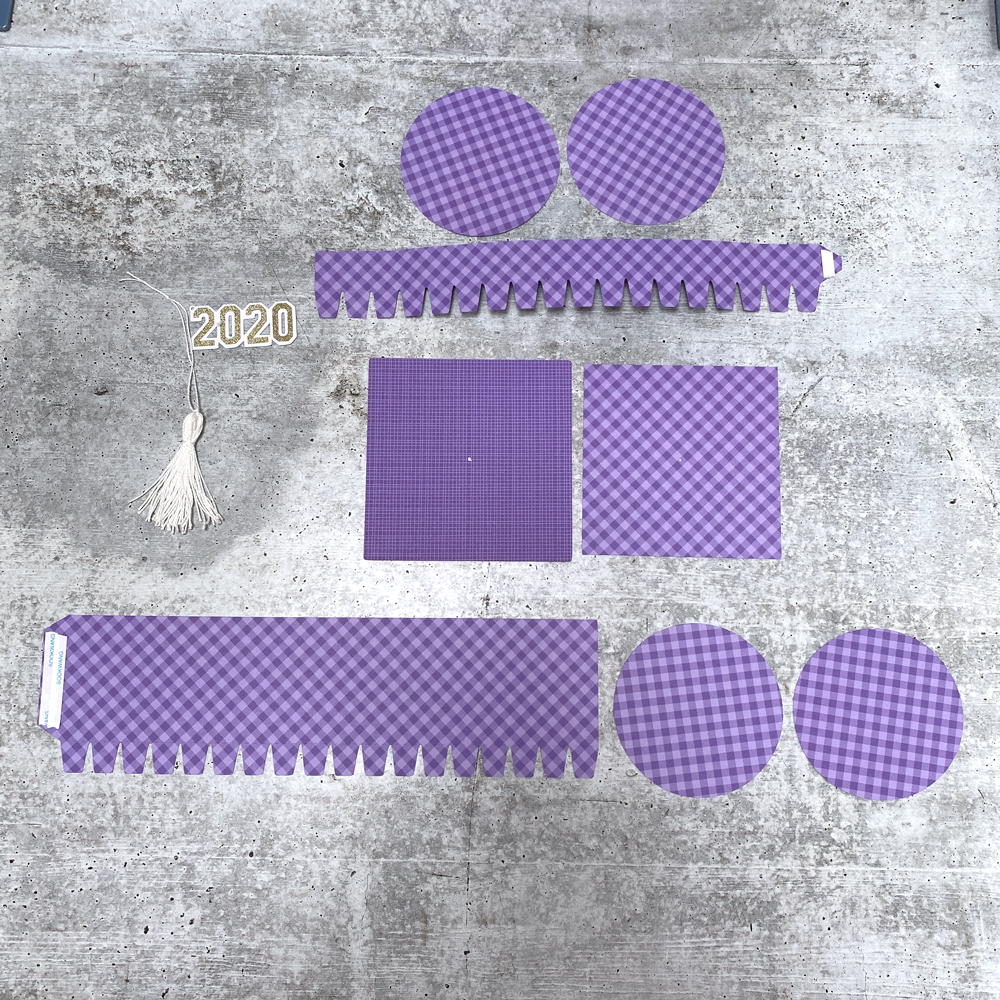
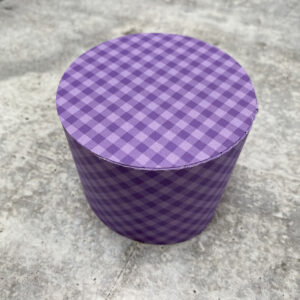
The first thing you want to be aware of is that the 2 sets of circles are different sizes.  The slightly larger circles go with the thinner strip to form the cover.  The smaller circle set goes with the “fatter” strip to make up the bottom of the box.

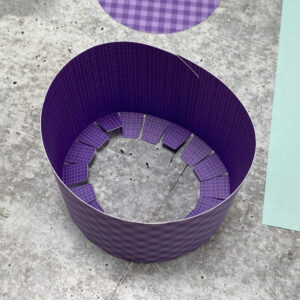
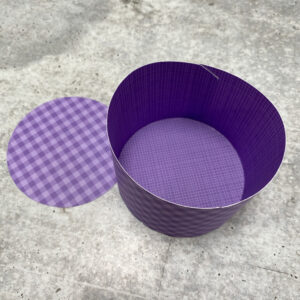
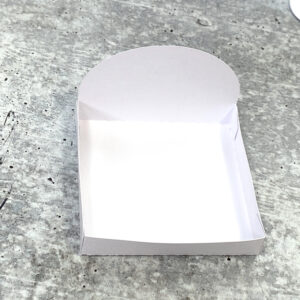
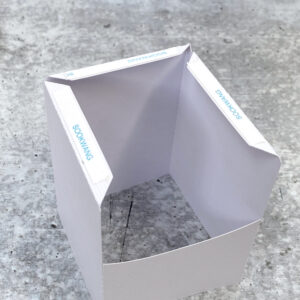
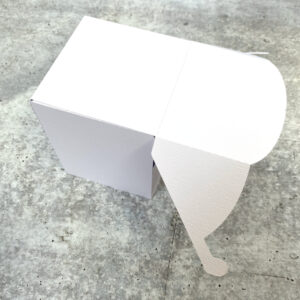
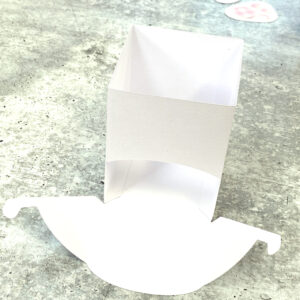
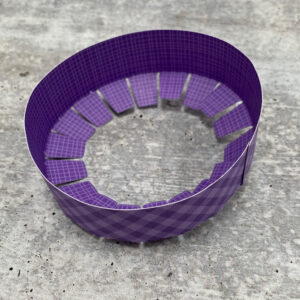
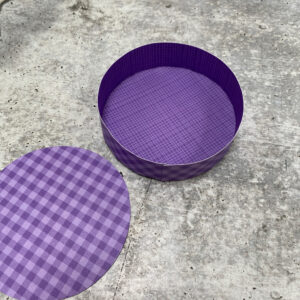
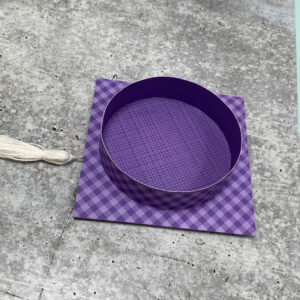
I started with the smaller two circles and the “fatter” strip to create the box bottom.  First, I curved the strip by running it along the edge of my craft table.  This makes it easier to form a round shape.  I glued the strip into a tube shape, and secured using some scor-tape for a strong hold.  I then folded the tabs towards the center.  I added liquid adhesive to the tabs (inside) then slid one of the smaller circles inside the tube. This helps form a nice circle shape.  To finish the box bottom, I turned the base upside-down and glued the second circle onto the bottom to cover the tabs.

I repeated the same process with the two larger circles and the thinner strip to create the cap box top.

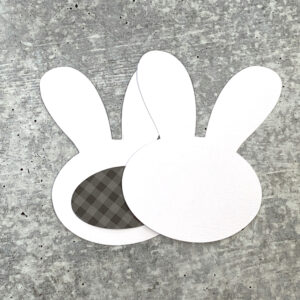
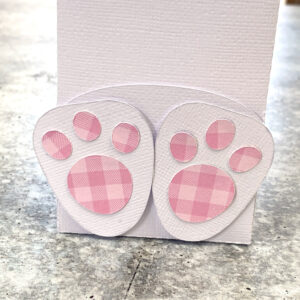
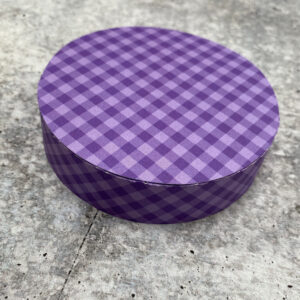
Once the cap was assembled, I layered the two squares, aligning the hole in the center.  I threaded the end of my tassel through the hole and secured to the other side using a piece of washi tape.  I then centered the cover on the mortarboard top as shown and glued.

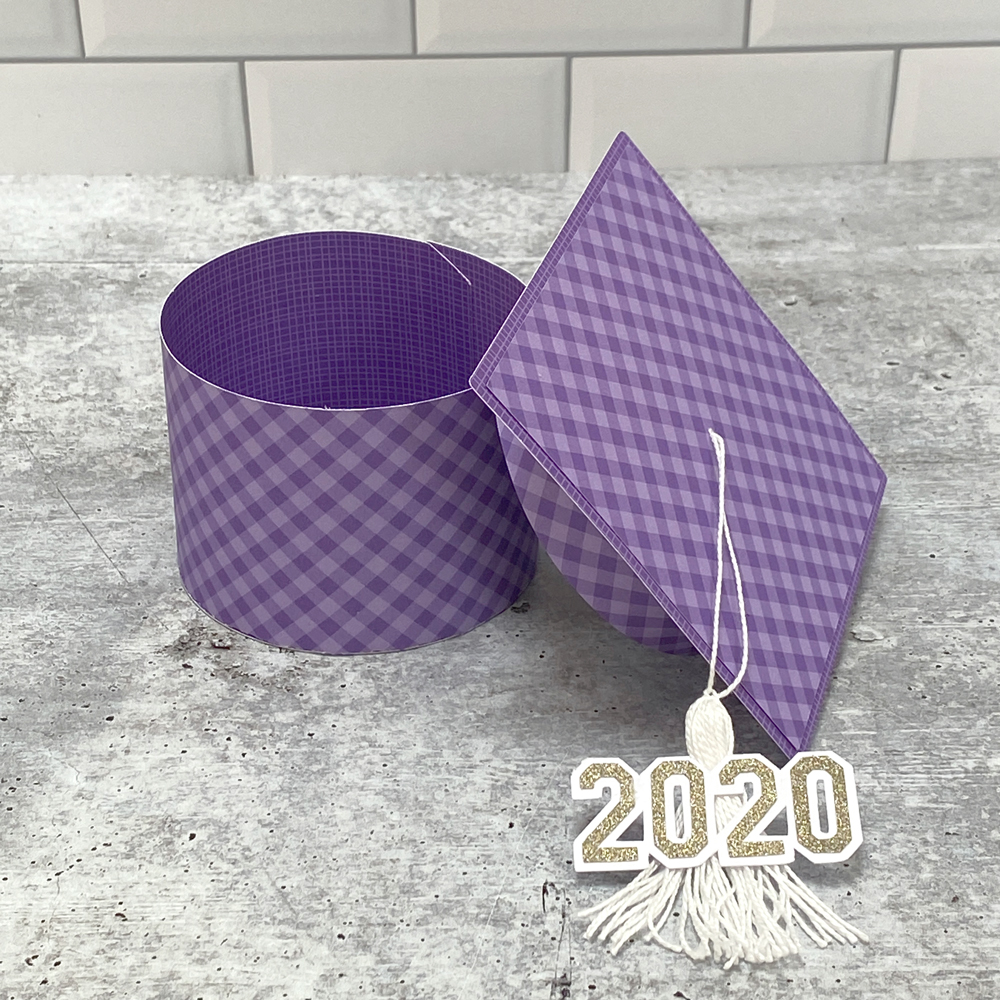
I finished my hat by gluing the 2020 to the tassel.  Now I just need a little something to fill the box!  If you make one for your grad, be sure to tag Lori on Facebook & Instagram.  We always love to see your creations!  That’s it for me today, thanks for stopping by to peek!

BLOG | INSTAGRAM

Easter Bunny Head Shaped Box

I’m hopping into Easter with this adorable new Easter Bunny Head Shaped Box (SVG, Silhouette) !  It’s so cute, and easy to assemble… it’s perfect to hold some sweet treats for your favorite bunnies!!  Take a peek…

I decided to add a little bow to my bunny using this 3D Bow (SVG, Silhouette) which I sized down slightly to fit the ear.  Below, is a quick guide to assembling this box.

When you open the file, the sides of the box top and box bottom are shown in the order they are attached.  Simply glue them together to form one long strip.  Both the top and bottom are assembled in the same manner. They each have 2 bunny head shapes.  One is slightly smaller.   For the top, starting where indicated (X), wrap the sides of the box around the smaller bunny head, gluing the tabs as you go. (tabs go on the outside of the bunny head shape)  Flip the completed piece over, and add the second, slightly larger bunny (be sure to add the black behind the eyes and nose first)  head to the cover, covering the tabs.  Repeat the same process with the bottom.

If you create any of these cute boxes, be sure to tag @loriwhitlock on Facebook and Instagram!  That’s it for me today, thanks for stopping by to peek.

BLOG | INSTAGRAM

Candy Dispenser Bunny Tutorial

I know it’s still March, but I’m thinking ahead to Easter, trying to get a head start on some Easter crafts!  Looking through Lori’s files, I found this adorable Bunny Candy Dispenser (SVG, Silhouette).  I thought it would be fun to make and give!  Take a peek…


This file looks complicated, but it’s really easy to assemble.  I’ve outlined the steps below…

Start by cutting your pieces.  I added the foot pads to the feet, the inner ears & nose to the face.  I also backed the bunny face with the black oval to show through the eyes and whiskers.

Next I covered the back of the bunny face with the solid piece to cover the black oval.

In the third photo I folded up the sides of the cover and glued in place.

Add the bunny face to the cover, aligning the bottom of the face with the bottom of the rounded part of the cover.

Next Start the base of the dispenser.  Fold the base and glue so it’s a box shape.  You then want to add the bottom to the base.  Fold down the tabs on the base, add adhesive.  Add the bottom panel as shown… you want the “hatch” to be on the side of the opening.

Once the bottom is attached, flip the base over.  To make the sliding drawer part, maneuver the side arms in through the hole in the base.  There are small slits in the front score lines, you want to fit the arms into those slits so they are held in place.  If the opening and closing of the drawer seems stiff, you can add baby powder to the arms before inserting them.  You can also make the slits slightly longer if needed.

Add the feet to the door of the dispenser.  You can then fill the dispenser from the top and add the cover.  The bunny face overlaps the feet to keep the door closed.

Now all you need to do is to decide what sweets to add to your dispenser!  That’s it for me today, thanks for stopping by to peek!

BLOG | INSTAGRAM


Baby Lion Rectangle Pop Up Card

We are at that point in life where our neighborhood is starting to turn over… younger couples moving in and lots and lots of new babies!!  I love all the babies, so of course, I’m very excited for my new little neighbors! So it was perfect timing for Lori to out with the new Rectangle Pop Up Card Baby Bundle.  I particularly loved the cute little Rectangle Pop Up Card Baby Lion (SVG, Silhouette) and made it for a new little one!  Take a peek…


This cute little card does fold flat for mailing ( I would use a 6″ Square envelope ).  For an easy assembly tutorial, see Lori’s Rectangle Pop Up Card video here.  That’s it for me today, thanks for stopping by to peek!

BLOG | INSTAGRAM

Happy Birthday Pop Up Cake Card 2

Hi Everyone!  It’s Kathy today with one of Lori’s fun new cards from the Awesome Birthday Card Bundle.  This Happy Birthday Pop Up Cake Card 2 (SVG, Silhouette) is such a fun card, and really easy to put together.  I put my version together with Echo Park Paper’s new Birthday Girl Collection, take a peek…

And the outside is just as cute!

I put together some easy instructions for this card below….

I started by cutting all of my pieces.  I also print and cut the sentiment piece.  Note that I did save the “inside pieces” of the letters on the Oh Happy Day piece so that I could add them to the card.

Next I assembled the front pieces of the card.  Layer the words panel over the background piece.  Add the insides of the letters and the balloon

Add the completed front to the front of the main card base.

Next, I folded the pop out insert along the score lines so that the cake “pops out” when the card is opened.  Here is a side view so you can see how I folded it.

I added another view of the folds.

To add the insert to the inside of the inside of the card, I added adhesive to the “top” or cake side of the insert.  Do not add any adhesive to the part that pops out (the cake)  Fold the insert along the center score line and align and center the fold of the insert with the inside crease of the card base.  Press down to secure the first side.

Add adhesive to the remaining side and fold the whole card over and press to secure.  Note:  Make sure the outside front of the card is on the same side as the cake so it opens correctly

Once the insert was added, I glued cake stand and pieces to the pop out part of the card.  I started with the base.

Next, I glued the cake on the base, added the stripes to the cake and lastly the frosting and stars.  To complete, I added my sentiment.

Check out all of the fun cards in the Awesome Birthday Card Bundle, there is something for just about everyone on your list!  That’s it for me today, thanks for stopping by to peek!

BLOG | INSTAGRAM