3D Pumpkin Tutorial

I wish I could say fall is in the air… not quite yet in New England… so I’m making my own “fall” today!  This adorable 3D Pumpkin (SVG, Silhouette) was the perfect little project to make me feel more autumn-like!  It’s such a cute little decoration, you could fill it with a treat or use it as part of your seasonal tiered tray décor!  Take a peek…
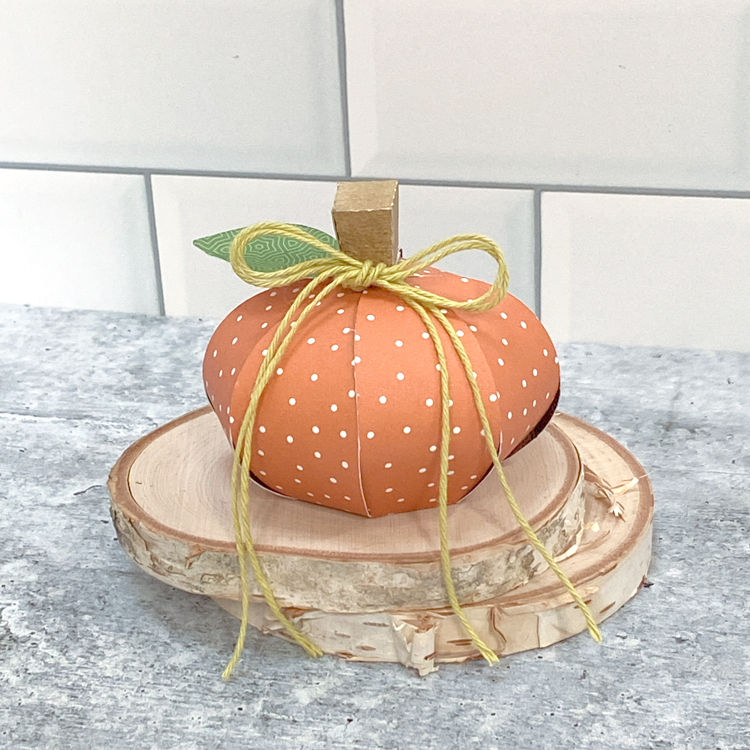
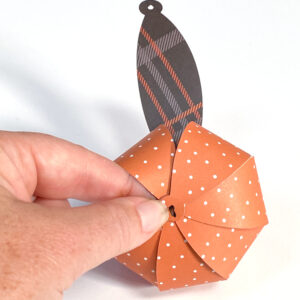
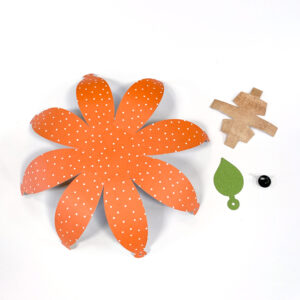
I put together a quick assembly tutorial for this file… it’s really pretty simple….  I started by cutting my pieces. I curled the pumpkin sides using a pencil.  I also went to my stash to find a brad.  It really does not matter what color brad, it gets covered up. A smaller brad would be best.   Next, I folded the score lines of the stem piece all in the same direction. I maneuvered the pieces to create the stem shape and glued it together.

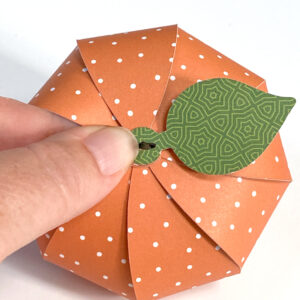
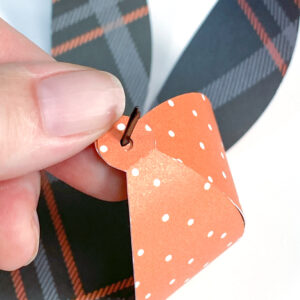
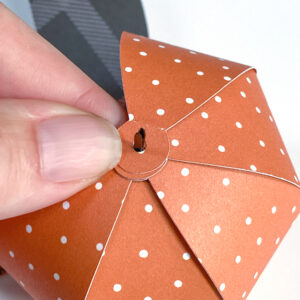
Next I gathered up the pumpkin sides to form the round pumpkin shape.  I chose to place my brad on the inside and have the prongs on the outside.  I found that easier.  You could always do it the other way.  I started bringing up each side, and sliding it over the brad tongs to keep it in place.

When I got to the last few sides, I gently stuck my hand into the pumpkin between 2 of the sides and then folded over the last piece.  If you are going to add a small treat to your pumpkin you will want to add it before you bring over the last side.

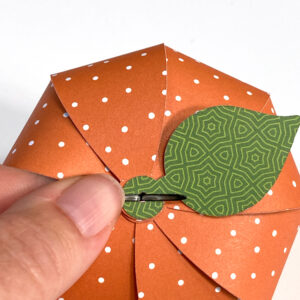
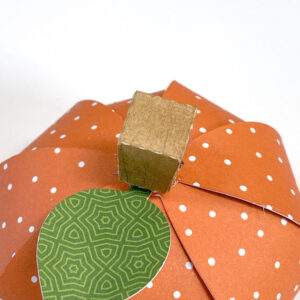
Once I had the last side in place, I then added the leaf.  I folded out the prongs of the brad to hold it all in place.  I then glued the stem on top of the brad to cover.  I did have to snip the ends of my brad, but if you used a smaller brad you might not have to.  I only had a large one.

All that was left was to add some fun twine!

That’s it for me today, thanks for stopping by to peek!

BLOG | INSTAGRAM

5×7 Flip Flop Card

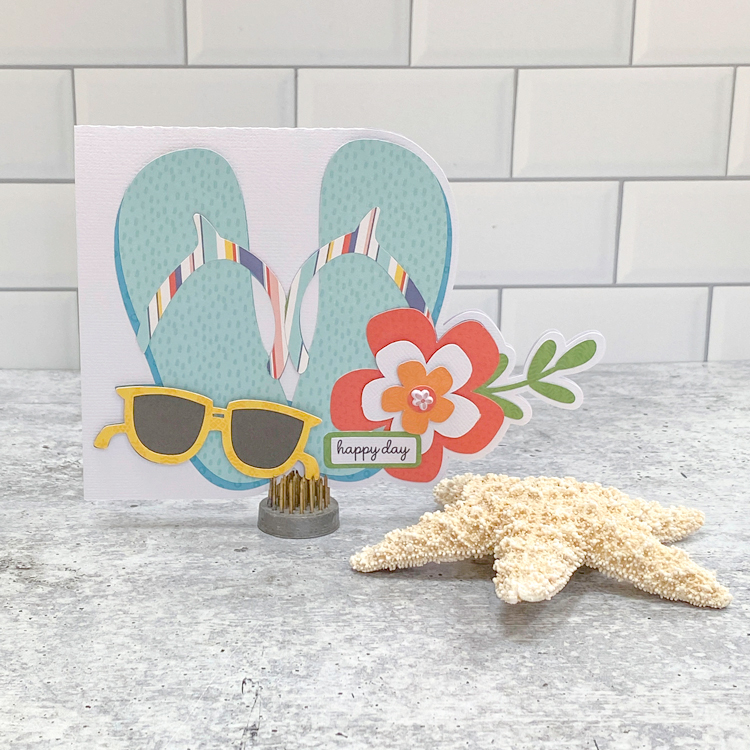
It’s a bathing suit and flip flop kind of week up here in Massachusetts, so Lori’s new 5×7 Flip Flop Card (SVG, Silhouette) was the perfect project to make!  This cute card would be great to use just because or you could change out to sentiment to make it a birthday or thank you card.  Take a peek…

I pieced my version of this card together using Echo Park Paper’s Endless Summer Collectin.  It is super easy to assemble, just layer the pieces, and it  folds flat for mailing.  It will fit in a standard A7 (5.25×7.25) envelope.

That’s it for me today, thanks for stopping by to peek!
BLOG | INSTAGRAM

Island Hut Box Card

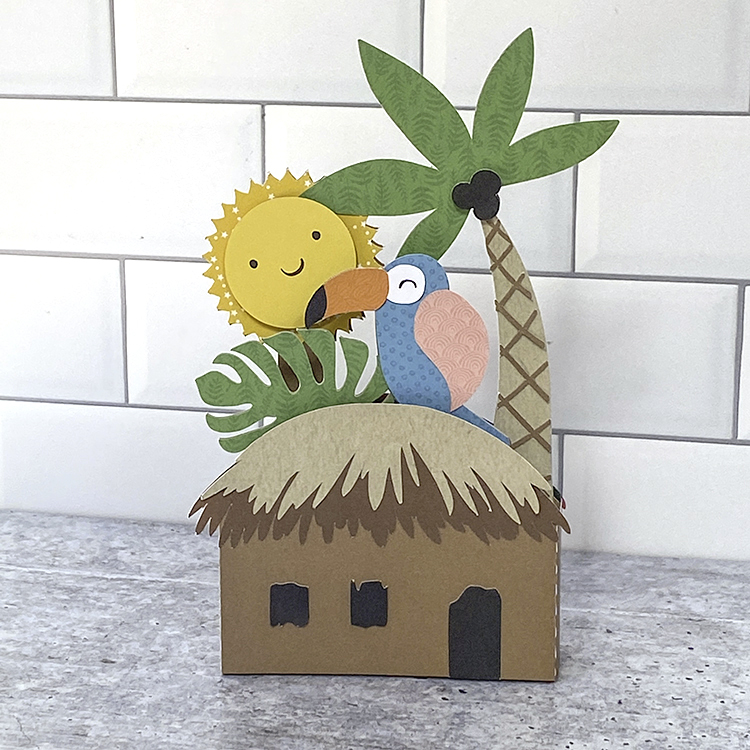
It’s been quite warm in the North East this month!  We are in the middle of a week of 90℉ temperatures… it feels like I’m on a tropical island!  This made me think of Lori’s Island Hut Box Card (SVG, Silhouette) … so I decided to make one!  Take a peek…

How cute is this little tiki hut?  The parrot and sun are adorable as well!  You could add a fun note to a friend on the back side, and it would look so nice on display! You could also use this as an invitation to a tropical themed party!  This card folds flat to fit into a standard A7 Envelope (5.25″ x 7.25″).  For help with assembly, this Shaped Box Card Tutorial will help get you pointed in the right direction.

I hope you are staying cool!  Thanks for stopping by to peek!

BLOG | INSTAGRAM

Pop Up Cards 101

I love a good pop up card.  Looks like a regular card on the outside, then open it up and you get a fun surprise.  We get a lot of questions on how to assemble these cards, so I thought I’d put together a quick tutorial showing how easy they are to make!  For my sample, I put together the Pop Up Card Birthday Present Hat (SVG, Silhouette).  Take a peek…

That little hat is just so cute!  Here are the basic steps for putting together this card, and pop up cards in general…  First I cut the pieces of the file.  I used Echo Park Paper’s new All About a Girl Collection to make this card.

I pieced together the present and the hat.  I used pop dots for the 2nd bow layer and the hat’s pom pom.

Next, I folded the insert with the pop up mechanism.  Below are 3 different views of how it is folded.  For this card, and all pop up cards in general, there’s a bump-out section that you want to fold so it sticks out into the center of the open card.  The last photo shows how it should look when folded flat.  You want it to be inside the folded card.

Once you have the insert folded correctly, you want to glue it into the card base.  On the left, you can see that I added adhesive everywhere EXCEPT under the pop out section.  You don’t want any adhesive there, so it will stick out into the card when opened.  Starting with one side, I centered the insert in the card base, and then folded over the other side to secure.  Now when the card opens, the bump-out pops out into the center of the card.

Now you want to attach the hat to the bump-out so that it will pop up when the card opens.  I added adhesive to the only the front portion of the bump-out.  I then lined up the hat with the bottom score line on the side with the adhesive, centered it in my card, and pressed to secure.  Now when the card is opened the hat pops up.

To finish my card, I added the print and cut sentiment to the bow with some twine.  It’s all ready to send off now!

I hope this helped to show how easy pop up cards are to make!  That’s it for me today, thanks for stopping by to peek!
BLOG | INSTAGRAM

50% off Bundles + Gone Fishing….

It’s Memorial Day and I hope you’re all having a fantastic long weekend! I’d like to take a moment to publicly to thank all of our servicemen and women who have made the ultimate sacrifice for our country. ❤️
–––––––––––––––
Memorial Day for me marks the beginning of summertime – a wonderful time of the year. Let’s get this summertime celebration going with a SALE!! For the next 3 days you can get all our bundles 50% off! That means it’s the perfect time to stock up on all your favorites! Yay!! Go check them all out right HERE. Be sure to use coupon code: BUNDLES-50 at checkout.

And now I will turn the post over to Kathy for a darling project that she has to share with us…

–––––––––––––––

Some husbands golf, other’s play ball.  Mine loves to go fishing, so of course I fell in love with the Rectangle Pop Up Fishing Stand Card (SVG, Silhouette)… it’s the perfect Father’s Day Card for him! It’s also available in this bundle (SVG). (Get it 50% off for three days with coupon code: BUNDLES-50)

I plan on adding a little note to the back side of the stand base wishing him a very Happy Father’s Day!  This card folds flat to fit into a 6×6 square envelope.  It will also fit into the free Center Box Card Envelope in Lori’s Shop.  For assembly help, see Lori’s Rectangle Pop Up Card Tutorial here on her YouTube Channel.

That’s it for me today, thanks for stopping by to peek!
BLOG | INSTAGRAM