
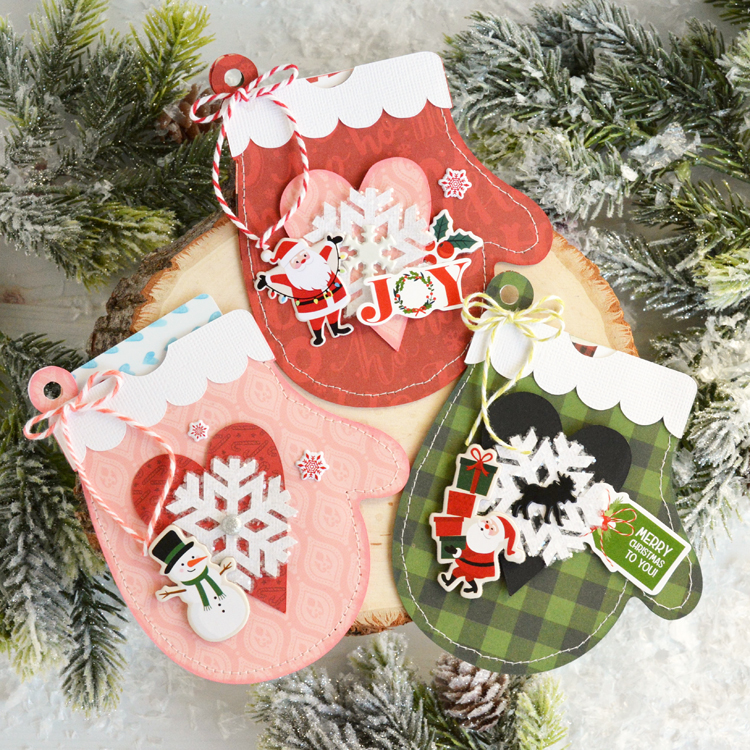
Hello everyone! Marcia here today. I have a holiday gift card tutorial to share with you today. I love to give gift cards to friends and family so they can buy whatever they want. When gifted in such a pretty package, handmade by you, it’s not the easy last minute gift so many people say they are. This Mitten Gift Card Holder (SVG, Silhouette) cut file can be found in Lori’s Store along with many other varieties of gift card holders. I used the new The Magic Of Christmas collection and also a pink pattern paper from the Our Little Princess collection.
Want to find out how to make them yourself?
1. Choose your papers and cut out all the pieces. I then like to ink the edges of the pattern papers to give the shapes dimension.

2. I wanted to add some sparkle to my snowflakes so I ran them through my sticker maker machine upside-down. This puts the adhesive on the top of the cut file. Then place it adhesive down on top of some glitter.

3. You could glue the sides and bottom of the mitten shut, but I prefer the look of machine stitching. Unlike adhesives that might give way over time, I know the mitten won’t fall apart when stitched.

4. Next, glue the white mitten edge to the upper front and back pieces of the mitten. Use a brad to attach the snowflake to the heart then adhere to the front of the mitten with foam tape.

5. Decorate as you wish. I loved using the puffy stickers and brads from the Magic of Christmas collection. They were just the right size!

6. Then repeat! They are so fun to make you won’t be able to stop. This green plaid mitten with a black heart is perfect for the guys on your list.


Thanks so much for stopping by. Be sure to check out Lori’s Store for more holiday ideas.


