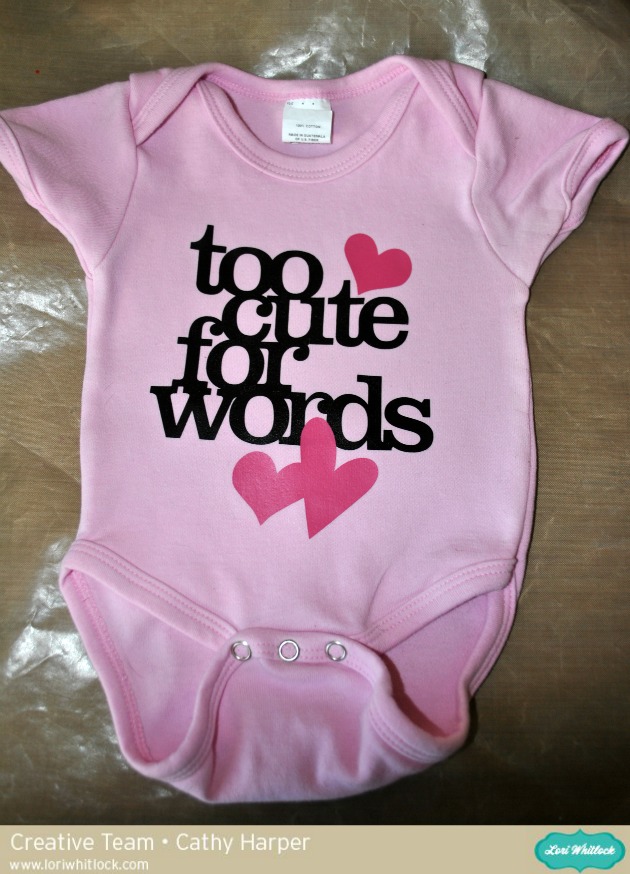
Hi everyone! Cathy here with you today. I have been wanting to try heat transfer vinyl with my Silhouette Cameo for quite some time….I have to admit I was more than a little intimidated by it. But I kept seeing all of these adorable onesies and I wanted to created one for our grandbaby! It will take you some time to search through all of Lori Whitlock’s files to find the perfect choice, so many awesome to designs to choose from. I think that was the hardest part of this project.
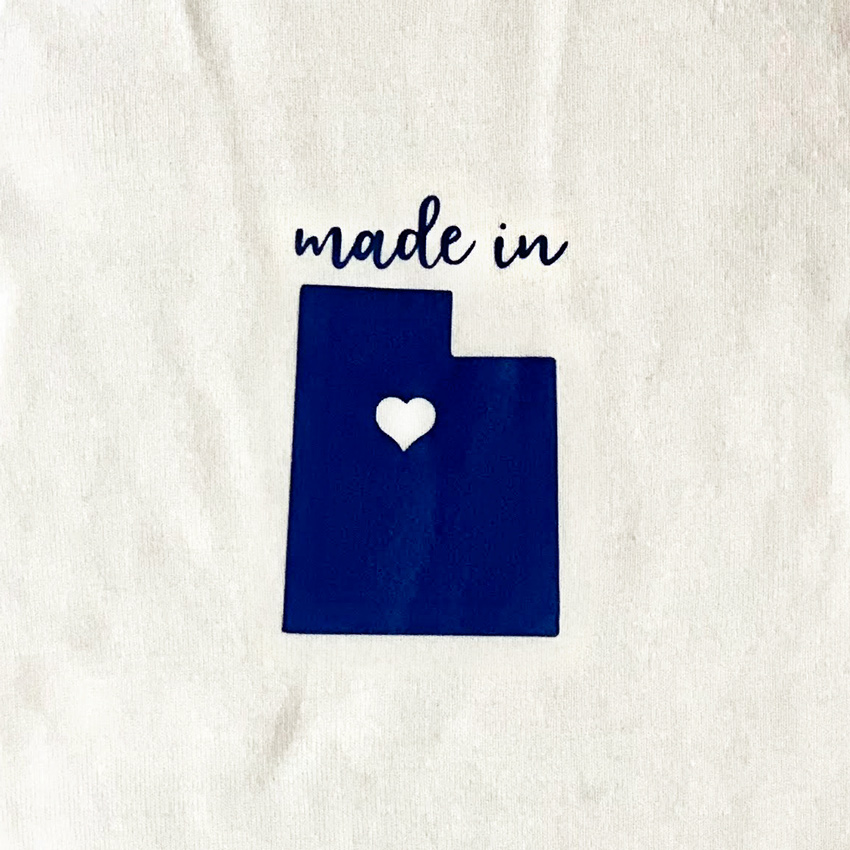
I chose her “too cute for words” file and a couple of hearts from her “11 hearts” file!
I used two colors of heart transfer vinyl from SRM. Hot Pink and Black on a light pink onesie. Wash and dry your item before your get started.
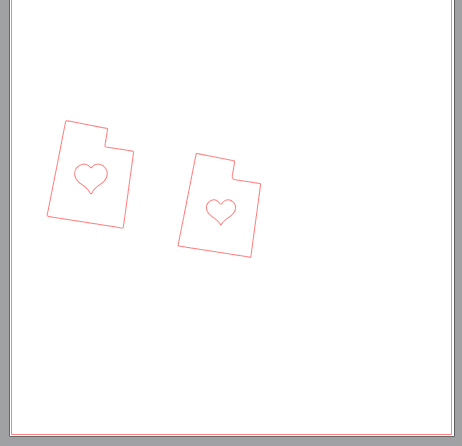
I enlarged the file just a bit to fit the onesie. And the most important part of working with heat transfer vinyl is remembering to mirror your design. Simply highlight your design, go to the Replicate window and click mirror right.
You will want to load your heat transfer material into the machine with the clear plastic backing facing down. The backing of heat transfer material will be facing up.
Start with the default cut settings for the type of heat transfer you are cutting and do a test cut. You should be able to see the cut on the heat transfer side, however, you might not be able to see the cuts if you turn the material over and look through the clear side. This is okay! Heat transfer material is VERY thin and the cuts will be very fine
Weeding your heat transfer. Once your design is cut, you can trim around the design if there is extra around. Then you will want to peel off any parts of the design that you don’t want to be ironed on, or the negative space. You can use a weeding tool for this, or just use a safety pin. Make sure and get inside of any letters like A and O! When you are done you should have the design you want to transfer left stuck to the clear backing.


Ironing the design on. Last but not least we get to iron! Read the directions on the back of your specific heat transfer, but most direct you to place your iron on a very hot setting. I used a heat resistant craft sheet between my onesie and iron. A lot of people use parchment paper, but the craft sheet worked wonderfully.
Now you will want to put your hot iron on the design for between 10-40 seconds depending on the type, again read the directions for your specific heat transfer. Make sure that you are covering all of the edges of the design with the iron. You can release it and carefully pull up the backing to see if the design has stuck or needs to be heated more. I also found that on designs larger than the iron, it was easiest to iron the design in sections rather than going back and forth across the entire design.
Once the design has transferred I like to let it cool for about 30-45 seconds and then gently peel back the clear plastic until it is completely removed. I find that letting it cool for just a short bit helps because on smooth vinyl, if it gets too hot it can pull a little bit when you are removing the backing and cause wrinkles in the vinyl. Cooling a little seems to prevent this.

Awesome! I love how this came out and it was so easy! And from everything I read, you just have to remember to wash the item inside out and dry on a cool temp!

Here’s my little grandbaby modeling her onesie with a little help from her older brother. Every time you lay her down, her feet come up and she rolls over. So it took a bit of brotherly love to get a photo!

Too Cute For Words
11 hearts