Hi Everyone:
Anita here to share with you a fun tutorial to make this Graduation Hat Wide Mouth Topper. You can find this awesome cut file here in Lori’s store and here in the Silhouette store. The Mason jars are by Ball and are 24 oz. The opening is 3.5 inches in diameter. Lori also has a cut file for a smaller Mason jar.

Here are the pieces that you will be cutting. I edited the square shaped hat topper and transformed it into a hexagon to look like the PhD graduation cap that my best friend’s daughter wore at her recent graduation.

Here is a close up of the jars for you to see what they look like.

First you want to take the long, tabbed strip and fold the tabs along the score lines. Glue the ends of the strip together to be in the shape of a circle.

Take the first circle and insert it inside the ring, gluing it to the folded tabs. This helps keep the circle in shape. Next, turn the ring over and glue the second circle over the tabs to hide them.

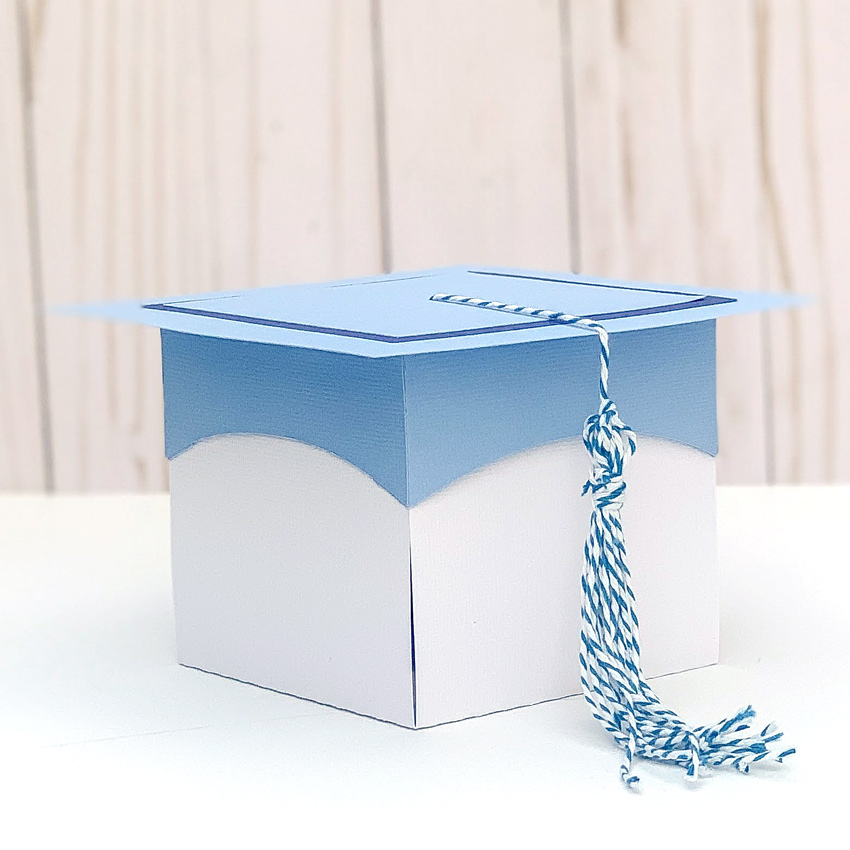
I made a tassel out of some twine in the school colors and threaded it through the hole in the larger of the two mortar board pieces. I taped the end underneath and trimmed it so that you couldn’t see it.

Next, I glued the second, smaller mortar board piece over the twine tassel end and glued the circle base to the top centering it.

Here is another photo which might be a bit easier to see the parts. These lovely toppers easily slip on and off the jar, making it easier to access the treats!
That’s it for me. Thanks for looking and be sure to check out Lori’s store for all your spring and early summer celebration needs.
Hugs,
Anita