Matchbox Drawer Card Baby Tutorial

 Hi everyone! Happy creating…I have a super quick tutorial to share with you today for Lori’s

Matchbox Baby Drawer Card or here in the Silhouette Online Design Store.  Just an easy little box and card in one.  You can make it in a matter of minutes as it goes together so quickly.  I used Lori’s new Echo Park Special Delivery Baby Girl collection.  Oh my gosh, if it isn’t precious.

First, cut your pieces in the colors of your choice.  The next two photos show that.


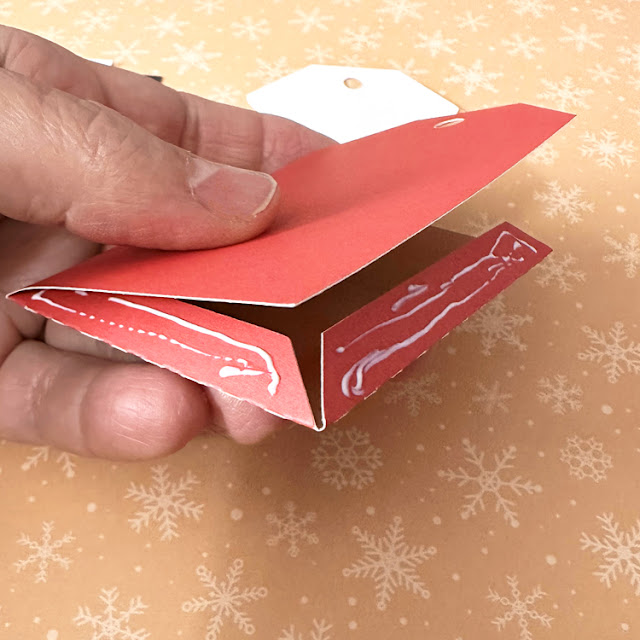
Then fold on you score lines, adhere your layers of paper.  You can see below where I added scor-tape.
Then simply fold and adhere into the box and cover.  I may have been too busy gabbing at a scrapbook retreat to get all the photos in….but you can watch Lori’s tutorial here.  She saves the day for me!
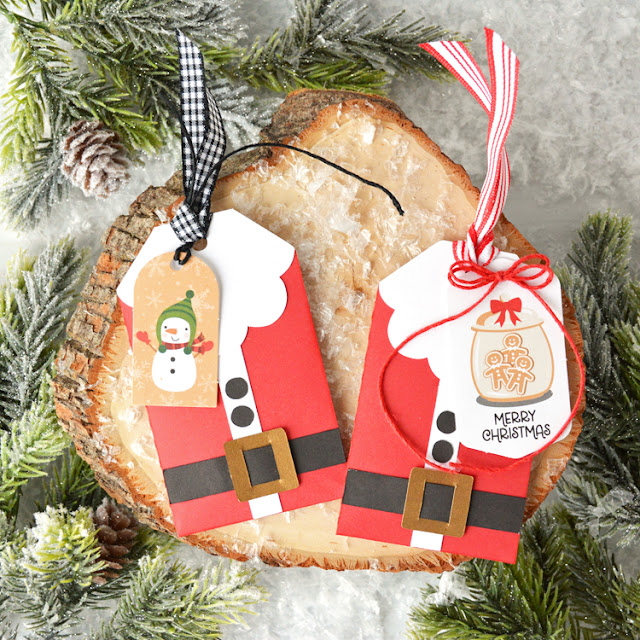
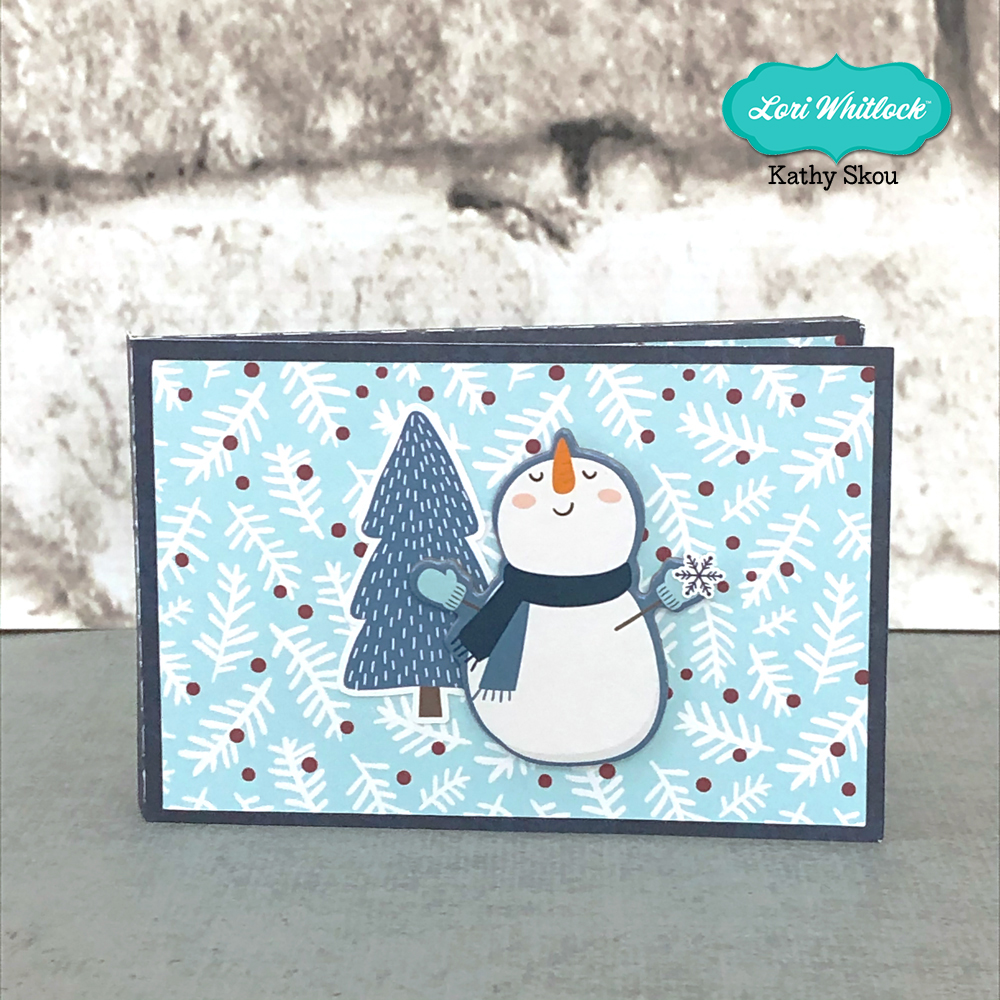
But here is how this darling little box ends up with all the amazing embellishments from the Sweet Delivery collection!
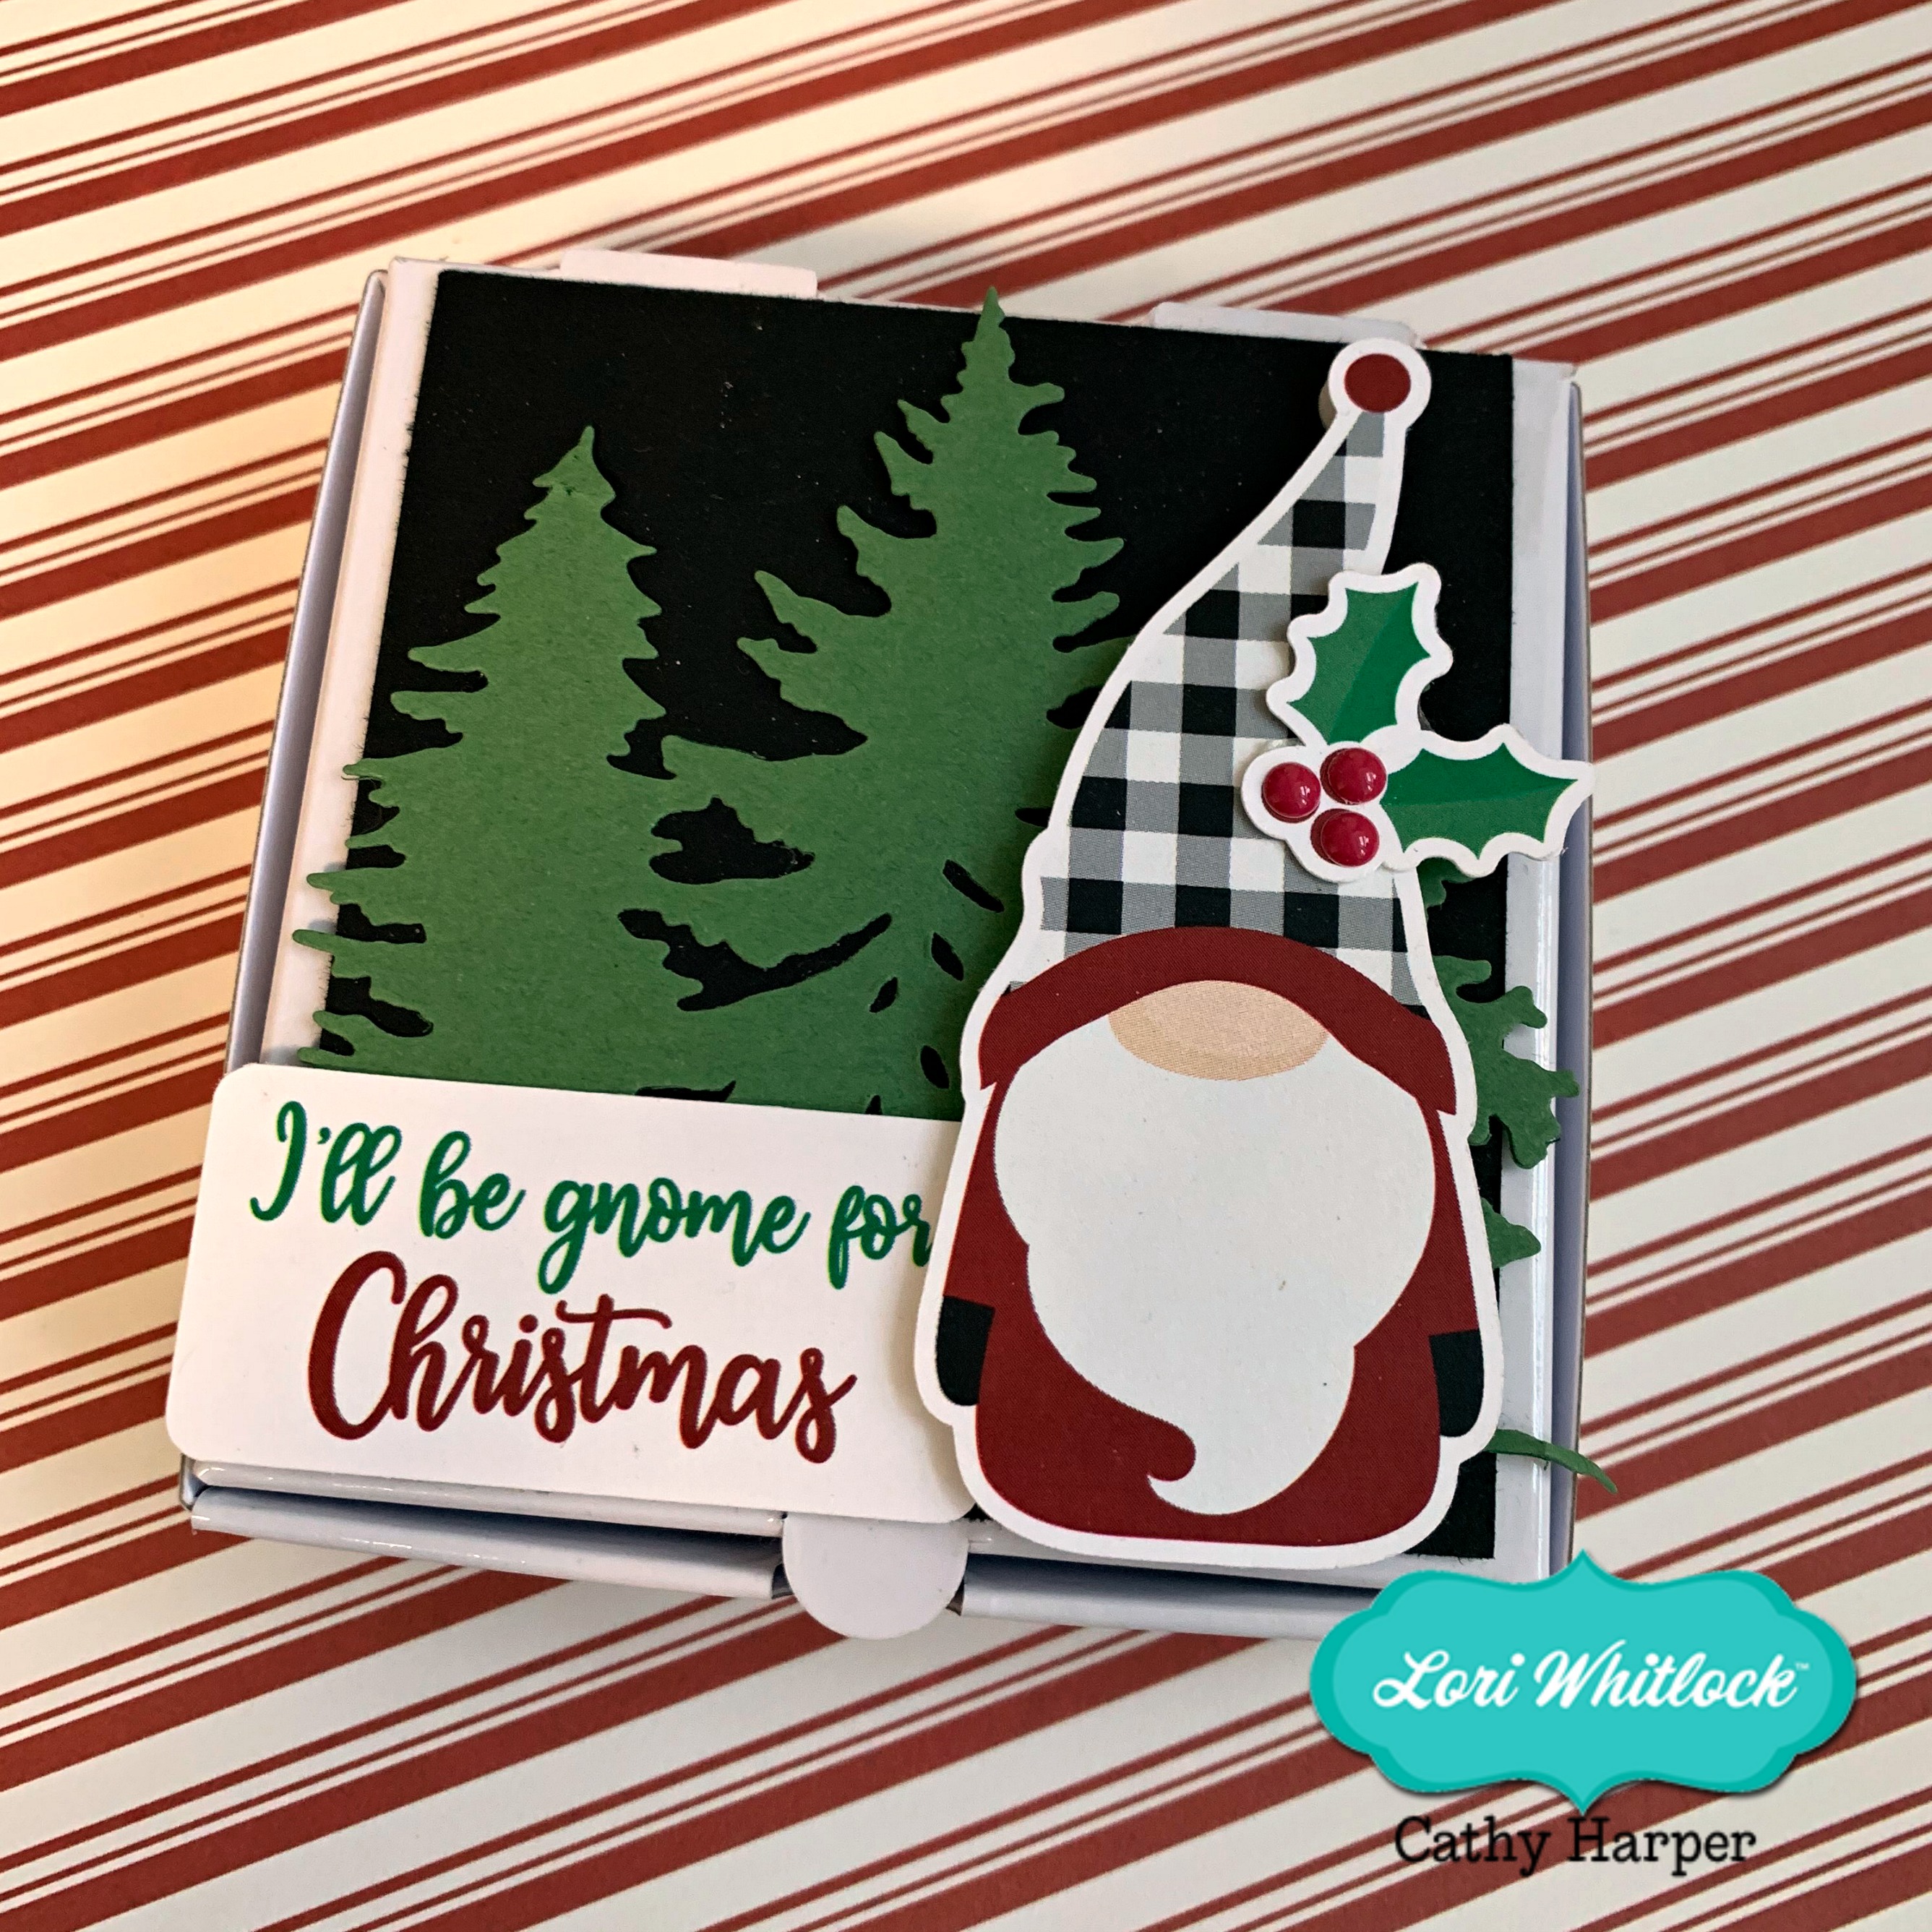
Little card right on top!


So cute!
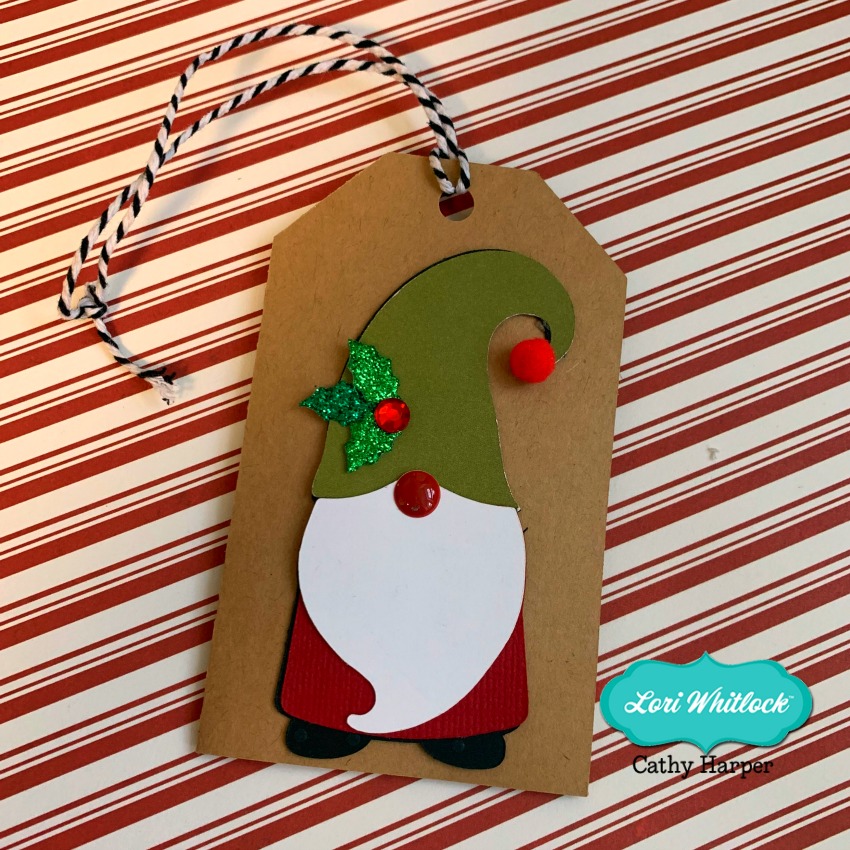
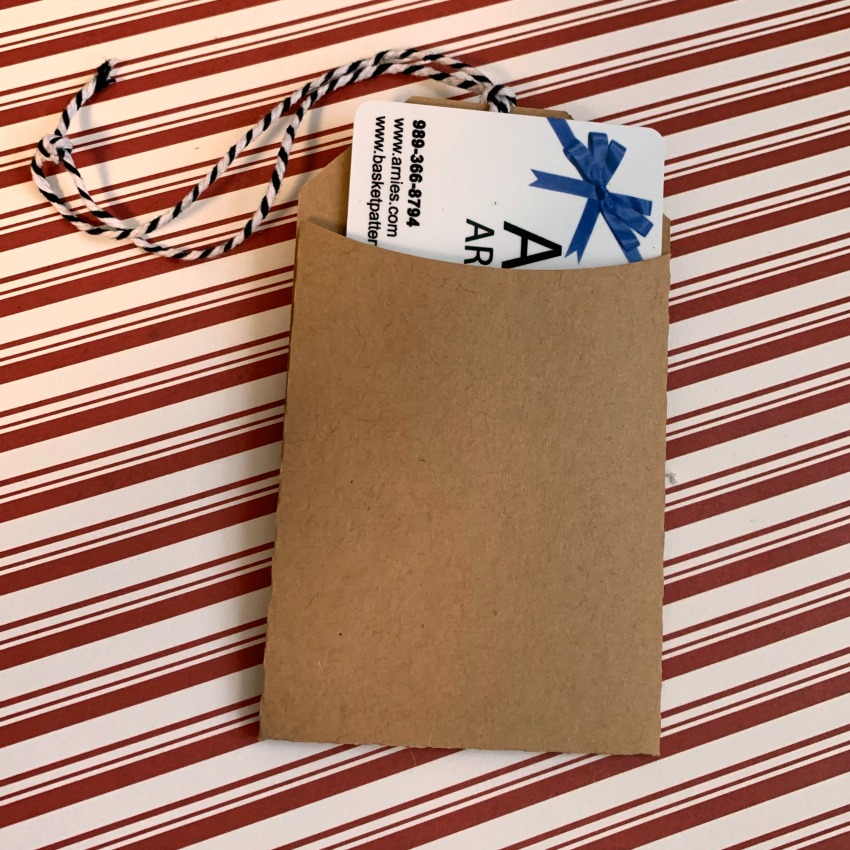
And that little matchbox drawer to stash a gift card in!  Love!
Thanks for joining us today!
Cathy


Gift Card Tag Santa Tutorial

Hello everyone, Marcia here.  Christmas is creeping up. I am a big fan of giving gift cards so my recipients can pick out their own gift but I like to make gift card holders to put them in. I selected the Gift Card Tag Santa (SVGSilhouette) to make for my gift cards this year.  There is a pocket on the back side of this tag that holds the gift card. I used Lori’s Have a Holly Jolly Christmas collection to create my tags.

These are really easy to assemble. Let me show you how.

1. Cut out the pieces from the desired pattern paper or cardstock.

2. Fold the tag along the score lines folding the flaps up. Apply glue to the flaps and adhere to the back of the tag to form the pocket.

3. Adhere the white beard and Santa suit trim to the top of the tag.

4. Slip the black belt through the belt buckle and adhere to the bottom of the tag. Add the two black buttons above the belt on the white trim.

5. Add ribbon or other embellishments as you wish.


Check out Lori’s other gift card holder designs in the store and make some of your own. Thanks so much for stopping by.
~Marcia

Gnome Last Minute Ideas

Merry Christmas everyone!  I am still obsessed with all the little gnomes this season and Lori has so many files to choose from, I needed a couple last minute gift holders…so I used some of Lori’s files to get the job done.

First up a little gnome pizza box, find the box here on the Silhouette Online Design Store  and here in Lori’s SVG Shop .  Lori’s Gnome Stickers are here on the Silhouette Online Design Store and here in Lori’s SVG Shop .  He turned out so cute, I just love the print and cut designs!  So fast and makes life so much easier.  The little pizza box is perfect for a gift card and a couple chocolates.

For my second little gift card holder, I used the brand new Gift Card Gnome Tag that you can find here on the Silhouette Design Store or here in Lori’s SVG Shop .This little tag went together in just a matter of minutes.  Yep, I will continue to be obsessed with all these little gnomes….can’t wait to see what Lori has in store as this trend continues.

Thanks for joining us today and Merry Christmas to you and your families!

Gift Card Holder Tutorial

Got Gift Cards to give?  Why not personalize the gift with a fun holder?!  Lori’s Gift Card Holder (SVG, Silhouette) is an easy way to package up a gift card, and it can be decorated to suit the occasion and the recipient!  I also like that it’s a “box” and you could wrap it if you wanted.  Take a peek…

How fun is this?   You can decorate the front and then add a sentiment on the inside.  This is super easy to assemble… I’ve outlined the steps for you below…

  1.   These are the pieces that come with the file.
  2.  Start by folding the score lines on the main piece.  All lines are folded in the same direction.
  3.   The “inside” score lines are folded in and under as shown.
  4. On the solid side of the box, fold up the sides and glue in place.  Tabs go on the inside.
  5. Repeat for the tabs and sides on the other end.
  6. Add adhesive to the inside tabs.
  7. Fold the box over so that it closes.  Glue sides down.
  8. Tuck the inside tabs “in” and press to adhere.
  9. Fold the cover along the score line and add adhesive to the inside of the tab.
  10. Glue the tab to the outside edge of the box so that when folded over it covers the gift card insert area.
  11. Add the panels to the inside cover and on the front of the cover. (for mine, I flipped one of the pieces to be blue)

Now all that is left is to decorate!  I added some embellishments from Lori’s My Favorite Winter Collection for Echo Park Paper.  That’s it for me today, thanks for stopping by to peek!

BLOG * INSTAGRAM


Apple Slider Gift Card Holder with Brigit

Hello, Everyone!  It’s Brigit today with a cute gift card holder I created using the school apple and worm layered embellishment file from the Silhouette Design Store. This is also part of the layered fall embellishment set at Lori’s shop. I made a couple of adjustments in Silhouette Studio Designer Edition to make it a slide out gift card holder.

I created rhinestone holes, (size 1 spacing .2) around an internal offset of the apple so I could stitch together a front and back layer using some Doodlebug twine.

The stitching at the top of the apple is only on the front, I needed a gap so the apple core with gift card could slide in and out.

To create the apple core I made an internal offset of the apple and used one of the nested scalloped circles, (Silhouette store here) to subtracted bites from it, I did this a couple of times. The placeholders are from one of the Christmas ornament gift card set, (Silhouette store here).

A cute way to give a back to school gift!  The patterned paper used is by Doodlebug and sentiment is from My Creative Time.

Thanks for stopping by and have a wonderful day!

//