Chick Hexagon Pop-up Card

Hello everybody, Marcia here today. I am so excited, I am a (great) auntie again! My niece’s family just got bigger with the addition of a sweet little girl. I needed a welcome baby card to send her along with my baby gift. This new Hexagon Pop Up Chick Card (SVG, Silhouette) caught my eye. I love how bright and cheery it is. Despite being an Easter card, if I added a baby sentiment I thought it would work. I used the Lori Whitlock I Love Crafting collection along with some cardstock.

Stop by the Lori Whitlock YouTube tutorial for instructions on how to assemble the hexagon pop up cards. Don’t worry about how you will mail it, because these awesome cards fold flat and fit in an A2 envelope!

There are lots more pop up card designs in the shop. Be sure to check them all out. Thanks so much for stopping by. Have a great week.

~Marcia

Bunny Banner Home Décor

Hello crafty friends! Aimee here today. Easter is a little over a week away and I have been a busy little bee decorating my house with bunnies, Easter eggs, and springy flowers. After a long cold and dark Winter, I am ready for some light and refreshing pastel colors and happy little bunnies!

Today I wanted to share an idea of using some of Lori’s svg files to help you along with your Spring/Easter decorating. On my beautiful tiered tray set I have 4 different files. There are the adorable boy and girl Hexagon Easter Bunny Boxes (Lori’s Shop, Silhouette) and the Carrot Favor Boxes (Lori’s Shop, Silhouette) which I made a couple of years ago and held onto because they are just too stinking cute and I couldn’t give them away. But today I want to show you how I made the sweet little bunny banner that is draped on my tiered tray set. I made a quick little tutorial on how to create this banner using the Layered Bunting 2 (Lori’s Shop, Silhouette) and the Easter Bunny Set (Lori’s Shop, Silhouette). In this picture below you can see just how much paper projects can add to home decorations. And I am LOVING how adorable the banner turned out! If anyone is interested, I used Lori’s Echo Park Easter Wishes and All Girl collections for this project.

To get started, I pulled up both of the files to get an idea of how they would fit together. When you pull the banner pieces up you will see just an outline. I colored them in for my tutorial.

I knew I would need at least 6 banner pieces so I duplicated the banner pieces and added the bunnies to each to get an idea of what it would look like and what colors I wanted to use.

And also I needed 2 banners for the layers  of my tiered tray set but I wanted one of them to be bigger for the middle layer. So I duplicated the entire banner set and then resized it to make it bigger. As you can see in the picture, the small banner pieces measure 1.25″ wide and the big banner pieces measure 1.50″ wide. These can be resized to fit any project you may have.

Here you can see all of the pieces cut out using different patterned papers. Now to start adhering all of these pieces together. A quick tip…glue the top of the banner pieces before the bunny rabbits! That way you’ll know where to place the bunny without over lapping the pieces.

Now that all of the pieces are adhered together we can start stringing them together.

For this step, I used some pink floss and a needle. I wanted to use some twine but the holes in the banner pieces are so small it would not work. But I’m liking the pink floss and think it actually looks better and the needle made it quick and easy to assemble the banner.

Once you have all of the banner pieces assembled, tie a small knot on each end to keep the pieces from sliding off.

To attach the banners to my tiered tray I used some very sticky tape runner to the tops of the banner pieces.  And now it’s ready to be set out for all to admire! I sent pictures to my sister and she gushed over it!

So that’s all from me today! I really hope everyone is happy and healthy and ready to brightened up their space with a beautiful and cheery bunny banner!

Happy Easter to all!

Aimee


Easter Bunny Belly Box Tutorial

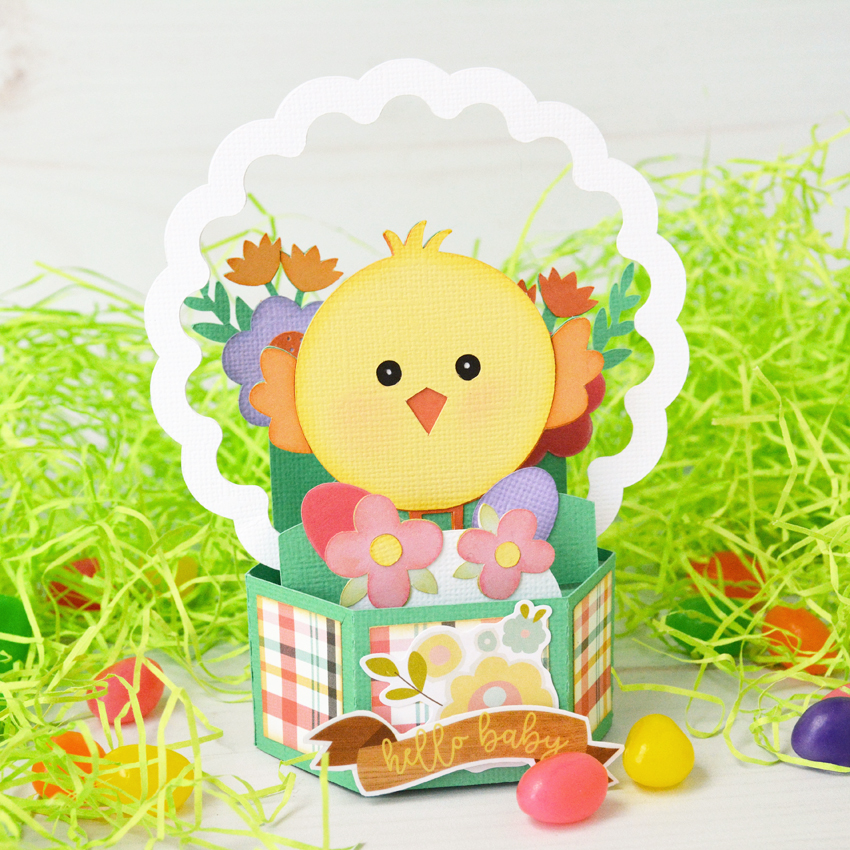
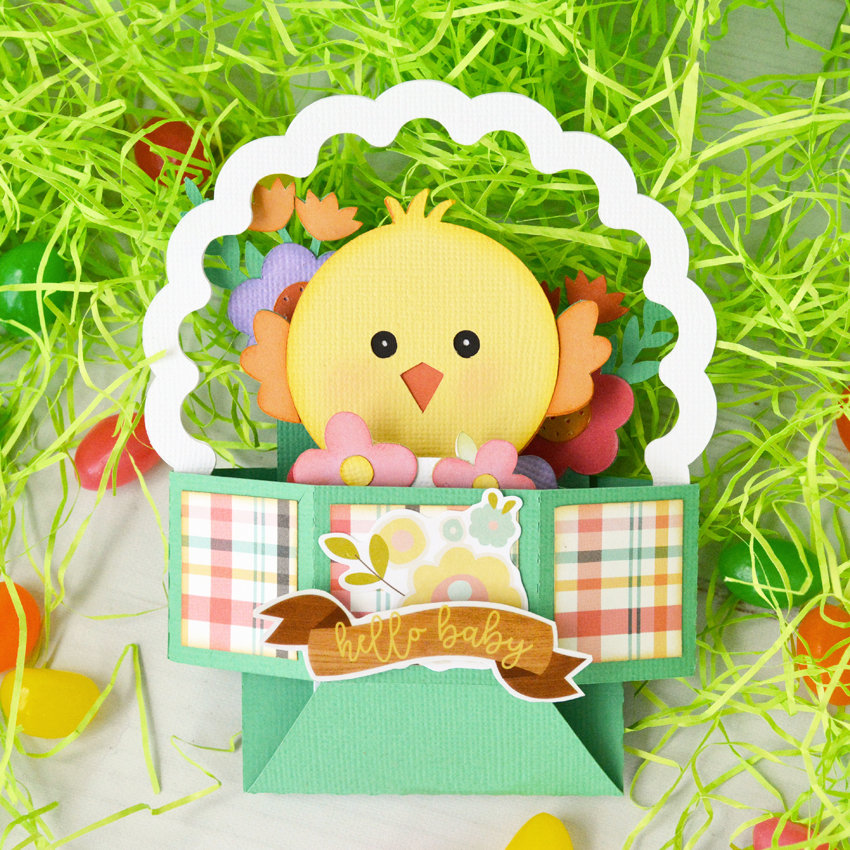
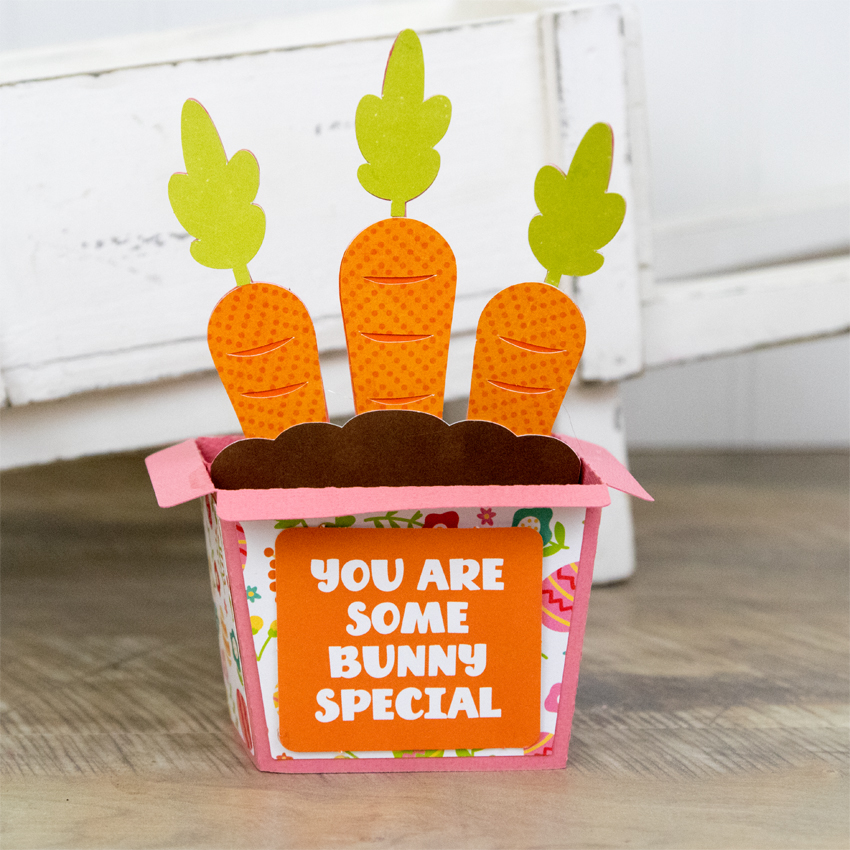
Hi there paper crafting friends!  It’s Michelle Starcher, aka the Bookish Designer, hopping onto the blog to walk you through the steps to create Lori’s Belly Box Easter Bunny  (SVGSilhouette).  This adorable little treat holder is part of the 2021 March Kit of the Month (SVG), which is FREE with any $20 purchase from the Lori Whitlock Shop during the month of March.  Look for the coupon code in the item description.

In this photo tutorial, I will break down the steps to create this cute little bunny box!  I wanted my box to be a little bit bigger than the original design.  After opening the file in the Cricut Design Space, I increased the size by dragging the arrow in the bottom right corner.  If you are resizing a file, do it while all the elements are still grouped to keep the ratio between elements.  I set my file size to 13.848 x 11.5″ since my Cricut Maker doesn’t like to cut files larger than 11.5″ without using oversized papers.  The process is similar in Silhouette.

After cutting the file pieces, I inked the edges of the pieces.  After inking all of the individual pieces, I attached the paw pads to the paws and the ears to box bunny face.  At this point, it doesn’t matter which side of the bunny make the front, unless you are like me and your cardstock is a different color on each side.**

Next, you are going to attach the black rectangle to the back of the bunny face.  At this point, I folded the bow as well.  The pieces fold back to form the bow, and then you “tie” the matching strip around the bow. Hopefully, you can see the how the bow comes together in the picture below.

Attach the box-less bunny face over the back of the box bunny to cover the black rectangle.  Fold the box along the score marks, and add adhesive to the tabs on the box.

Attach the tabs to the front of the bunny and the front rectangle to create the box.  Then add your paws, bow, and bunny nose using foam tape.  (You can use regular adhesive, but I always like to add a little “pop” to my projects!)

Fill your Bunny Belly Box with candy, and it is ready to give to some-bunny special this Easter.

Don’t forget this adorable little treat holder is part of the 2021 March Kit of the Month (SVG), which is FREE with any $20 purchase from the Lori Whitlock SVG Shop during the month of March.  Look for the coupon code in the item description.

Until next time,

Michelle

**Since my cardstock was light gray on one side and dark gray on the other, I cut two copies of the bunny belly box.  I cut off the box portion of the second one and attached it to the front of my bunny box.  I did this because I didn’t want my bunny face and the box body to be two different colors.**


Box Card Easter Flower Crate

Hi Everyone:

Anita here from MA where we are practicing social distancing and trying to help end this pandemic.  My creative endeavors have kept me going while having to be at home so much.  Lori has lots of wonderful cut files that you can easily whip up to bring some joy to a friend or loved one.  I created this Box Card Easter Flower Crate which was so easy to put together and as you can see in the second photo, folds flat for mailing.  You can find this cut file here in Lori’s SVG shop and here in the Silhouette Design store.  I used some of Lori’s Echo Park collections including her newest ones called All Boy and All Girl.  I also used My Favorite Christmas, My Favorite Winter and Easter Wishes.

Thanks for looking and have a great day.

Hugs,

Anita

Box Card Carrots

Hi everyone!  Corri here today sharing my version of Lori’s cute new Carrot Box Card (Silhouette, SVG).  I used paper from the Echo Park Easter Wishes Collection.

Instead of cutting the bunny that comes with the box, I added a cute sentiment from the collection.  I love how the orange matches the carrots.  This adorable box card is super simple to assemble!  Add a chocolate Easter bunny and you’ve got a cute gift for a friend.

Thanks so much for stopping by today!