Easter Rainbow Box Tutorial

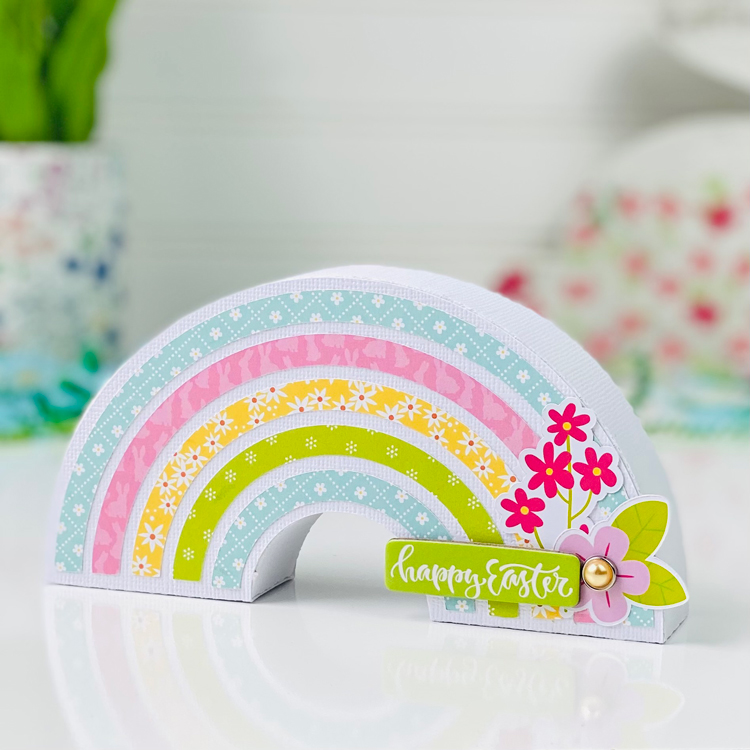
Hello crafty friends! Aimee here with you and I want to share a tutorial today on the 3D Rainbow (Lori’s SVG, Silhouette). And if you know me, then you know I’m always looking at the SVGs and thinking of other holidays/occasions to create the files for. The 3D Rainbow box I have for you today is for Easter but the file was originally created for St. Patrick’s Day. I used the Lori Whitlock Spring Fling and Easter Wishes papers on this project and I think it turned out so very cute! The added flower stickers are from the Easter Stickers (Lori’s SVG, Silhouette).
To start this project, let’s get to cutting out the pieces in the file. While I had the project pulled up in my Silhouette design studio, I changed the colors to get an idea of how I wanted this project to look. I chose softer Easter colors.
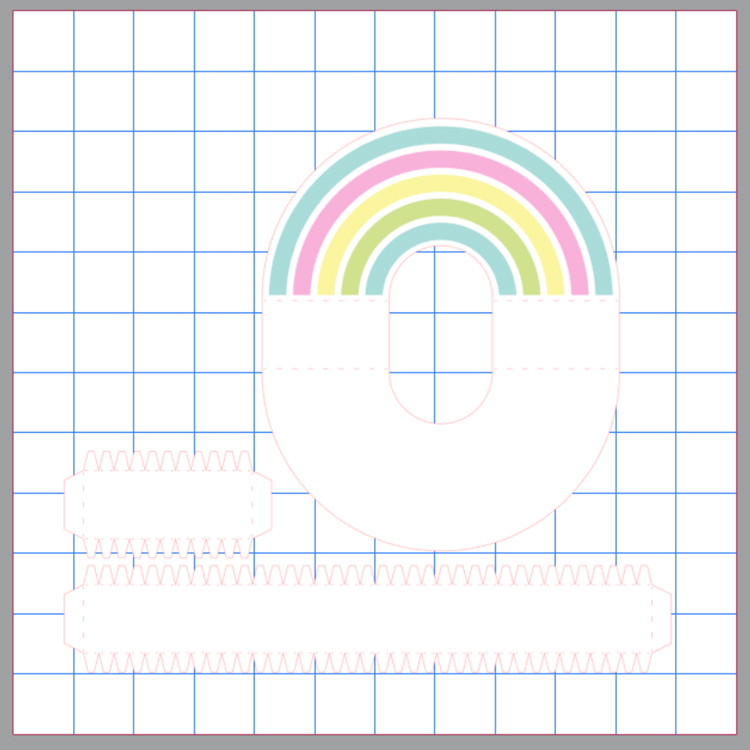
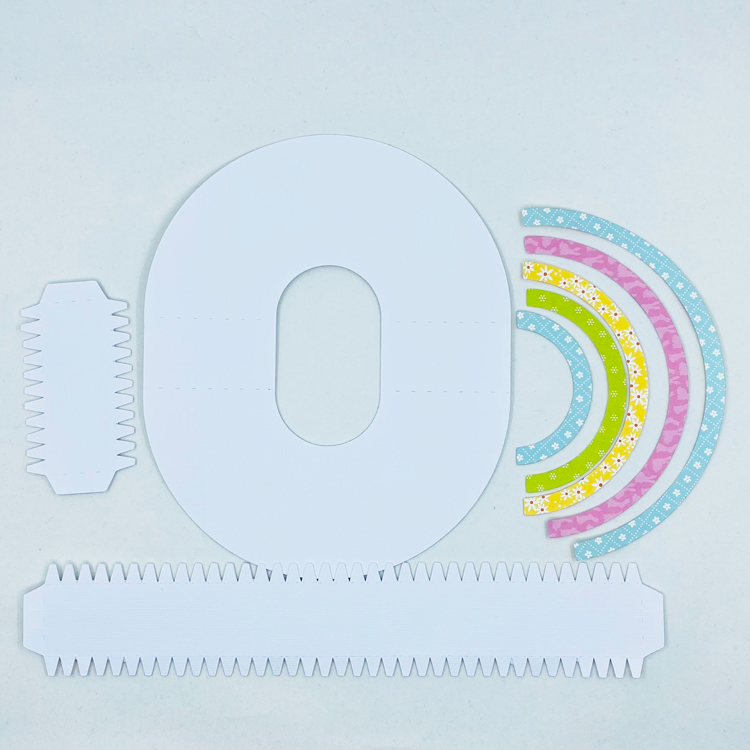
Here are the pieces cut out. I used a sturdy piece of white cardstock for the main box piece. If taken care of while storing, these pieces will last over the years! I still decorate my house with Lori Whitlock projects from a few years ago.
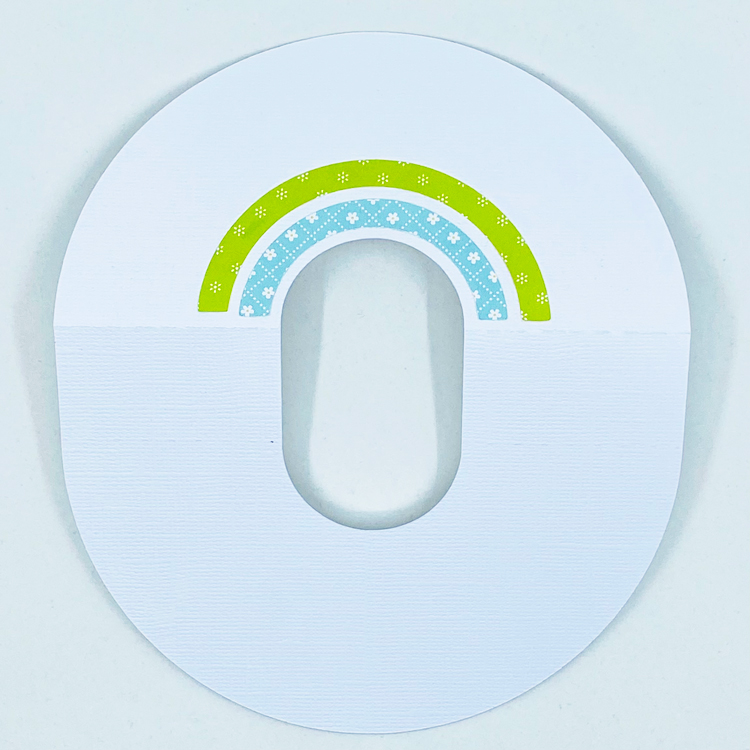
Next step is to add the rainbow pieces. I find it easier to adhere these pieces when the box is flat on my desk. To help with lining up the rainbow, I folded the box piece so I could see where the bottom line was. Finish adding all of the pieces and we are ready to move onto the next step.
Next I added the tabbed pieces on to make the rainbow into a box shape. I conditioned the pieces to curve (by running the pieces along the edge of my table) same as the box and then folded the tabbed pieces in.
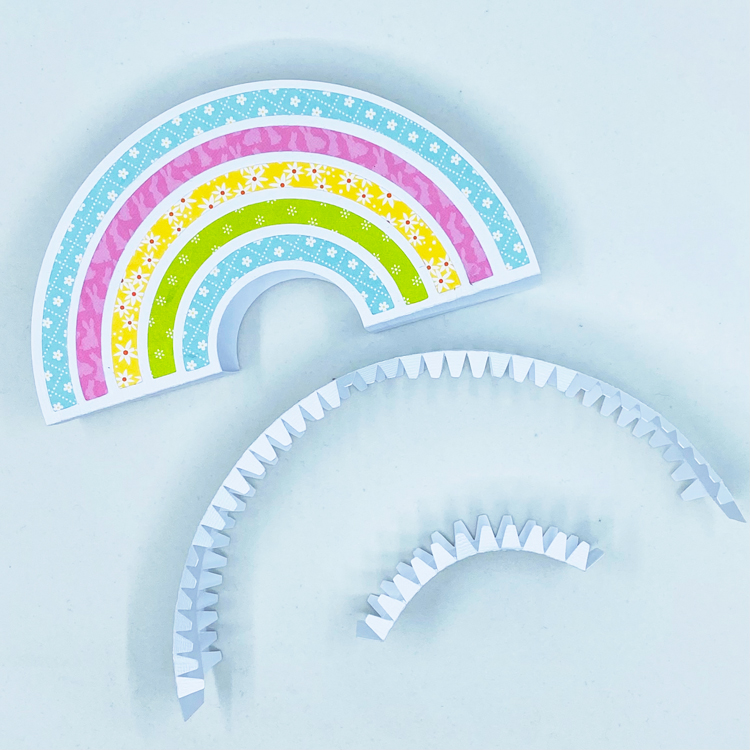
I found it easiest to adhere the bottom tabs down to the cardstock first.
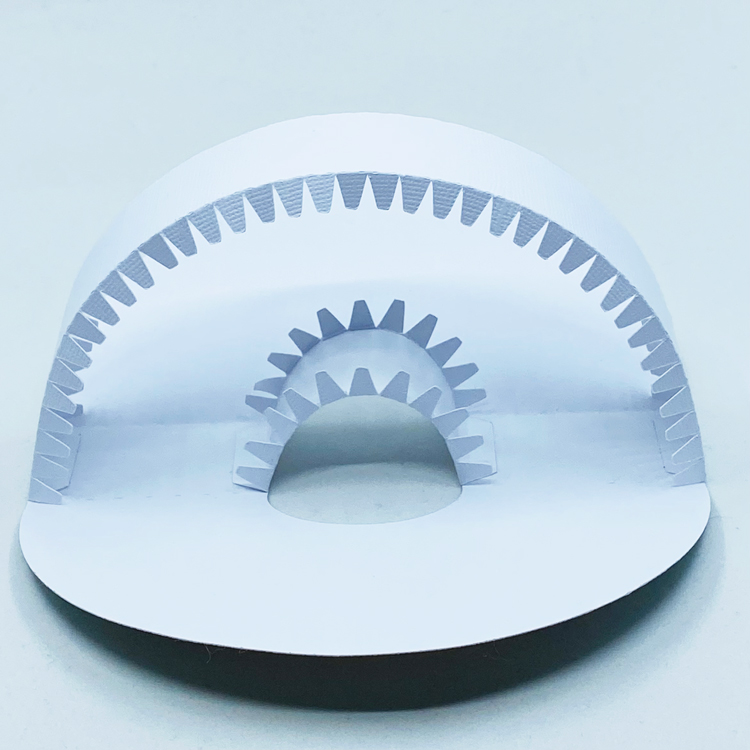
Tip: Start with adhering the front first because of it being the most viewed side!! I adhered the front first so that I could move the pieces around with my fingers and get it just right. Now add dots of glue to the back side tabs to close the box up.
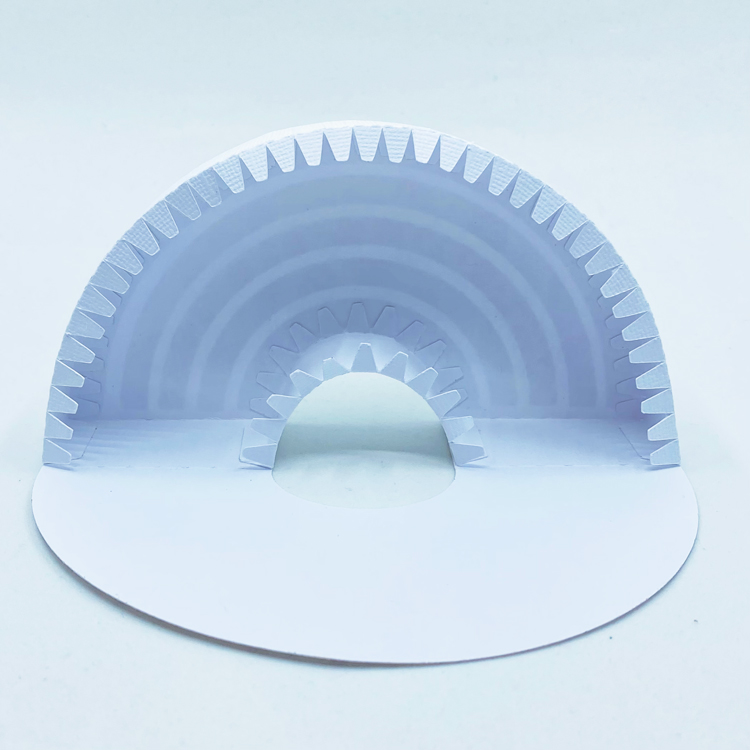
A little tip I have on keeping the front and back up while the glue is drying is to use little pieces of washi tape. The pieces of washi will come right up without tearing the paper.
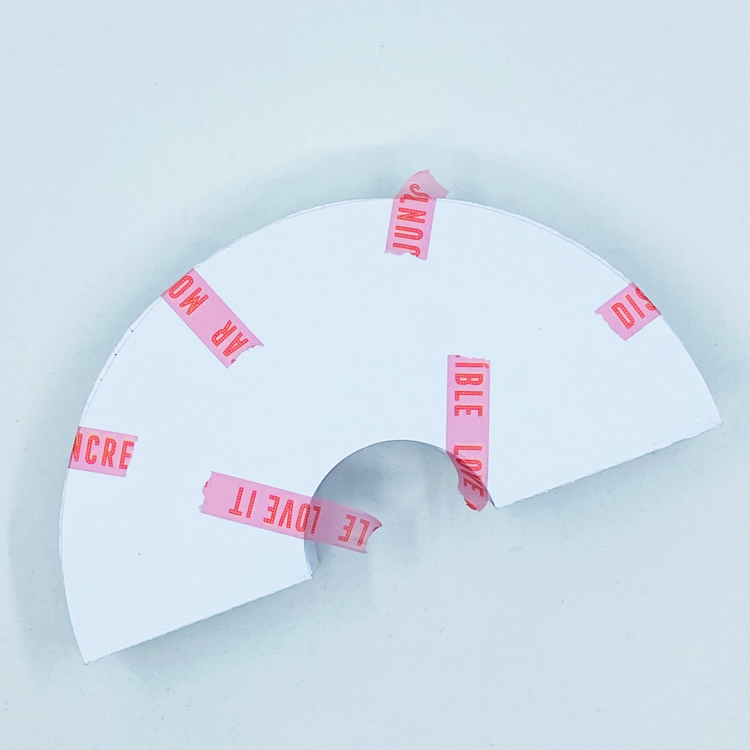
After the glue is completely dry (and washi gone) it’s time to have fun decorating your sweet little rainbow!

While working on this project, I was thinking this project would look absolutely adorable on my mantle with my Easter bunnies or on my tiered tray over in the kitchen!

Thanks for stopping by today!

Aimee


Easter Belly Boxes

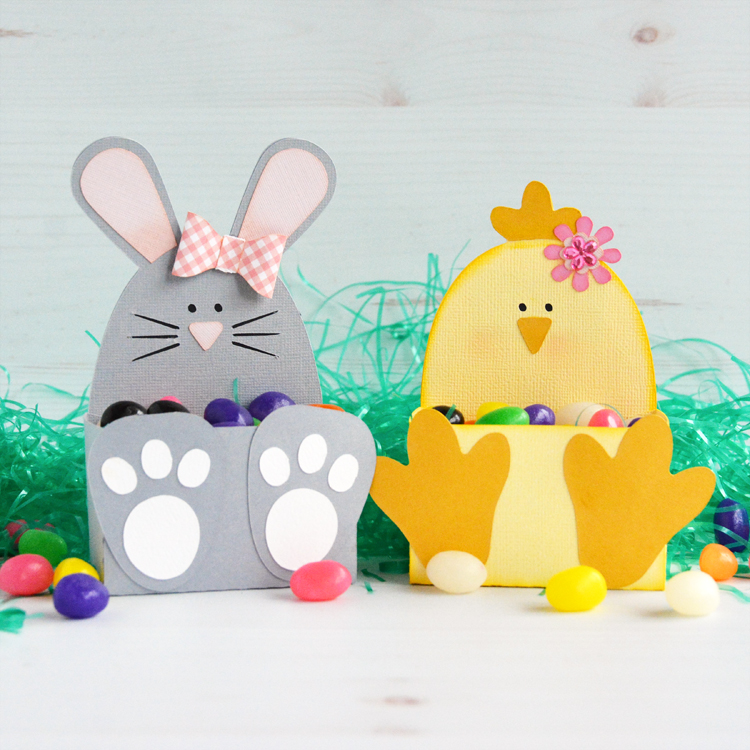
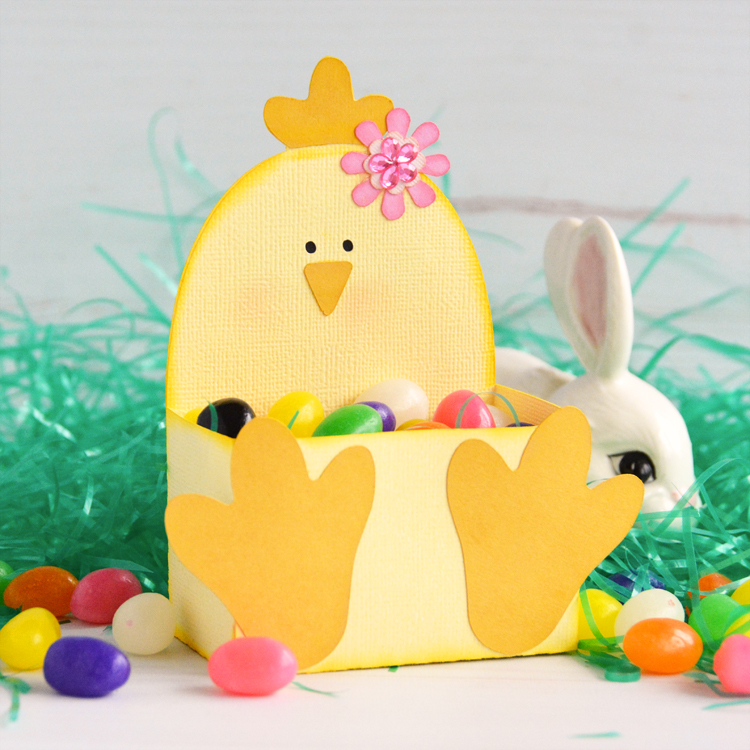
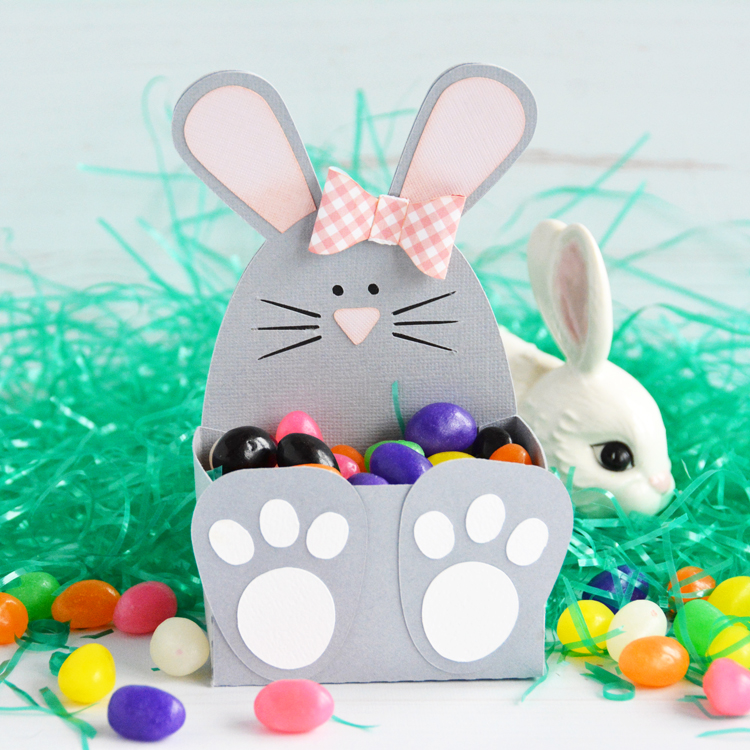
Hello everyone! Marcia here today. Since I have Spring fever but its still snowing here, I decided to get busy making some Easter Belly Boxes for my nieces and nephews. The belly boxes come in an array of animals and they are perfect for Easter baskets. I chose the Bunny (SVG, Silhouette) and the Chick (SVG, Silhouette) Belly Boxes. For a quick tutorial, you can see this blog post.

Not only are they adorable but their bellies hold plenty of candy!

Lori has lots of Easter ideas in her shop. Go check them all out and have some fun making your own Easter belly boxes!

Thanks so much for stopping by.
~Marcia

Bunny Banner Home Décor

Hello crafty friends! Aimee here today. Easter is a little over a week away and I have been a busy little bee decorating my house with bunnies, Easter eggs, and springy flowers. After a long cold and dark Winter, I am ready for some light and refreshing pastel colors and happy little bunnies!

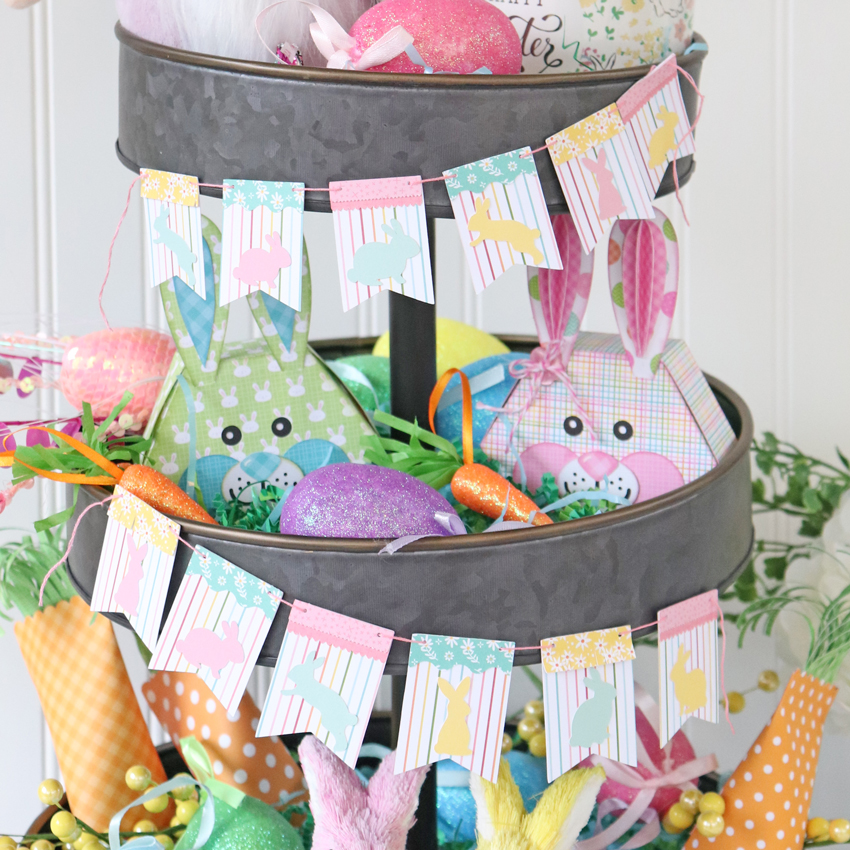
Today I wanted to share an idea of using some of Lori’s svg files to help you along with your Spring/Easter decorating. On my beautiful tiered tray set I have 4 different files. There are the adorable boy and girl Hexagon Easter Bunny Boxes (Lori’s Shop, Silhouette) and the Carrot Favor Boxes (Lori’s Shop, Silhouette) which I made a couple of years ago and held onto because they are just too stinking cute and I couldn’t give them away. But today I want to show you how I made the sweet little bunny banner that is draped on my tiered tray set. I made a quick little tutorial on how to create this banner using the Layered Bunting 2 (Lori’s Shop, Silhouette) and the Easter Bunny Set (Lori’s Shop, Silhouette). In this picture below you can see just how much paper projects can add to home decorations. And I am LOVING how adorable the banner turned out! If anyone is interested, I used Lori’s Echo Park Easter Wishes and All Girl collections for this project.

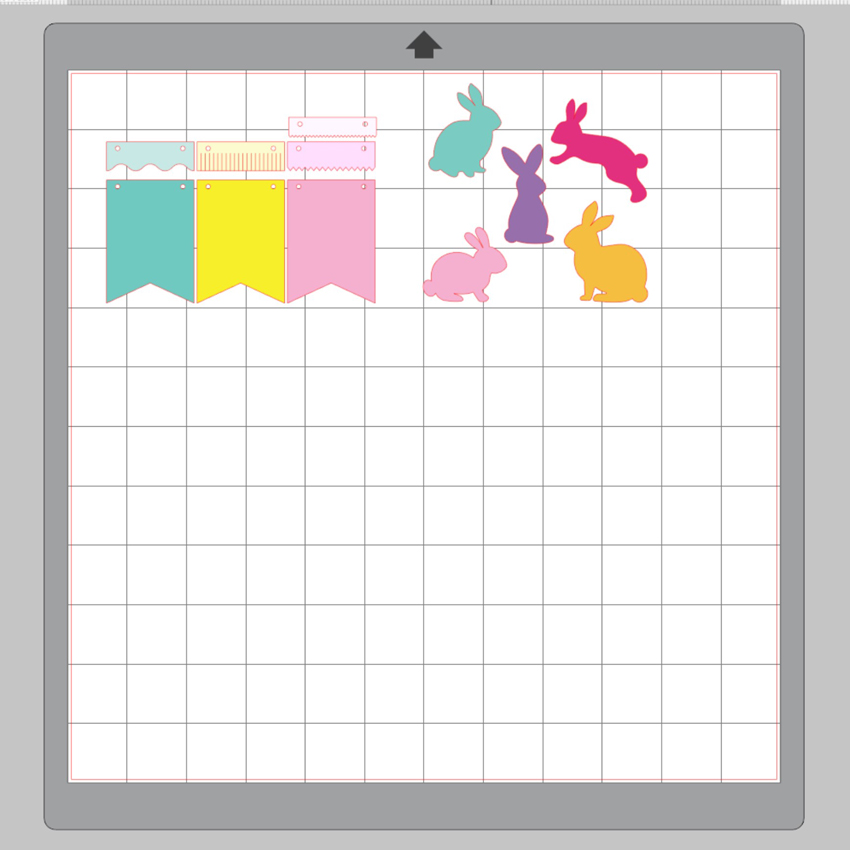
To get started, I pulled up both of the files to get an idea of how they would fit together. When you pull the banner pieces up you will see just an outline. I colored them in for my tutorial.

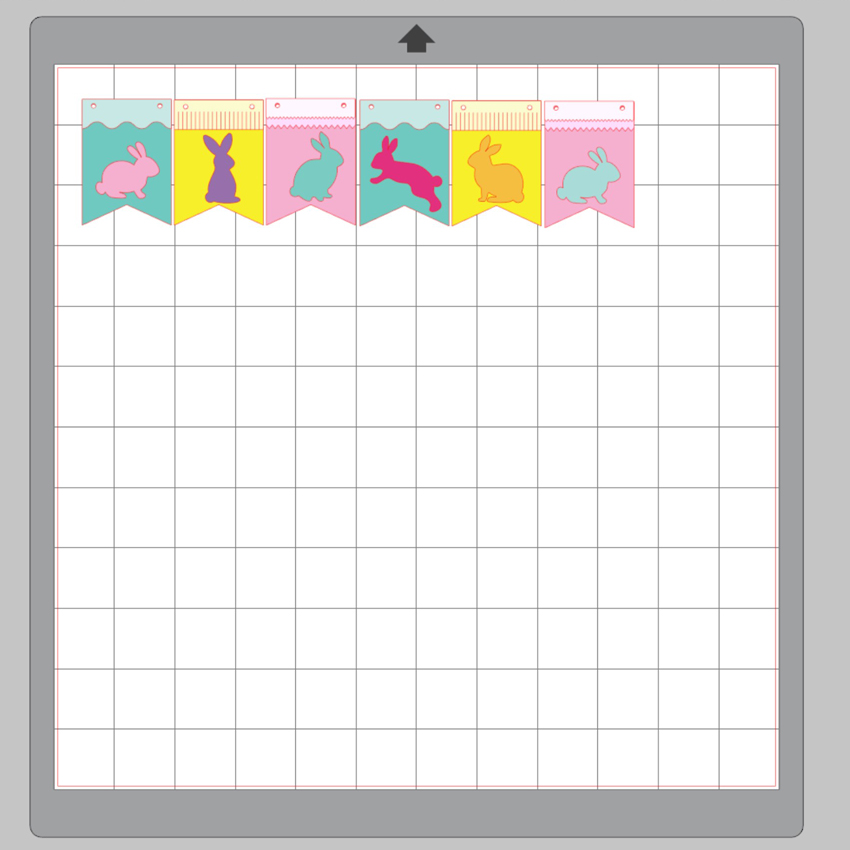
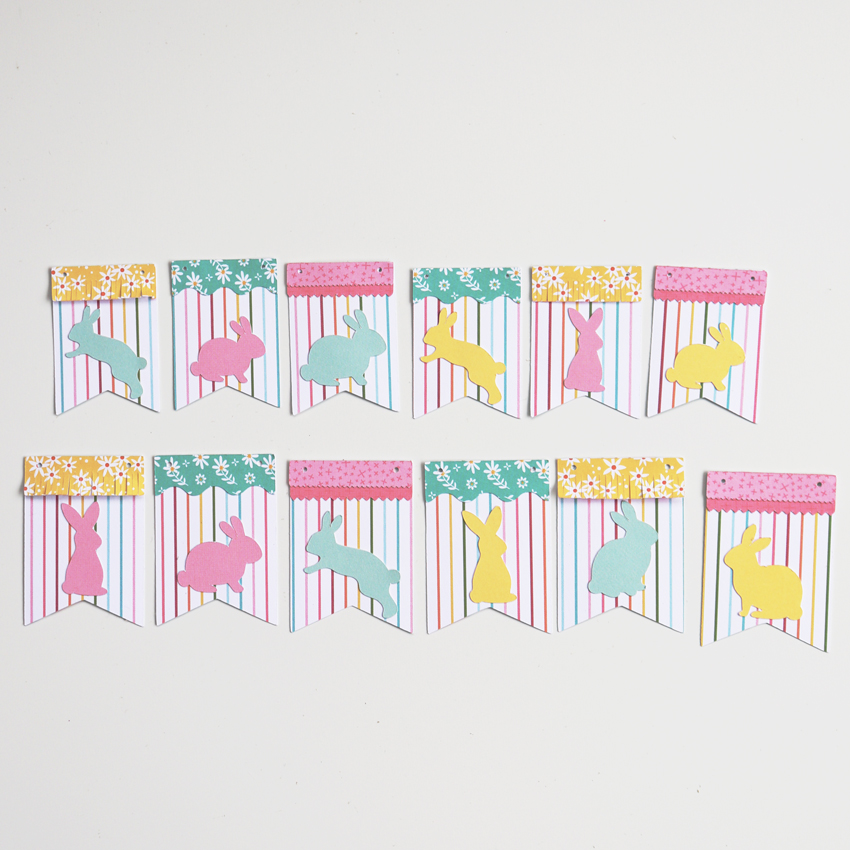
I knew I would need at least 6 banner pieces so I duplicated the banner pieces and added the bunnies to each to get an idea of what it would look like and what colors I wanted to use.

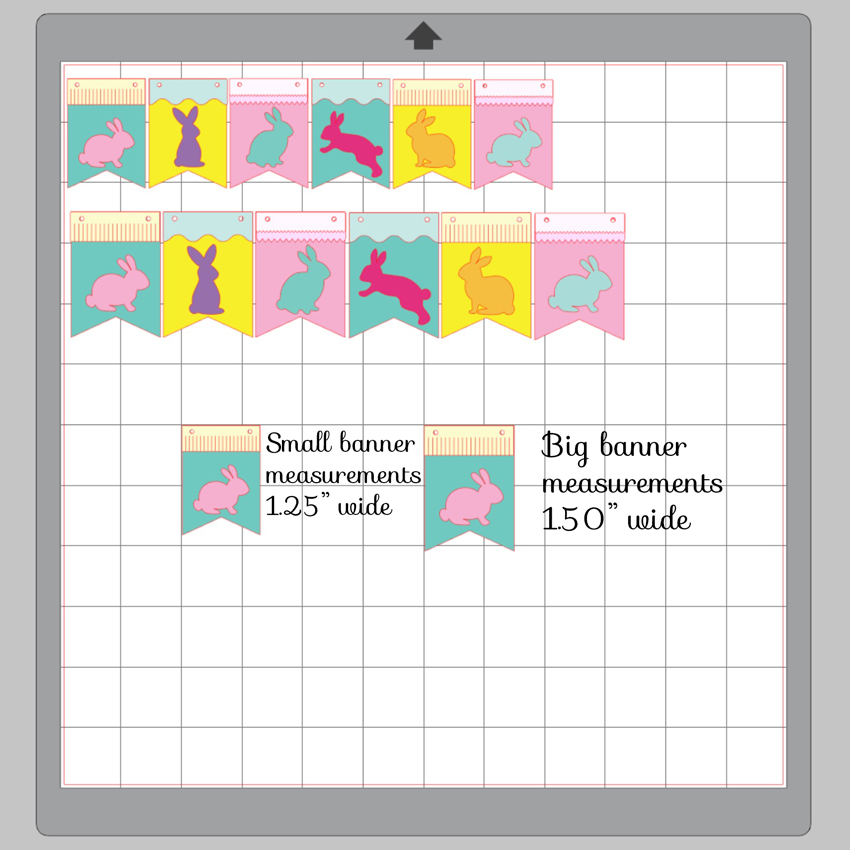
And also I needed 2 banners for the layers  of my tiered tray set but I wanted one of them to be bigger for the middle layer. So I duplicated the entire banner set and then resized it to make it bigger. As you can see in the picture, the small banner pieces measure 1.25″ wide and the big banner pieces measure 1.50″ wide. These can be resized to fit any project you may have.

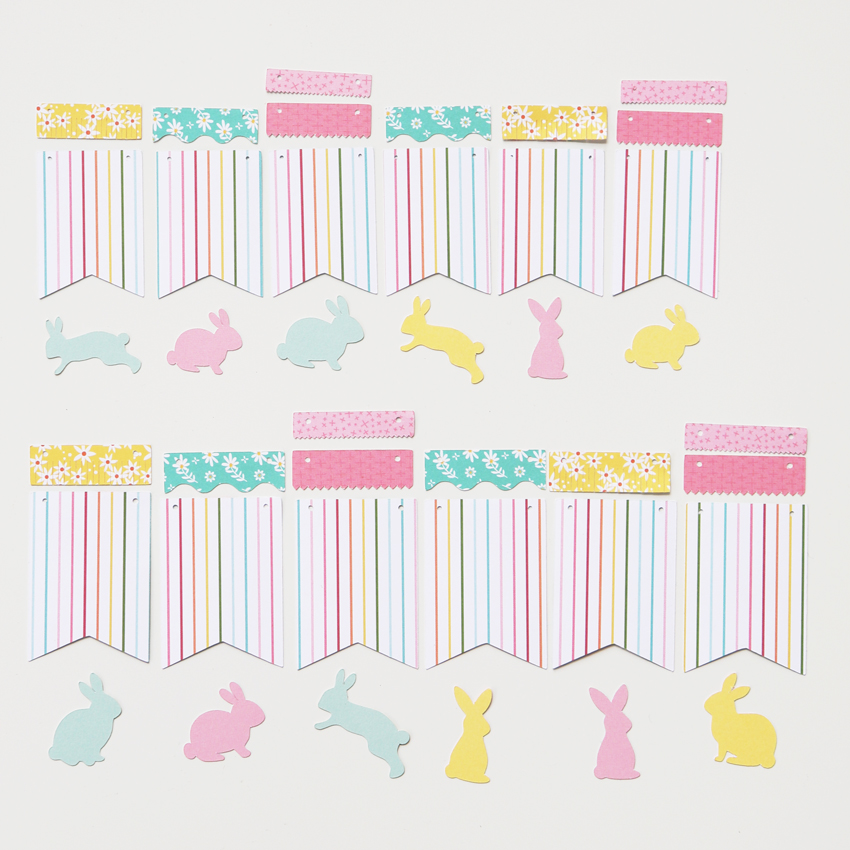
Here you can see all of the pieces cut out using different patterned papers. Now to start adhering all of these pieces together. A quick tip…glue the top of the banner pieces before the bunny rabbits! That way you’ll know where to place the bunny without over lapping the pieces.

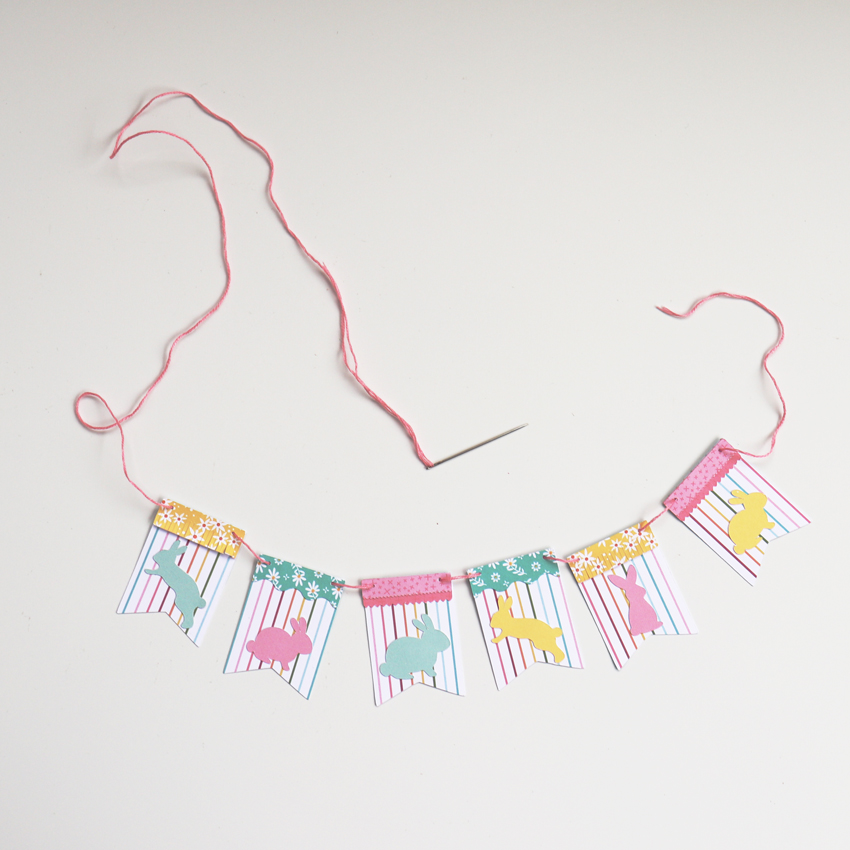
Now that all of the pieces are adhered together we can start stringing them together.

For this step, I used some pink floss and a needle. I wanted to use some twine but the holes in the banner pieces are so small it would not work. But I’m liking the pink floss and think it actually looks better and the needle made it quick and easy to assemble the banner.

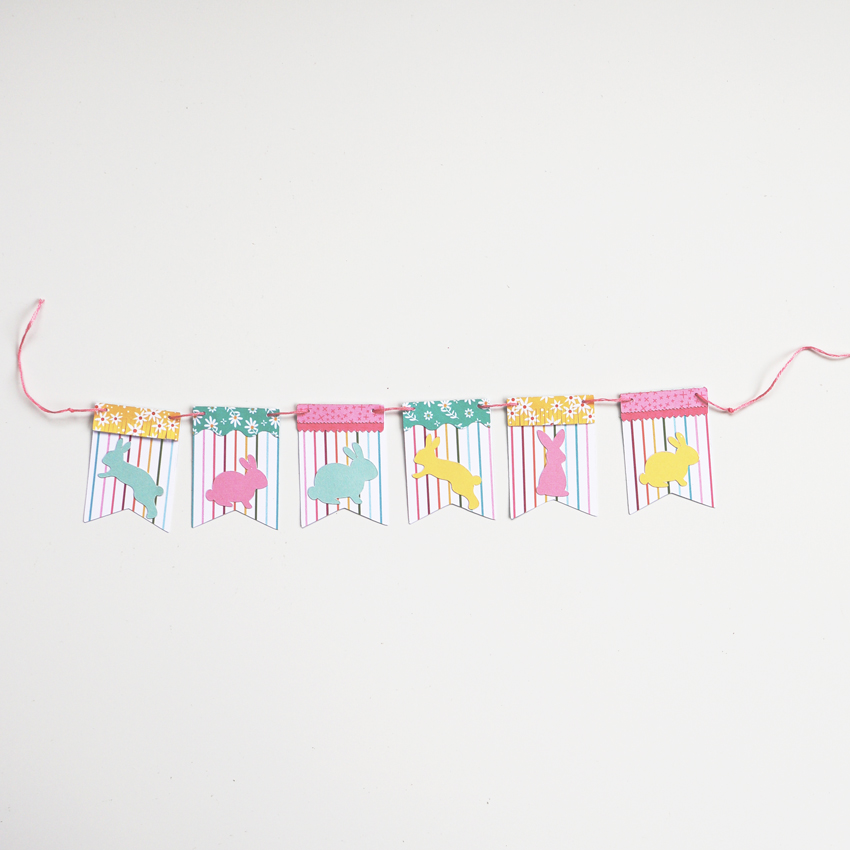
Once you have all of the banner pieces assembled, tie a small knot on each end to keep the pieces from sliding off.

To attach the banners to my tiered tray I used some very sticky tape runner to the tops of the banner pieces.  And now it’s ready to be set out for all to admire! I sent pictures to my sister and she gushed over it!

So that’s all from me today! I really hope everyone is happy and healthy and ready to brightened up their space with a beautiful and cheery bunny banner!

Happy Easter to all!

Aimee


Doodlebug Design Cut File Feature: Bunny Train

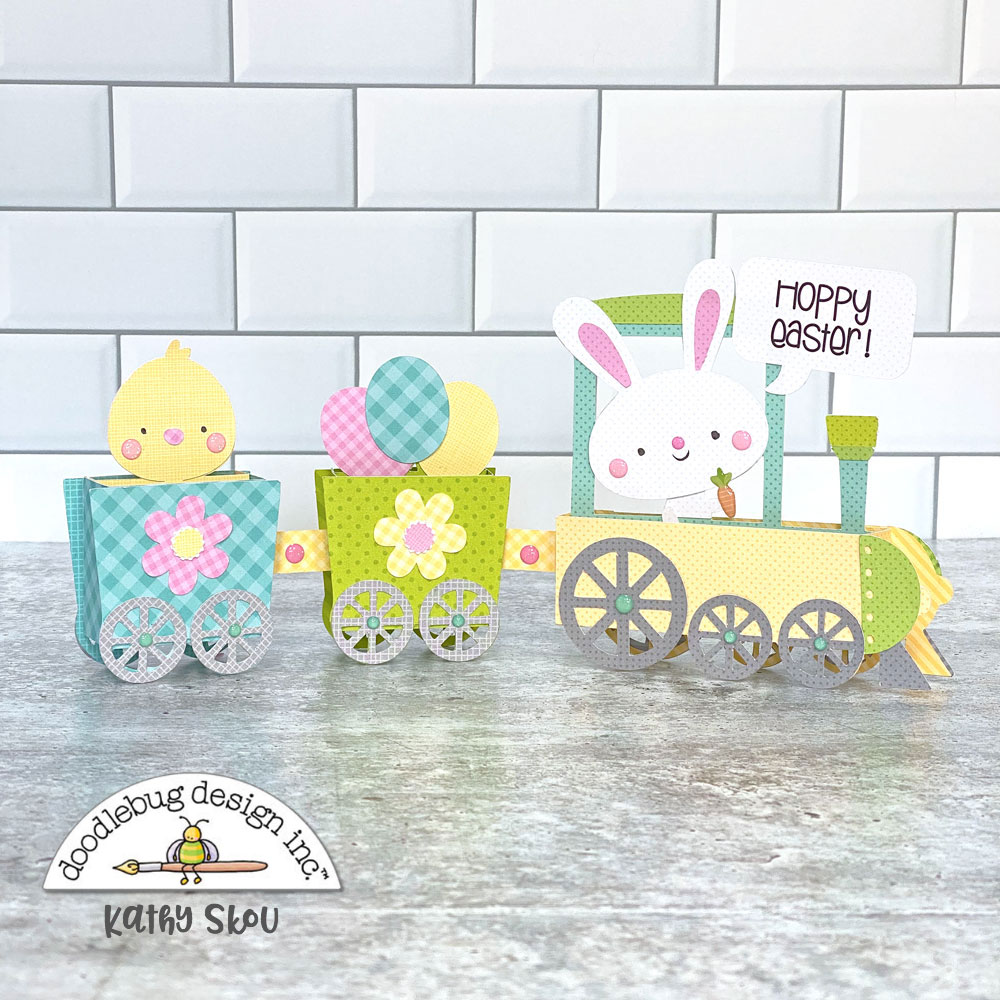
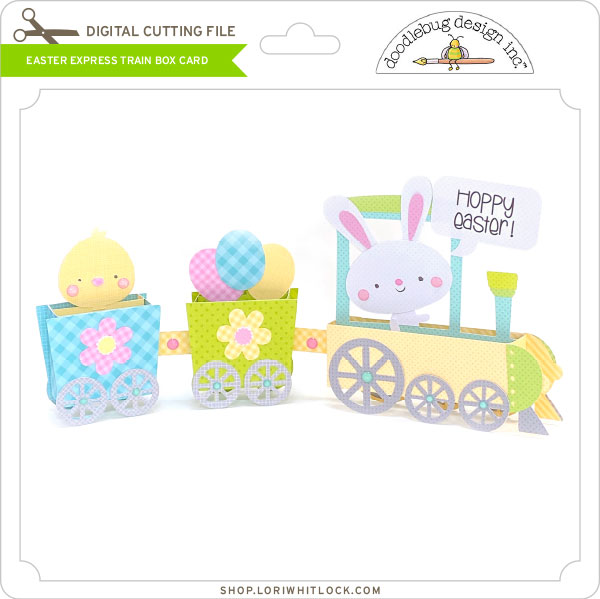
Hi Everyone!  Today I’m showcasing another fabulous project using Doodlebug Design’s cut files!  This combination card & home decor piece was created by Kathy Skou for Doodlebug Design.

Kathy used the Easter Express Train Box Card file which is exclusive to the Lori Whitlock SVG Shop.

For more details and a tutorial,  you can see her original post here.   New Doodlebug Design SVG files are being added to the Lori Whitlock SVG Shop on a regular basis, so stop by to see all of the fun SVG files HERE!

Have a great day!

Easter Treasure Treat Boxes with Aimee

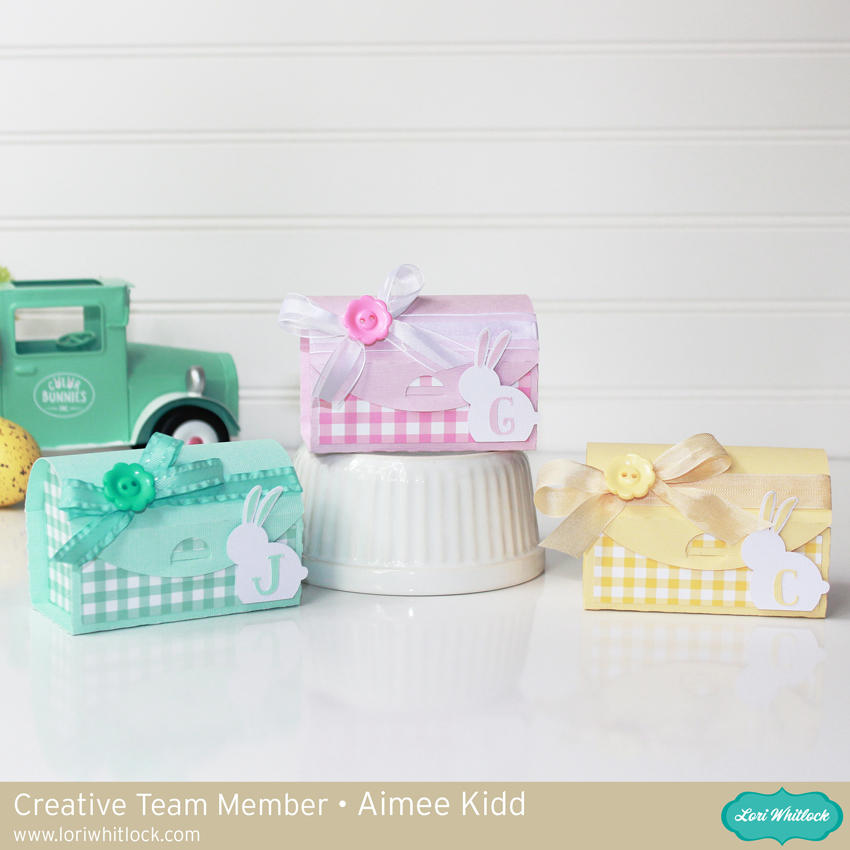
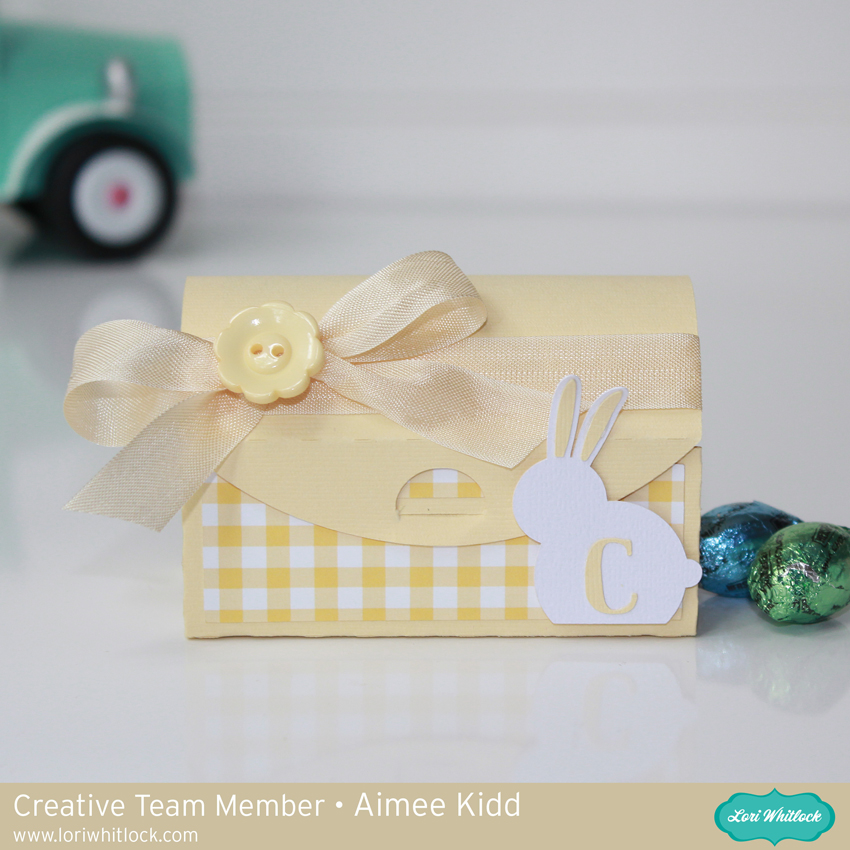
Happy Wednesday friends! Easter is here and I am getting ready for our family dinner. I love having little name cards for the table but when I saw the Treasure Chest (SVGSilhouette), I knew I could combine name cards with treats.

These adorable little boxes came together quickly which left the fun part of decorating them. I used the checked patterns that are in Lori’s Easter Wishes and Spring Fling collections as my color inspirations. Then I dug through my ribbon and button stash to find some coordinating colors.
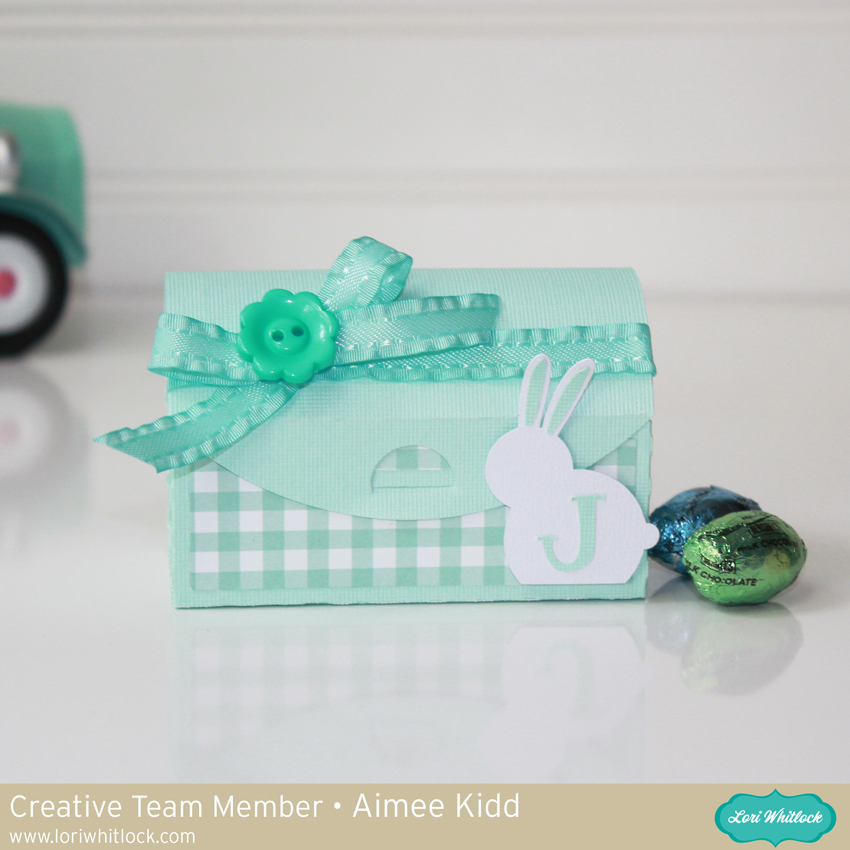
I originally wanted their names on the boxes but came up with the idea to add their initial on this sweet little bunny from the 3 Easter Bunny Rabbits (SVGSilhouette). The initials came from one of Lori’s new fonts called Spring Fling Font (SVGSilhouette).  The inside pieces of the bunny’s ears and the initials were cut from the same cardstock that I cut the boxes from to keep with the color scheme.
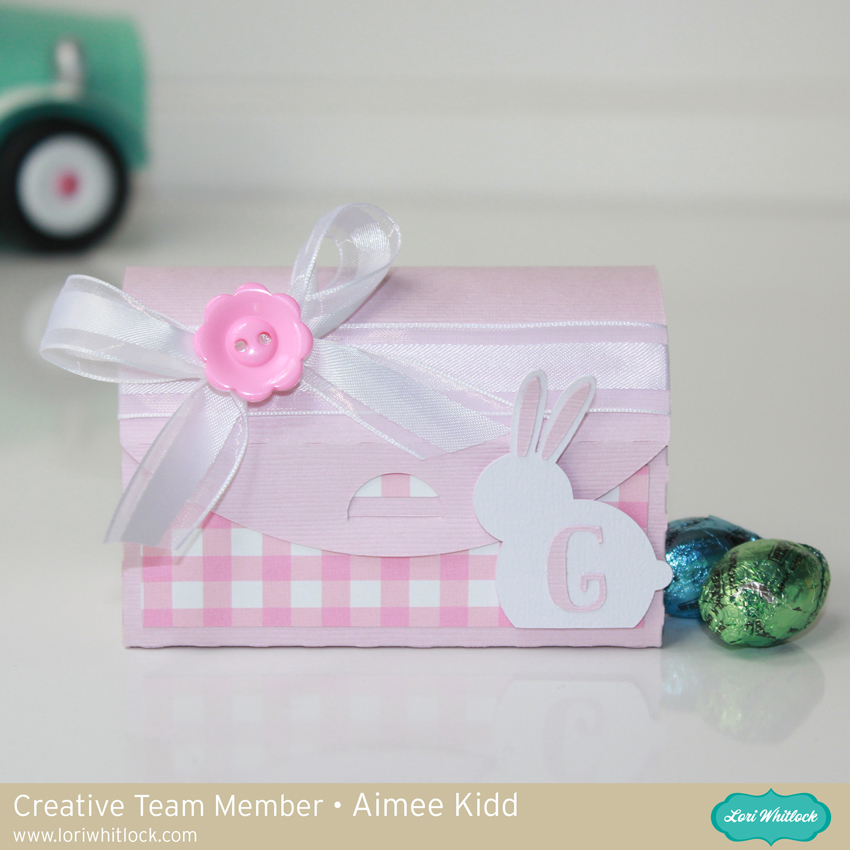
If you are looking for a quick and fun project for your Easter table give the Treasure box a try!

Hope everyone has a beautiful and blessed Easter!

Aimee