Hi everyone! It’s Kathy today with a fun tutorial to create a dry erase board. I can’t believe we are almost back to school, this summer has flown by! I thought that this project would be perfect for the inside of a locker, or on a dorm room door! It was really easy to put together… check it out…
I started by enlarging one of the tags from Lori’s 4 Basic Tags File (here in Silhouette Store). I made sure it was narrow enough to fit into a school locker. I also used pieces from Lori’s A2 Shaped Card Butterfly (here in Silhouette Store ) & A2 Shaped Card Flower ( here in Silhouette Store ) as embellishments to my board.

Next I adhered all of the pieces together…

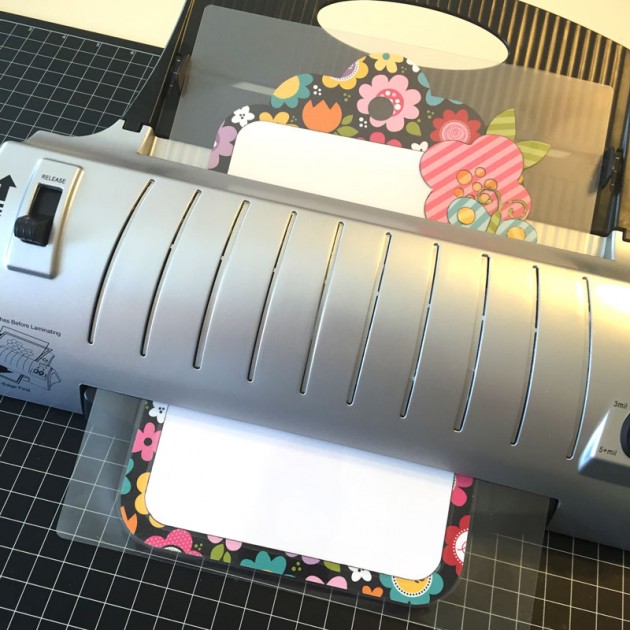
I placed the whole project into a laminating sleeve. which I then ran through my laminator. If you do not have a laminator, you can bring your project to a nearby office supply store. Most have laminating services.
I trimmed the excess laminate, leaving about 1/8″ around the edge.

To finish the board, I added some Velcro to hold the dry erase pen to the board, and a ribbon to hang the board.

The board cleans off easily with a dry cloth! The fun part is you can customize the board using different shapes and colors…it could be used for boys or girls!
That’s it for me today, thanks so much for stopping by!