School Clipboard Card with Anita

Happy Monday Everyone:

Anita here with a quick and easy fun back to school card for your favorite student.  I just love how cute this is and how easy it was to put together.  The night before the first day of school I used to give my kids a card and a treat to wish them well in the coming school year.  This card would be perfect for that.  I used Lori’s cut file called School Clipboard Card and you can find it here in her store as well as here in the Silhouette store.  I used her awesome new Echo Park line called Celebrate Autumn and her Perfect Princess line as well.  That’s it for me today.  Be sure to check out Lori’s store for all your back to school and fall card and gift giving needs.

Hugs,

Anita

Flag Day Banner Tutorial With Anita

Hi Everyone:

Happy Flag Day.  Anita here with a banner that you can use for Flag Day as well as for the Fourth of July, Memorial Day and any other day that you want to celebrate our great country.  I used several different cut files of Lori’s to create this banner.

Happy Birthday Banner – 2   SVG,  Silhouette
Layered Pinwheel     SVG,  Silhouette
3D Lori Whitlock Spiral Flower   SVG,  Silhouette
5X7 Box Card 4th of July   SVG , Silhouette
American Flag   SVG,  Silhouette
3D USA Décor Blocks   SVG, Silhouette

I love mix and matching Lori’s cut files to create new projects.  I am going to show you how I prepared the fabric for cutting in my Silhouette machine. 

Here are the supplies that I used for this project.  Terial Magic is a wonderful product that comes in a spray bottle and you can get it on Amazon or at your local quilt shop.  I sprayed the fabric liberally and checked the back side to make sure that it was soaked on both sides.  I hung the pieces on my shower rod  to let them drip to just damp.  I recommend you put something under where you hang the fabric so that it doesn’t make a mess.  It’s sticky, and rubber gloves might have been helpful to use as well.


Here is a photo of the fabric as I was in the process of ironing it.  You can see the bottom left looks still darker and wet and the right part is done and the fabric feels like paper.  I ironed my fabric on a towel to absorb any extra of the Terial Magic Fabric Stabilizer.

You can see how this fabric stands up once it is ironed.

I used the strong grip mat from Cricut and a brayer to make sure that the fabric didn’t move.  You will want to slow down your cutter in addition to choosing fabric as your material to be cut.

I laid out the blocks to see how they would look and switched around the banners and embellishments.

Earlier in the week on Tuesday we had our June blog hop and I have included a photo with the quilt block centerpiece and the banner that I made.  I am going to put this out for the 4th of July.

Hugs,

Anita


Baby Mini Album with Anita

Hi Everyone:

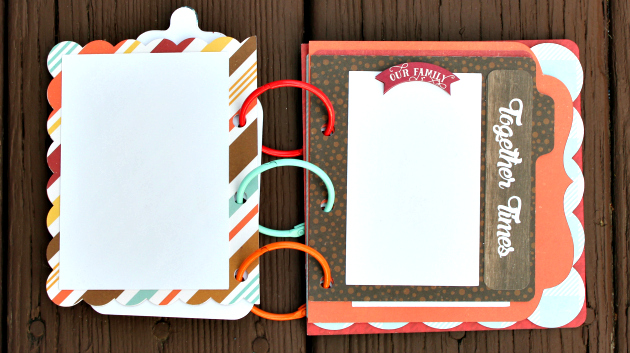
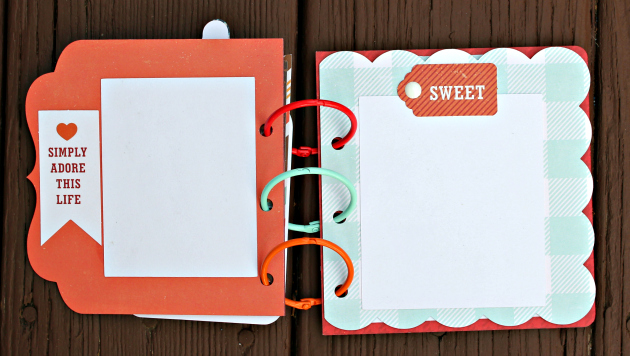
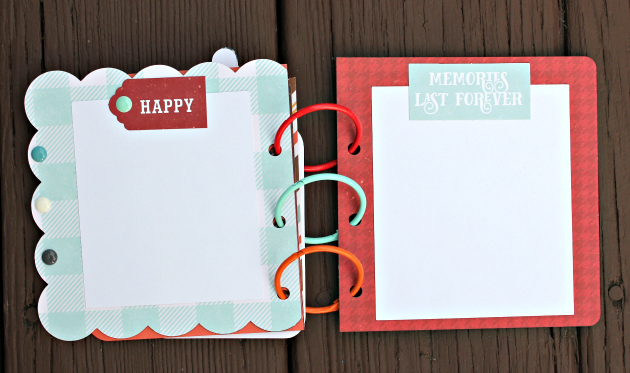
Anita here with a fun tutorial to make this mini baby album.  My brother’s girlfriend just became a grandmother of a beautiful baby boy and I made this album for her to fill and to share with her friends.

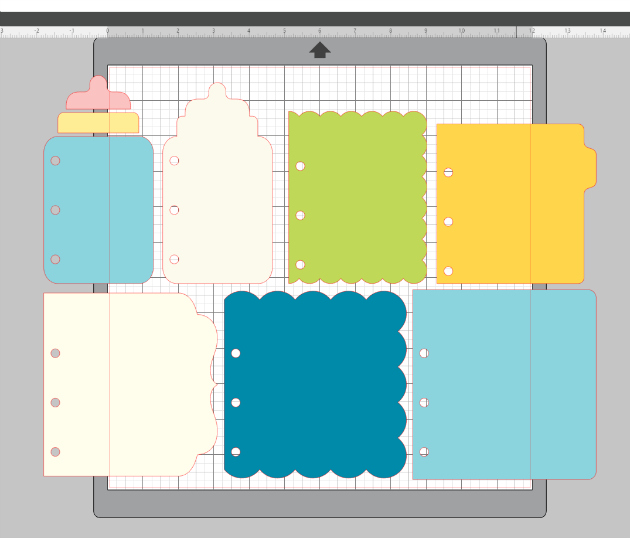
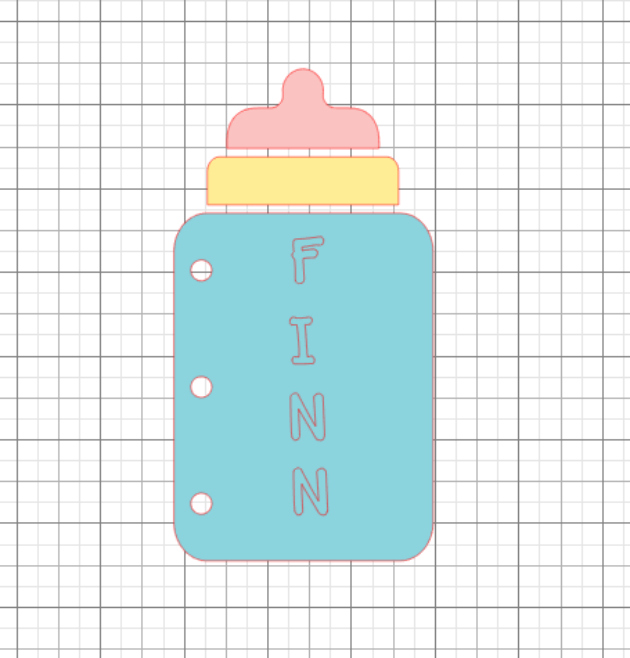
This is a photo of the cut file.  It is called Baby Layered Mini Album and you can find it in Lori’s store and in the Silhouette Store.  I mixed and matched some wonderful collections  from Echo Park to make my album including A Perfect Winter, A Perfect Autumn, A Perfect Christmas and I Love Family.  I bought 1.5 inch colored rings from Amazon for the album.

I decided that I wanted each page the same print/color so I used the replicate function on my Silhouette to mirror the left tabbed page to the right so that I could glue them together to create a heavier page.  I then cut both pages from the same paper and adhered them back to back.

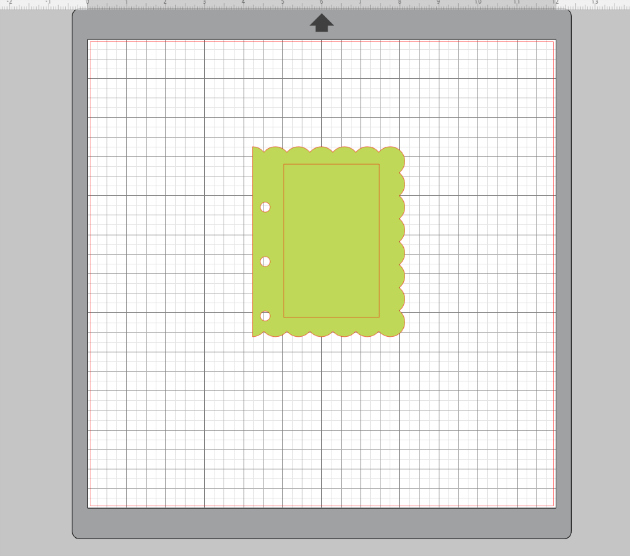
I then  used the rectangle tool on the left side bar to create a white piece to be a photo mat.    I like to put the item I am trying to match the size on my mat.

Here is the sized rectangle on my mat.
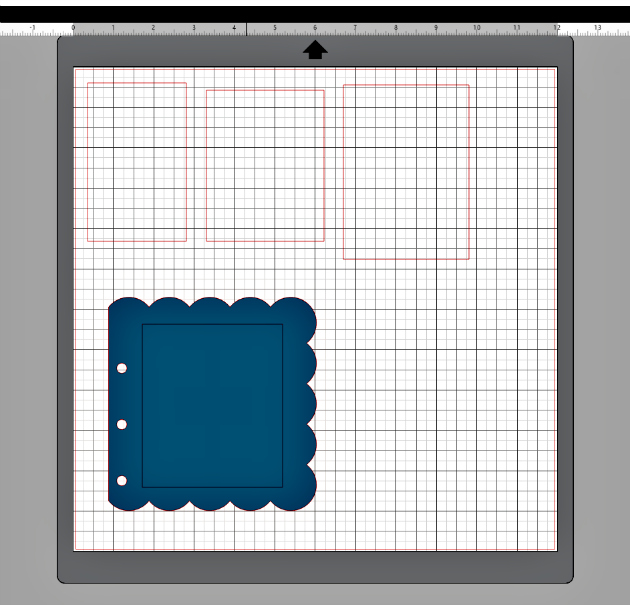
Here is a photo that shows the other rectangles that I created for the pages of my album.  I then cut two of each for each page of the album.


I used Lori’s font called Wide Marker at the 56.0 font size and moved them on to the bottle to see how it would look.


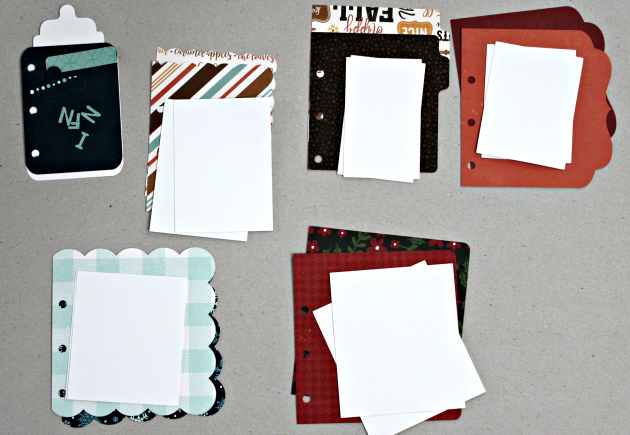
Here are the pieces for my album.

There you have it.  This worked up very quickly and it so cute.  Can’t wait to send it off to it’s recipient.

Hugs,

Anita


Welcome Aimee Kidd to the Lori Whitlock Creative Team!

Hi Everyone!  I would like to extend a warm welcome to Aimee Kidd to the Lori Whitlock Creative Team!

Hi! I’m Aimee Kidd and I am thrilled to be joining the Lori Whitlock creative team! I have been a fan for a long time.  I am mom to 3 sweet and wonderful kiddos (2 boys, 1 girl) and married to my sweetheart Chad for 17 years. I have been crafting for 20+ years now. I create more layouts than anything, but I love to push all that aside at times to make some cards or off-the-page projects. My other passions are photography, cooking, volunteering in my kid’s classrooms, and playing board games with my family.

You can see Aimee’s work on her blog, and on Instagram and Facebook!  Aimee will be joining us for the next term, we can’t wait to see what she creates!

Christmas Thank You Cards with Anita

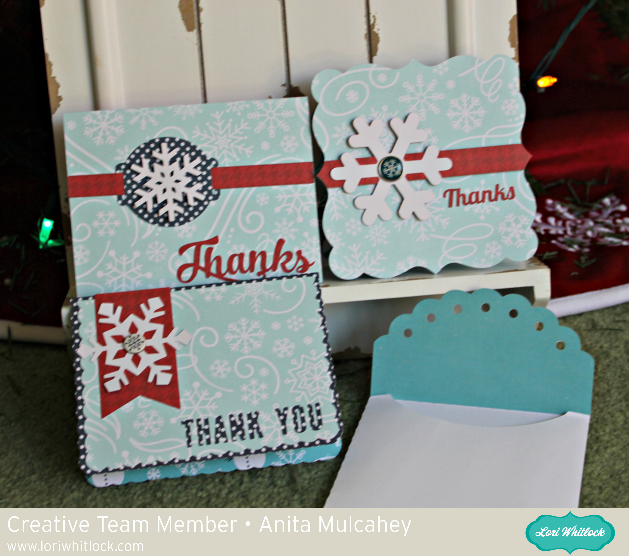
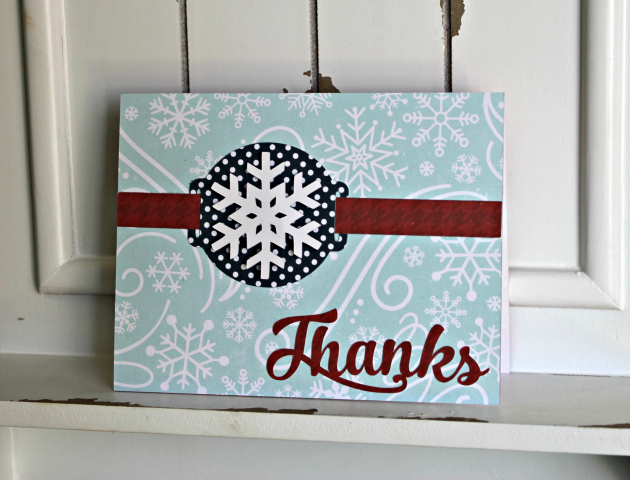
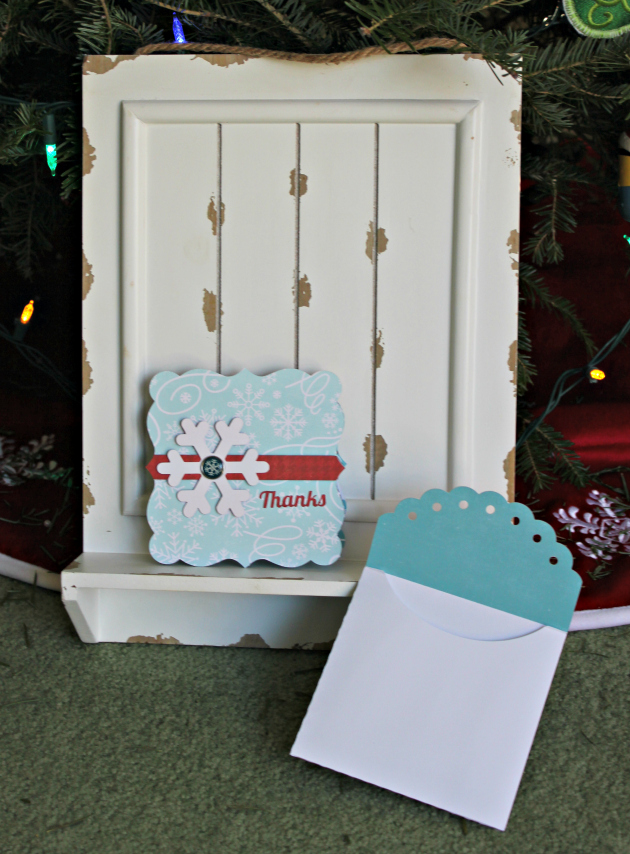
Anita here with a post holiday thank you card set.  I am always touched by the generosity of others during the holiday season and always like to take a moment to thank them for thinking of me.  Lori has some wonderful cut files to use for just this purpose.  I used one of her new Echo Park collections which is called A Perfect Winter.  I just love the patterns and colors and the embellishments are swoon worthy.  I used the following cut files to make these cards.  I am going to put the names of the files below each card as the names are very similar.
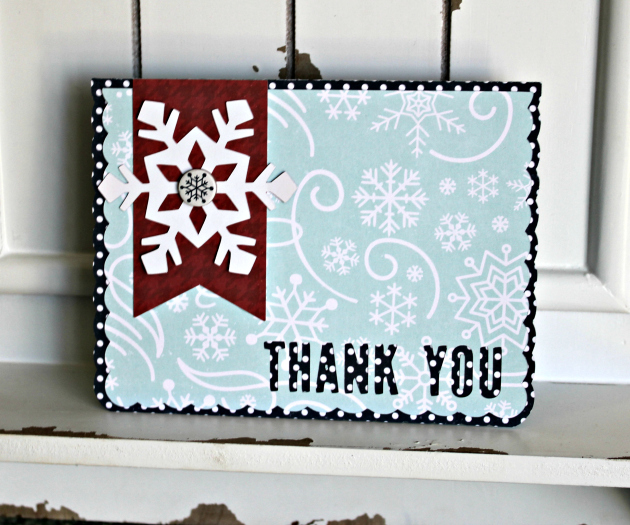
Thank you Snowflake Card in Lori’s Store   Snowflake Thank You Card in the Silhouette Design Store

Snowflake Card 3 in Lori’s Store                       Snowflake Card in the Silhouette Design Store

Snowflake Thank You Card in Lori’s Shop   In the Silhouette Design Store

5X5 Envelopes in Lori’s Shop  In the Silhouette Design Store

Thanks for looking and Happy New Year!

Hugs,

Anita