Custom Wedding Card with Courtney

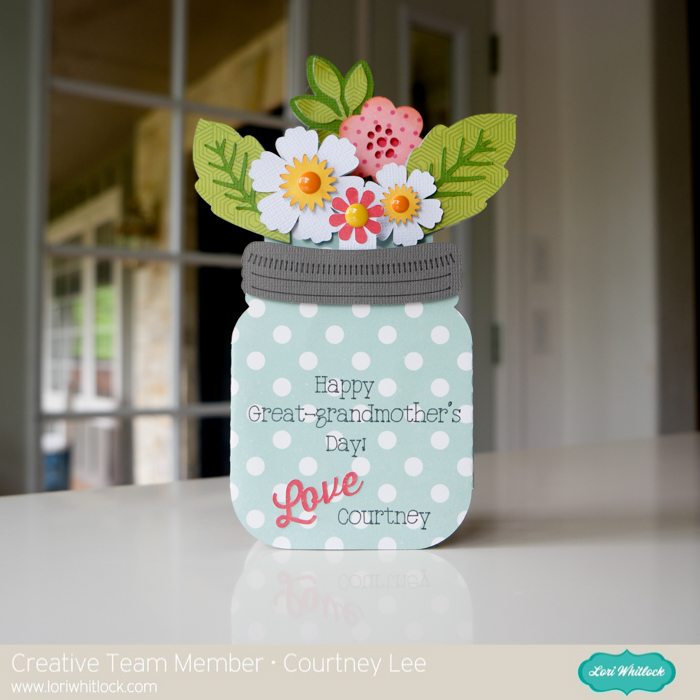
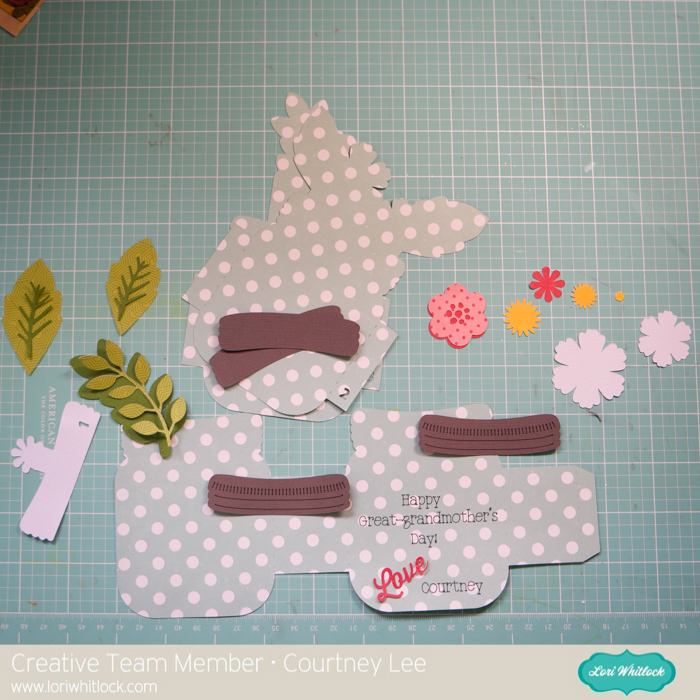
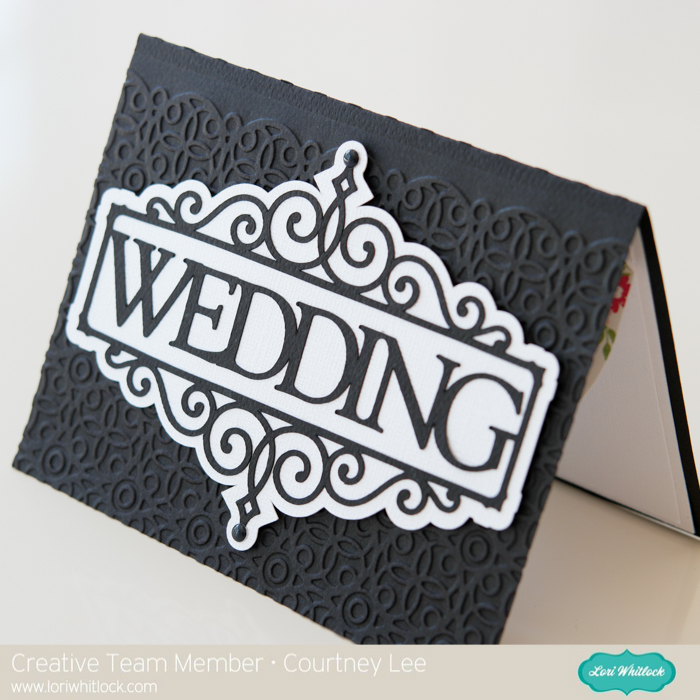
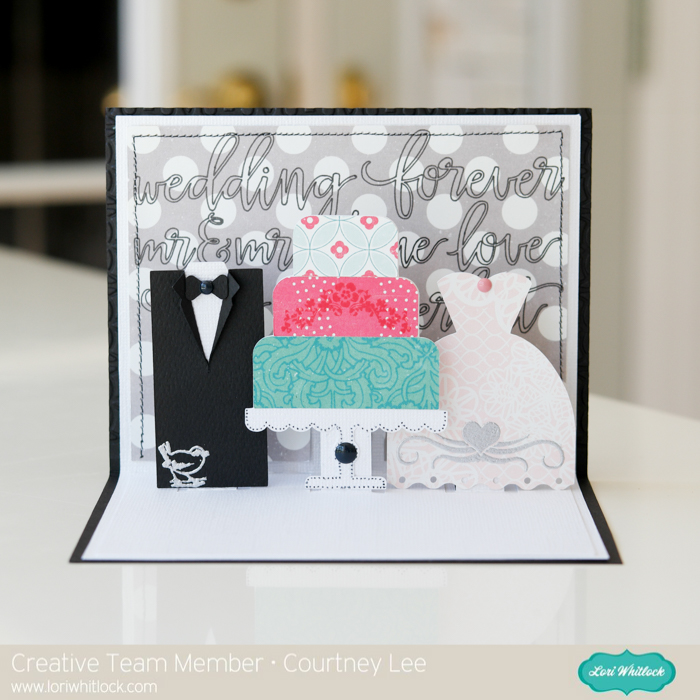
It’s Courtney Lee from Court’s Crafts here! For this card I used three cut files, embossed, and did a little stamping. πŸ™‚

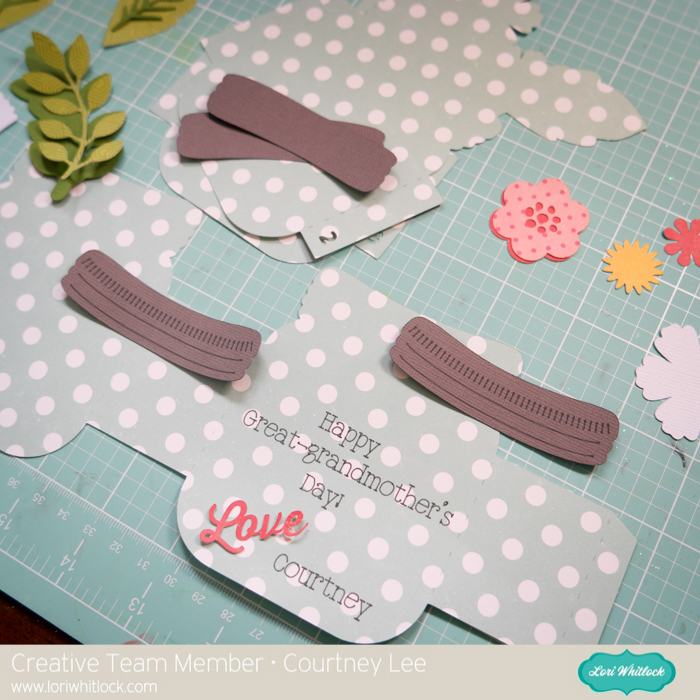
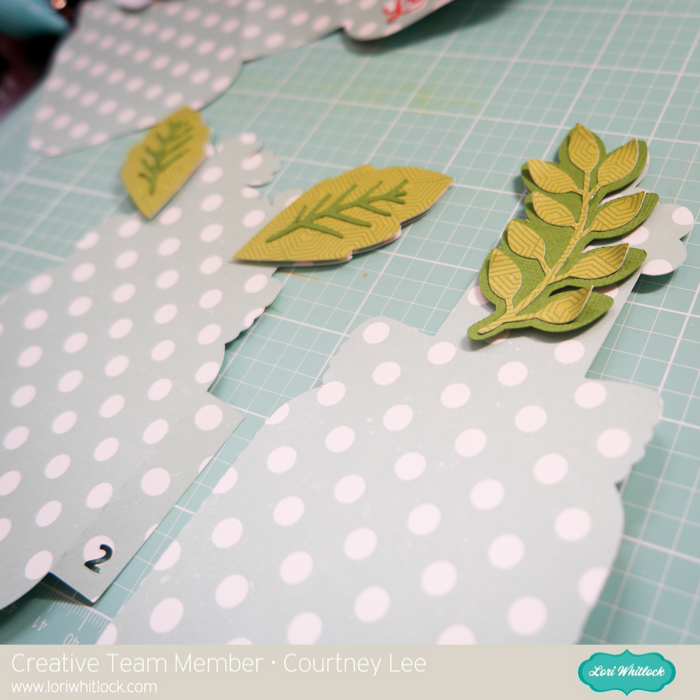
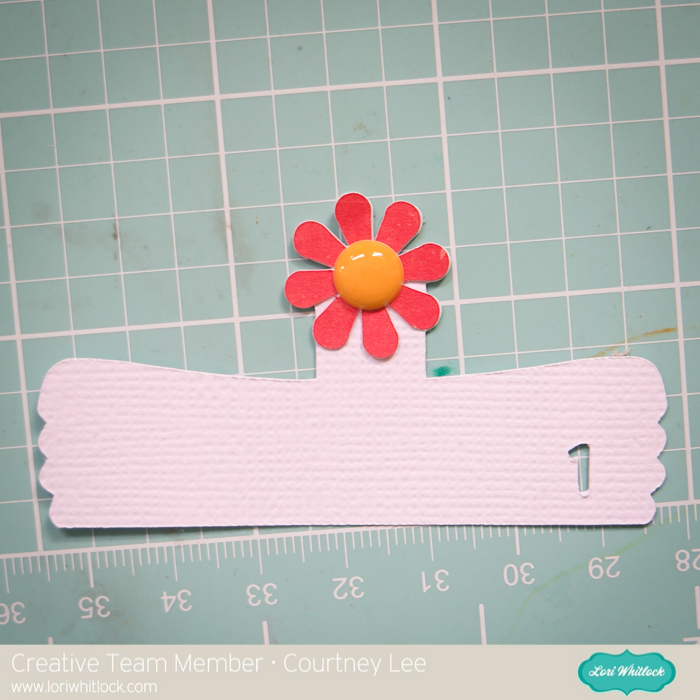
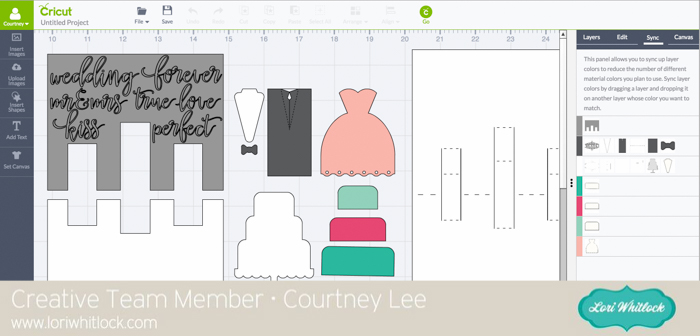
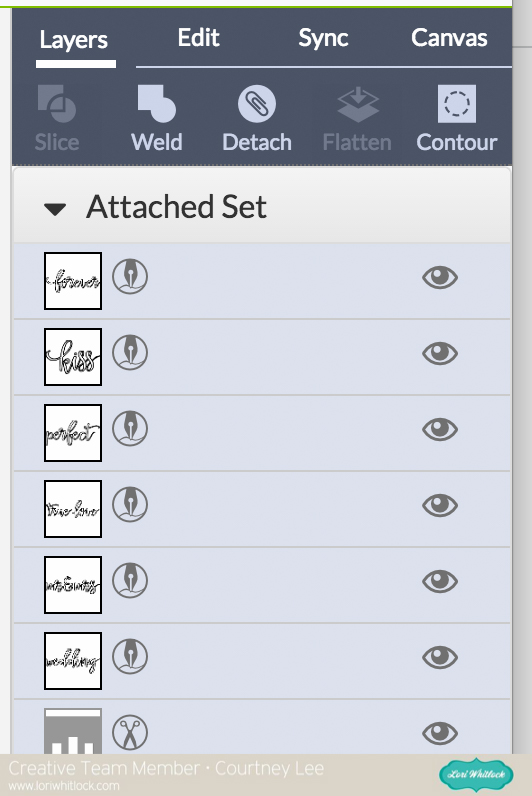
I arranged the cut files on my screen so that they would be appropriately placed and colored according to my patterned paper I was using.

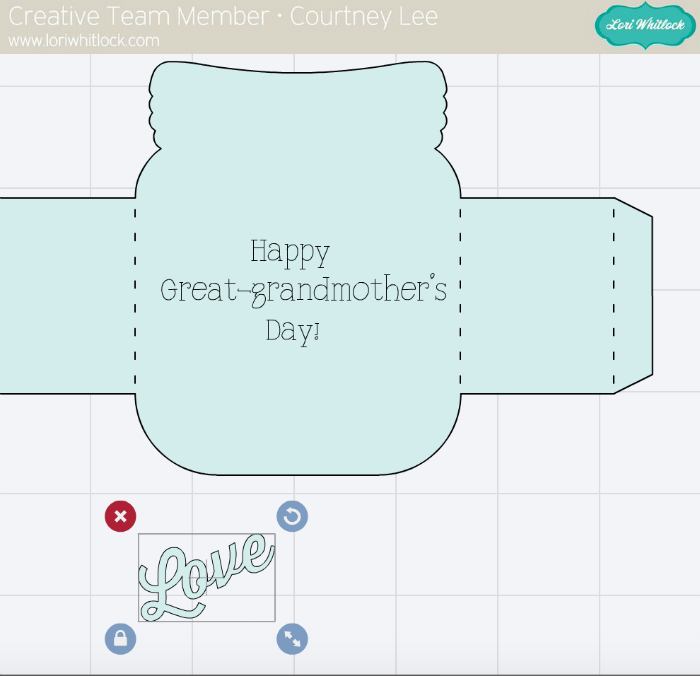
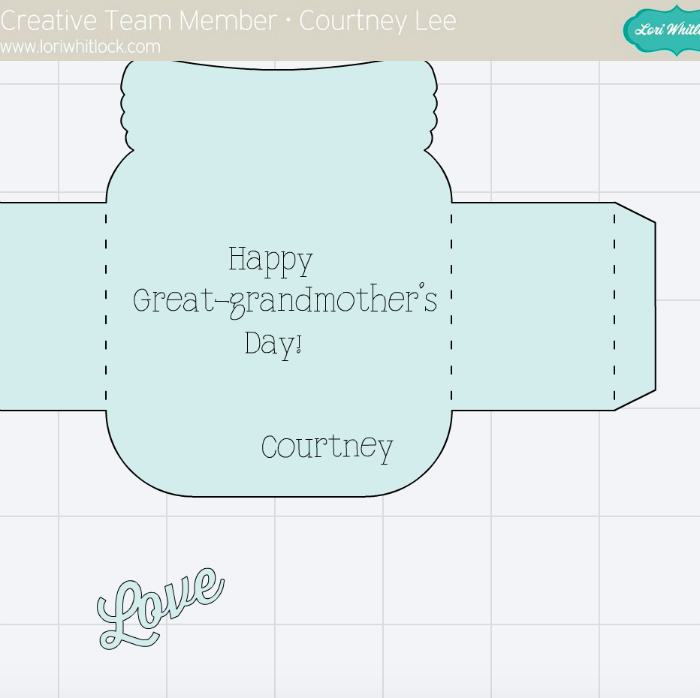
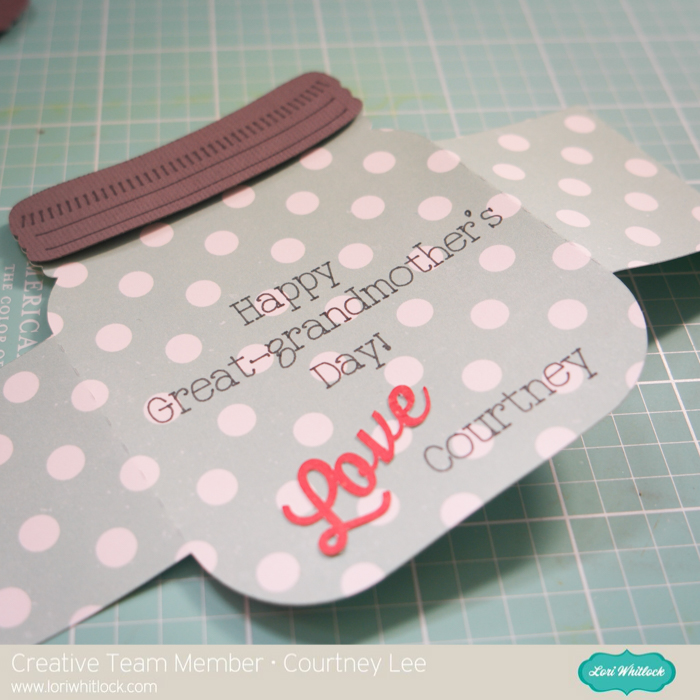
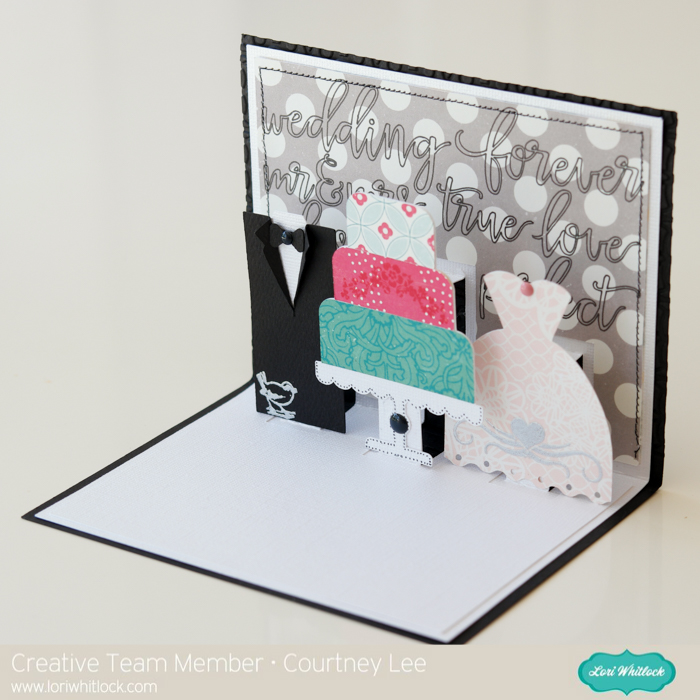
I had to rearrange the words so that they all fit on my background and then I switched them to “write” instead of cut.

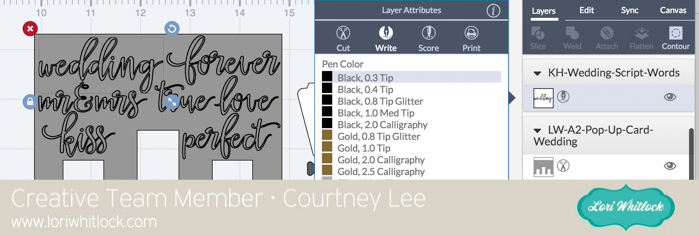
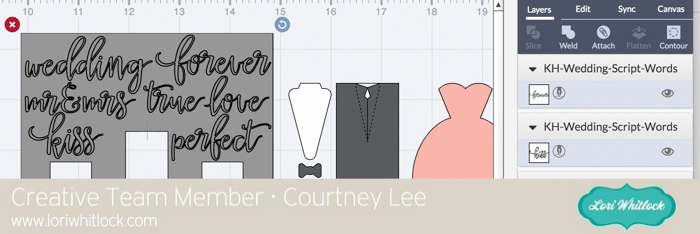
Lastly I “attached” them all to the background cut so that it would cut and write together.

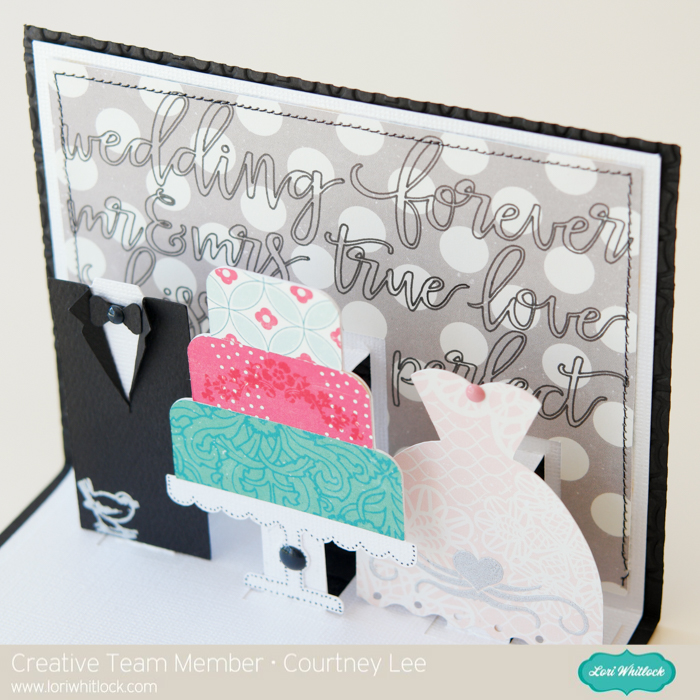
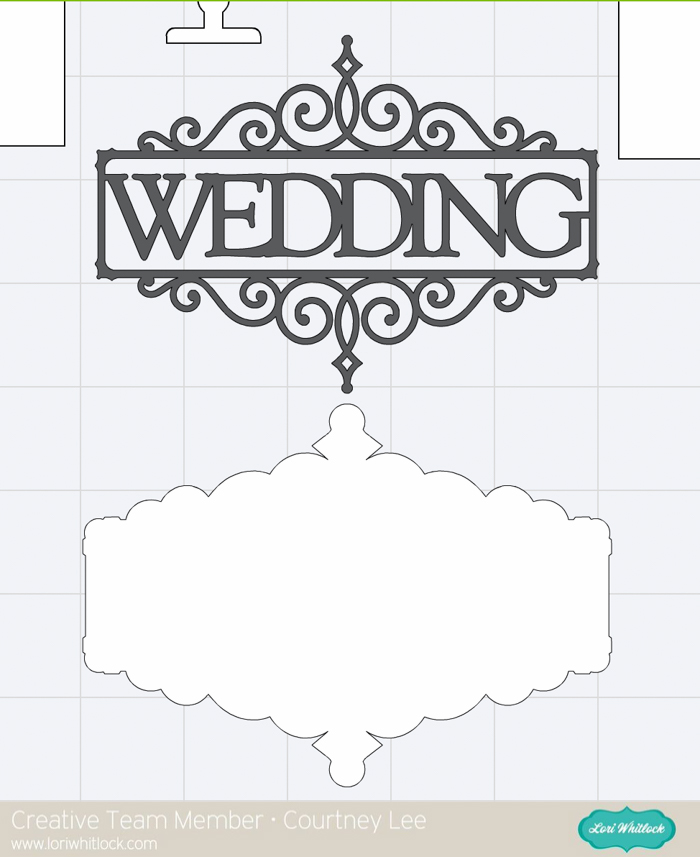
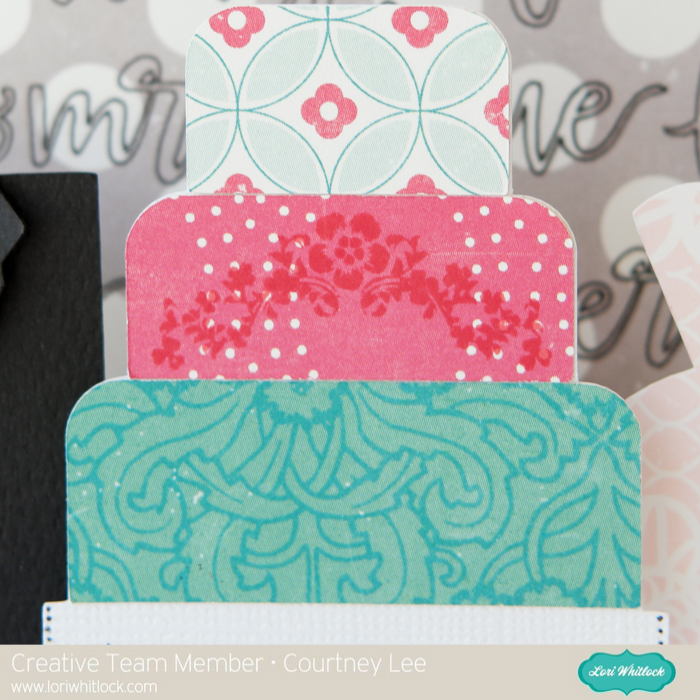
For the front of the card I used the Flourish Frame Set and sized it to take up the whole front of the card. Then I cut everything out.

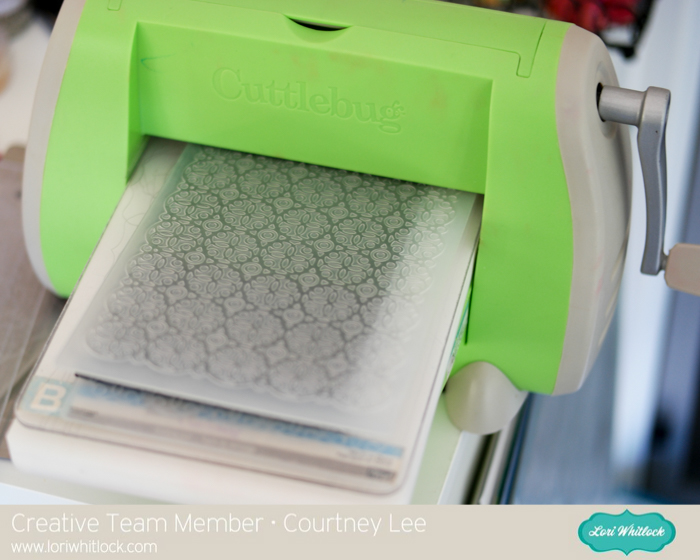
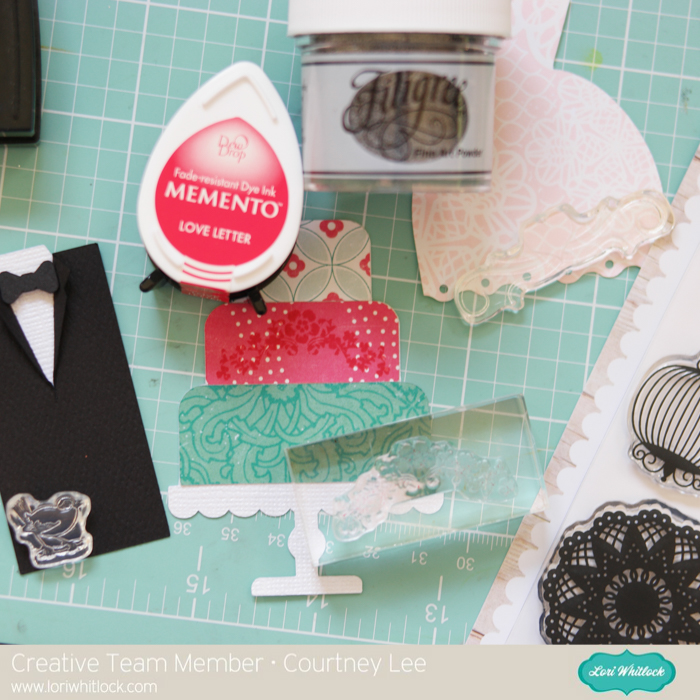
I embossed the front of the card to give the black background a little “punch” and elegance.

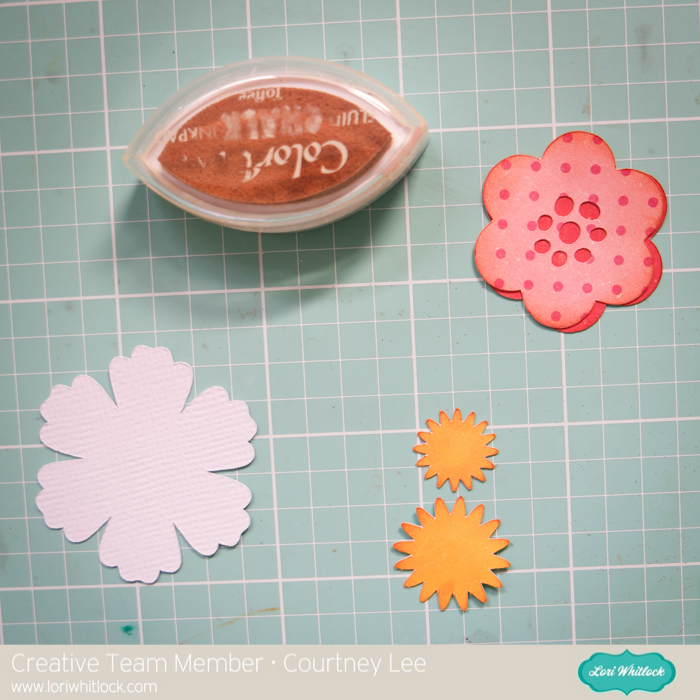
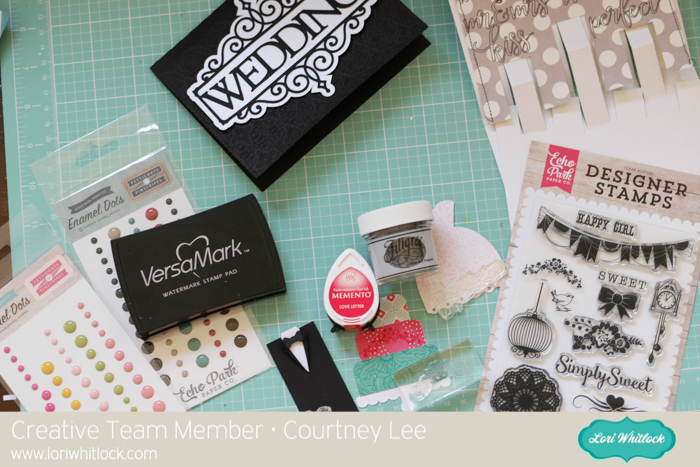
I felt like it needed a little “dressing up”. Stamps and enamel dots to the rescue! πŸ™‚

I stamped the flower decor onto the cake in a matching pink. Then I stamped the bird onto the tux with watermark ink and I stamped the heart flourish onto the dress and used embossing powder to set it and to bring the grey from the background onto the dress.

Check out how awesomely these stamp!

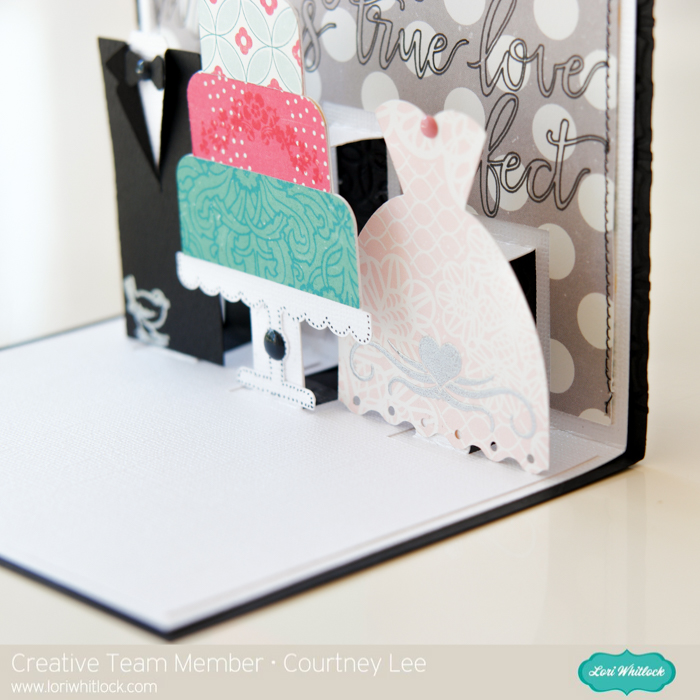
That is it! I really designed the whole thing on my computer and just cut it out and put it together. I love that. Because I can design it anywhere (like while watching a movie) and then I just whip it out!

I hope you enjoyed my tutorial today and it inspires you to combine multiple cut files into something even better!

Lori Whitlock Store:

A2 Pop-up Card Wedding

Flourish Frame Set

Wedding Script Words

Silhouette Store:

A2 Pop-up Card Wedding

Flourish Frame Set

Wedding Script Words

Echo Park Paper: Petticoats and Pinstripes: Petticoats Collection (paper, stamps, and enamel dots)

Carta Bella Cardstock: Black Felt

Hot Air Balloon Pop Up Box Card with Courtney

Hey Lori Whitlock fans! This is Courtney Lee from Court’s Crafts and I am here with the new Let’s Be Mermaids collection by Lori Whitlock for Echo Park AND one of her new pop up box cards – the hot air balloon one.
…. soooooo who says that hot air balloons have to be in the air? If I were a mermaid I would want to have hot air balloons in the ocean. πŸ˜‰ I used my Cricut Air to write “Thank You” with the pen feature. It makes life so easy!


Okay… so I may have gotten a little sparkle enamel dot happy… I LOVE these enamel dots! They are so so so sparkly!
Here is an “arial” shot of it. πŸ™‚ Do you like how I did that? Arial shot? It’s like “from above” hot air balloon style AND like Ariel from that Disney movie. πŸ˜‰
Pick up some of these pop up box cards! They are so much fun. I would be embarrassed to tell you how many I have…. πŸ˜‰ Thanks for stopping by today and I hope you have a beautiful day!

Recipe:
Lori’s Shop:Β Pop Up Box Card Hot Air Balloons
Silhouette Shop:Β Pop Up Box Card Hot Air Balloons
Lori Whitlock for Echo Park Paper: Let’s Be Mermaids “Stars of the Sea” (LBM110003)
Lori Whitlock for Echo Park Paper: Let’s Be Mermaids “Bubble Up” (LBM110004)
Lori Whitlock for Echo Park Paper: Let’s Be Mermaids 6×6 Paper Pad (LBM110023)
Lori Whitlock for Echo Park Paper: Let’s be Mermaids Enamel DotsΒ (LBM110029)

Graduation Card with Courtney

Hello! This is Courtney Lee from Court’s CraftsΒ here with a graduation card that I made for my brother in law. You can pin this for the future or if you missed a graduation send a late card! Better late than never! πŸ™‚

For the front of my card I cut the “green panel” a second time out of white so that I could use my Cricut pens on the front. The difference between maroons is because he went to undergrad at Harvard and just finished his post graduate work at MIT. He’s a smarty pants. πŸ™‚

Β Here is what the card looks like from the side. I love the dimension and it’s amazing how it folds flat!

I added his name to the mailbox, a graduation scroll and a pile of books. The latter two were stickers in my stash. I also copied the front of the mailbox and made it smaller so that I could make it look like an open mailbox.

I added writing to the bottom of the card too so that basically all we had to do was sign it. “If only it was this easy…” refers to getting the diploma in the mail. Wouldn’t it be nice if it was that easy!? πŸ™‚

Thank you for looking and I hope you have a beautiful day!

Recipe:
(Store) Lori Whitlock’s Mailbox Pop-up Card Cut File
(Silhouette Store) Lori Whitlock’s Mailbox Pop-up Card Cut File
Cricut Explore Air + Cricut Pen in Midnight
Lori Whitlock for Echo Park: Happy Summer: Flocking Feathers (HS105005)
Lori Whitlock for Echo Park: Happy Summer: Summer Blossoms (HS105010)
Lori Whitlock for Echo Park: Pinstripes 6×6 Paper Pad
Vellum
Solid Carstock


Cricut Cut + Write Tutorial with Courtney

Hello!!! This is Courtney Lee from Court’s Crafts here with the new (and adorable) mason jar box card. I wanted to show you how to personalize it and make it your own using the cut and write feature of your Cricut Explore Air.

Change the marks on the jar lids to “write”.

Personalize by adding text.

I’m never one to throw away a die cut so… shrink the “love” to fit on the bottom.

Personalize further by adding your name. (This is going to be CUTE!!!)

See that “attach” button top right? Attach all layers together by holding down “shift” and clicking all the pieces. This will make it so the cut and write feature happens at the same time. Do the same thing with all of the other pieces just to make sure the scoring marks are attached to the correct pieces, etc.

Cut out and check it out!!!! The Cricut Explore is AMAZING with the write and cut feature (with the dual tool holder!! I did it at the SAME time!!! ugh. love..)

Check out how awesome the Cricut Explore Air did at the “cut and write” feature!!!

I adhered the “love” to the card and popped the jar top to the first layer.

Then I glued the stems to the leaves and curled the ends up on one layer. I adhered those with pop dots too.

Use the enamel dots to add dimension. Paste layer one directly to the inside front of the card.

Ink the edges of the pink flower and the yellow flower centers.

Layer 2

Card complete!


I hope you enjoyed my tutorial today!!! It’s so much fun to use the Cricut Sketch pens on cards in neat and creative ways!

Recipe:

Lori Whitlock’s Shop: Box Card Mason Jar Bouquet

Silhouette Shop: Box Card Mason Jar Bouquet

Lori Whitlock’s Happy Summer collection for Echo Park Paper

Lori Whitlock’s Happy Summer Enamel Dots


Father’s Day Card with Courtney

Hello!!! This is Courtney Lee with Court’s Crafts here to give you some Father’s Day inspiration!

This card was SO quick to put together. I love that about Lori’s files but this one was extra fast. So if you are in need of a last minute Father’s Day card grab this file! (Spoiler alert: I have ANOTHER Father’s Day card for your inspiration tomorrow on the blog hop! Come check it out!)

I cut the outside a second time out of neutral paper so that I had a place to write on the inside as I chose some awesome rocket ship paper for my card. It’s part of the Pinstripes collection by Lori Whitlock for Echo Park Paper.

Here is my completed card. I wrapped some ribbon around the handles and I used Cricut Design Space to add the words and I had my Cricut Explore Air write them with the pen.

I hope this inspires you and don’t forget to check back here tomorrow to start the hop! Hop on through to find my blog with another Father’s Day card!

Recipe:

(Lori’s Store) Lori Whitlock’s Shaped Card Trophy cut file

(Silhouette Store) Lori Whitlock’s Shaped Card Trophy cut file

Lori Whitlock for Echo Park Paper: Pinstripes: Rocket Ships (PS104005)

Lori Whitlock for Echo Park Paper: Pinstripes: 6×6 Paper Pad