Flexi Card Assembly with Corri

Hi everyone!  Corri here today sharing a quick assembly tutorial for Lori Whitlock’s cute Flexi Cards.  They are so cool…I love the dimensional look.

I made the Fall Scene Flexi Card.

Here’s are the pieces when you get them all cut out.

First, layer the pieces onto the background layer.

Next, fold the fence piece along the score line and tuck under the edge of the bottom layer (gold).

Next, apply glue to the tree and clouds and put those in place.

Finally, apply the layers to the front of the card and put your sentiment in place.  I used a sentiment from the Echo Park – I Love Family Collection.   Finally, tuck the tabs into the slots provided to create the fabulous curved front of the card.

Check out all these fun Flexi Cards in the shop!


Fall Shape Card by Corri


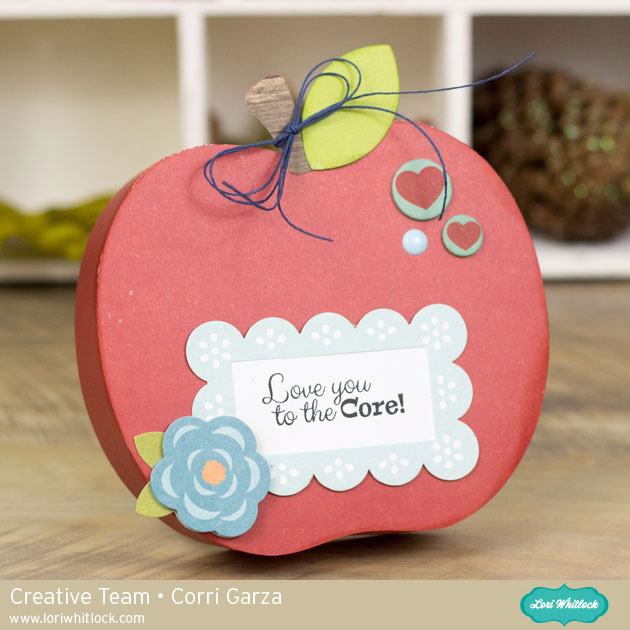
Hi everyone!  Corri here today sharing my version of two of Lori’s new shape cards.  I used paper from the Echo Park – I Love Family Collection that Lori designed.

The shaped cards are so fun to make and have a huge impact.  All the work is done for you….just cut the layers and the cards go together in no time.

You can find the Pumpkin shaped card here.

I added a sticker from the collection for the sentiment and some foam dots to give the layers some dimension.

Click here to find the Owl Shaped card.


He’s so cute!  By changing the color scheme, you could make this card for any season.

Head on over to the shop to see all the new files.


Apple Box with Corri

Hi everyone!  Corri here today sharing my version of Lori’s Apple Slip Lid box.  I used paper from the Echo Park – I Love Family Collection that Lori designed.   I love the Fall colors in the collection.

Here’s my box….

c

I inked the edges and added some stickers and ephemera from the collection to accent the box.  This a nice sized box….would be great filled with candy or a small gift.

Be sure to check out all the new files Lori has recently added to her SVG Shop.

Thanks so much for stopping by!


Tote Organizer with Corri

Hi everyone!  Corri here today to share an assembly tutorial for the new Tote Organizer that Lori recently added to her SVG Shop.

This little tote could be used for so many gift ideas.  I used mine to old some crayons and markers.

This would be so cute for party favors or a small birthday gift.  You could stick a gift card to the craft store for a sketch pad or more art supplies.

When you cut out the pieces, this is what you will have.

To create the tote, fold the base pieces along the score lines and apply glue to glue tabs to form the boxes.

Glue the two pieces back to back to form the tote handle.   The two additional pink pieces are cover panels to hide the seam and add stability to your tote.

The remaining pieces are for decoration.  I used paper from the Echo Park Paper – Let’s Be Mermaids Collection.

That’s it!  It’s a quick and easy project that has tons of uses.

Be sure to check out all Lori’s newest files in her shop!

Oven Cookie Box Assembly

Hi everyone!  Corri here today with a quick assembly tutorial for Lori’s adorable oven cookie box.   This cute box can hold a stack of cookies plus something else in the drawer.  So fun!

Let’s get started.

The pieces in the file are sorted by color.  These are the light pink pieces which form the base of the oven box.

Fold along all the score lines, apply glue to the  tabs to make the individual boxes that form the oven.

You will end up with the lid, the oven, the two pieces that make up drawer and the little part where the oven dials go.   You can add some brads or enamel dots where the little holes are before closing up the tabs.

Glue the oven portion on top of the drawer part.  You will use cover panels to hide the seams in the next step.

Next you can cut the cover pieces (they are dark pink in the file). These can be from patterned paper.  You can cut them all on one 12 x 12 sheet.    I used this cute polka dot print from the Echo Park’s Happy Summer Collection.

Match the cover pieces up to the base layer and glue in place.

These extra panels give the box a nice finished look.

There you have it!  I hope you’ll give this fun box a try.  Be sure to stop by Lori’s SVG Shop to check out all the newly added files.