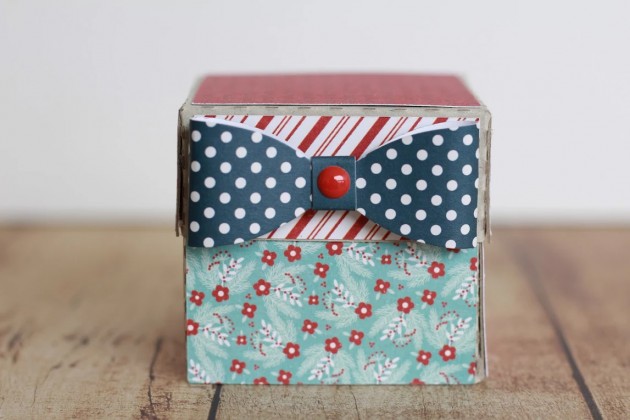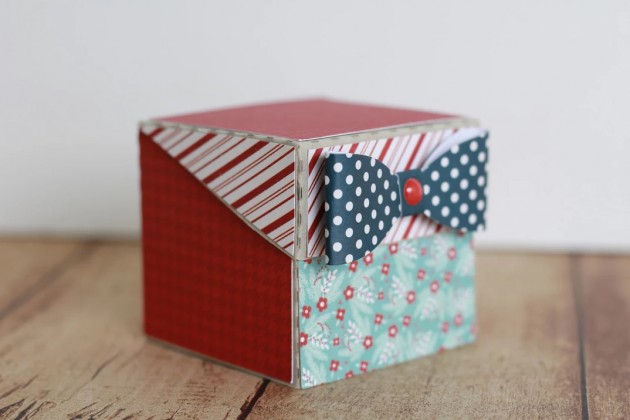
Hi friends! Connie here today showing you how to make a fun custom kitty cat shirt out of heat transfer vinyl (HTV). HTV is one of my favorite mediums to use because I can create custom t-shirts in a matter of minutes for any occasion. My daughter is currently obsessed with animals and she was so excited about her “kitty tat” shirt. I used Lori’s cat face file for this project. You can also find it in the Silhouette Design Store using the file ID #200111.
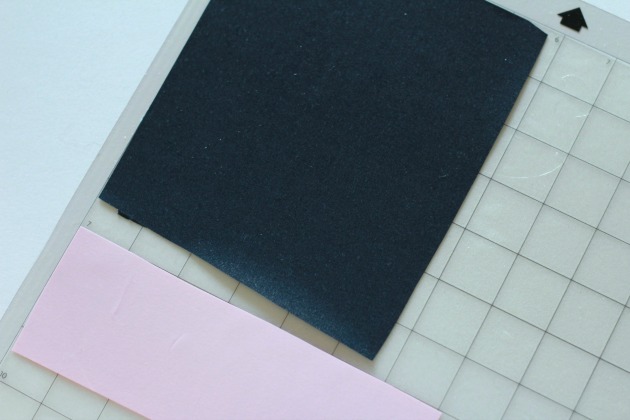
Start off by placing your vinyl colors on the mat. Make sure they line up correctly with the settings on your screen for the machine you are using. I am using a Silhouette CAMEO 3. With HTV, be sure to place the vinyl on the mat shiny side down. Since HTV requires to be cut mirrored, placing it shiny side down allows you to be able to use that clear blacking as a transfer sheet.
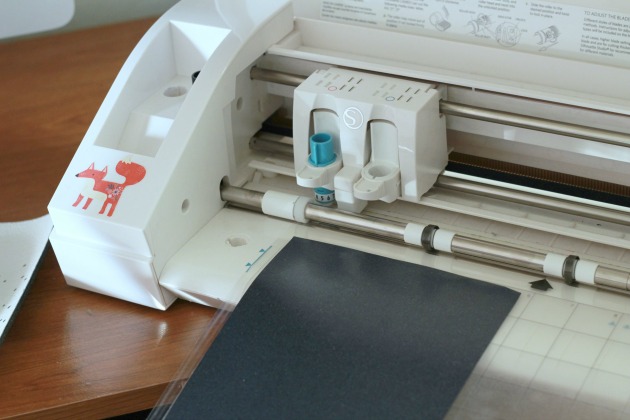
Once your vinyl is placed on your mat, load it onto your machine and cut according to your machine settings. Triple check to ensure you don’t forget to mirror your image! You will be very sad if your design cuts backwards, trust me I have been there MANY times. Once it is done cutting, use your hands to peel away the negative parts of the vinyl, in other words, the parts you don’t want pressed onto your final project.
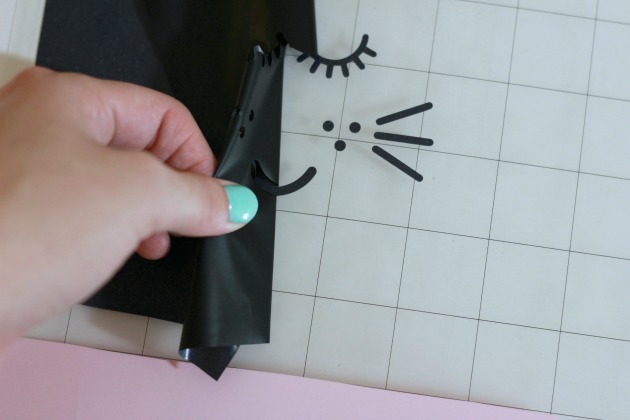
Once it is completely weeded, it will look like this! The cat face is all one piece that will be applied to the shirt. The pink ears and nose are all grouped together, which I did simply to save on space, but be sure to trim them so that you can each one individually so that you can apply them after we press the cat face.
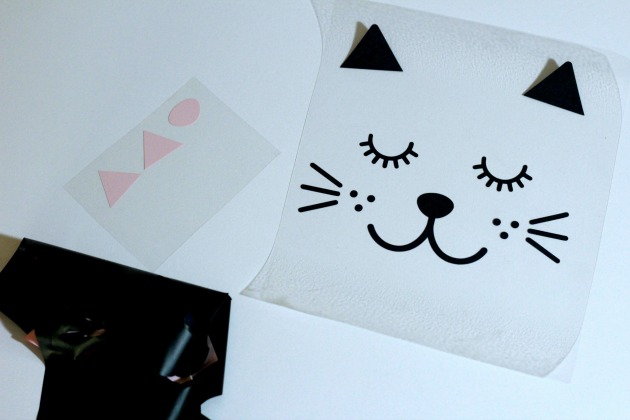
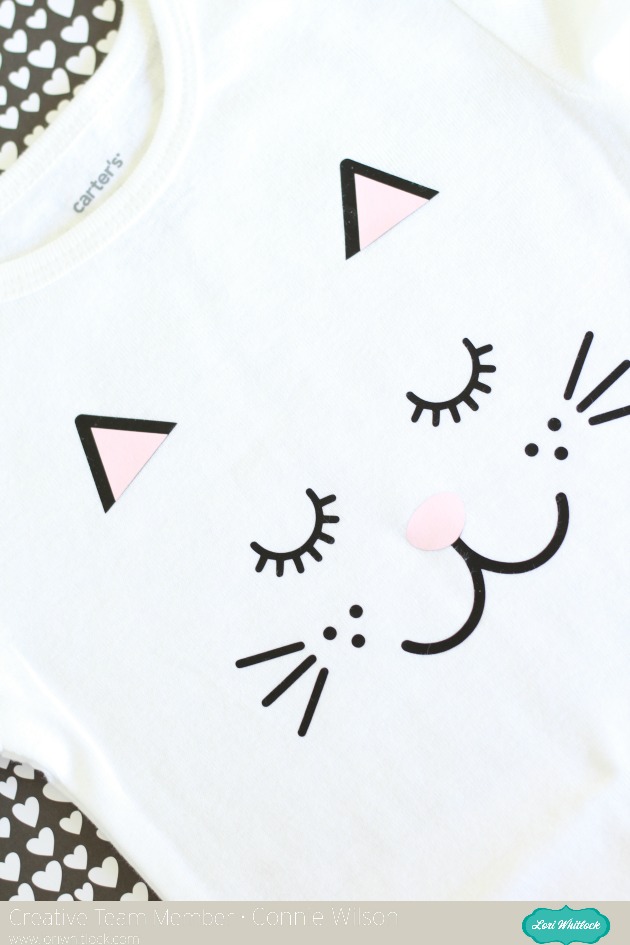
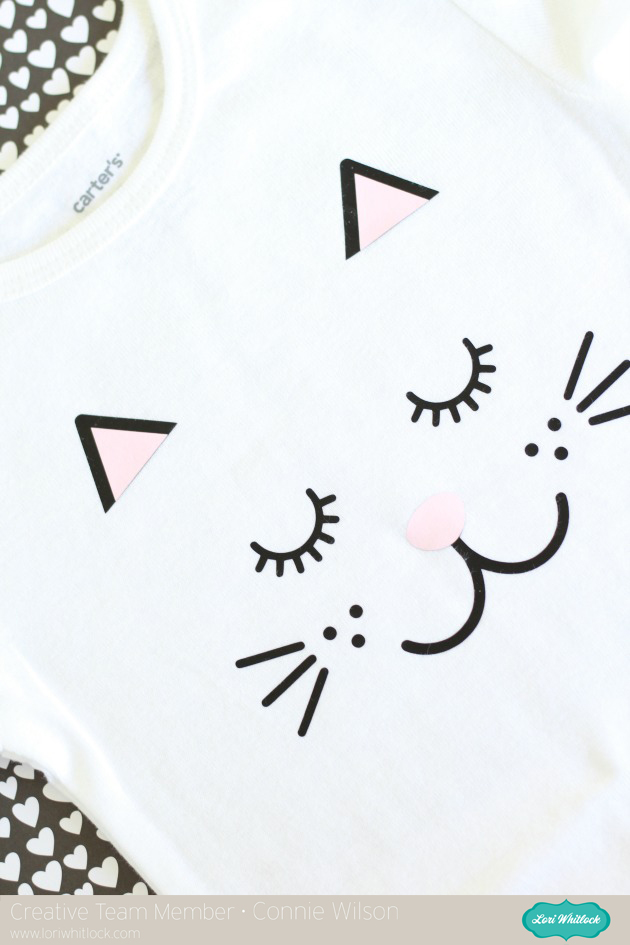
Next, place your image on the center of your shirt. You will need to place the cat face down first. After you adhere the cat face, simply peel the clear backing off and add the pink nose and ears and press again! I used a heat press and heated it 305 degrees, per the HTV manufactures recommendation. If you don’t have a heat press, no problem! You can use a regular clothing iron and use the cotton heat setting. Just be sure to use your entire body weight to press on the image as you iron it on! Pressure is key to ensuring the image will stay on wash after wash.

Here is what your final project looks like! Hope you enjoy this super cute and easy shirt project.