30% Off SVGs + Dec Blog Hop + FREE File!

Welcome to our December 2022 Creative Team Blog Hop!  The creative team has been working hard on some new projects to share with you that will get you in the holiday crafting mood. We also have a FREE FILE for you! 
This week we have a 30% OFF SALE going on at Lori’s SVG SHOP including ALL digital files and commercial licenses now through Saturday, December 17th ! Be sure to use coupon code: DEC2022 (case sensitive) at checkout in the SVG SHOP
 
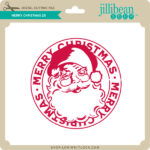
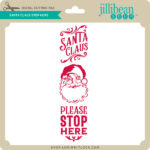
To thank you for joining us in the hop today and sharing the hop with your friends, we have a gift for you! TODAY ONLY, You can download this Christmas Tag Santa Claus 2 file absolutely FREE! This is such a darling tag and will so cute labeling your Christmas packages. Be sure to go grab it while you can.  (Simply add the file to your cart, it will be FREE at checkout.)
 
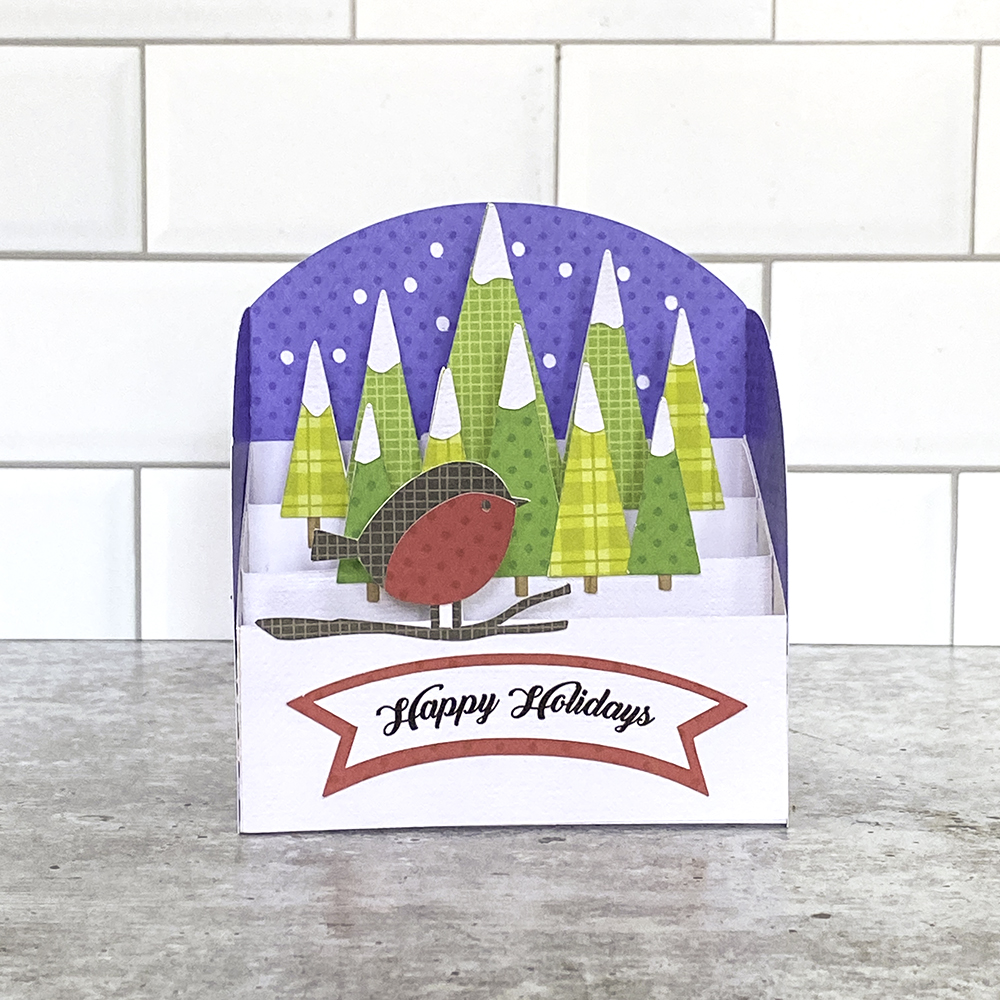
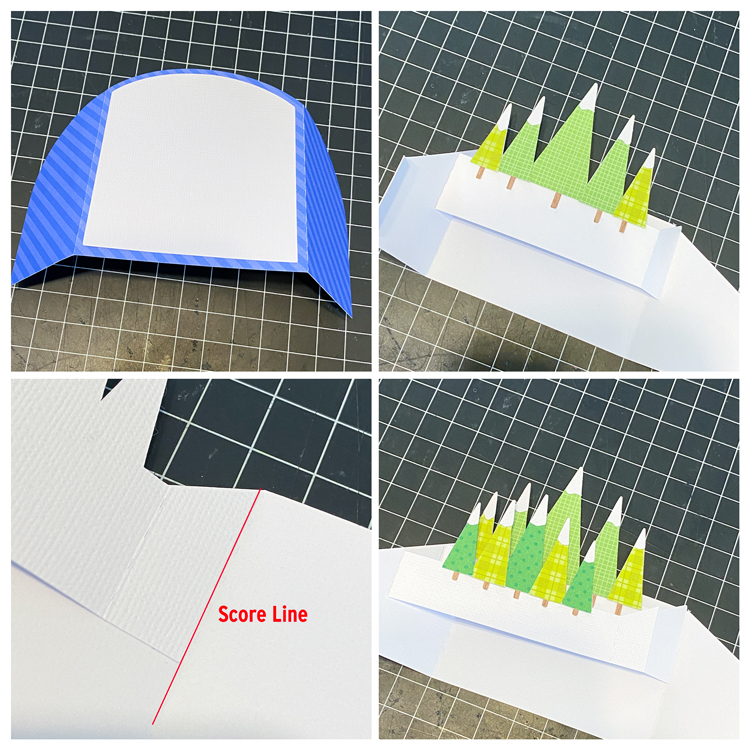
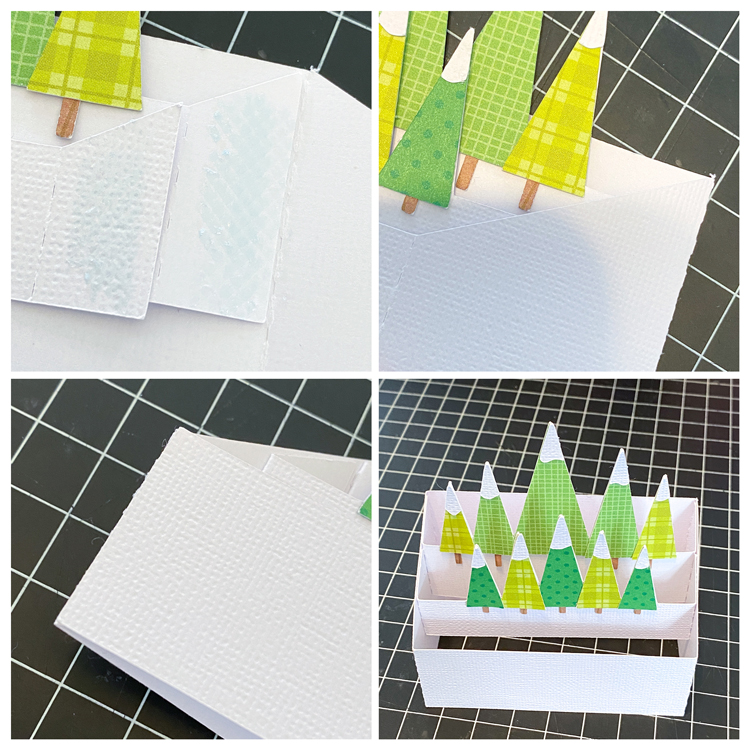
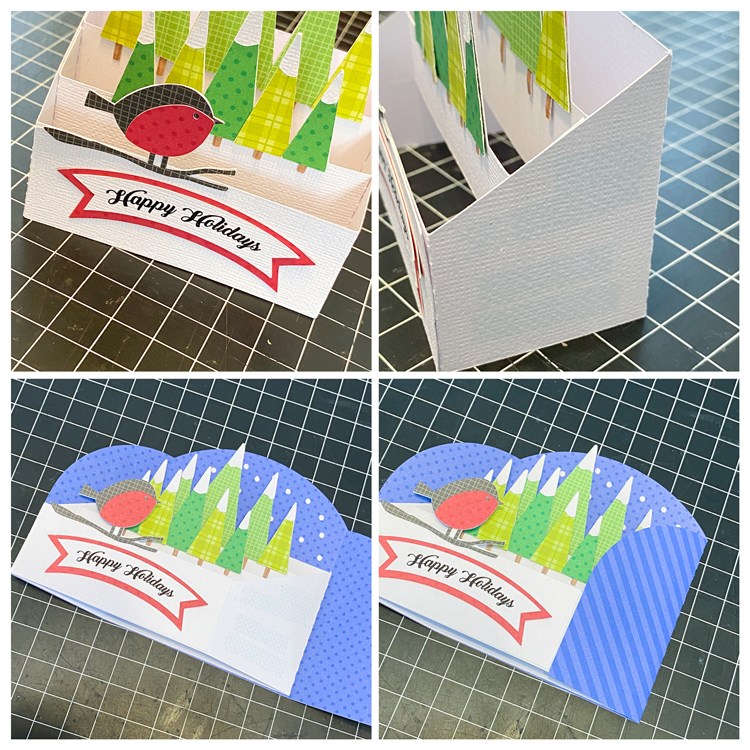
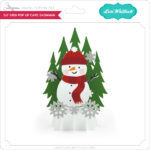
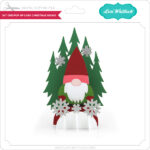
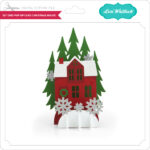
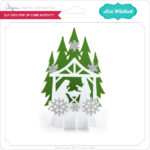
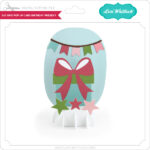
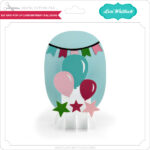
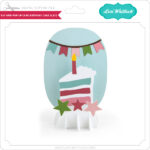
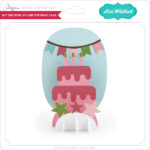
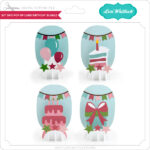
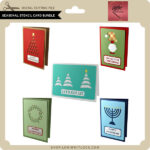
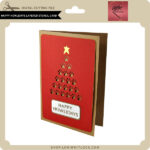
We have some fun new files this week and they are all 30% off this week when you use code DEC2022 in our SVG Shop!  And, as always, my new files are available in the Silhouette Design Store as well. This week I have an awesome new style of card called a 5×7 Grid Pop Up! It’s so easy to put together and it’s super cute when assembled. There are 2 new bundles — Christmas and birthday themed. Check out this quick video showing how it works….
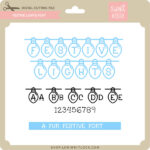
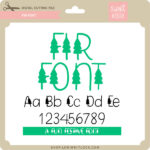
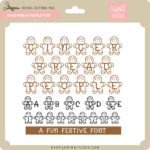
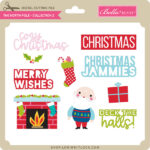
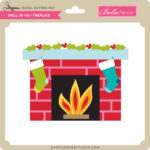
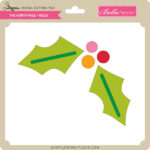
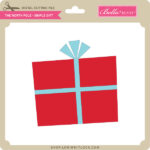
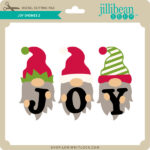
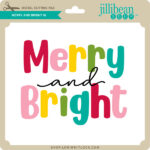
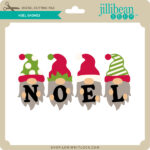
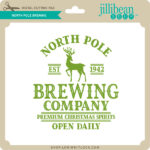
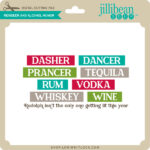
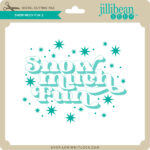
We also have new files from Bella Blvd, Jillibean, Quietfire, SAS, and Sweet Elsie.

***CLICK HERE TO SEE NEW FILES***

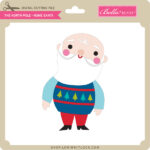
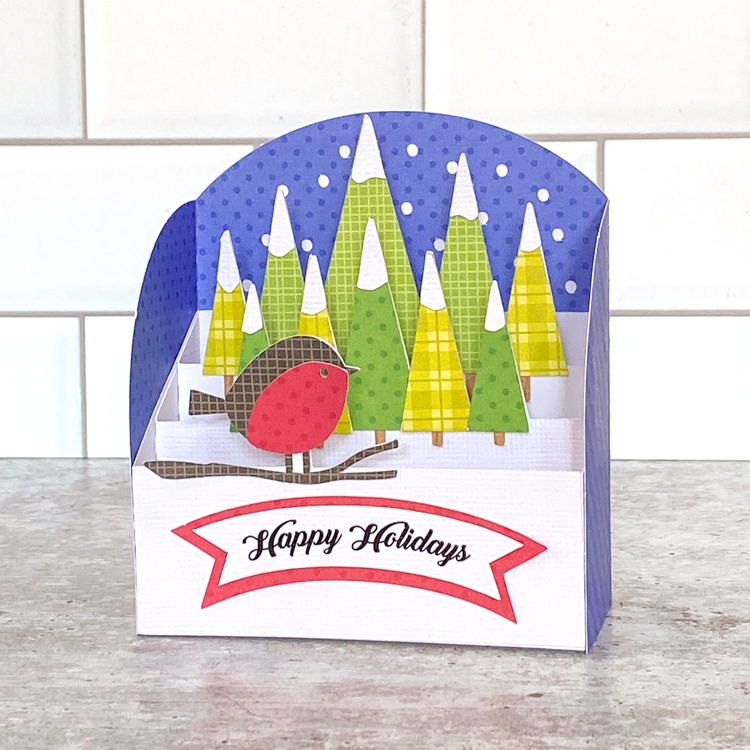
And, last but not least… would you like to see what our amazing team has created? Click the links below for some wonderful inspiration. If you get lost come back here to get on track Lori Whitlock, Traci Penrod, Kathy Skou Anita Mulcahey, Brandie AdamsAshley Cook , Marcia Dehn-Nix.  Thanks again for dropping by! Have a GREAT day!

Snowglobe Shadow Box Card Snowman Tutorial

Have you seen the new Snowglobe Shadow Box Card Bundle?  There are nine designs… and each is cuter than the next!  I put together the Snowglobe Shadow Box Card Snowman file (SVG, Silhouette) for my post today.  It’s one of my favorites from the bundle.  These cards are super easy to assemble, I’ve included a quick tutorial as well.  Take a peek…

How cute is that little snowman??  Below, I have outlined the assembly steps….

To start I cut out all the pieces of the file.  On one side of the base I added the decorative panels, bow and the print and cut sentiment. I flipped the card base over and added the blue sky piece to the inside of the base. Next I added some adhesive to the two tabs (circled)  It’s just easier to add the adhesive at this point.   The inserts come next.  For this card the back insert is the one with the houses and church.  I inserted the tabs on either side of the insert into the backmost slots on both sides.  It takes a little wiggling, but they slide in and stay put!

Then I added the second snowman insert into the front group of slots.  Once both inserts were in place, I folded down the card so that it laid flat and the tabs with the adhesive were facing up and flat.  To finish I simply folded over the front of the card, and pressed down to secure the tabs to the front panel of the card.  So easy!

This card will fold flat for mailing and fits into a standard A7 envelope (5.25″ x 7.25″).

That’s it for me today, thanks for stopping by to peek!

BLOG | INSTAGRAM

NEW Christmas Project Bundle!

Have you seen the new Christmas Project Bundle in the shop this week?  There are 9 fantastic new designs which are also available individually in my SVG shop and coming to my portfolio in the Silhouette Design Store.  Take a look …

5×7 Gatefold Card Christmas Doors (SVG, Silhouette – coming soon)
3D Christmas Tree Favor Box (SVG, Silhouette – coming soon)

Christmas Stocking Card (SVG, Silhouette – coming soon)
Christmas House Card (SVG, Silhouette – coming soon)

5×7 Christmas Mantle Card (SVG, Silhouette – coming soon)
Christmas House Card (SVG, Silhouette – coming soon)
5×7 Winter Scene Truck Card (SVG, Silhouette – coming soon)

5×7 Winter Scene Snowman Card (SVG, Silhouette – coming soon)

5×7 Winter Scene Santa Card (SVG, Silhouette – coming soon)
I hope you enjoy these fun new files. Have a great day!

Stadium Box Card Tutorial

Hi Everyone!  It’s Kathy today with a fun new style of card from Lori, the Stadium Box Card.  These cards are very similar to a regular box card, but they have a nice wrap-around piece along with the inserts.  They fold flat for mailing (standard A2 Envelope) and they look so pretty on display! I’ve made a few, including this Stadium Box Card Winter Bird (SVG, Silhouette) As I mentioned they are very similar in their assembly to a regular box card, with a couple of small differences.  I’ve outlined the assembly below.

To start cut out all of your pieces.  I’ve pre-assembled some of them.  I added the trees to 2 of the inserts and the bird and branch to the 3rd.  I also created the sentiment using the Print and Cut Feature of my cutting machine.  If you ever need help with piece placement, I always find it helpful to reload the cutting file in my software.  Lori groups the pieces together as they go on the final project so it definitely helps when your trying to place that one last piece!

I started by adding the arched white piece to the back side of the blue piece.  When facing forward, the white looks like snow falling in the background of the card.

I then added the inserts to the card base.  I find this easier to do before I glue the “box” into shape,  I started with the backmost insert.  Align the tab of the insert along the slanted edge of the box side, and also the score line between the side and back of the card.  Don’t overlap the score line, just right to the edge.

Add the second insert, aligning that tab along the slanted edge of the side as well, then right up next to the previous insert.  When flattened it should look like the bottom photo.

Once you have the left side glued, flatten out the two inserts, and add adhesive to the remaining two tabs on the inserts as shown in the first photo.

Fold the right side of the card base over, and press down to adhere the tabs to the side.  They should be aligned with the slanted edge of the side.

Finally add adhesive to the tab on the box base and press down.  Now when you open the box it should look like the bottom right photo.

Once you have the box in shape, add the bird insert directly to the front of the box on the outside.

Finally you want to add the wrap around piece.  I started by adding adhesive to the sides and back of my box.

To align the box perfectly in the wrap piece, I folded the box as shown in the bottom left photo, and then lined up the edges with the leftmost and bottom edges of the wrap.  Once I had that in place, I folded over the remaining flap of the wrap piece and pressed to adhere.


And done!  They really do go together quickly, and just look so cute!  That’s it for me today, thanks for stopping by to peek!

BLOG | INSTAGRAM

Polar Bear Side Step Christmas Card

Hello everyone! Marcia here today. I’ve been busy making some Christmas cards to send out to family and friends. Do you still send cards out? I love making cards that can be left sitting out on tables and countertops and was so happy to see that Lori added some step cards recently like this adorable Polar Bear Side Step Christmas Card (SVG, Silhouette). I used the starry sky pattern paper from Echo Park Paper’s The First Noel collection for the base of my card and the Christmas Magic collection for the green and red pattern papers.

No need for a sentiment stamp either. You can use the Print and Cut feature in the Silhouette design studio. The Season’s Greetings sentiment is included with the cut file.

I love how it turned out! There are a lot of other side step cards that were released recently for Christmas card making. Go check them all out. Have a great week.
~Marcia