3D Leprechaun Hat Box Tutorial

Hi there friends! Today I am sharing an assembly tutorial for the 3D Leprechaun Hat (SVGSilhouette). As soon as this paper collection came out, I knew I wanted to craft with it. It is the Happy St. Patrick’s Day collection by Echo Park Paper Co. This little hat is the perfect size for a tiered tray or to hold a little treat for someone special.

This cut file has five circles, two long strips with tabs, and two buckle pieces. The tabs are all mountain folds.


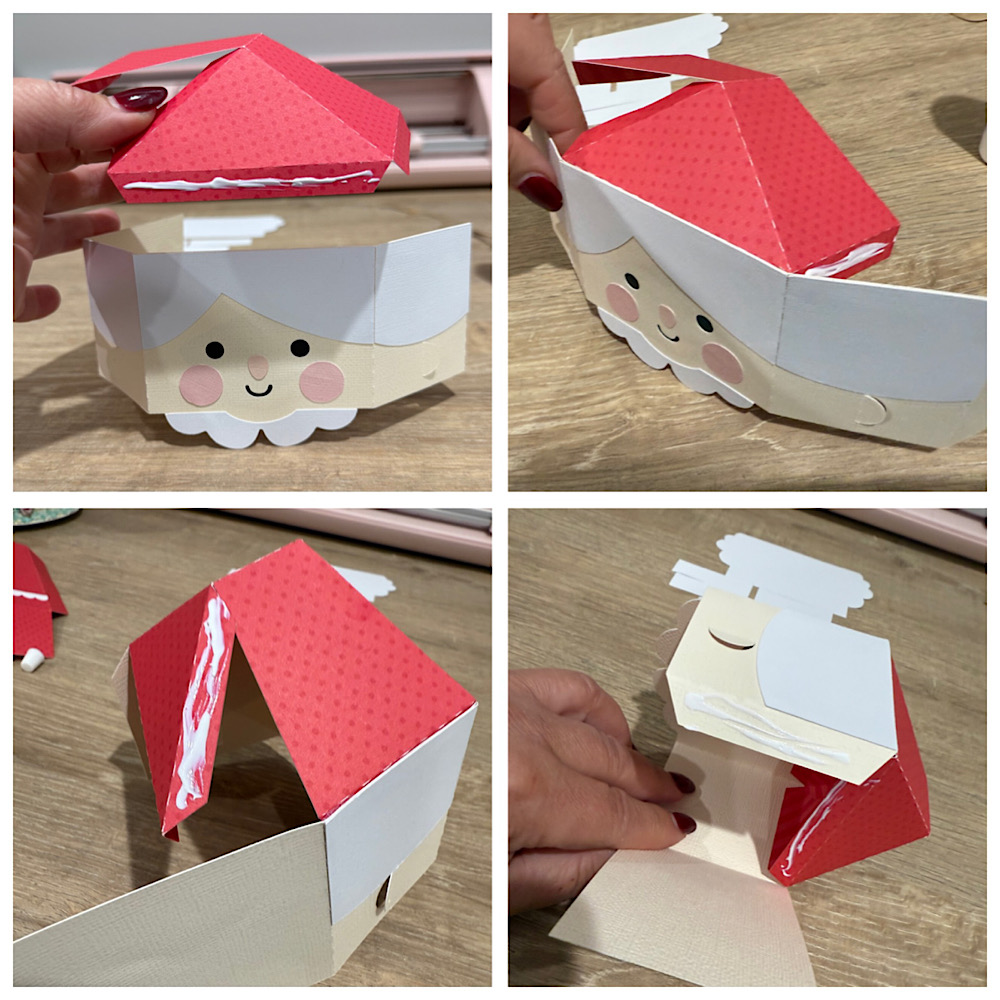
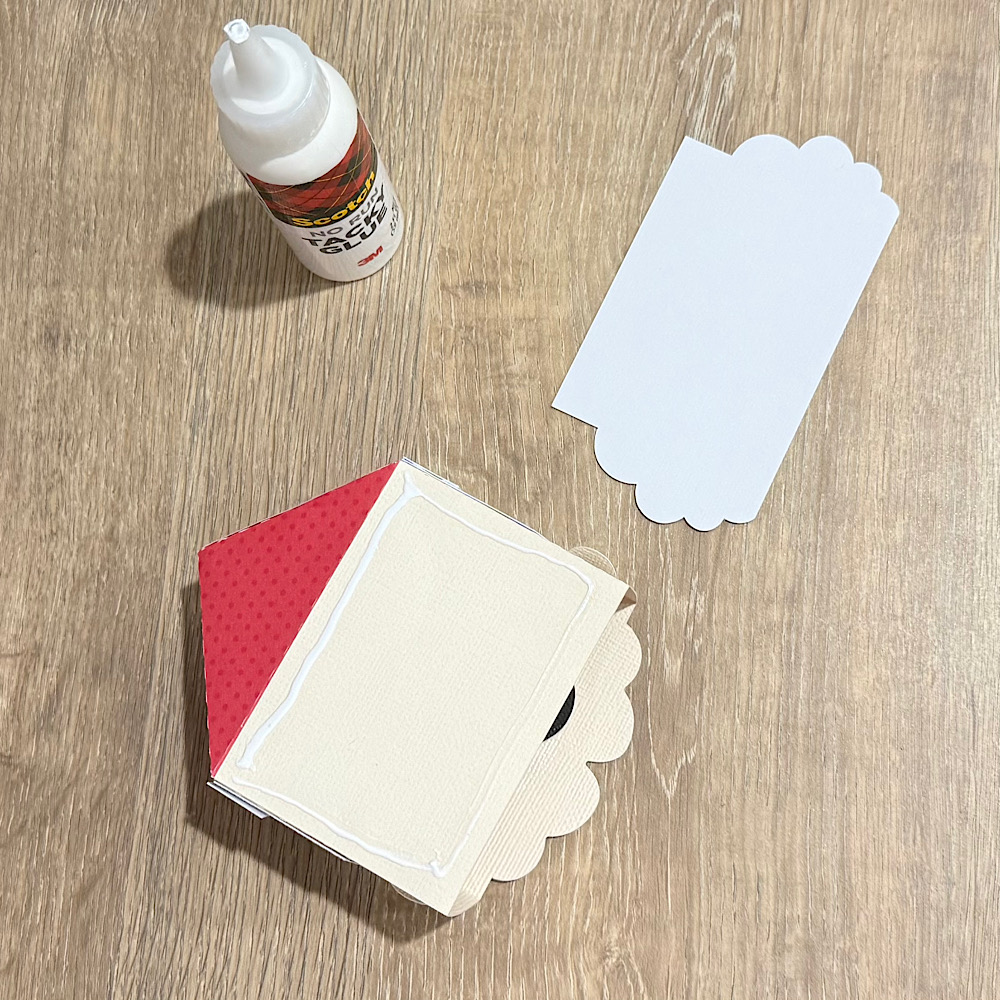
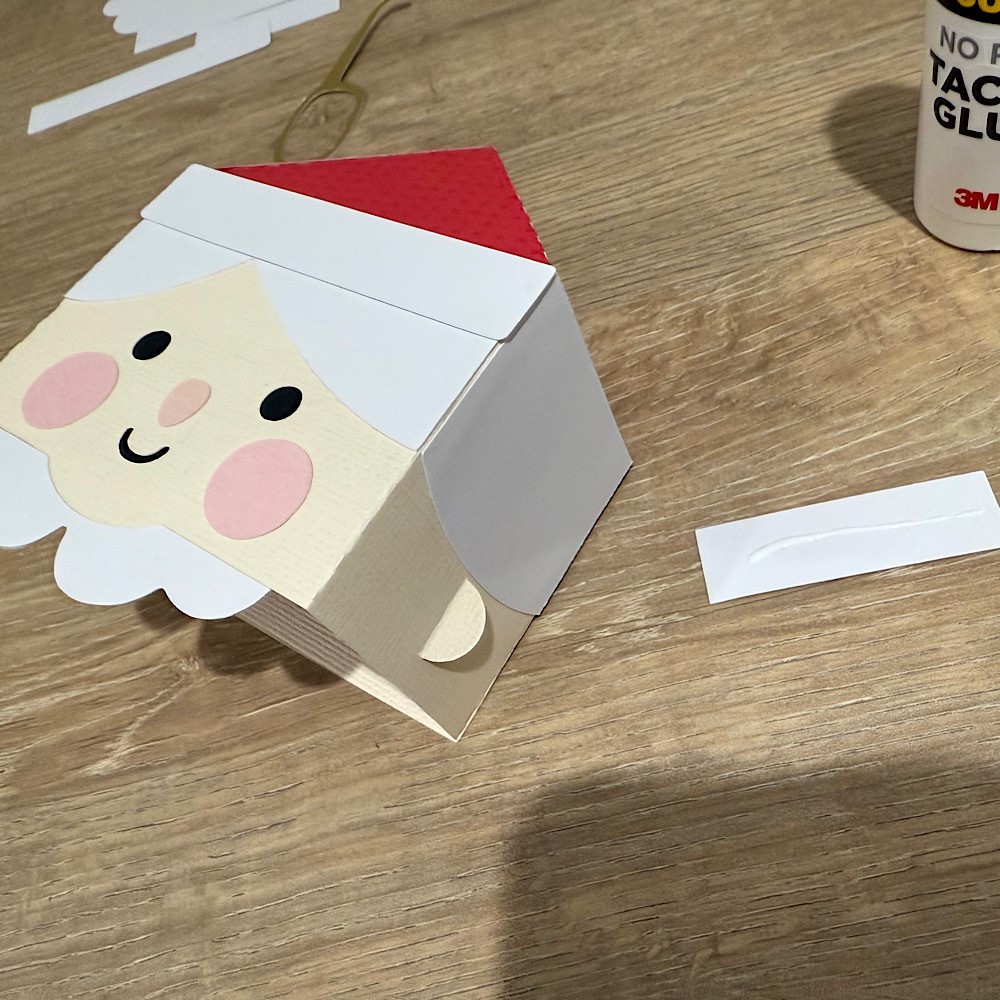
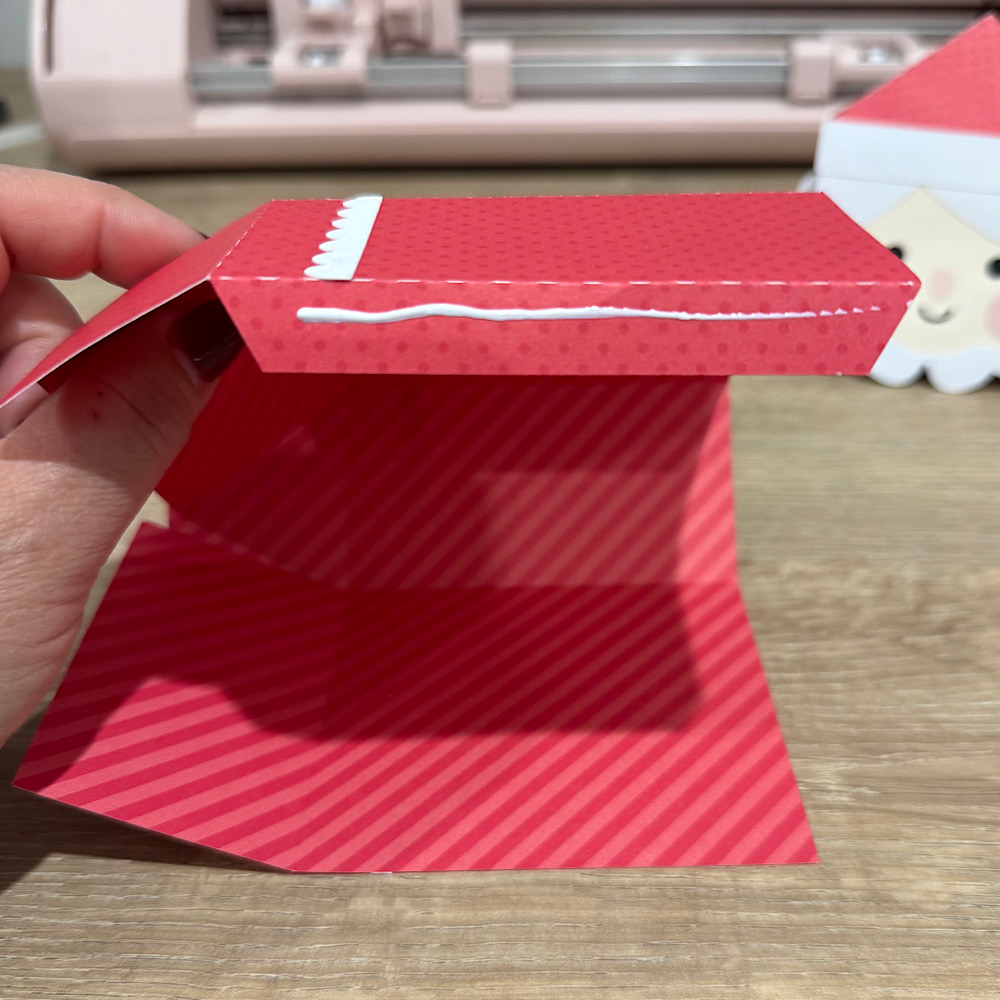
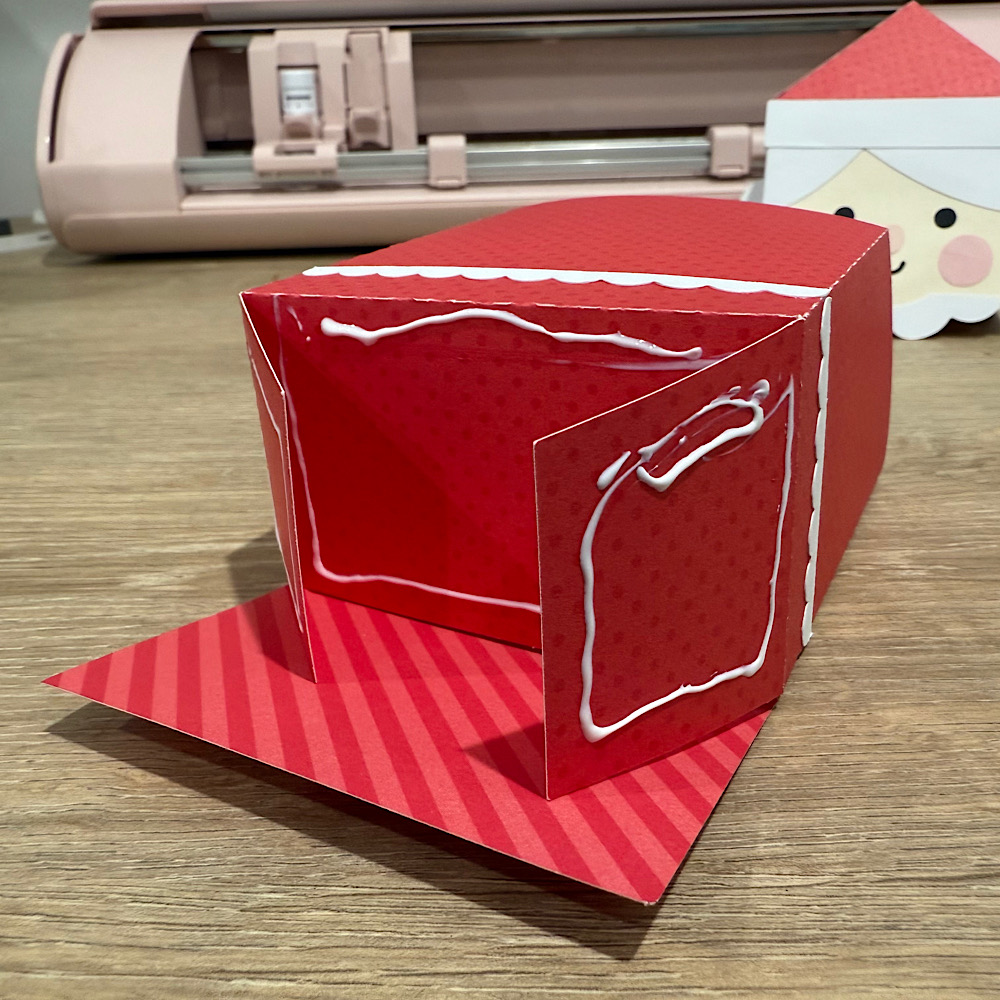
I started with the narrow strip first. This will be the hats brim. I added glue to the end tab and attached to the other end creating a circle. I then folded over all the tabs and added glue to each tab on the inside of the cup. Then I put one of the same-colored circles inside the cup and pressed down on each tab against my work surface making sure to shape and secure each one. I flipped the cup over and glued the second same colored circle on the top covering the tabs. With the wide strip and the two smaller remaining circles I repeated the steps making a taller cup.

To help give a little dimension and to hide the white core paper I inked all of the remaining pieces and the two cups.
I glued the two buckle pieces together. Then glued the shorter cup to the center of the largest circle. The taller cup is turned over and fits inside the smaller cup creating the hat. I glued the buckle into place only adding glue to the bottom half of the back of the buckle so that the hat can still open.
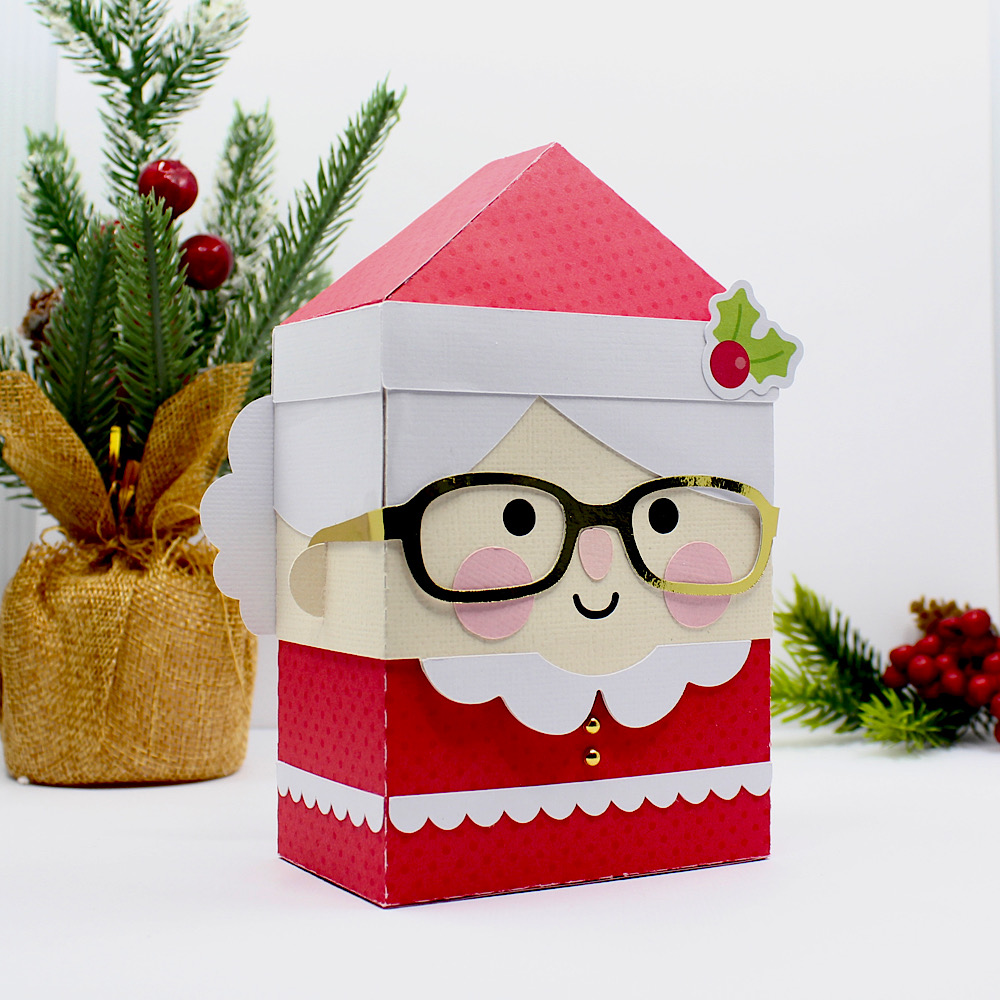
I added a few stickers from the collection to glam my hat up a little as well as a jewel brad from my stash.

I really like how it turned out and will be adding it to my tiered tray decor next month. Thanks for stopping by today!


Brandie

Self Closing Box 2 Tutorial

With Halloween just a few days away I made these little boxes (SVG, Silhouette) for my grandbabies. I will be walking you though how to assemble them.

 
I did increase the size on these as large as I could and still have it fit on my mat. Then I scored all the score marks.
 
 Then I added score tape to all the little flaps.
I wrapped the long side around 1st and stuck each side as I went. I found that laying it on the table like it is below and using my finger as a guide to line it up was easiest.


Contine to adhere all the sides.


I did find that directional paper might not be the best to use as it will be right side up on the lid, but the wrong way on the base.

After you have attached the flaps to the lid you have a cute little finished box to fill with goodies. I also added some embelishments to the inside as well and wrapped it with bakers twine.


Happy Haunting!

Chelsea

Altering the Size of the Candy Box File

Hello Everyone:
Anita here with a quick tutorial on taking one of Lori’s Candy Box SVGs and resizing them to fit the candy bar size that I need.  I used Candy Box 6 Candies (SVGSilhouette).  I used Lori’s two Echo Park Paper collections including Our Little Princess and All About a Girl.
I wanted to make my own chocolate bars for Valentine’s Day given that there are food allergies in our family and wanted a pretty box to put them in.  I picked this box as it seemed like it would fit the candy bar mold that I have.  This file comes in two parts, Part 2 is for the box and part 1 is for the scalloped inserts.  I used Part 2.  When I imported my file into Silhouette Studio I used the grid lines on my mat on the screen to determine the size of the unaltered file.  I knew what size I needed to fit my candy bar and with the file still grouped together I dragged the corner until the dimensions were what I needed them to be.  Be sure that you don’t ungroup them before doing the resizing.  As you can see from the photo above I did a pretty good job of getting my box to fit my candy bar.

These are the cut file pieces for my box.  I opted to use the decorate overlay around the inner edge but you wouldn’t have to if you were short on time.  I often put an acrylic sheet over the opening when making boxes but decided that the chocolate bar looked better with the hole open.

These are the box pieces assembled and ready for my chocolate bar. That’s it for me.  Be sure to check out all of Lori’s Valentine’s Day files.

Hugs,

Anita

Sunshine Box Tutorial

Hi Everyone!  Lori has some new Sunshine Boxes in the shop.  Here’s a quick tutorial on how to put one of them together.  I used the Sunshine Box 2 (SVG, Silhouette)

To start, cut all your pieces on your digital cutter.

These are all the pieces that you have. Ink any edges first, if desired.  Next, apply adhesive to the pieces, and start adhering the pieces while the box is flat.

If any of your rainbow pieces are not quite even, this is the time to trim them to line up with the edge.  Fold the box into shape.  Glue the side tab.

Now apply adhesive to the bottom panels and fold into place. Use brads to add the handle.

Now your box is ready for a fun gift to brighten someone’s day.

Lori also has a bundle which includes more sunshine bags and some coordinating cards here.  Have a great day!

Halloween Styled Mother’s Day Hat Box Tutorial

Happy Fall Everyone:

I fell in love with Lori’s new Echo Park Paper collection called I Love Halloween and knew that I wanted to use it for a Halloween project.  We are going to be making the Mother’s Day Hat Box which you can find here in Lori’s SVG Shop and here in the Silhouette Design store.  This is a fun and easy box to put together.  Let me show you how I did it.

Here are the parts all cut out.  I used my Silhouette Rotary Blade to cut the flowers.   It cut the felt beautifully !

You are going to take your two long rectangle tabbed pieces and fold the tabs down.

Next you are going to glue the tabbed end of the rectangle piece to the other end making a circle.  One strip is slightly longer than the other.  The longer one will form the cover, the shorter one the bottom of the box

The file comes with four round circles. The two slightly smaller ones are for the box base.  The two slightly larger are for the cover.   One is glued inside the box and one is glued on top of the box.  I like to glue my inside circle in first as I find it is easier to ease it to fit.  Then I glue the top of the box on.  I use a wet glue when making projects like this where I am asking the paper to be in different shapes.

I made both boxes and then checked to make sure that one slid easily over the top.  I then glued the top on the box and the decorative band around the bottom.

I then glued the bottom of the box onto the scalloped piece centering it.

I brought the ends of the bow pieces on both sides to the center back of the bow and glued it together well.  Then I wrapped the center bow piece around the bow and glued that as well.

I then added the ribbons of the bow to the back of the bow.

Here are my rolled felt flowers.  I cut them easily with my Silhouette Cameo 4 and the rotary blade.  I started at the end of the flower and rolled them up and secured them well with wet adhesive.  (for a rolled flower tutorial see this post)  Be sure that you don’t put your flowers in the way of the box being able to be opened and closed easily.   I added some embellishments to my box and rolled some of the leaves to give them a bit more dimension.

Lastly, here is the box open with some Halloween candy for your favorite sweetie.  I have my hat out as a Halloween decoration and it makes me smile when I look at it.

That’s it for me today.  Be sure to check out all of Lori’s Halloween SVG files and don’t forget all SVGS, Fonts, Pattern Fills and Commercial Licenses are 30% off through Saturday when you use code SEP2020 at checkout!

Hugs,

Anita