Birthday Balloons Bag

Happy Labor Day (for those in the United States).  Happy Monday to all.  I hope you have great things planned for today and week.  How about starting the week off with some crafty inspiration.  Lori recently added some new bags to her shop.  I am sharing the Birthday Balloons bag today (SVG, Silhouette).

These bags are quick to piece together, and there are several design options in the shop. It’s a perfect size for a small gift with a gift card or a treat. It would also work great as a party favor bag.

Ashley

Santa Label and Gift Bag

Hello everyone! I don’t always have the time to put together a bunch of Christmas tags so print and cut really comes in handy for me and these adorable Santa Labels (SVG, Silhouette) are going on all my grandchildren’s packages. I also needed a small gift bag so I cut out the Gift Bag 2 (SVG, Silhouette) and made this super simple and quick gift package!

Merry Christmas and thanks for stopping by, have a wonderful day!

Sunshine Box Tutorial

Hi Everyone!  Lori has some new Sunshine Boxes in the shop.  Here’s a quick tutorial on how to put one of them together.  I used the Sunshine Box 2 (SVG, Silhouette)

To start, cut all your pieces on your digital cutter.

These are all the pieces that you have. Ink any edges first, if desired.  Next, apply adhesive to the pieces, and start adhering the pieces while the box is flat.

If any of your rainbow pieces are not quite even, this is the time to trim them to line up with the edge.  Fold the box into shape.  Glue the side tab.

Now apply adhesive to the bottom panels and fold into place. Use brads to add the handle.

Now your box is ready for a fun gift to brighten someone’s day.

Lori also has a bundle which includes more sunshine bags and some coordinating cards here.  Have a great day!

Pocket Shaped Bag by Brigit

I love anything denim so when I saw this pocket shaped bag from Lori’s shop I knew it was going to be my next project! You can get this bag also from the Silhouette Design Store here.

I wanted to add snowflakes so I used the ones from the Christmas snowflake border edge card, I just did a release compound path took the shapes and added them to the layer and did a make compound path and then I did a duplicate solid layer to cut out in white. You can get that card here in the Silhouette Design Store.

I also added the 3D poinsettia, you can get that here at the Silhouette Design Store. The stitching came out awesome, I love it!

Thanks for stopping by and have a wonderful day!

Score Line Tutorial with Brigit

Hello, everyone, it’s Brigit here, I have a quick tutorial on how I replaced the score marks on the 
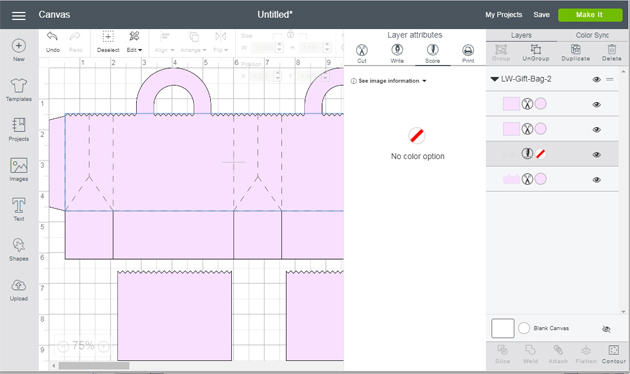
Gift Bag 2 file from Lori’s shop using Silhouette Studio Business Edition so I could use the scoring stylus tool on the Cricut Maker.
You can get the file here from the Silhouette Design Store, but for this purpose, I’m using the svg from Lori’s shop and I’ll explain why. I use Silhouette Studio Business Edition to design my projects even if I’m going to cut from one of my other cutting machines. I really like the Silhouette Studio software and with the Business Edition I’m able to save my projects as an svg which I can then upload into Cricut Design Space or Brother Canvas, you can’t do that with the Basic or Designer Editions and you can’t open svg files with the Basic Edition. What you can’t do with the Business Edition is use an image from the Silhouette Design Store and save it as an svg, the lines around the whole image will save as score marks so that’s why I’m not using the bag from the Silhouette Store. Cricut Design Space does have an option to add score lines but I like this way much better.
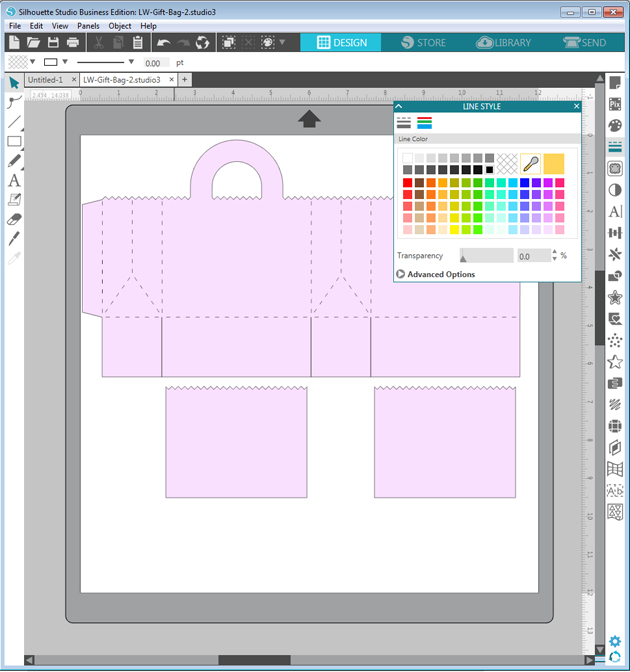
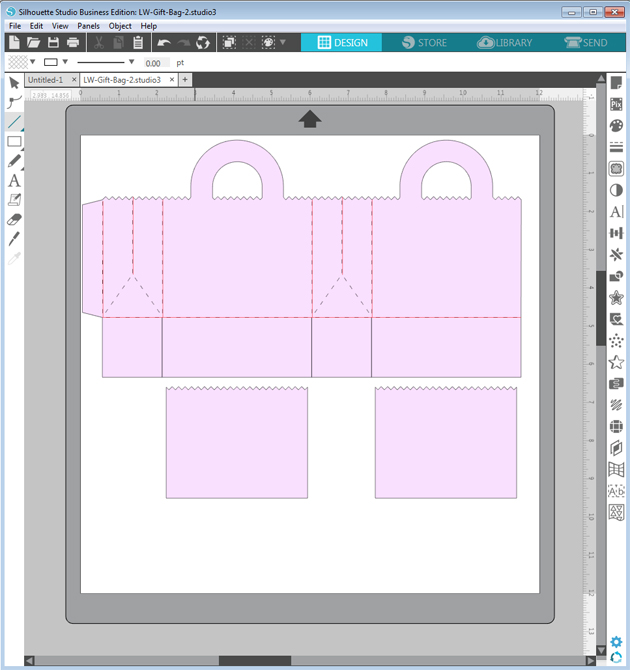
After opening the bag the first thing I do is change the fill to a lighter color and the lines to black, this way the new lines I put in will show up as red, makes it easy to line up.
I just quickly add lines over the score marks, I’m not exact here, I fix them and add the diagonal lines when I zoom in.
Zooming in I draw the diagonal lines and align all the other ones as close as I can get.
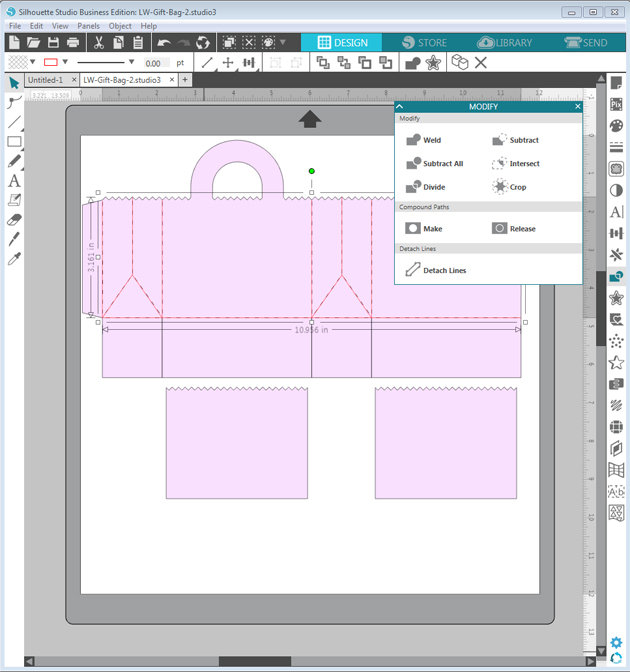
When I’m done I select the new lines and make a compound path, if I don’t do that when I upload to Cricut Design Space the score lines are off from the project.
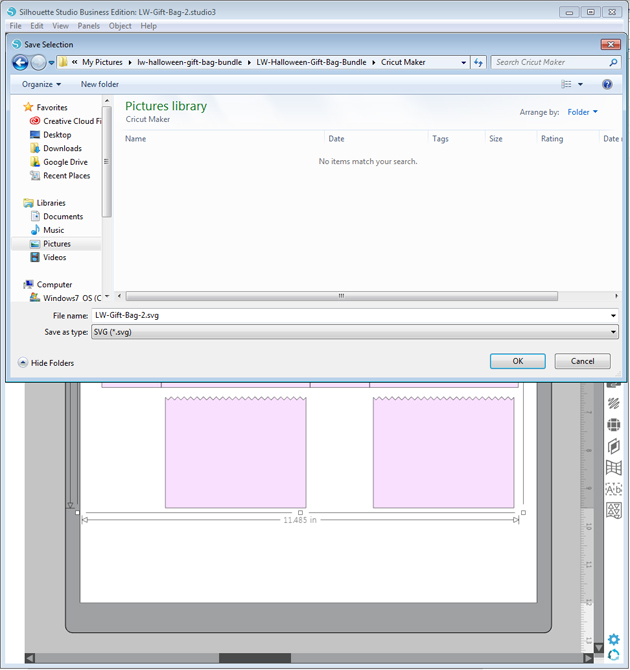
I finish by ungrouping the bag, deleting the original score marks and group with the new score lines. I select all and go to file and save selection to hard drive and in the save as type select svg.
When I upload the bag into Cricut Design Space the size is much smaller, so I resize to match what it is in Silhouette Studio, then ungroup, new lines I created to score and select the bag and score lines and attach.
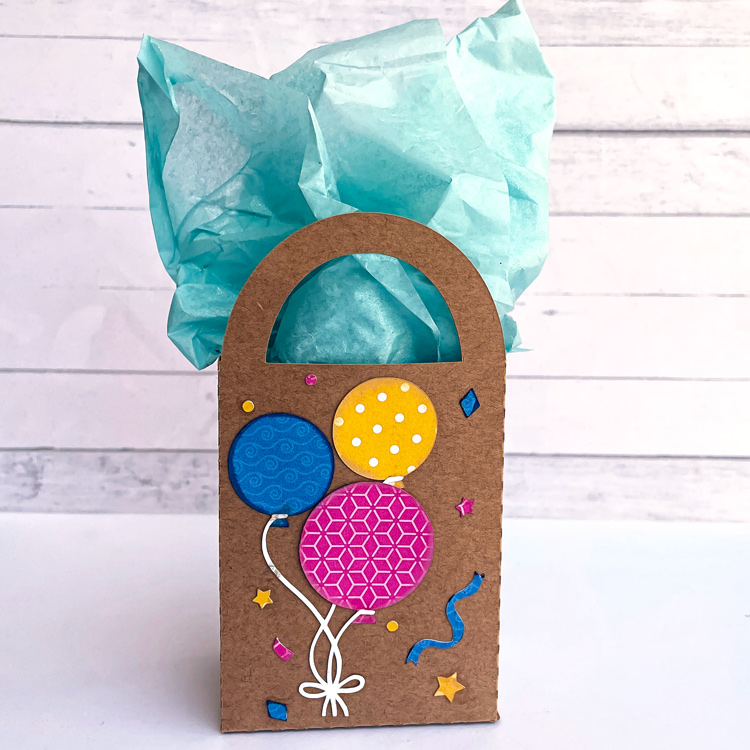
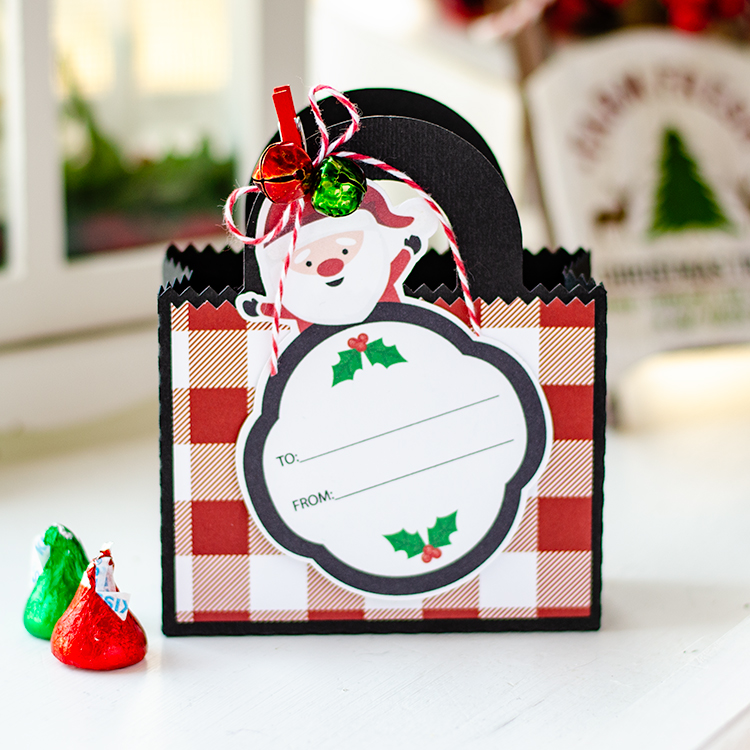
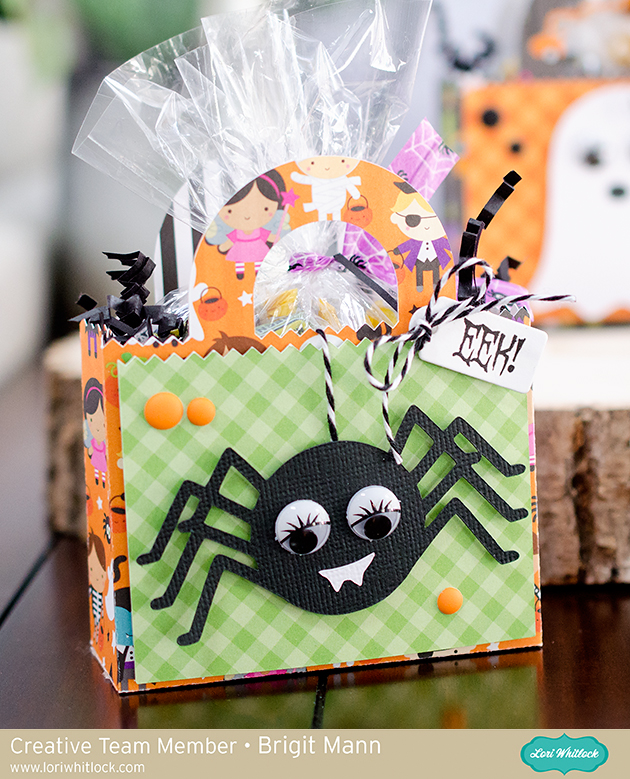
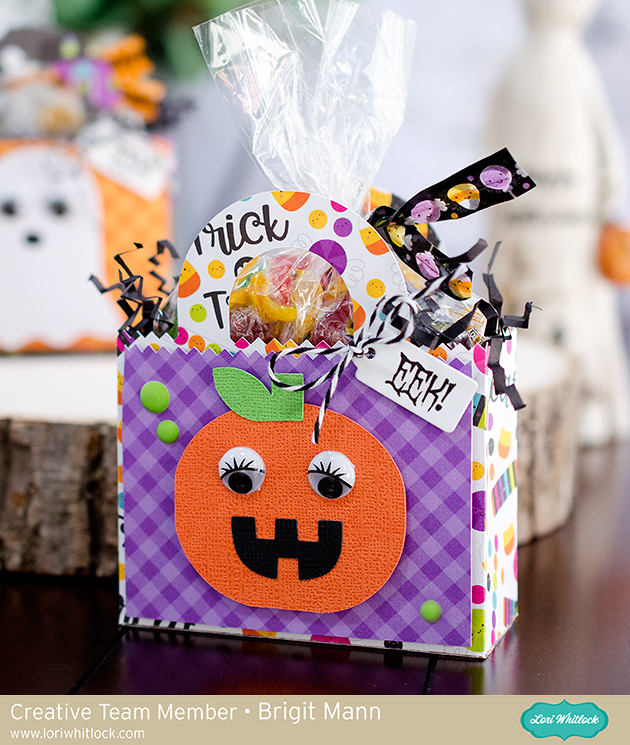
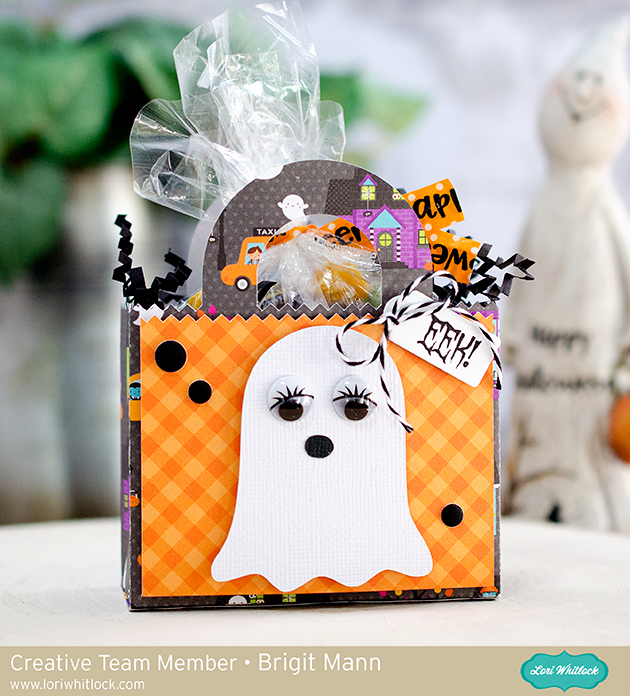
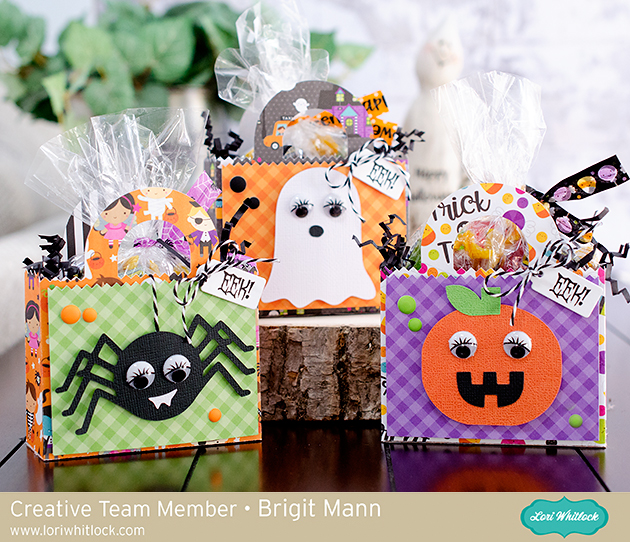
Here’s a closer look at each bag, I dressed them up with the characters from the Cute Halloween Set from Lori’s shop and here from the Silhouette Design Store.
The paper I used is from Doodlebug Design’s Booville collection and Gingham-Linen Petite Prints.
The eyes I believe I bought at Michaels and the sentiment is a stamp from My Creative Time.
Thanks for stopping by and have a wonderful day!!