New Back to School SVG files 25% OFF!

It’s that time of the year when the kids are headed back to school. Many of you know that my youngest is leaving for college on Saturday. It is such a bitter-sweet time at our house. Ashlyn is truly a delight and I can’t wait to see her flourish at college this year. I just might find some free time to do some fun new things with my business in the future. We will see — keep your eyes open. In honor of all those students and teachers that are headed back to school this week, I designed this CUTE School Project Bundle 2 with 5 super cute SVG files. These new files are available in the Lori Whitlock SVG Shop. And, the best part is that these new SVG files are all 25% OFF this week and they are available in a bundle and individually. Check them out….

Thanks for checking out the NEW FILES! Be sure to grab the weekly freebie with a $1.99 purchase and the FREE kit of the month SVG files for July with your $20 purchase.

I hope that you all have a wonderful day! Have fun crafting!

Lori

Believe in the Magic Card–Back to School Style Tutorial

Box Card Crayon Back to School Tutorial

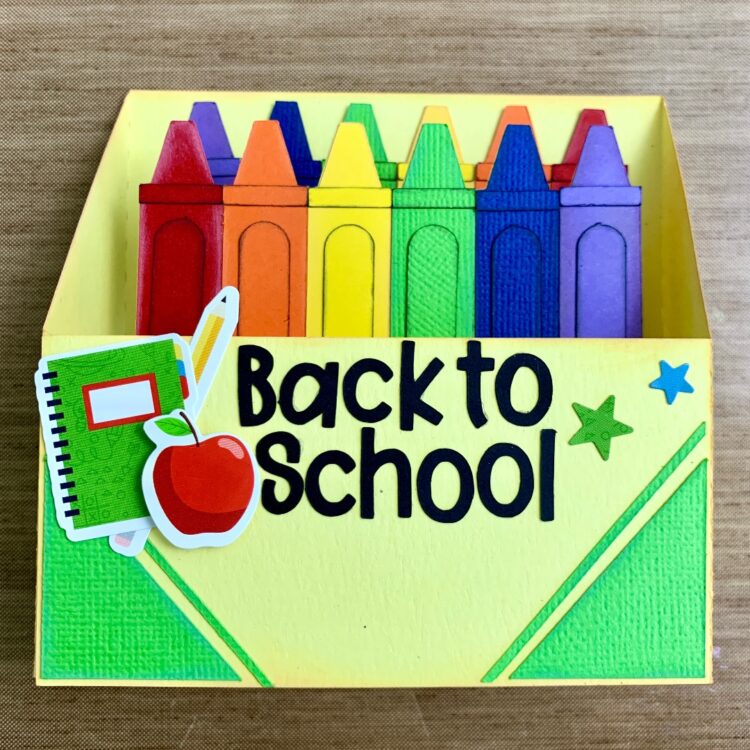
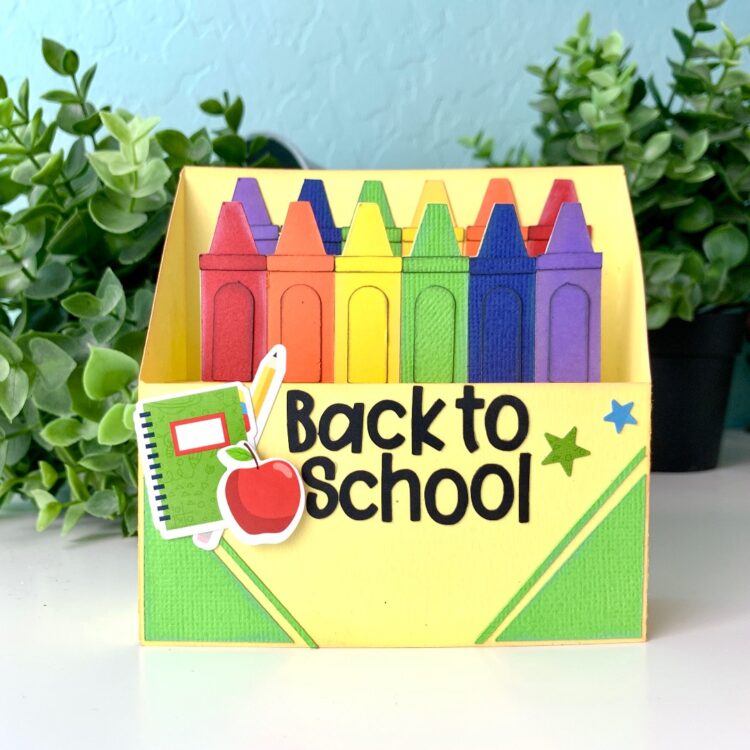
Hi there! Are your kids already headed back to school? Mine starts next week and I have nieces and nephews who have already started. Crazy. With school starting soon we also have “meet the teacher night” and I like to give a card to our new teacher. This year I made the Box Card Crayon Back to School (SVG,) card. Here is how I made it.

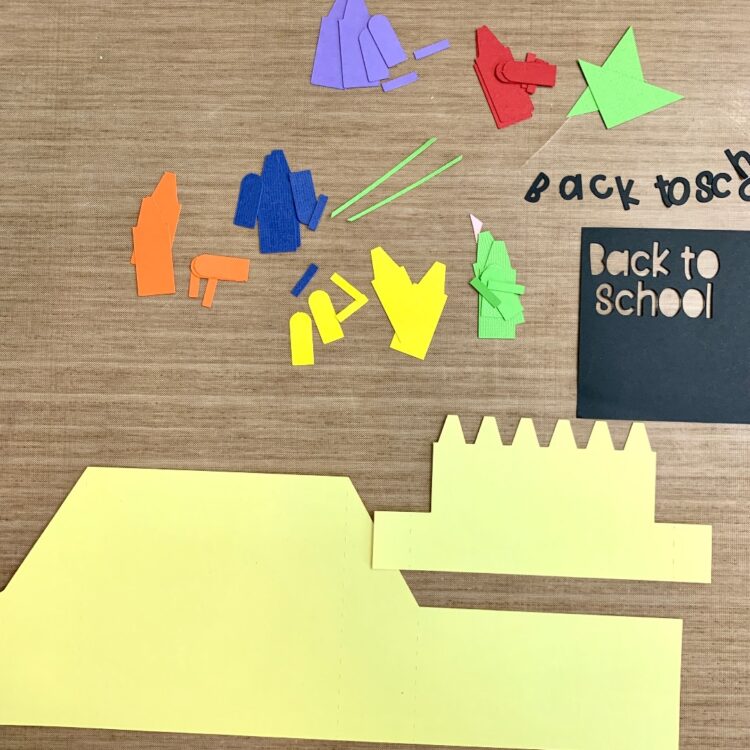
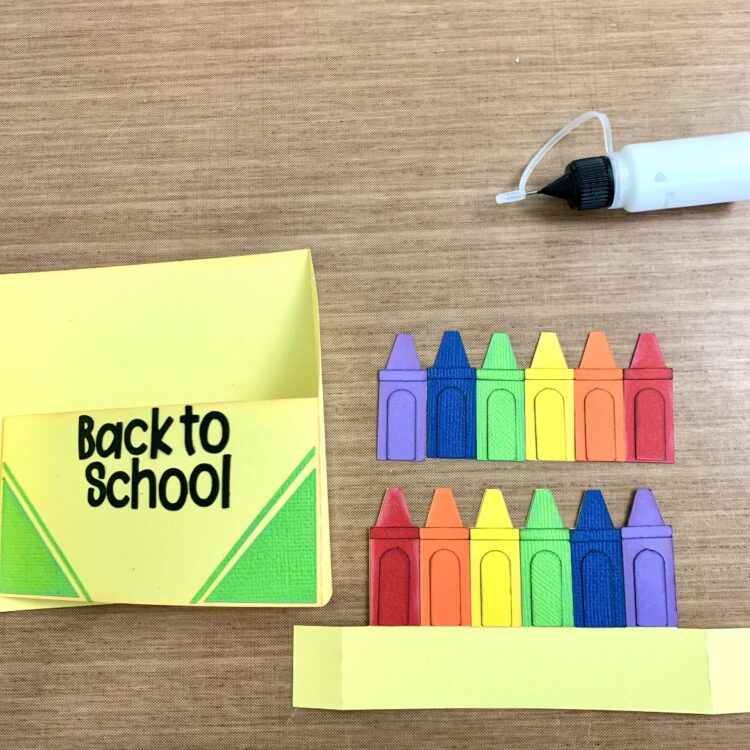
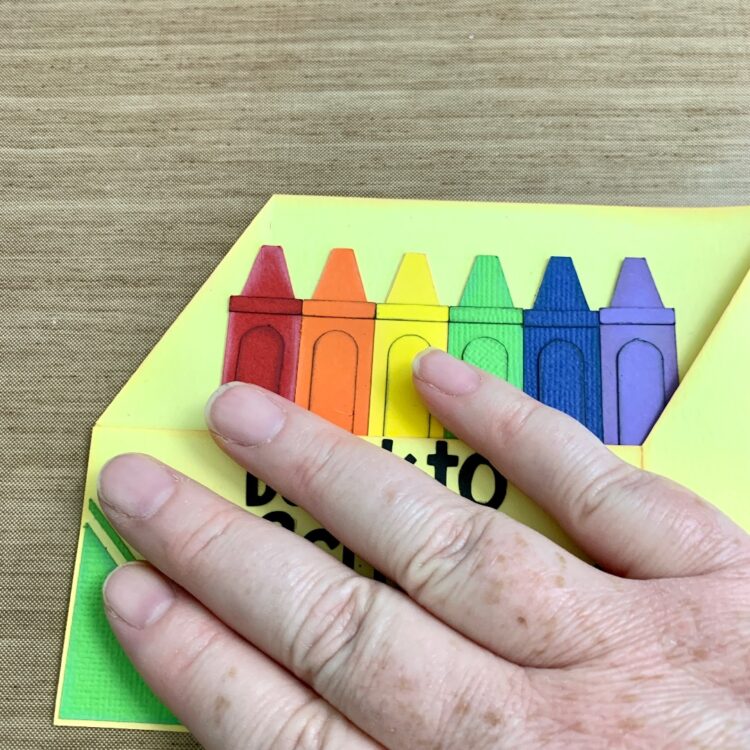
This box card only has one insert, but I cut two of each of the crayons. The pieces are kind of small but manageable. I used a sticker maker for some of the really small ones and I fine tip glue bottle for everything else. I folded all of the score lines as mountain folds. I inked the outside pieces with like colors and the smaller detail pieces of the crayons I used black ink.

I glued the crayons in ROYGBV order on the insert and glued the second set of crayons in the reverse order on the inside of the back of the box card (I did this after I glued the box together). I also glued the front details of the crayon box on as well as the sentiment.

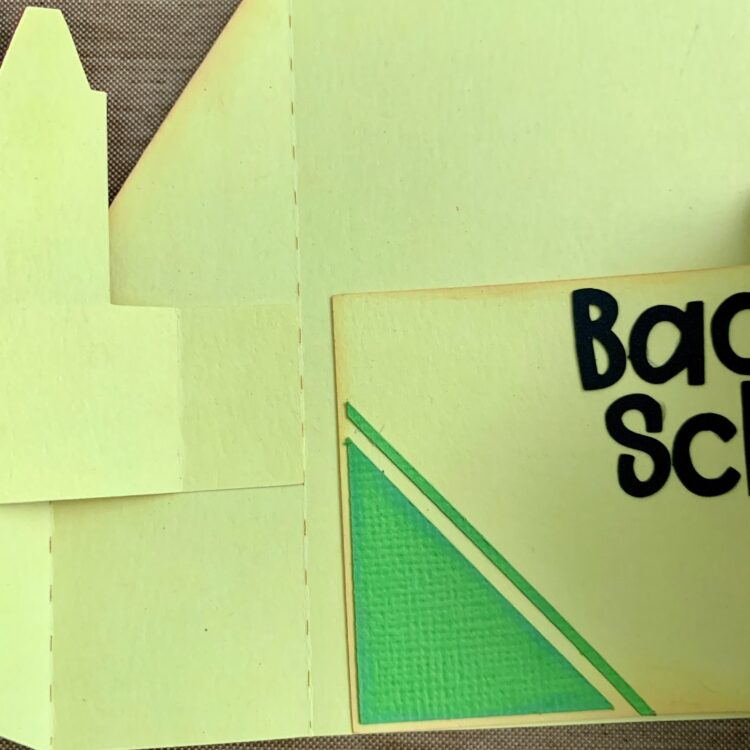
With the crayon box open flat, I glued the left tab of the insert onto the left side of the box card lining up the tab up with the innermost score line. I also folded the front of the box card over to help line everything up.

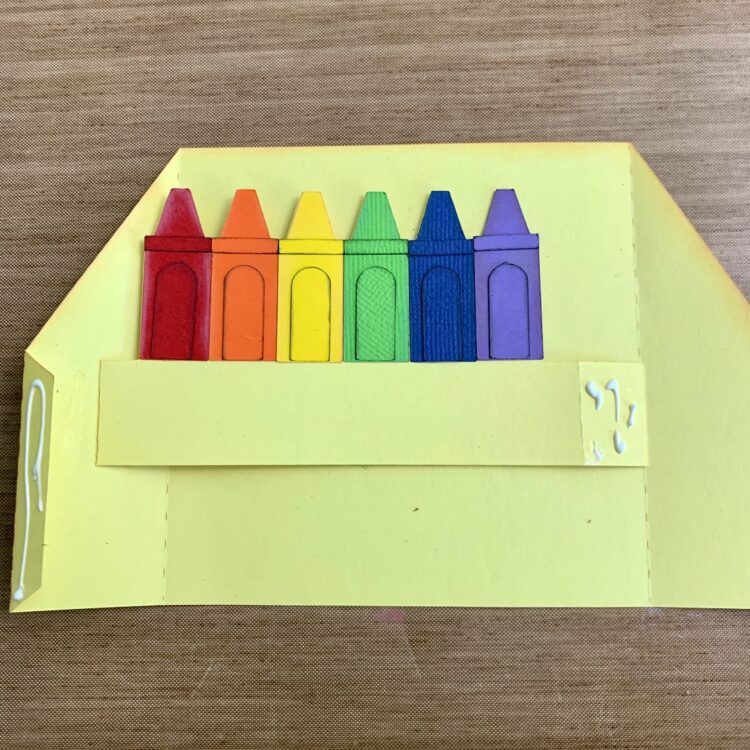
With the box card open flat again I folded the left outside edge tab in and added the glue. Then I added glue to the right-side tab on the insert. The tab should be lined up with the score line on the inside of the box card.

I folded the front of the box card over and held in place while the glued set. Also making sure everything was lined up correctly.

I glued the second row of crayons in and added a few stickers from the School Rules collection by Echo Park Paper.


This card turned out so cute. Thanks for stopping by today and Happy Back to School!
Brandie

A Back to School Backpack

Hi everyone!  It’s that time of year, the kiddos are headed back to school and summer is coming to an end.  I love back to school time and even though my kids are raising their own families now, I still love to shop for school supplies.  There are always so many fun things, I just can’t resist!

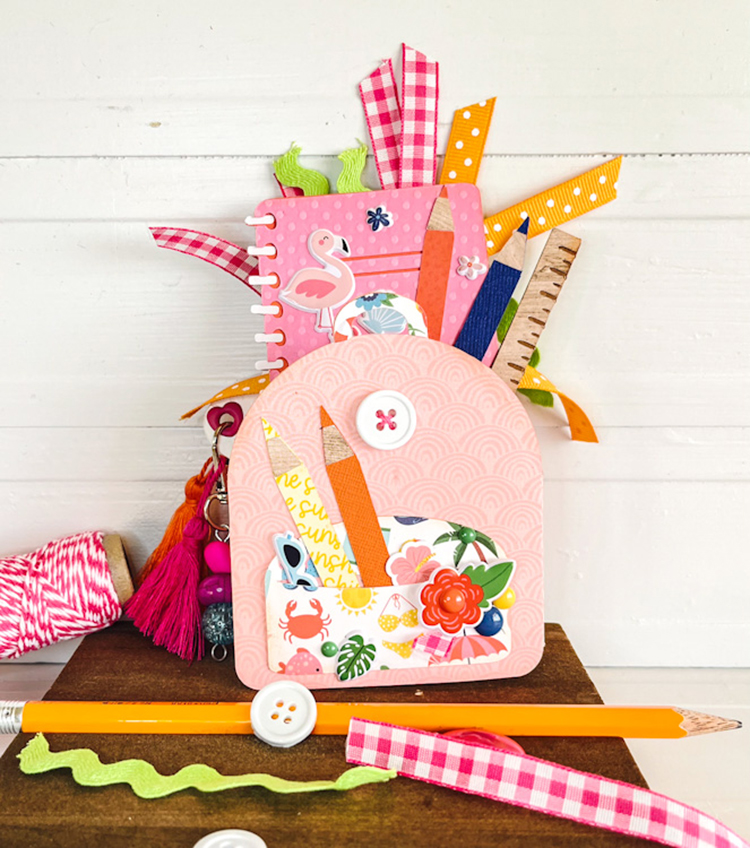
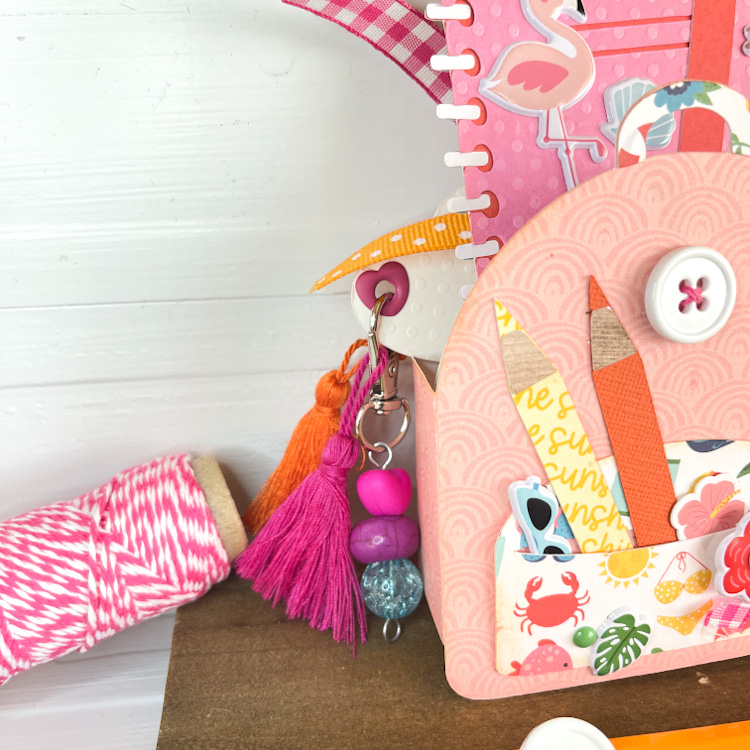
My grand kids all went back to school last week and one started Kindergarten, so I wanted to send her a fun little surprise in the mail.  She loves to get mail!  I created Lori’s Box Card Backpack School (SVG, Silhouette) for her.  Her backpack this year is covered in flamingos.  She loves them, so I tried to incorporate that into her card along with some fun tassels and beads like the one she has.  She loved this and also loved that it came with a little cash stuck inside.  Maybe that’s why she loves getting mail from Grandma.

Here’s a little tip to share with you, I cut the spiral little tiny pieces out of vinyl.  It just seems for little tiny detail work, vinyl works well for me.

I used Lori’s Endless Summer Collection to create my project today.  It was just the perfect collection with all the little things to match her real backpack.

Thanks for stopping by

~Cathy


School Suitcase Favor Box Tutorial

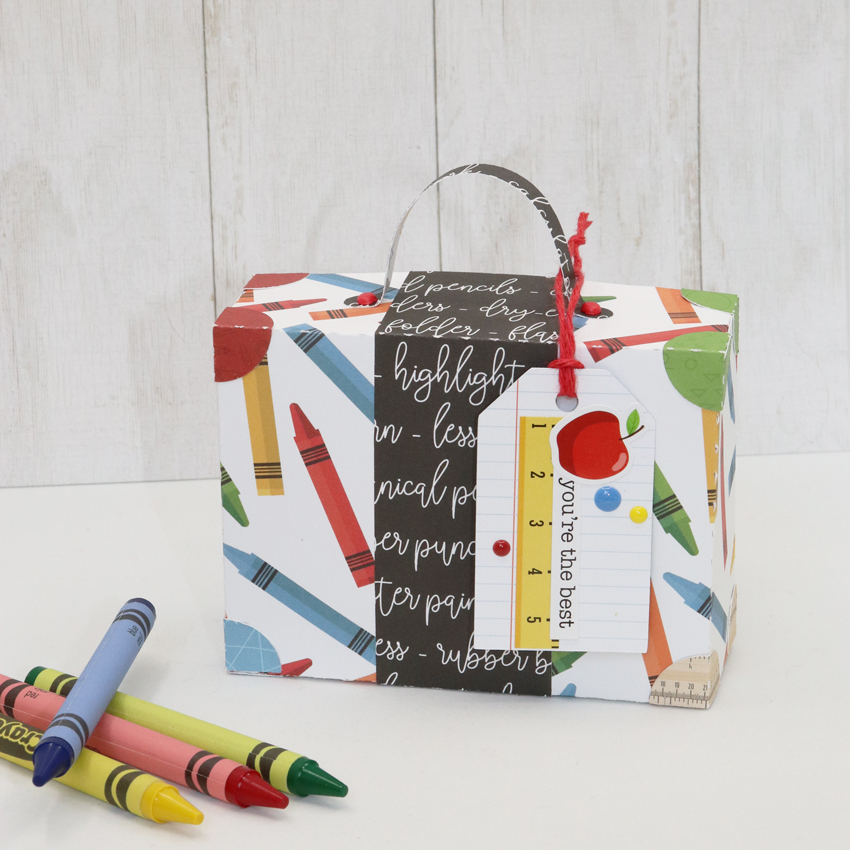
Hello crafty friends! Aimee here to share a tutorial on how to make the new Suitcase Favor Box (Lori’s SVG Shop, Silhouette). This new cut file is so cute and perfect for so many occasions.

I used the new School Rules to create this sweet little suitcase filled with some goodies for the teacher. It is the perfect size to hold a box of 24 crayons and a gift card. I have a little step by step tutorial for you today to guide you in making one for yourself.

So let’s get started…

  1. Cut out all of the pieces

2. Start assembling the suitcase box

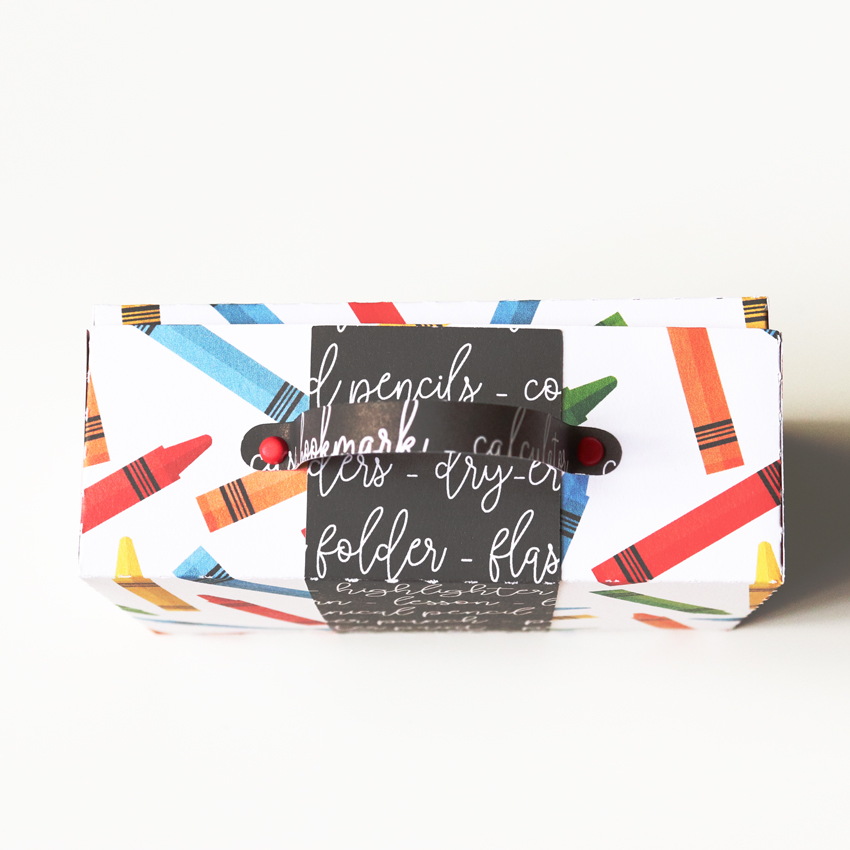
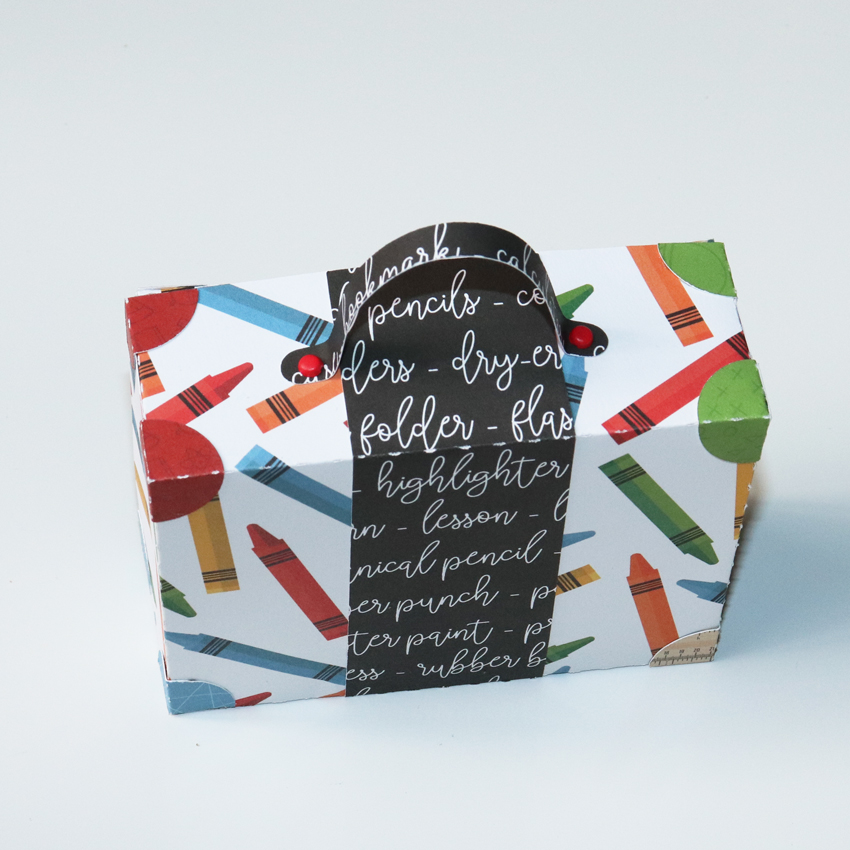
3. Adhere the belly band to the front, top, and bottom


4. Add the suitcase handle with small brads

5. Fold all of the suitcase corner pieces and adhere the full circle piece to make a complete corner

6.  Adhere these corner pieces to the corners of the suitcase box

7. Decorate the tag and use the twine to tie it to the suitcase box

And now you have an adorable little suitcase box to give as a sweet gift that any teacher would just gush over!

Thanks for stopping by today!

Aimee