Hi Everyone! It’s Kathy today with a tutorial showing how to assemble the new A2 Snow Globe Shaker Cards. (in Silhouette here) I made the adorable Snow Globe Shaker Snowman Card take a peek…
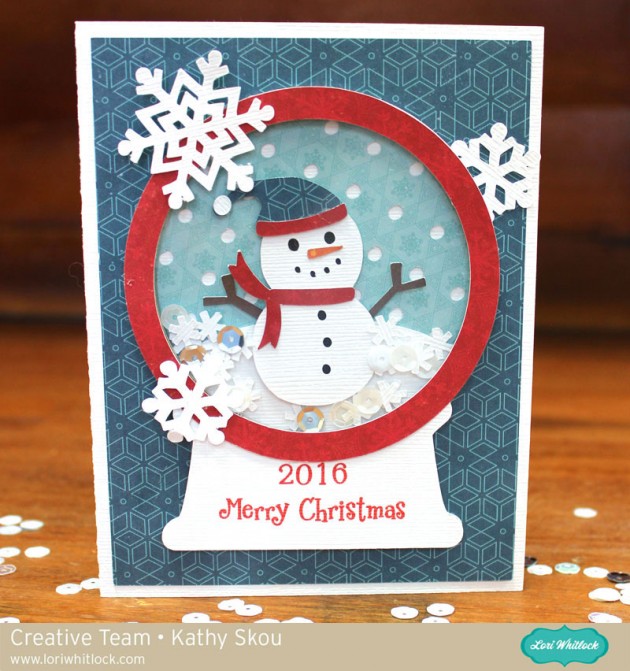
A lot of people get nervous when they see a print and cut piece on the card, but it really is easy. I’ll show you how I did it using my Silhouette, but you can also see a print and cut tutorial for Cricut here.
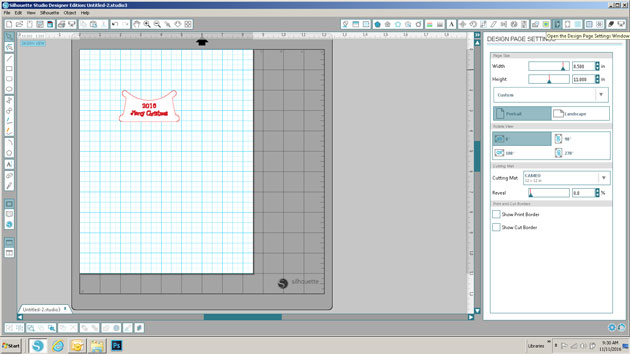
First you want to go into Design Page Settings and set your paper size to 8.5″x 11″. This tells Silhouette you’ll be printing and cutting a regular letter sized paper. Add the Snow Globe Base piece with the sentiment to your mat.
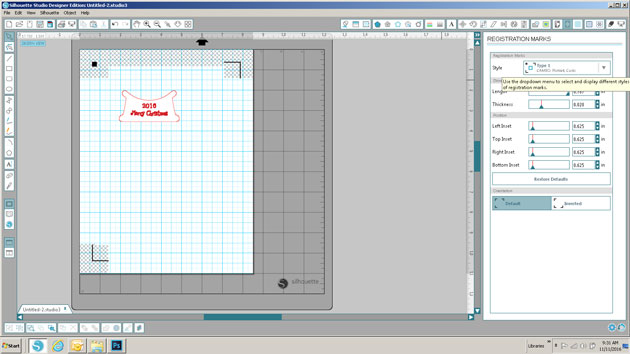
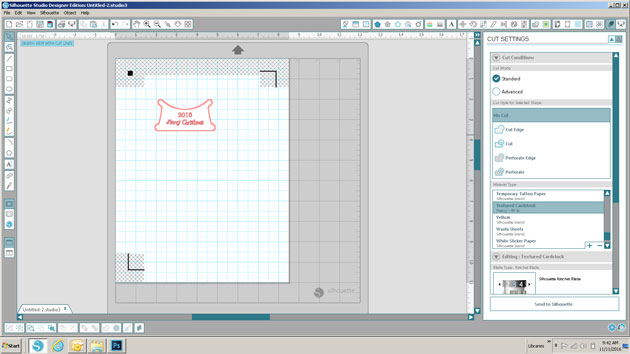
Next, click on the Registration Marks button and select type 1 registration marks for Cameo or Portrait. You’ll see the black lines and grids show up on your mat. Make sure your design is inside the darker marks on your mat.
Once things are set up, click on the printer icon and send the design to your printer.
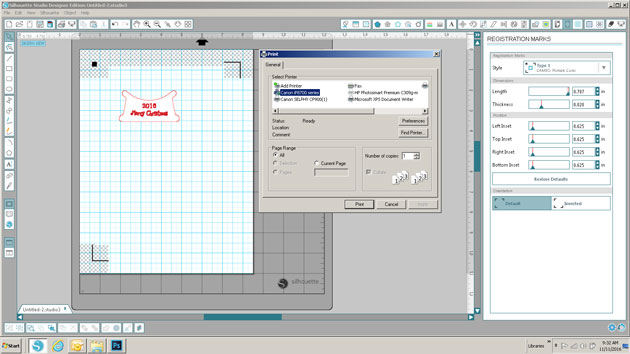
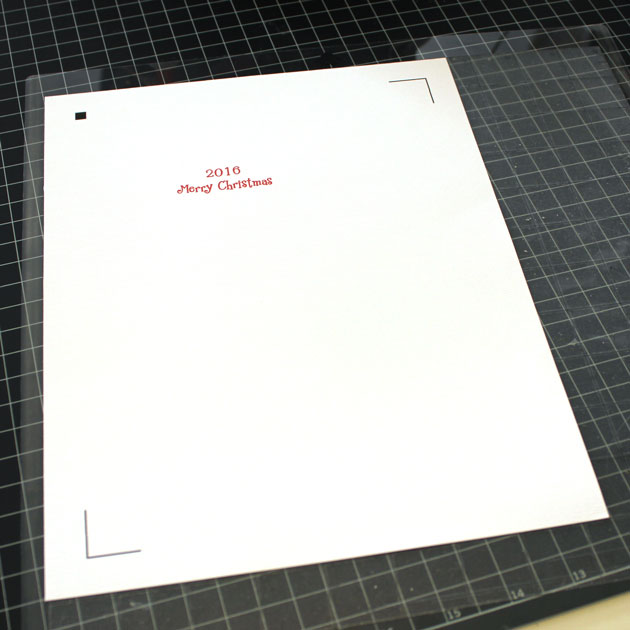
This is what the page will look like with the registration marks. Place the paper on your cutting mat.
Once the design is on your cutting mat, load it into your Silhouette, and go back to the software and select send to Silhouette. Make sure the cut settings are set for the type of paper you are cutting.
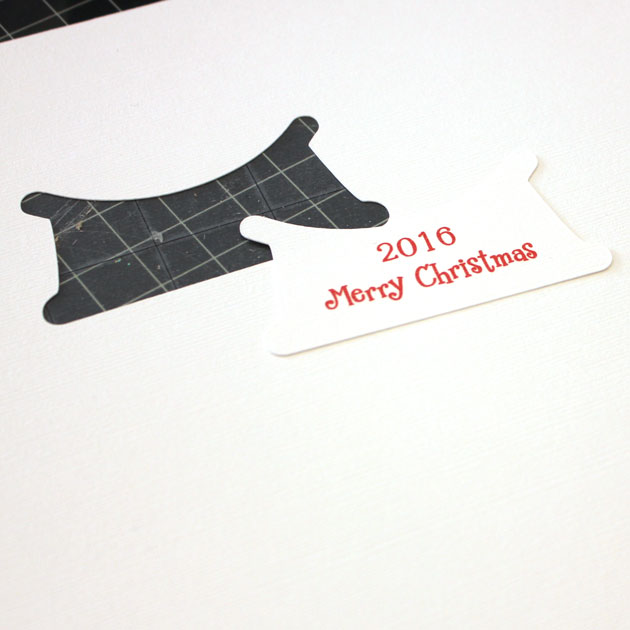
Your Silhouette will read the registration marks then cut the design around your printed sentiment.
Now to assemble your card! Start by cutting all of your pieces. The design calls for cutting 3 of the snow globe outlines from chipboard. I used Silhouette Chipboard for this, but if you did not have chipboard, you could cut six pieces from a thicker cardstock.
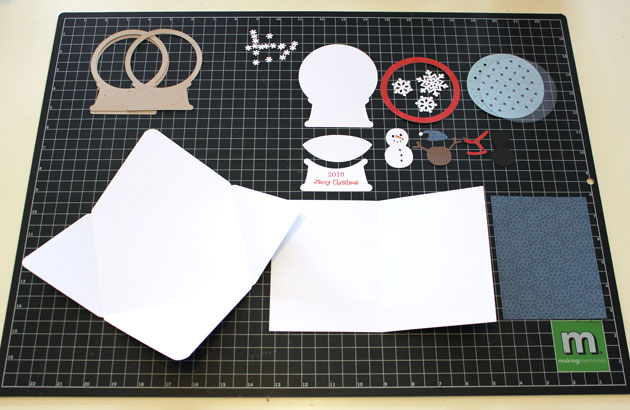
You want to start by assembling your snow globe.
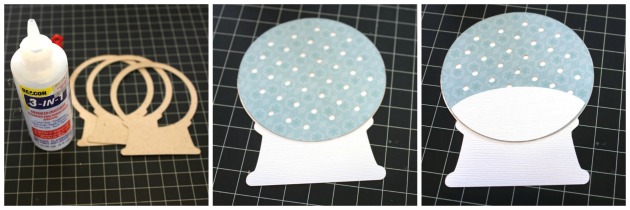
First glue the layers of chipboard together. Set those aside to dry. Next, add the blue background piece (with the holes) to the Snow Globe Base. Add the Snow “mound” piece, making sure the bottom is aligned with the bottom of the blue background.

Add the chipboard layers over the whole base. Next, add the print and cut Snow globe base piece. While this is drying, assemble your snowman. Just a hint, the black piece of the snowman is sandwiched between the white body and the brown arms piece. Add your snowman to your shaker card as shown. Let the pieces dry completely. You don’t want your confetti pieces sticking to any leftover wet glue.
 Once your base is dry, add in the confetti snowflakes. I also added in a few white and silver sequins, but be careful not to add too much, you want things to be able to “shake!” Once your confetti is added, glue the piece of acetate over the globe. ( I used overhead transparencies purchased at my local office supply store) Don’t overdo with the glue, it will squeeze out and stick to your confetti pieces. Add the red ring over the transparency piece and your globe is done! Add the background piece to your card, and then add the snow globe to the background.

It really is pretty easy to put together, and the results are so cute! That’s it for me today, thanks for stopping by to peek!

