
I love all the tutorials our Creative Team has been making! It’s fun to learn new things! Check out how easy it is to make faux stitching lines on your die cuts. Take it away Brigit…
I love stitching but sometimes I just don’t have the time to pull out my sewing machine so I’ll create it in Silhouette Studio and do a print & cut.
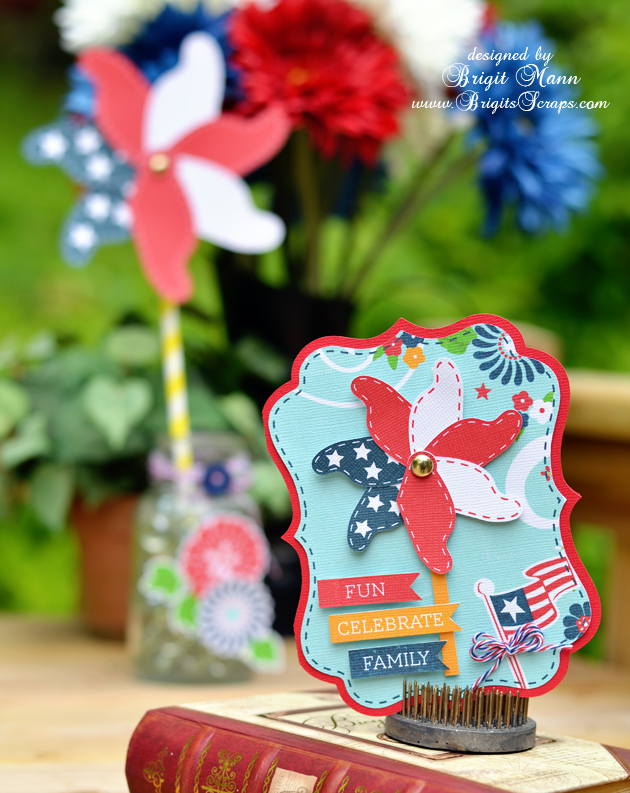
For this project I used Lori’s Bracket Shaped card and the pinwheel from the Layered Shapes along with Lori’s Patriotic Picnic digital collection, which I love!!
First place your card on the mat and ungroup, fill the top layer with your digital paper. Select all, go to Line Color and click none.
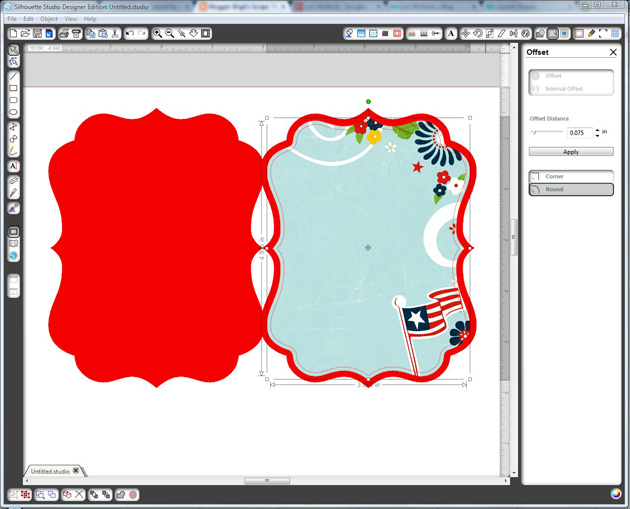
Select your top layer, go to the Offset Window, select Internal Offset and set your offset distance, I used .075.
Now the internal offset you just created should be selected, go to the Line Color and select the color you want for your stitching.

Next go to the Line Style Window, select your dash line and I like to change my line thickness to 1.25pt. Check the Print Lines of Selected Shapes box.
This is important, with the stitching still selected go to the Cut Style Window and choose No Cut, you only want the stitching to print and to cut around the top layer piece.
After that’s complete I like to group the top and stitched layers together.

Here’s a closer look, I used the same steps on the pinwheel, you only need to do one of each color and duplicate to make it easier. I added some stars to the blue to make it look like the American flag.
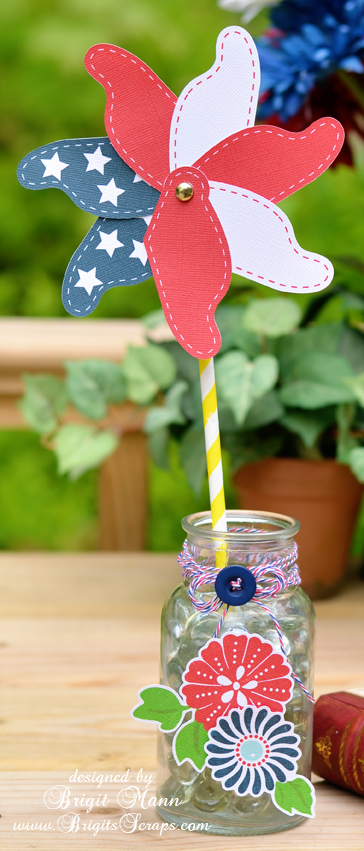
I loved the pinwheel so much I created a larger one on a barber straw and placed it in a glass jar. I added some Stars and Stripes Trendy Twine and a couple of flower elements from the Patriotic Picnic collection.
I hope this tutorial has helped and you get to make some faux stitching on your projects too!!
Love it! What cardstock did you use?
Beautiful. I’d love to know what cardstock was used as well. I’m new to digi printing and need all the help I can get! Not even sure about the type of printer I should have to print quality looking papers either! Thanks for posting the great tutorial.
wow – this makes so much sense – and is so much neater than doing faux stitching with a pen too… it’s one of those “why didn’t I think of that?” moments isn’t it?!
Thanks so much for sharing this – and your project is so wonderful by the way…
Paula x x x
I would also love to know what card stock is used. It seems to have a linen texture.
Such a great idea Brigit! Love it!!
Thanks everyone, I mostly use American Crafts which is a white textured cardstock and the Colorbok white textured cardstock from Walmart, both print and cut beautifully, the AC is a little heavier, I really love the textured look. I have an Epson 1400 wide format printer so it can print 12 x 12 borderless pages, but a lot of my print n cuts can be done on a 8 1/2 x 11 size printer. I do have a cis system, (continuous ink supply system) which cuts down on the cost of ink tremendously.
Love, love this card! I can’t figure out how to “fill” with the digital paper. Are you using the standard Silhouette software or the designer edition? Can you point me to a more basic tutorial for this process? Thanks for any guidance. I purchased the supplies for this card and would love to be able to use them!
These turned out beautiful Brigit! Love your idea for the stitching tutorial too! 🙂
Carole, I do have the Designer Edition, I think with one of the updates you can’t do this in the regular version anymore but I do highly recommend buying SSDE. I arrange my screen so I have both SSDE and my folder with my pattern paper opened on the side and just drag the pattern right onto my shape to fill. Some people like to drag the paper into their library, but I have my stuff all organized on my computer so it’s quicker for me this way.
What a fabulous card! Thanks for the tutorial-as a newbie these come in very handy
Lori,
Thanks for a great tutorial. This adds so much to my cards. I loved the look but no way I could do it by hand. Not only have I been playing with PnC, I’ve also got my Sketch Pens out and used those also. The lines may not be as thick but I’m thinking doing this with gel pens would be great.
Thanks again,
Sue
Upstate NY
I would love to know what CIS you have Brigit. I have an Epson 1430 which uses the same ink cartridges as the 1400–I’ve been trying to figure out which CIS would work the best as none are manufactured by Epson. BTW I love your card and pinwheel. I love the offset and print lines features on SSDE, I use it all the time. The tutorial is very well done.
Could you do this and actually perforate around the edge? I am new to Silhouette and all of this.
kren dot kurts at gmail dot com
kReN@afourthlife.blogspot.com
I found this cute card on Pinterest and am glad I found your blog. I appreciate your instructions on how to create this patriotic, fun card – thank you!