
Hi there! It’s Mendi here and I’m super excited to be sharing a Silhouette technique that I’ve been having a lot of fun using lately on all sorts of cards and layouts: Creating journaling and sentiments around the edge of a circle using Silhouette’s print and cut features!
Unfortunately when preparing for today, I realized the hard way that this print and cut technique really works best when using circles that fit within the registration marks so for those of you that have a 12×12 printer, that means your circles can be up to 10.5″ wide and sadly for me (whose wide format printer recently bit the dust) that meant I was limited to a circle 7.2″ wide. I had planned a layout using a 11.5″ circle but as hard as I was trying to find a way around it, I decided I needed to set that aside for another day and come up with a new project that would be easier to share with all of you.
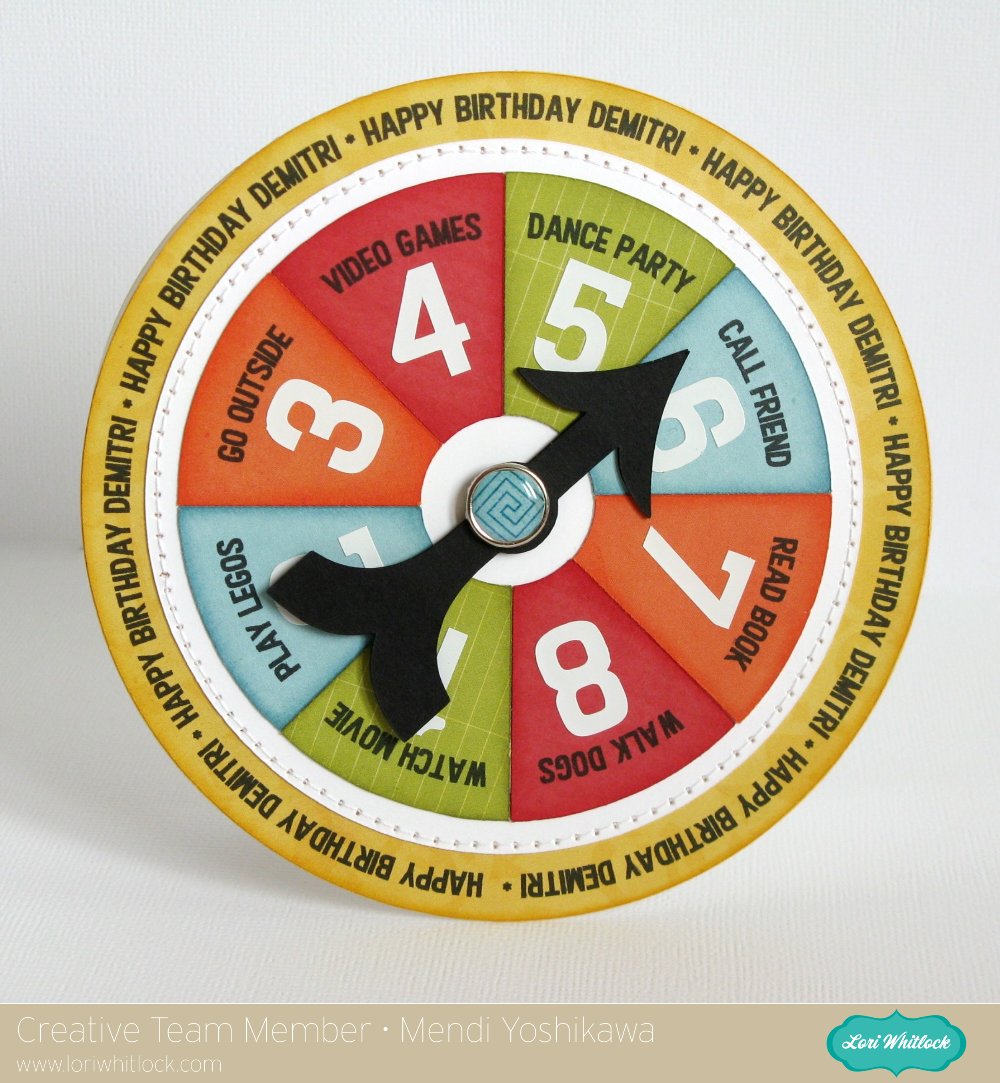
As an alternative I settled on a fun spinner style birthday card for my nephew which can double as a rainy day activity spinner (or with the addition of numbers can be a great game piece for any game a child can dream up). I think this would also be darling idea for chores too (although I’m not sure children would agree). 😉
My papers are from Lori’s fun new 6×6 “That’s My Boy” paper pad which she designed for Echo Park.
Without further ado, here’s my video tutorial sharing how I created it:
On a side note, I layered and glued 3 of the black arrows together to give it extra stiffness and make it easier to flick for spinning. I also enlarged the center holes a bit and made sure to not tighten my brad too much so that it can still spin freely.

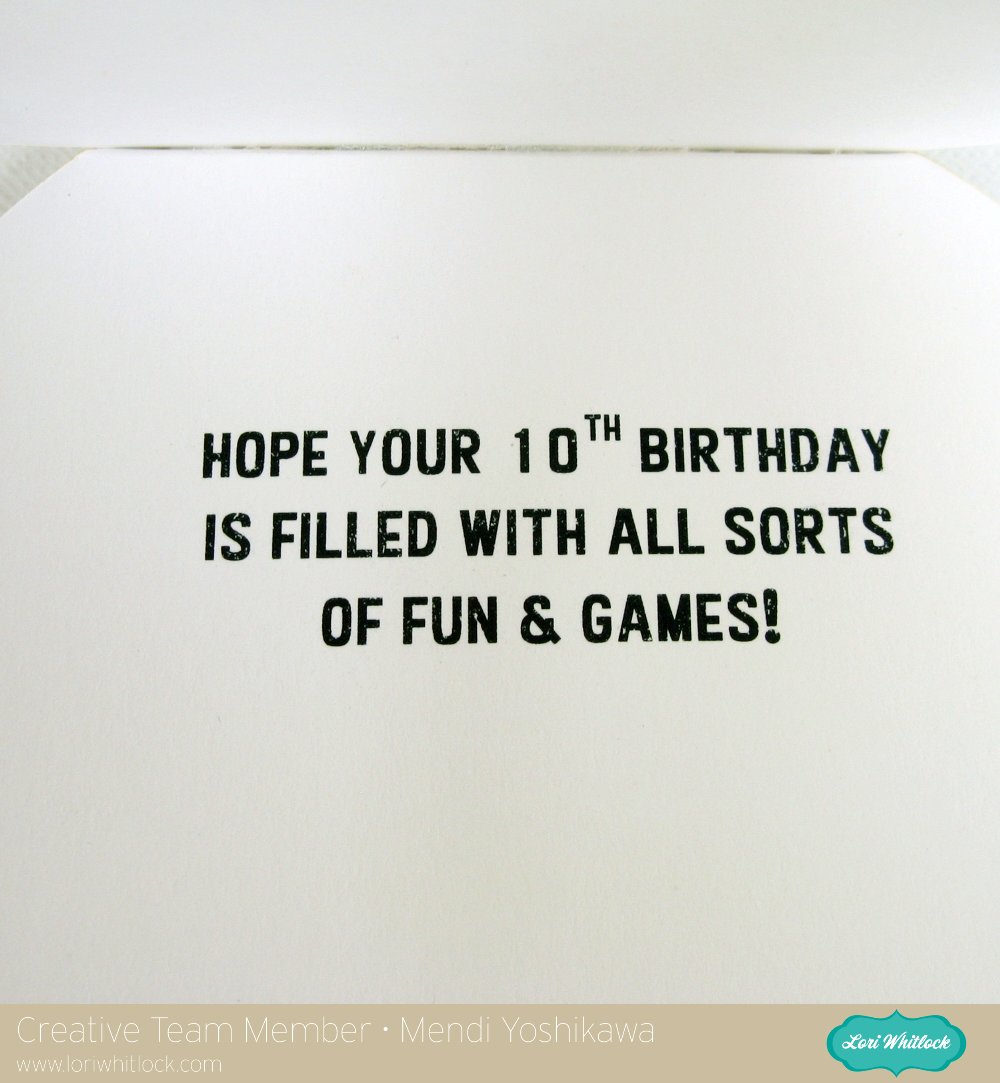
To complete my card and tie my theme together, I decided to run the back of my card through my printer for a quick sentiment (using temporary adhesive on a piece of printer paper).
For my project I used the following cutting files available in Lori’s shop:
I have a link to another example using this same technique at my blog today. I hope you’ll give it a try! 🙂
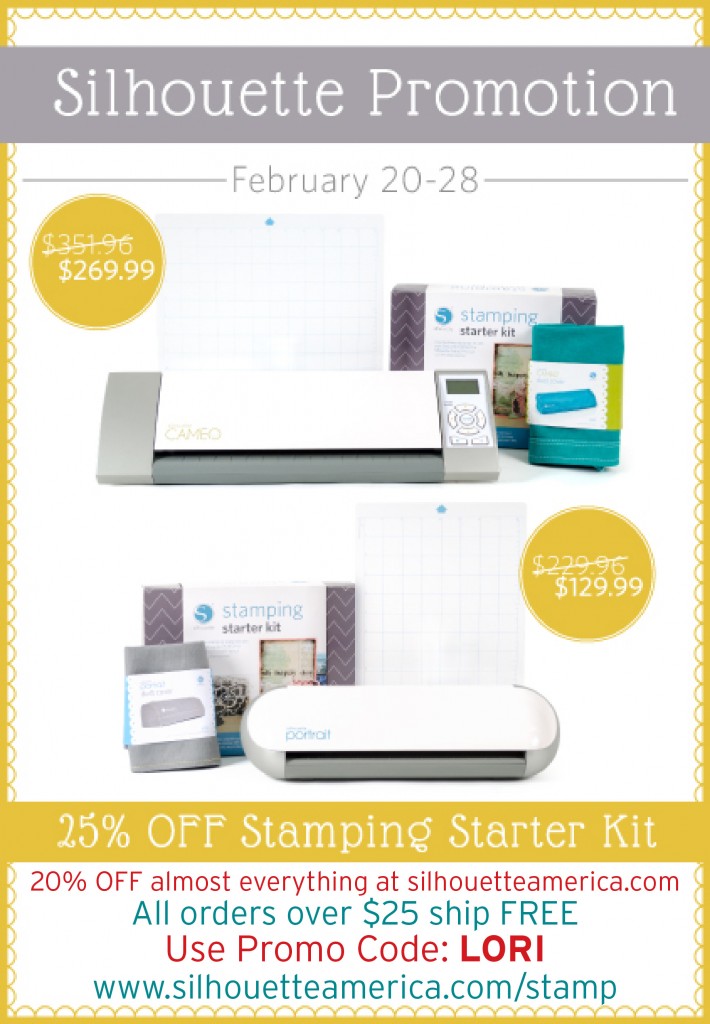
Silhouette has some great deals starting today running through the end of the month:
- 1 CAMEO, 1 stamping starter kit, 1 light hold cutting mat, 1 teal CAMEO dust cover for $269.99 (MSRP $351.96)
- 1 Portrait, 1 stamping starter kit, 1 light hold cutting mat, 1 grey Portrait dust cover for $129.99 (MSRP $229.96)
- Stamping starter kit 25% off
- Almost everything at silhouetteamerica.com is 20% OFF! (Excludes Silhouette CAMEO®, Silhouette Portrait®, downloads, download cards, subscriptions, and gift cards.)
- PLUS: all orders over $25 SHIP FREE (that includes the machine bundles)(Reminder: FREE shipping only applies to the lower 48 states)
This is such a fun card Mendi!!!
Love this Mendi! Fabulous!
Thanks for showing how it is “really” done — backspaces, undo’s & all! Our style of creating is quite similar!! 🙂 Cute card! Does the spinner really spin, even though you have a layered surface underneath? I always “assumed” I’d have to have a print & cut layer that would be flat surface for spinning… Thanks!
Yes, it really does spin. 😉 The curved pieces I cut all layer together pretty flat and I adhered the card to my card base with a thing layer of chipboard (foam tape would also work) with the middle portion left open and slightly lifted so the brad could spin freely. 🙂
WOW! I need to start using my Silhouette more – this is really neat – I have never tried the print and cut …. but this is tempting me.
Sandra ltb
Love this Mendi, it’s awesome, great job!!
Do you have any tutorials for making Lori Whitlock’s lace base cards? Seem that I end up with an extra piece. Thank you.