
Happy Fall Everyone! Today I have a quick assembly tutorial for Lori’s new Shutter Cards. These cards are such fun and have some great dimension. I used the Shutter Card Squirrel file (SVG, Silhouette) for my tutorial along with some papers and embellishments from Echo Park’s Celebrate Autumn Collection.

The actual assembly of these cards is pretty simple, it’s mostly the folds that need some attention. I started by cutting out the pieces of my card.

Next I added the patterned paper panels to the different sections of the card. I like to do this before folding because I think it helps me to visualize how things should be.

Once the panels were added, I folded the card along the score lines.

Here is a view of the folds from the top of the card.

I put together this graphic showing how the folds should be. The upside down V means mountain fold (popping up when lying flat) and the V is a valley fold (pointing down when lying flat).

Once the card was folded, I added the additional embellishments. I started with the squirrel on the bracket shape. I added some foam tape under the bracket to give it a little more dimension.
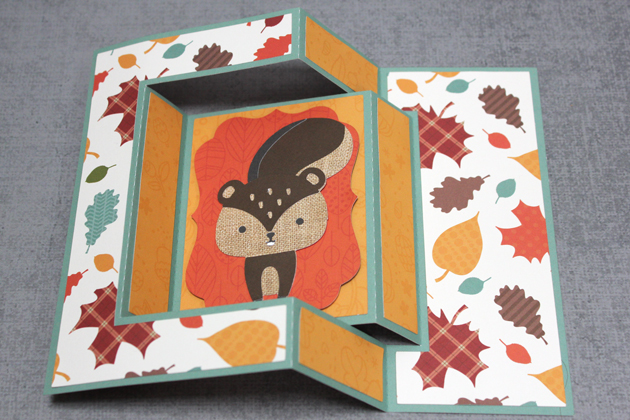
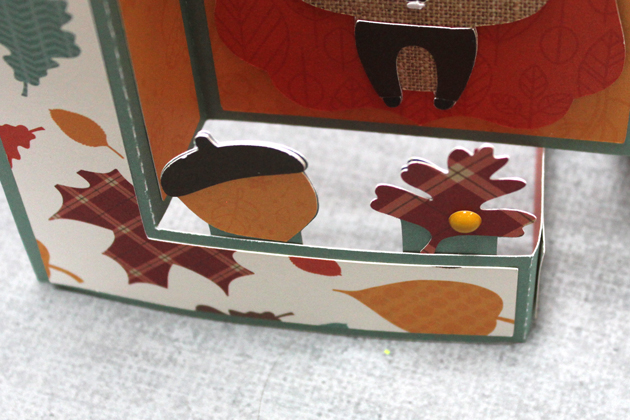
Next, I added the insert with the leaf and acorn. I started by adding adhesive to the bottom front strip of the piece.

I then tucked this piece in behind the front strip on the card base as seen below.
I finished the card with a cute chipboard piece sentiment from the Celebrate Autumn Chipboard Phrases.
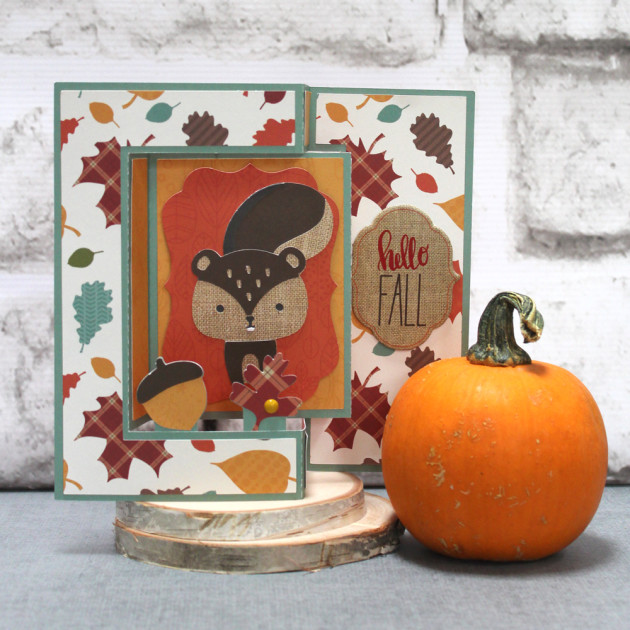
This card folds flat and will fit into an A7 (5.25″ x 7.25″) envelope (Lori has a set here in her shop) . That’s it for me today, thanks for stopping by to peek!