
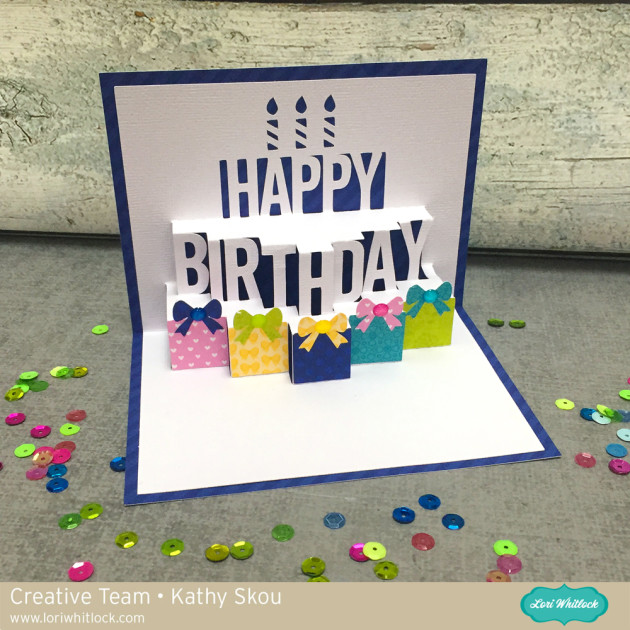
Hi Everyone! It’s Kathy today with a tutorial showing how to fold and assemble the new A2 Pop Up Birthday Cake Card, which is available here in Lori’s SVG Shop and here in the Silhouette Store.
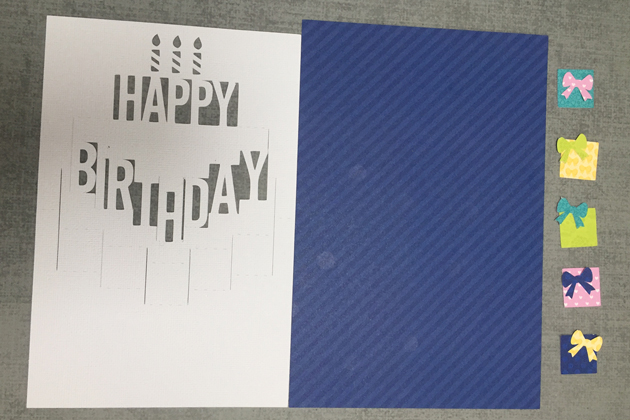
This card is really pretty easy to make, but I know a lot of people get intimidated by the folding. I started by cutting my pieces.
Next I started folding the insert or pop up piece. It’s easiest to start folding from either the very top or very bottom score lines. That way it’s a little easier to keep track. I put together this graphic showing which way to fold which lines. The V means a valley fold, the upside down V means a mountain fold.

Here is what it looks like from the side when it is folded:

And from the front. I do recommend you go slowly and have a little patience.

Once you have the pop up insert folded, it helps to open and close it a few times to sharpen the folds. Next step is to add adhesive to the back of the insert. You want to add adhesive only to the outer parts of the card. The blue area on the graphic below shows the pop up portion. You do not want to add any adhesive to those parts.

Once you have the adhesive added, I find it easier to fold the insert and center it onto one side of the card base. Make sure the outermost side folds are flush with the center crease on the card base. You can then fold the other side over to adhere, and it should be centered.


Lastly, add the presents with their bows to the front panels beneath the BIRTHDAY letters. I also added some enamels to the bows for some sparkle!

That’s it for me today, thanks for stopping by to peek!

Great card and tutorial!! Thank you!!!
Thank you Jane!
How do I purchase the die cut for the pop up birthday cake with presents????
You can purchase the SVG file to be used with electronic cutting machines here: http://shop.loriwhitlock.com/a2-pop-up-birthday-cake-card/
Unfortunately there are no physical products sold in the Lori Whitlock SVG Shop.