
Hello Friends! Paper Flowers are so popular and they are so fun to decorate with. Today I would like to share an easy tutorial for this cute home decor project featuring one of Lori’s latest flower files.
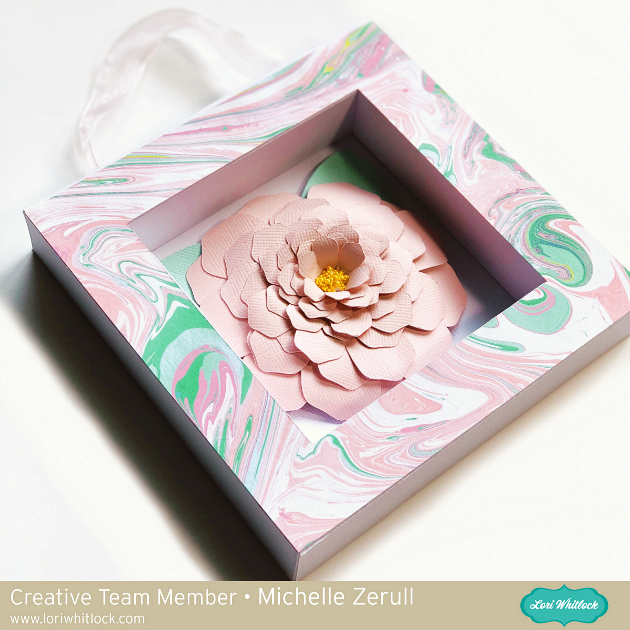
This is such a quick project to make. The flower only takes about five minutes to put together. When cut at normal size, the flower fits perfectly in this 4×4 Shadowbox Frame. The Shadow Box Frames are one of Lori’s classic designs. There’s an excellent Youtube Video showing how to assemble the frame. It’s so easy to make, and looks so professional. I love it! You can find the file for the 4×4 Frame at the Lori Whitlock SVG Shop, or at the Silhouette Design Store. You’ll also need the 3D Flower File. You can find the file at the Lori Whitlock SVG Shop and also at the Silhouette Design Store.
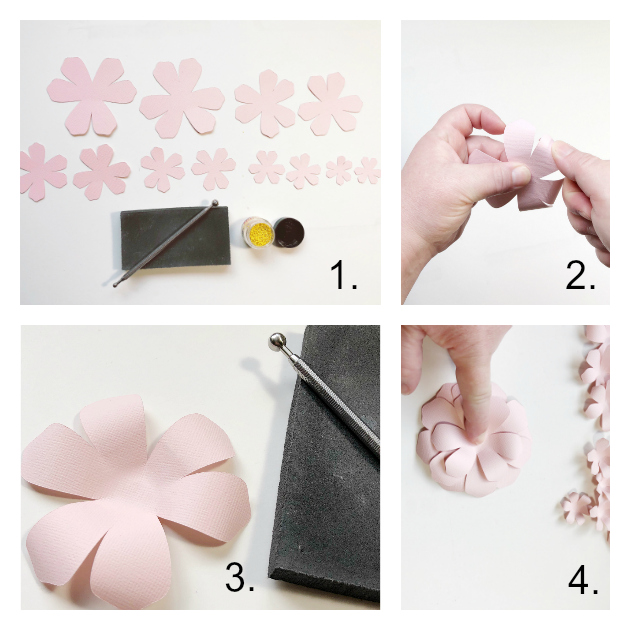
Materials Needed to make the Flower:
- fast drying glue or hot glue
- a kitchen bamboo skewer or other end of a thin paint brush
- white craft glue
- yellow Prills or small beads for the flower center
- a piece of craft foam or mouse pad
- a stylus with ball on the end or the end of a clean pencil eraser.
- Curl petals away from you using your wooden kitchen skewer. This is the same motion that you would use to curl birthday ribbon.
- with petals facing down, place the petal piece on the foam and using a circular motion, roll your stylus around in the center until the petal begin “lifting” and a depression is formed in the center. Repeat Steps 2 & 3 for all petal pieces.
- Begin building your flower from the outside (Larger petal) towards the center. Use a small amount of fast drying glue or hot glue and hold in place until the glue is dry before moving to the next piece, then continue building the flower up one layer at a time. Note: Allow each one to dry first so that your flower doesn’t shift. When you get to the last smallest piece, add a drop of white craft glue to the center and add small beads or Prills to mimic a flower center. Flocking or yellow powder such as tumeric makes a fun center too.
While your flower center is drying, complete the shadow box as described in Lori’s Video. Any pretty papers from a 6×6 pad will look lovely on the front of the frame. I used a paper from Echo Park Paper and a piece of 10-inch ribbon (optional) to complete the look.
The great thing about making paper flowers is that there isn’t a right or wrong way. Try different curling variations for different looks. If you like, you can add inks or chalks for additional color variations. Each flower is unique and will be beautiful when you are finished.
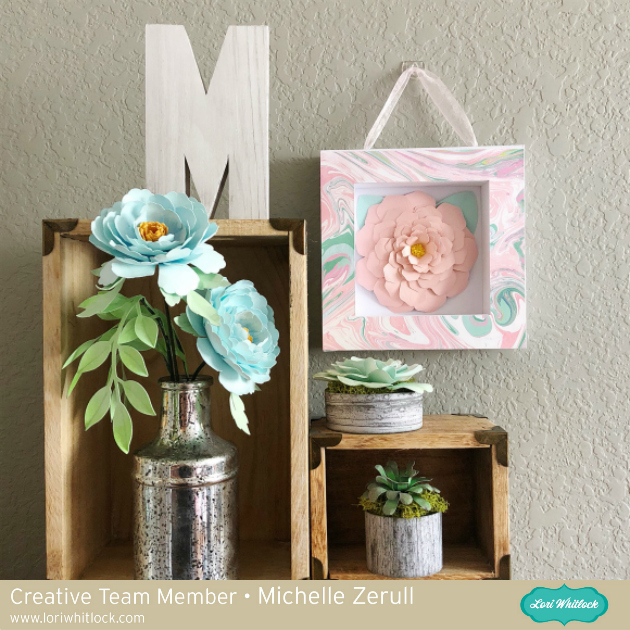
I’m so pleased with how this came out. It really brightens up a corner of my craft room, don’t you think?
Have a creative day!
<3