
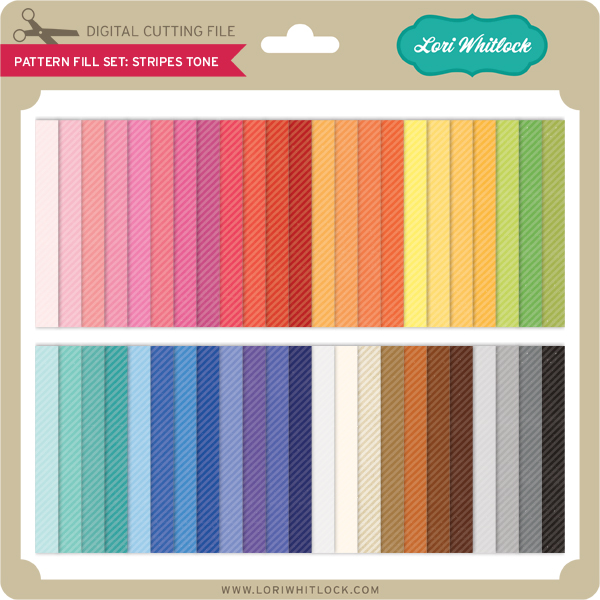
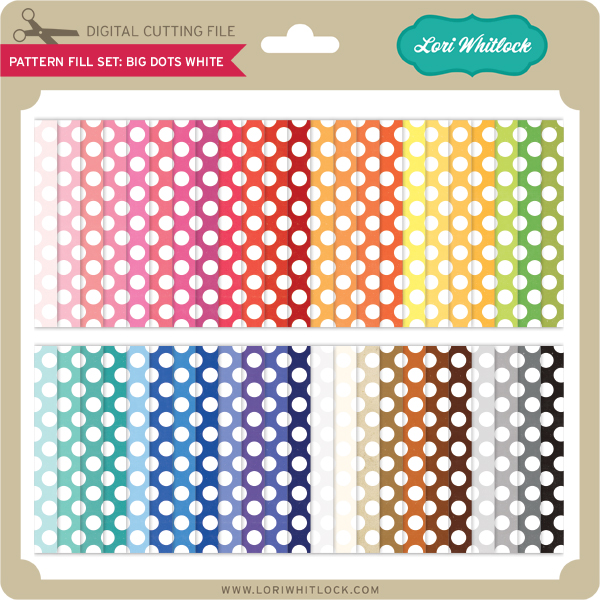
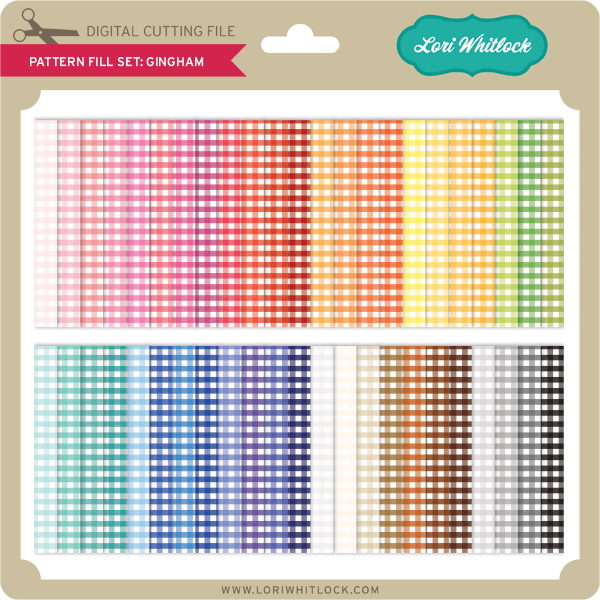
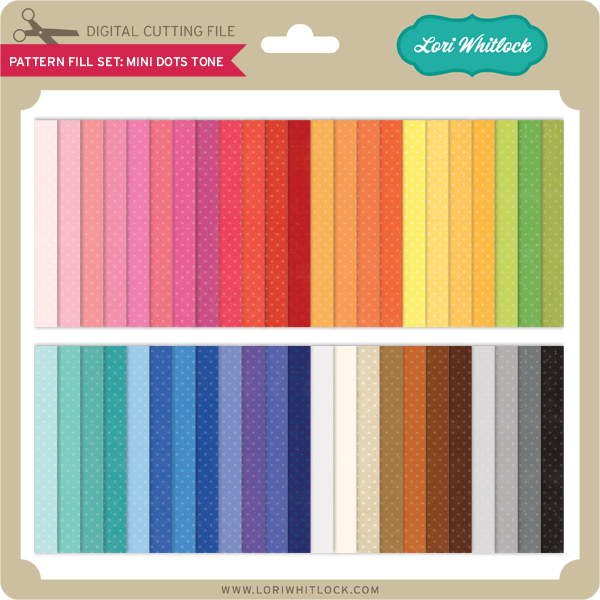
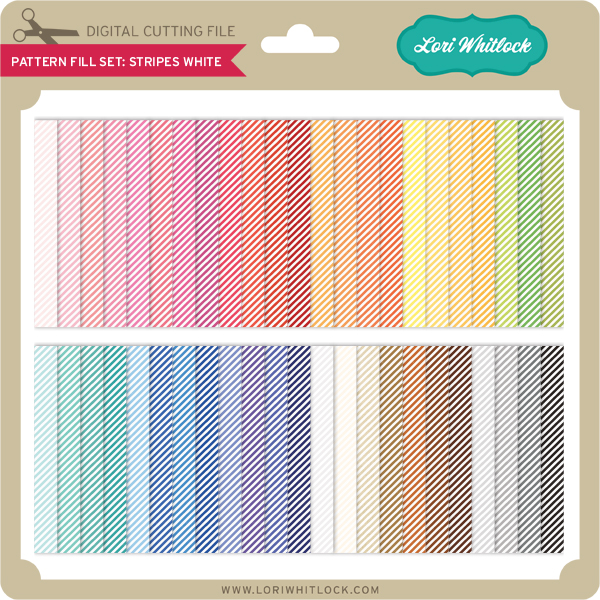
I’m excited to announce a new category for Pattern Fills in my SVG shop! We have added 8 basic collections including 368 patterns in 300 DPI JPG format. These files can be used as fill patterns in Cricut Design Space or Silhouette Studio (Designer Edition). You can also open them in photo editing programs such as Photoshop and use them for digital scrapbooking or other digital projects. If you use the print and cut feature of your Cricut or Silhouette, these are the perfect addition to your library! And, they are all 25% OFF through Sunday. Take a peek…


These are so easy to work with, and will brighten any print and cut project! Below, I’ve put together some basic steps to add and use these pattern fills in both Silhouette and Cricut.
Silhouette Studio
- You must have the Designer Edition upgrade to use these fill patterns. I highly recommend the Designer Edition of the Silhouette Studio software because it unlocks great features like fill patterns. If you are interested, you can buy it HERE.
- Purchase, download, and locate the folder on your computer that contains the the JPG pattern set from my shop.
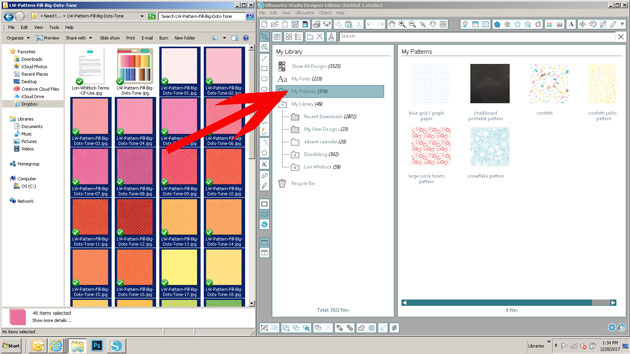
- In another window, Open up Silhouette Studio. Click Show Library (the book shaped icon in the left tool bar). Click the My Patterns folder.
- Simply drag and drop the patterns from your desktop directly into your My Patterns folder. It will appear in alphabetical order.
- You can now access these fill patterns in your Fill Patterns Window! To use them click on a shape that you’d like to fill with a pattern. Then open the Fill Patterns Window, scroll down to the bottom and you’ll see a category named My Patterns. Choose the pattern you’d like and it will fill the shape.
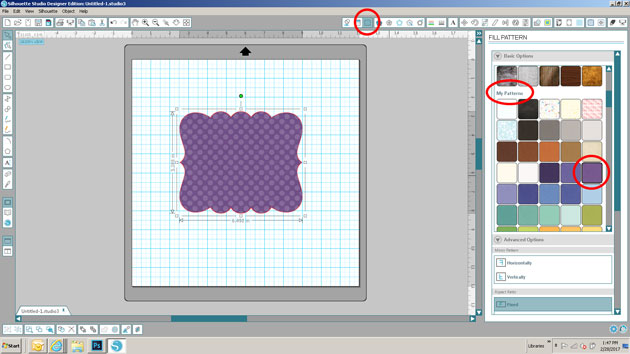
- If you’d like to manipulate the pattern like change the size, rotate, or pan (move the pattern around), you can click on “Advanced Fill Patterns” and change the settings there.
Cricut
- Purchase and download the pattern set from my shop.
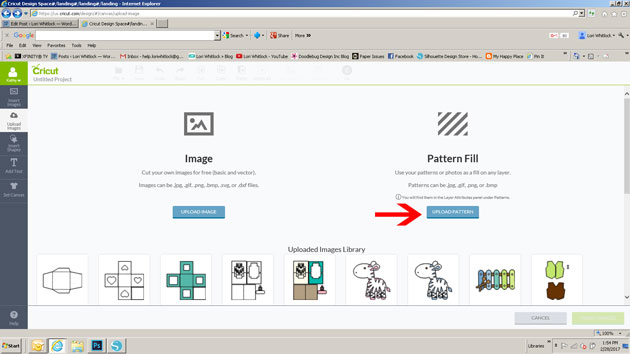
- Sign into Design Space and click UPLOAD IMAGES on the left side of the screen.
- A window will open and prompt you to choose Image or Pattern Fill. Select Pattern Fill.
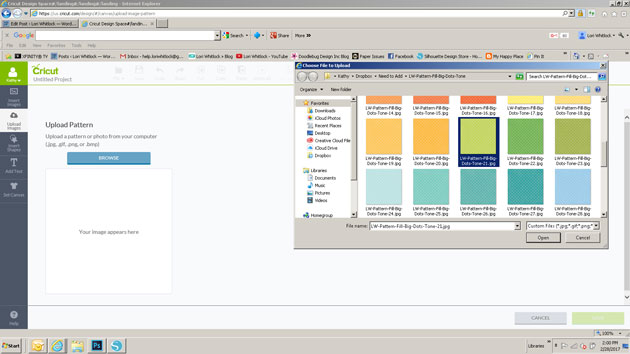
- Click Browse to locate the pattern where you saved it on your computer. The file selector will open, select the file you want to upload, then click Open.
- Name your pattern and tag it if desired. When you’re done click SAVE.

Now that you have the patterns uploaded. Follow these steps to use patterns the patterns in Cricut Design Space:
- Click the layer thumbnail of the image layer you want to change in the layers panel. This will bring up the layer attributes panel.
- Make sure you have the layer set to be a print layer, then click Patterns. This will open the patterns window and display all available patterns.
- Click on the pattern thumbnail to apply the pattern fill to your image layer.
I hope you enjoy the new Fill Patterns in all of your print and cut projects! They are all 25% OFF through Sunday!
Thank you for stopping by today, and as always please let us know if we can help you with your files!
hi i was just wondering if i could use use the new pattern fills on my brother scan n cut machine
Hi Karen, I’m not really sure with Scan and cut. If scan & cut can upload JPG files to use as fillers then these will work.