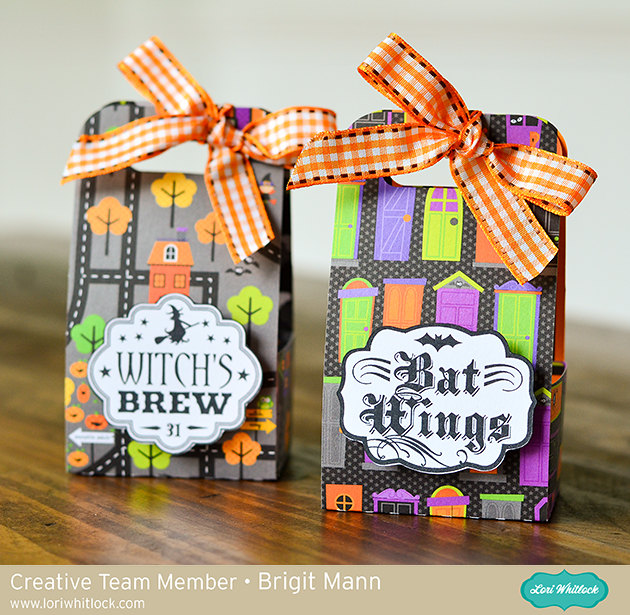
Halloween Treat Boxes Tutorial by Brigit

Hello there, it’s Brigit here, I have a quick tutorial on how I made these cute Halloween treat boxes. When I need a bunch of boxes I like to use the print and cut feature to create labels this way I can put them together very quickly. For these two I used two sheets from Doodlebug Design’s Halloween Parade paper collection.

 For this project, I used the 2 on 12×12 Handle Ribbon Treat Box which you can get here at Lori’s shop or at the Silhouette Design Store here.  As the name applies you can get two of these on one sheet of 12 x 12 paper so it’s a great little treat box if you need a bunch.

 I used the labels from the 5 Halloween Apothecary Labels set and a couple from the Halloween Label Set.  These are sold individually at the Silhouette Design Store, witches brew, spider legs, arsenic poison, crows feet, bat wings, old salem, and another bat wings. I sized them to fit the box and copied to a new page in Silhouette Studio, I use the Business Edition.

I printed out my sheet and cut them on my Brother ScanNCut 2 which is what I prefer to use cause I’m not limited to registration marks, but I do have a Cameo so if I was going to print n cut with it I would check the registration marks under the page setup.

 For the apothecary labels when I selected cut edge the inside pieces were still selected so I grouped them made a duplicate, released and changed the color to white then aligned them together.

I was able to select cut edge then and the inside pieces weren’t selected.

Thanks for stopping by and have a wonderful day!


Die Cutting, Silhouette, Tutorial, , , ,

4 Comments

  1. Hi Michelle, the papers are from Doodlebug’s Halloween Parade collection.
    It’s an older collection.

Comments are closed.