Hi Everyone! It’s Kathy, with my very first post as a member of Lori’s Team!! I’m very excited to be here! Today I wanted to show you how I transformed Lori’s Adorable Shaker Camera embellishment into a fun mini album celebrating my cousin’s sweet new baby boy!

I started by loading the Shaker Camera file into my Silhouette. Keeping everything grouped together, I resized the camera shape to be about 4.5″ x 6.5″ so that it could accommodate 4″x6″ photo sleeves. By keeping all the shapes together, everything was uniformly resized.

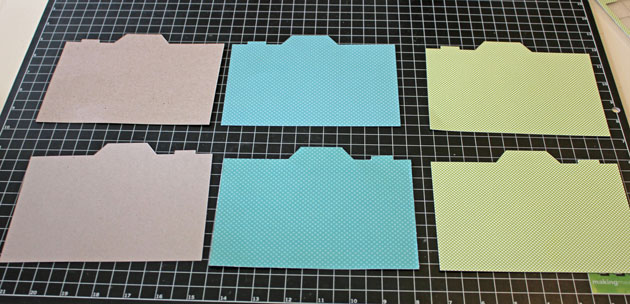
After ungrouping everything, I cut two of the camera shapes and the six “thinner” rings from some Silhouette Chipboard.

I then cut some patterned papers to cover both the outside and the inside covers. When doing this, make sure to flip the camera shape horizontally for one of the covers. This will make sure that everything lines up properly.


Now I started assembling all of the pieces to make my album covers. I started by gluing both the outside & inside covers to the chipboard camera pieces. I then glued the chipboard rings together in a pile. This builds the “shaker” part of the card.

To finish the “lens” I first glued the ring stack to the background circle I cut from a coordinating piece of paper.

Next, I filled my shaker with a cute Teddy Bear Sticker and some sequins.

Finally, I finished it off by adding a circle of clear plastic to hold all the shaker elements inside, and then added the “fatter” ring that I cut from another piece of patterned paper.

I added the completed lens, and the viewfinder piece to the front cover. I used Lori’s Perfect Type Font to cut out the Baby’s name and added that to the lens.

I didn’t have the 4″x6″ photo sleeve when I started this project, so after the covers were complete, I used one of the sleeves to measure where to punch holes for the binder rings. On the inside cover, I again used the Perfect Type Font to print the baby’s birth information on a cute little label!

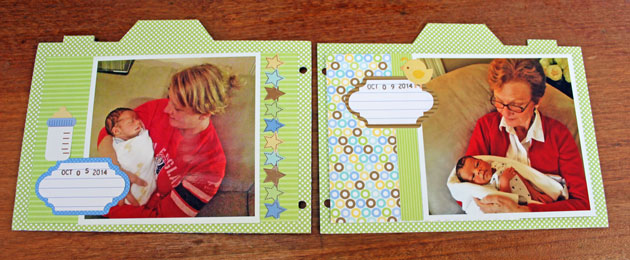
Lastly, I filled the pages! I wanted to keep it simple, and leave some room for my cousin to add her own writing, so for each page, I simply added one of Lori’s 7 Shapes Labels where I put the date. Here are the rest of the pages…


I left her some blank pages and labels to add to the album!

That’s it for me today! Thanks so much for stopping by!


What a great gift that will be cherished for a very long time. Thank you for sharing your creativity.
Kathy this is wonderful! I think I may need to make this for a friend of mine at work that is just about to have their baby!
Omg love!
Wonderful easy gift idea.
So beuatiful! I love it!
This turned out so sweet Kathy! Love the little sequin shaker you added to the cover! 🙂
I love it
Fantastic mini album! I am sure your cousin loves it!