Hi Everybody! It’s Tya Smith here with a tutorial on how to assemble the new Four Compartment Cookie Box that Lori recently came out with. I love her boxes and this box was just what I needed to take a yummy treat to my Mom for her birthday.Let me show you the steps it takes to put this box together.
Open up the file. It is found here on the Silhouette and here on the LW SVG Shop.
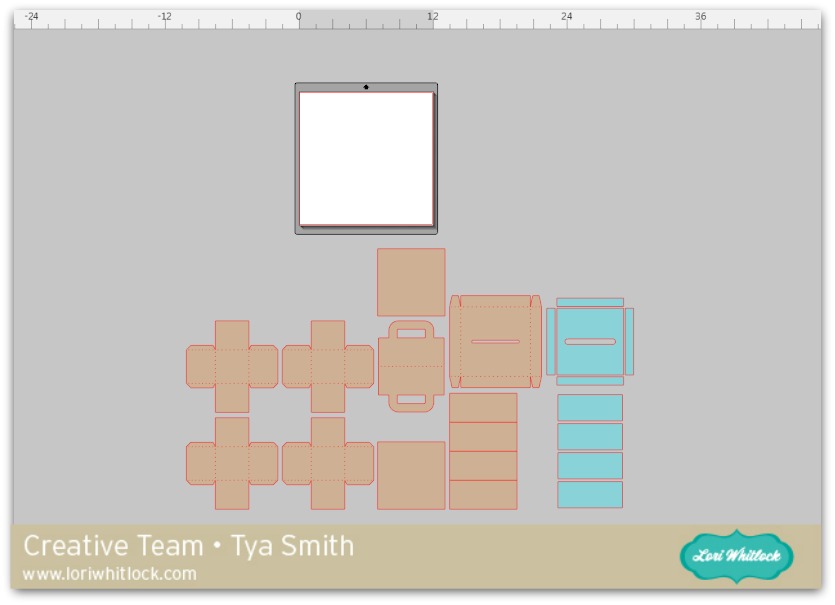
Now, it may look like a lot of pieces – but this really is quite easy to cut out and put together. The tan pieces are for the box base and lid and the aqua pieces are the pattern papers for the lid and sides of the box.
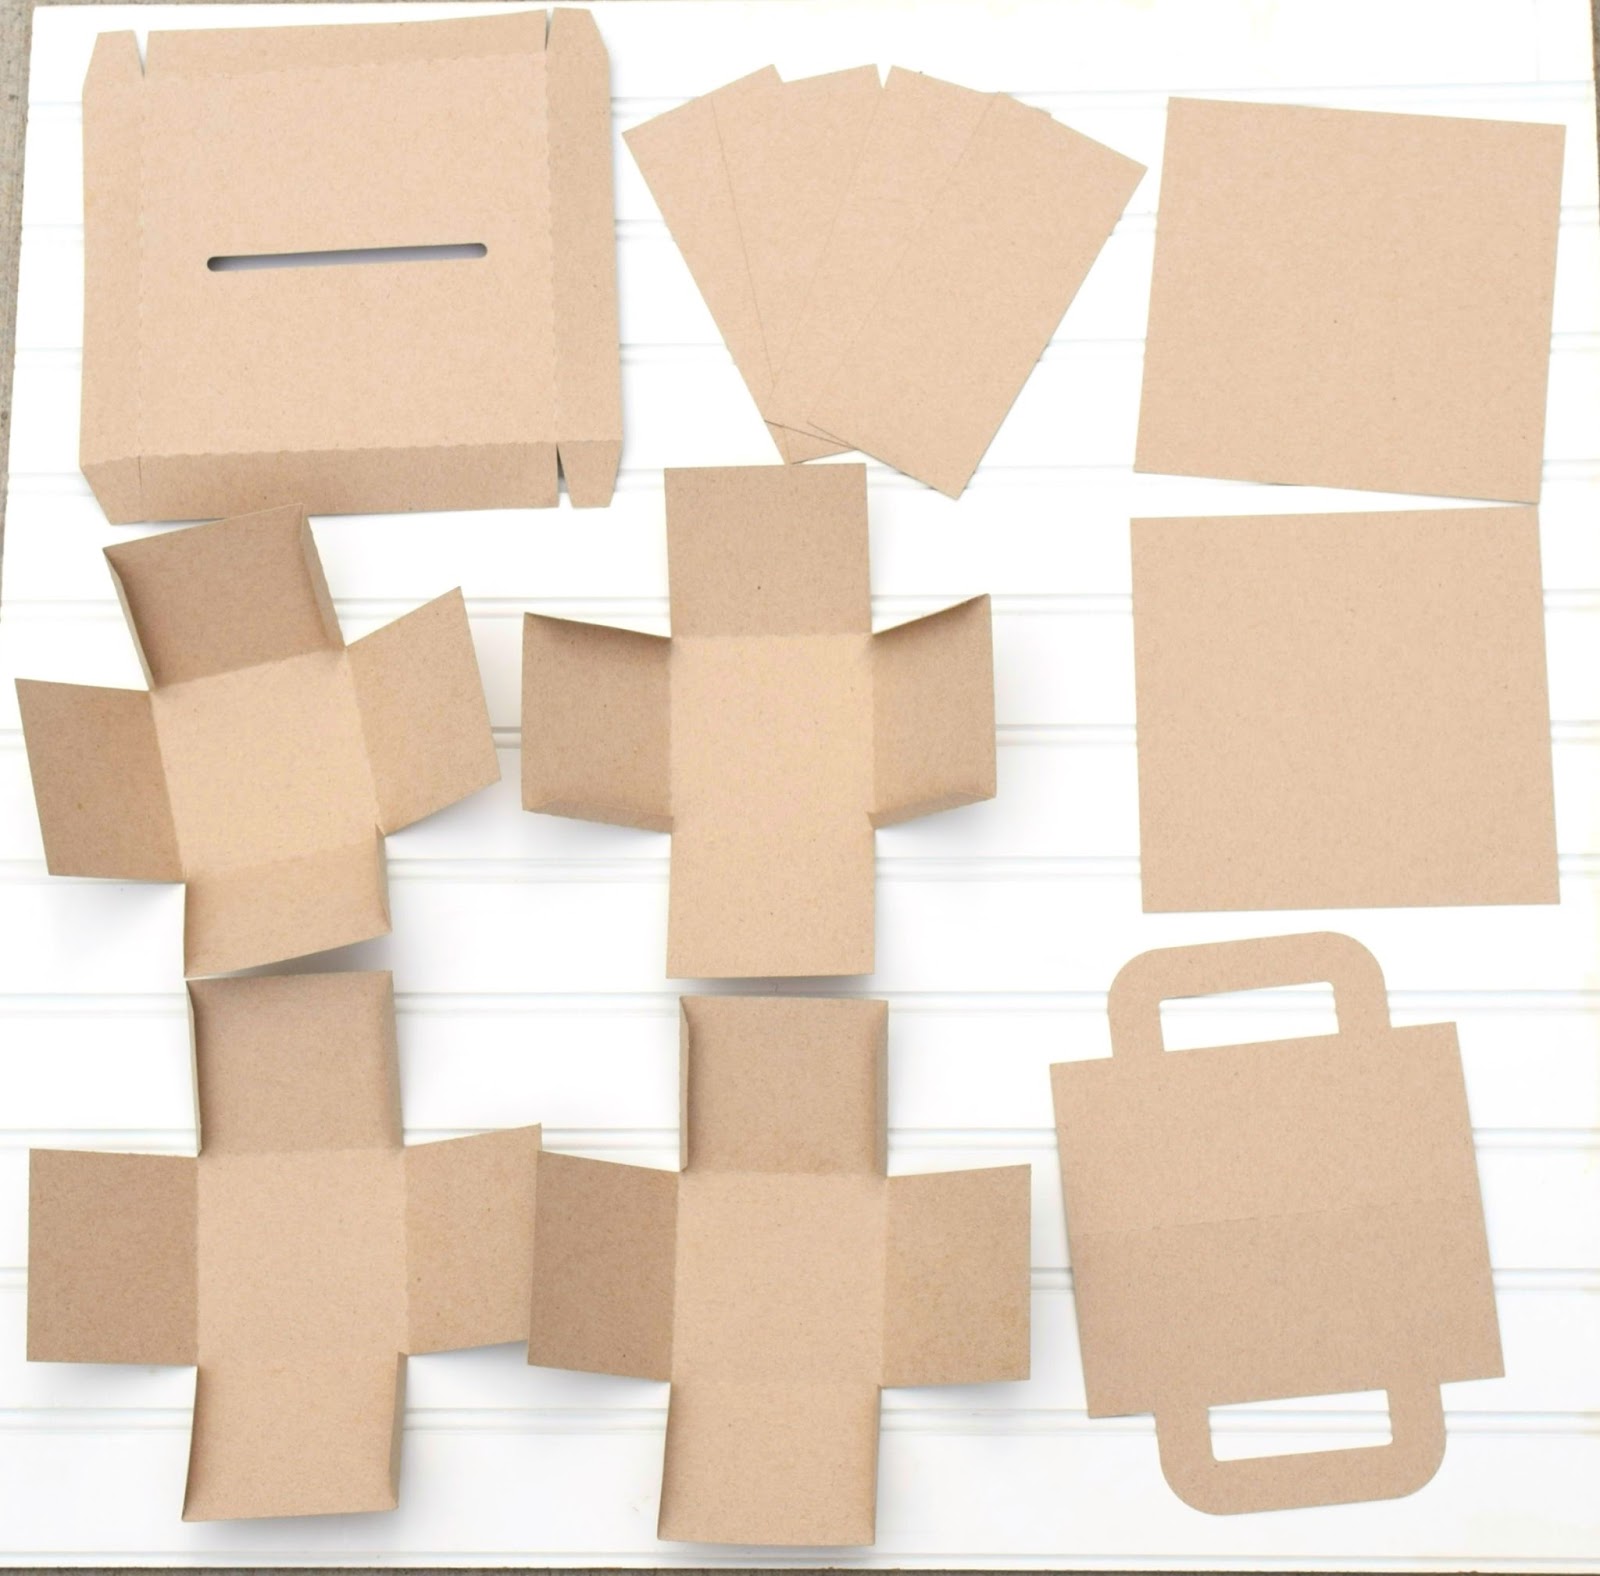
I went ahead and cut out all the box pieces out of kraft cardstock.
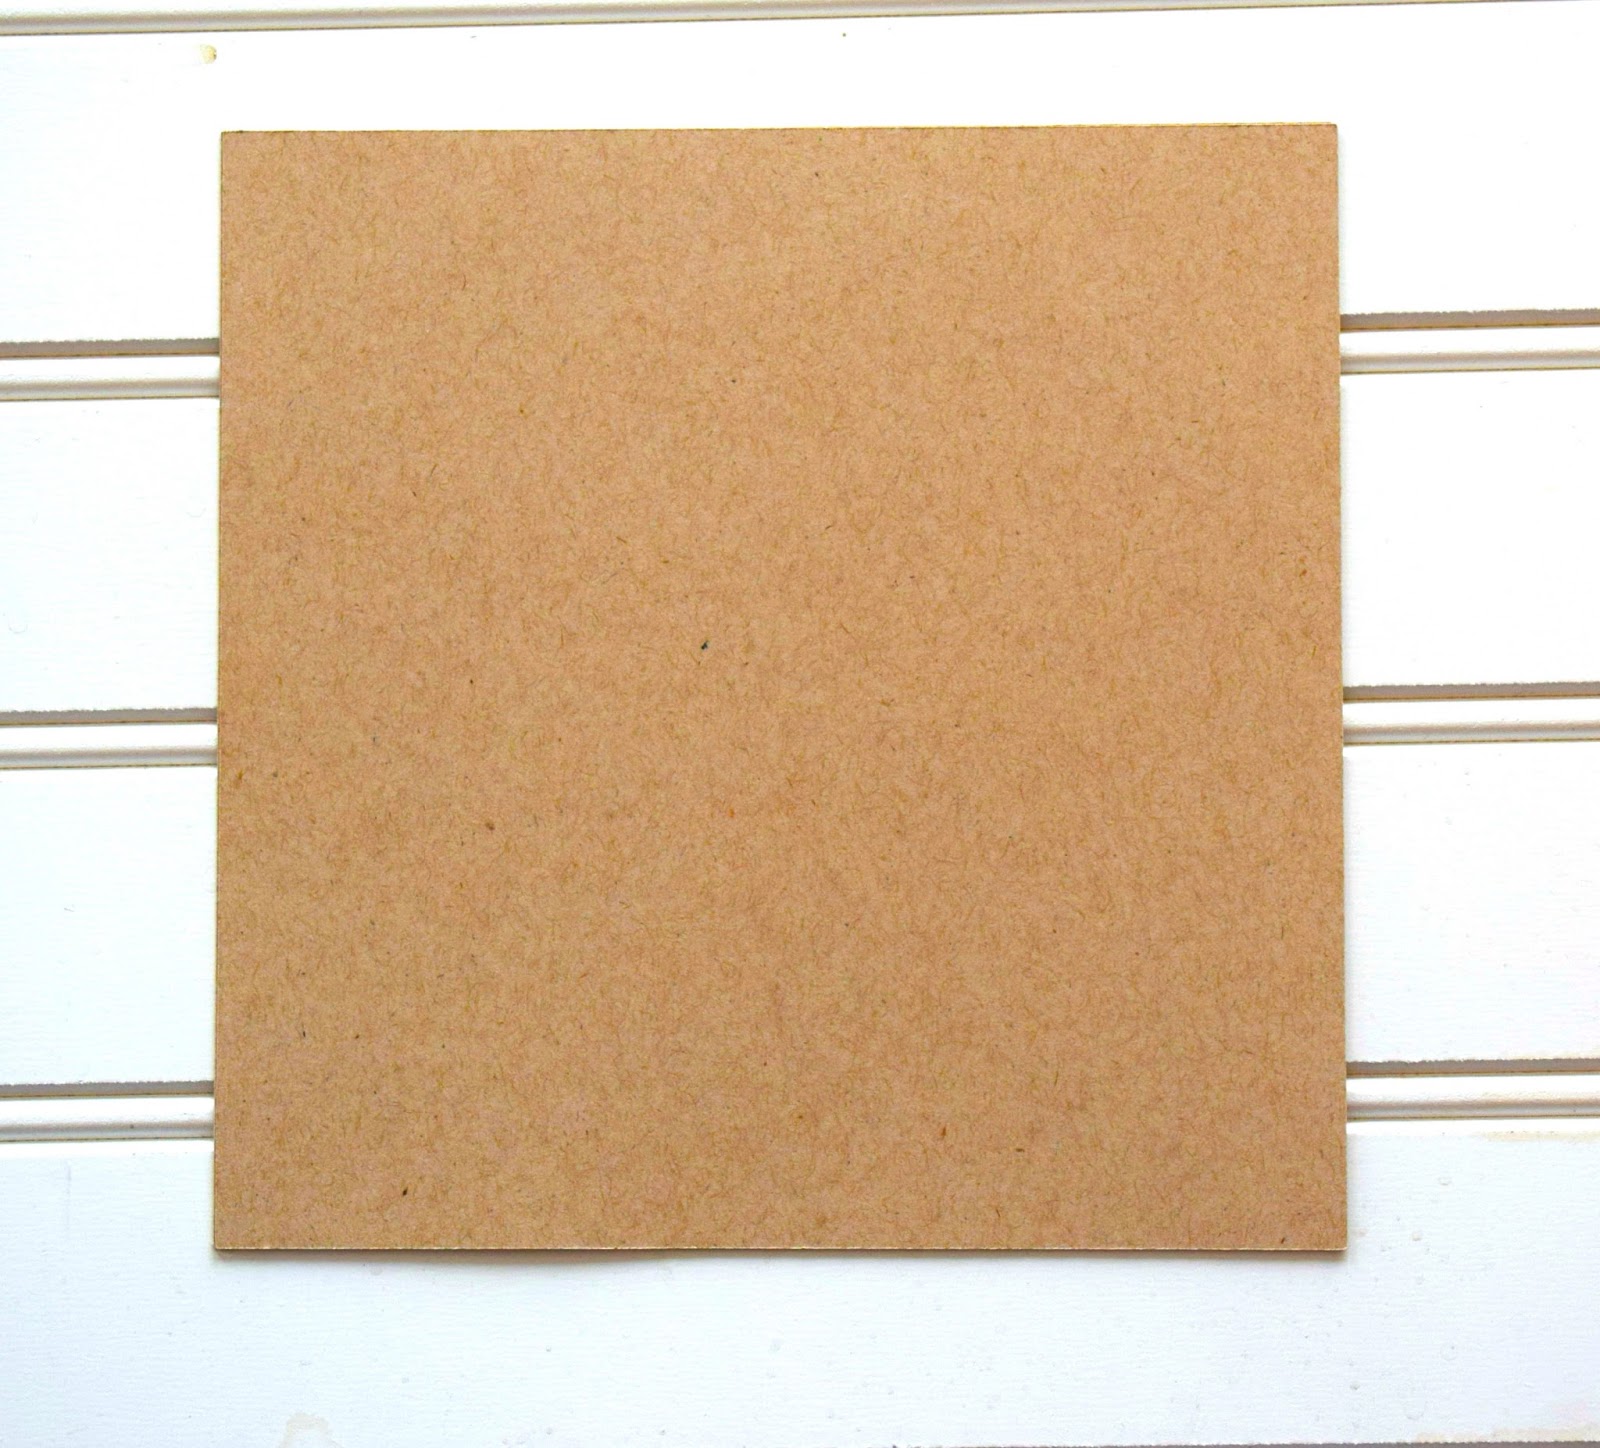
Then I started assembling the pieces. I took the 2 square pieces and layed them on top of one another. This is the box base.
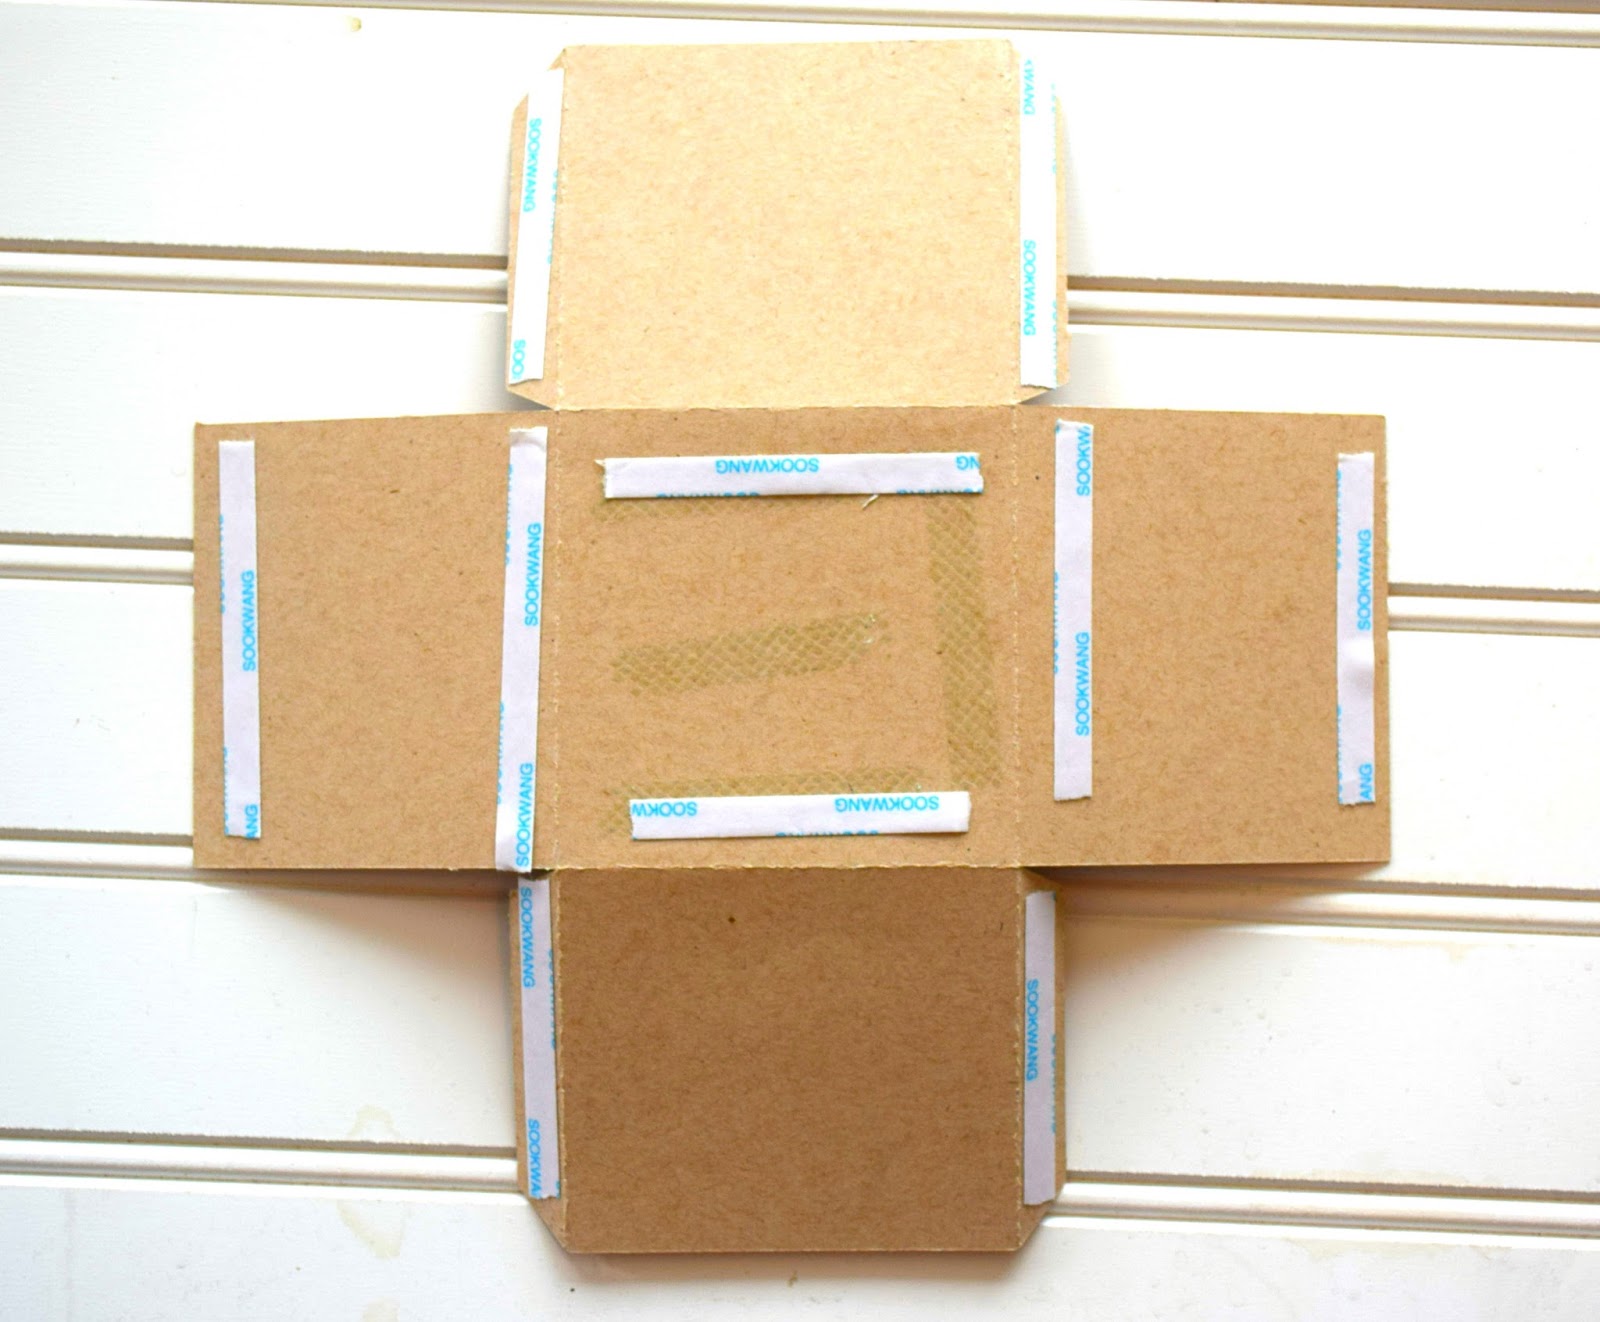
Next take the 4 box pieces and fold on all the scored lines. Add adhesive as shown and glue the box together.
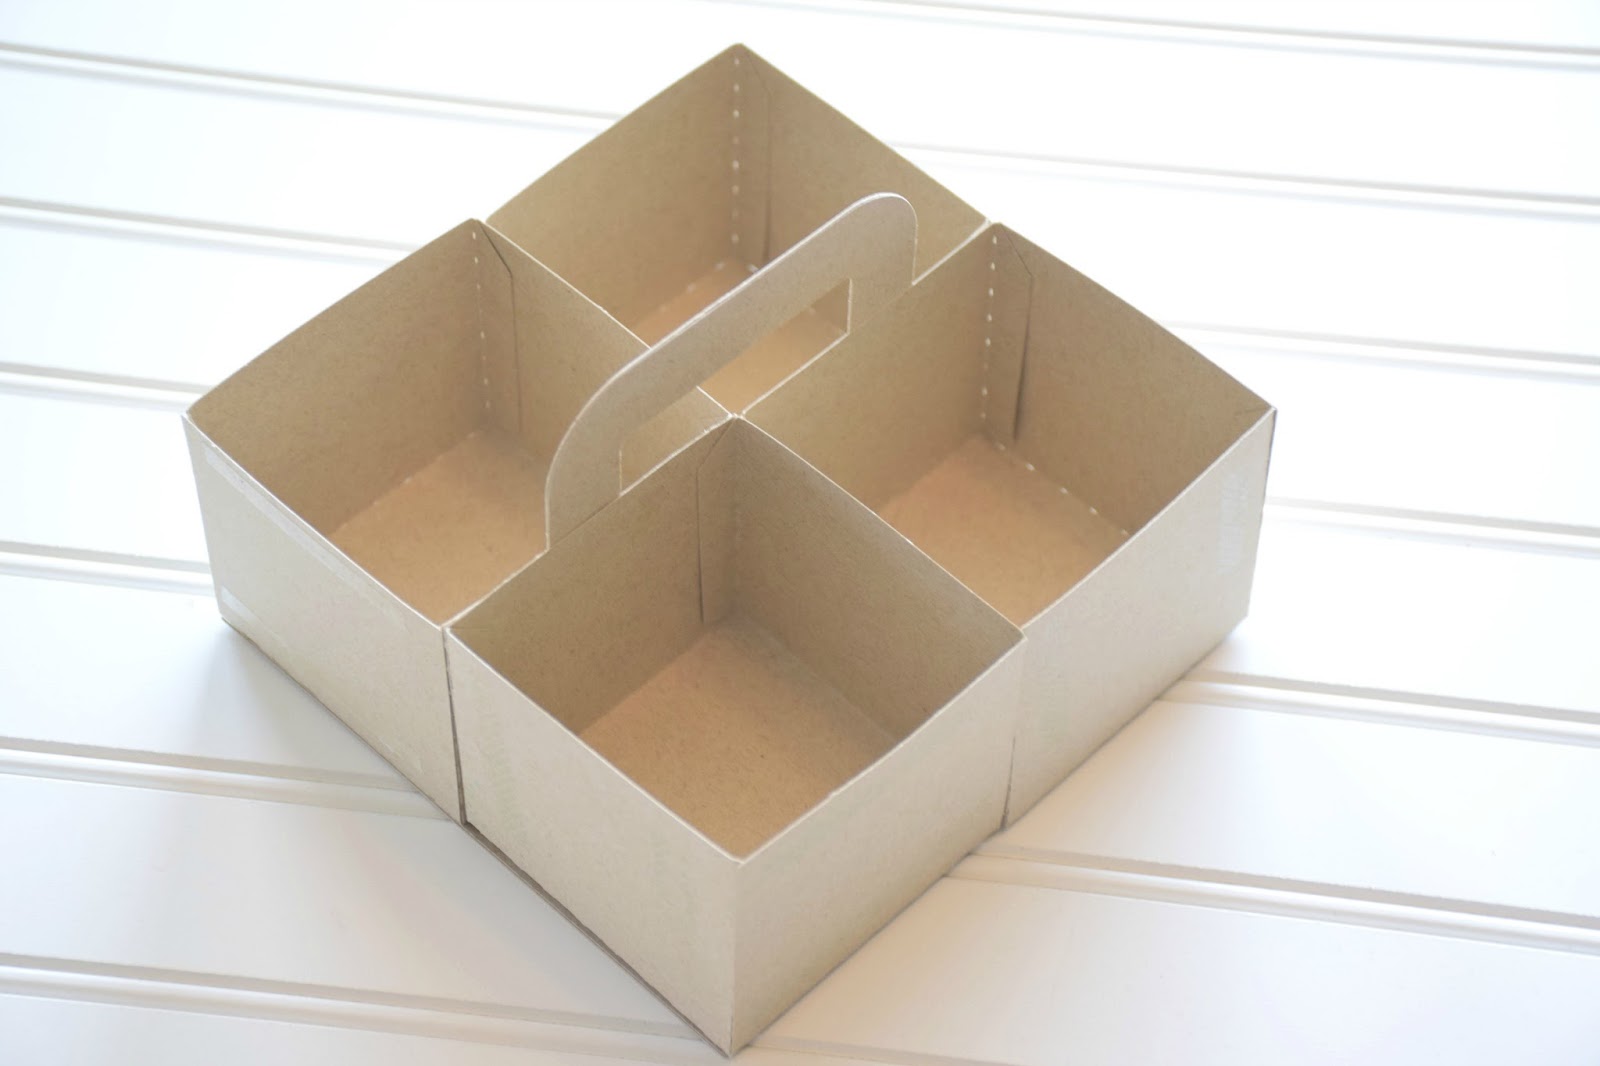
Add 2 of the boxes to one end. Then add the handle piece as shown.

Now add the other 2 box pieces.
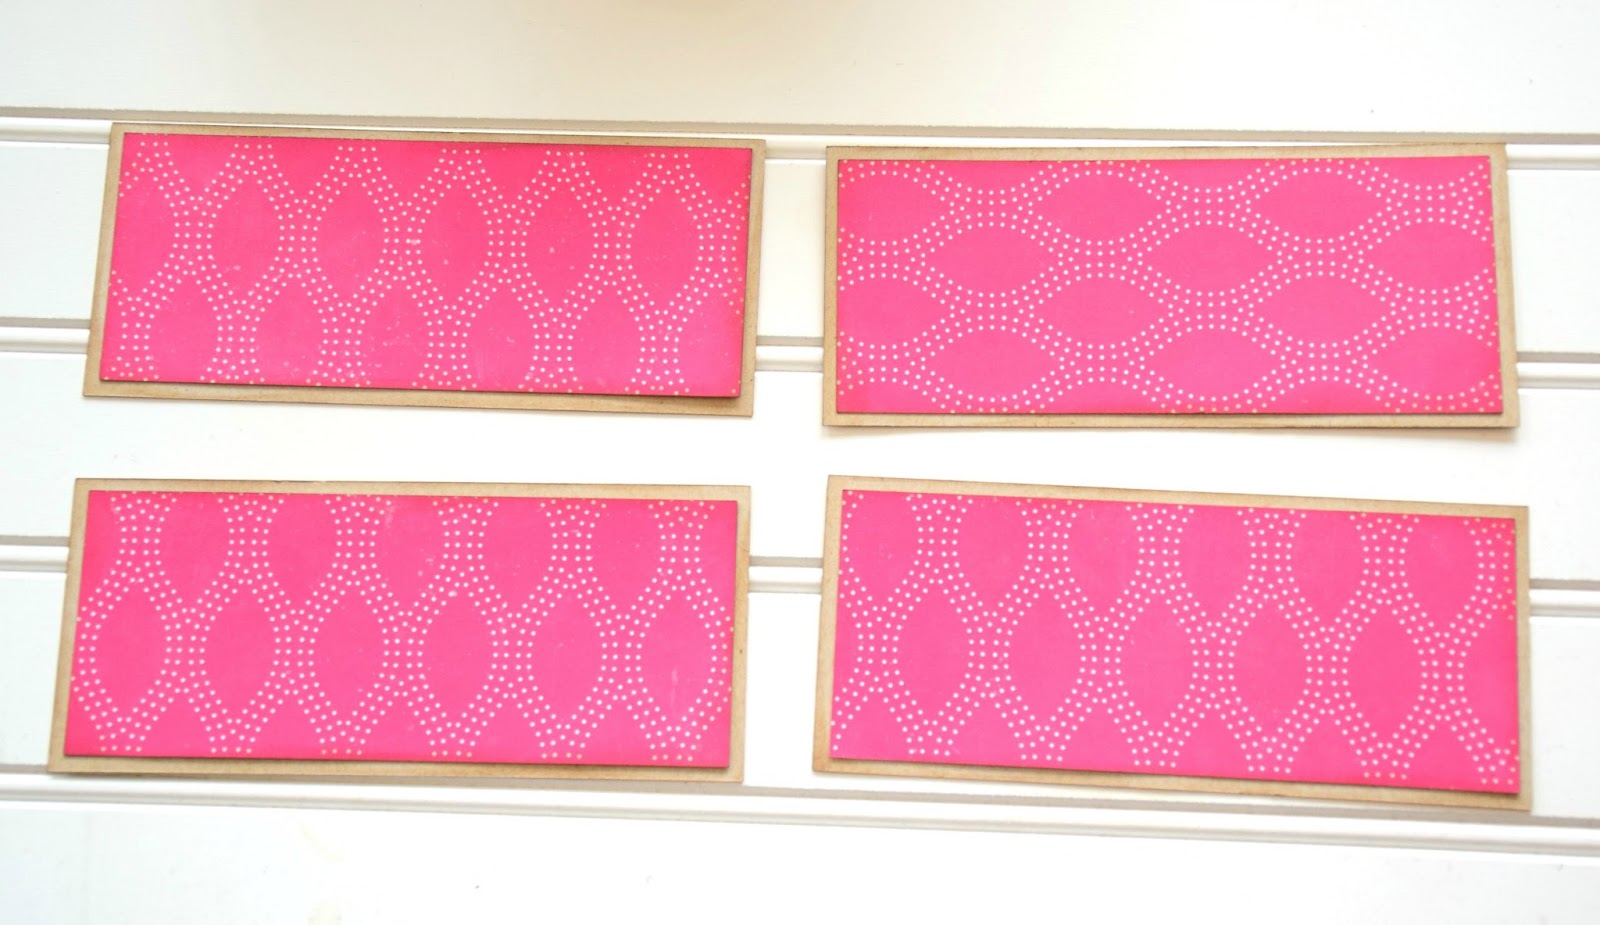
Add the pattern papers to the 4 rectangle pieces. These will be glued all along the edges of the box.
Now put together the lid. Add the pattern paper to the top and edges.
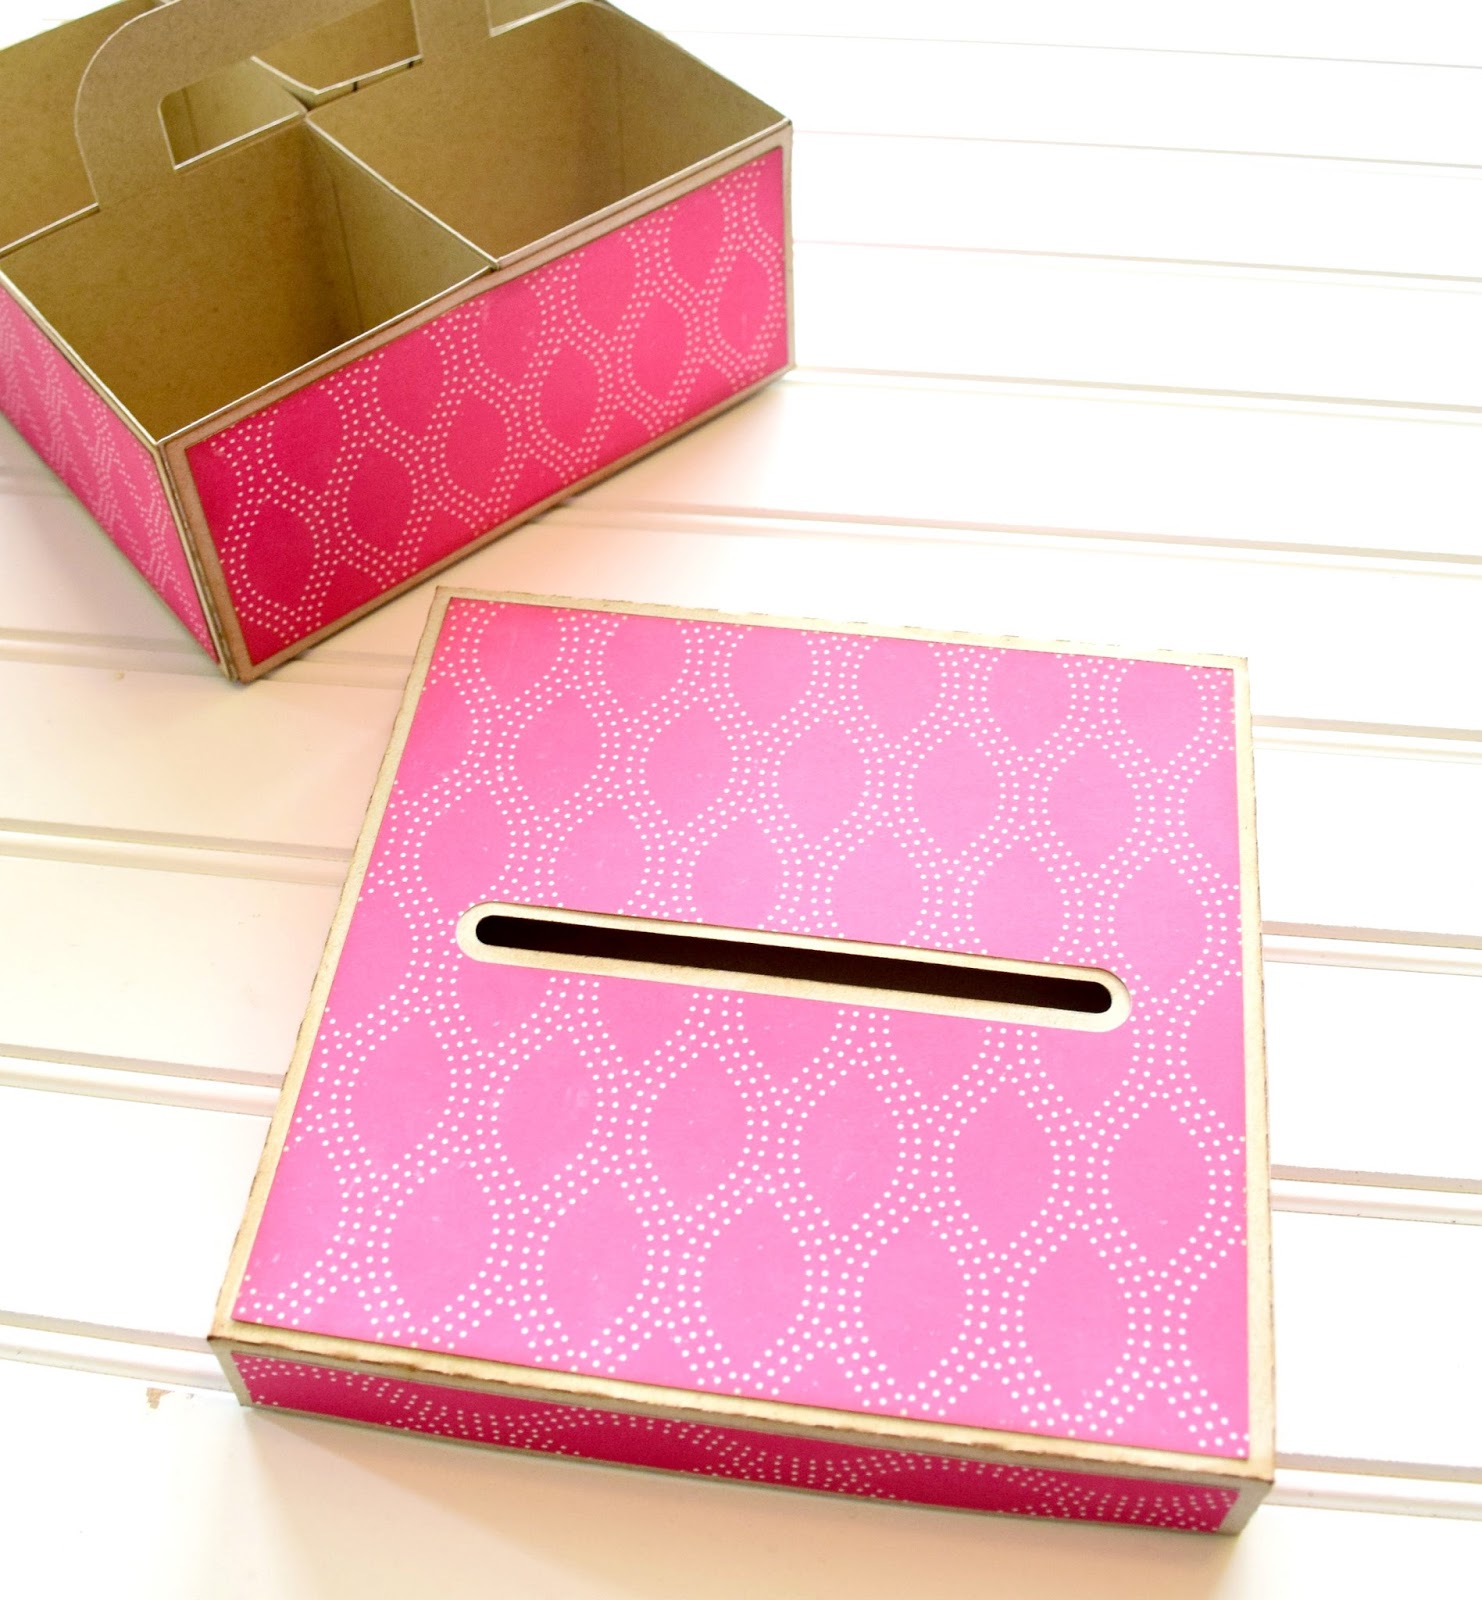
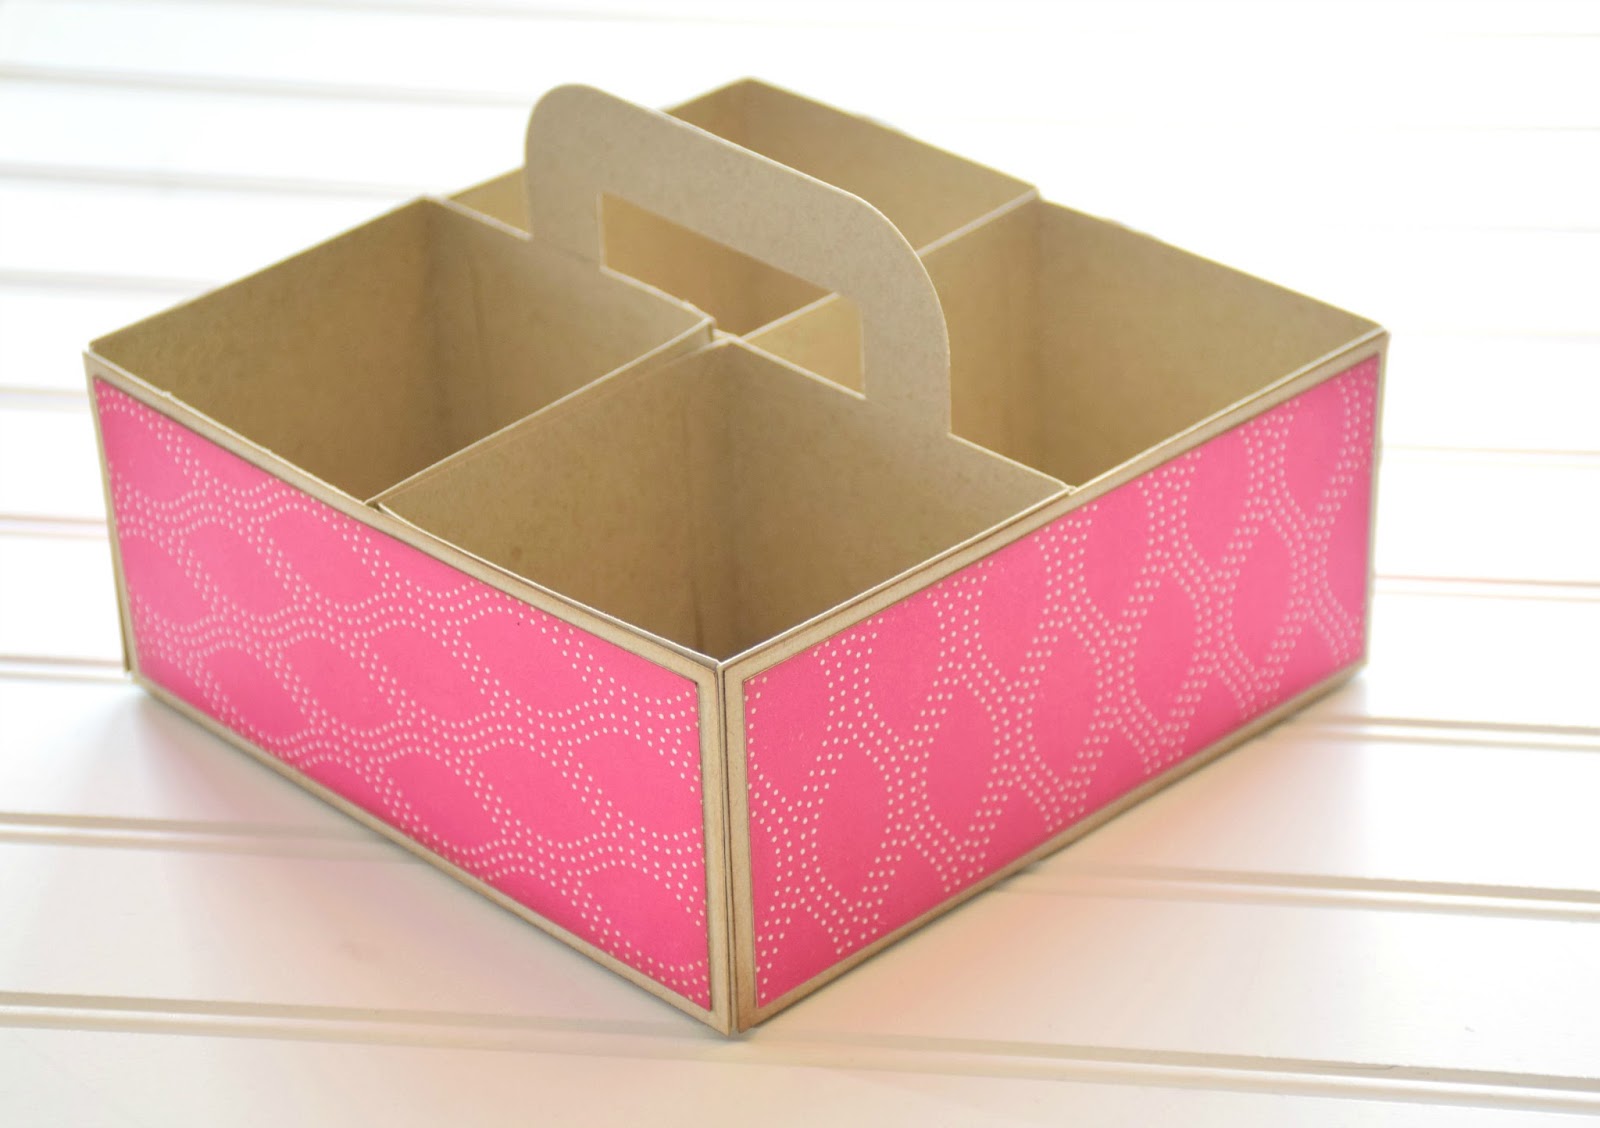
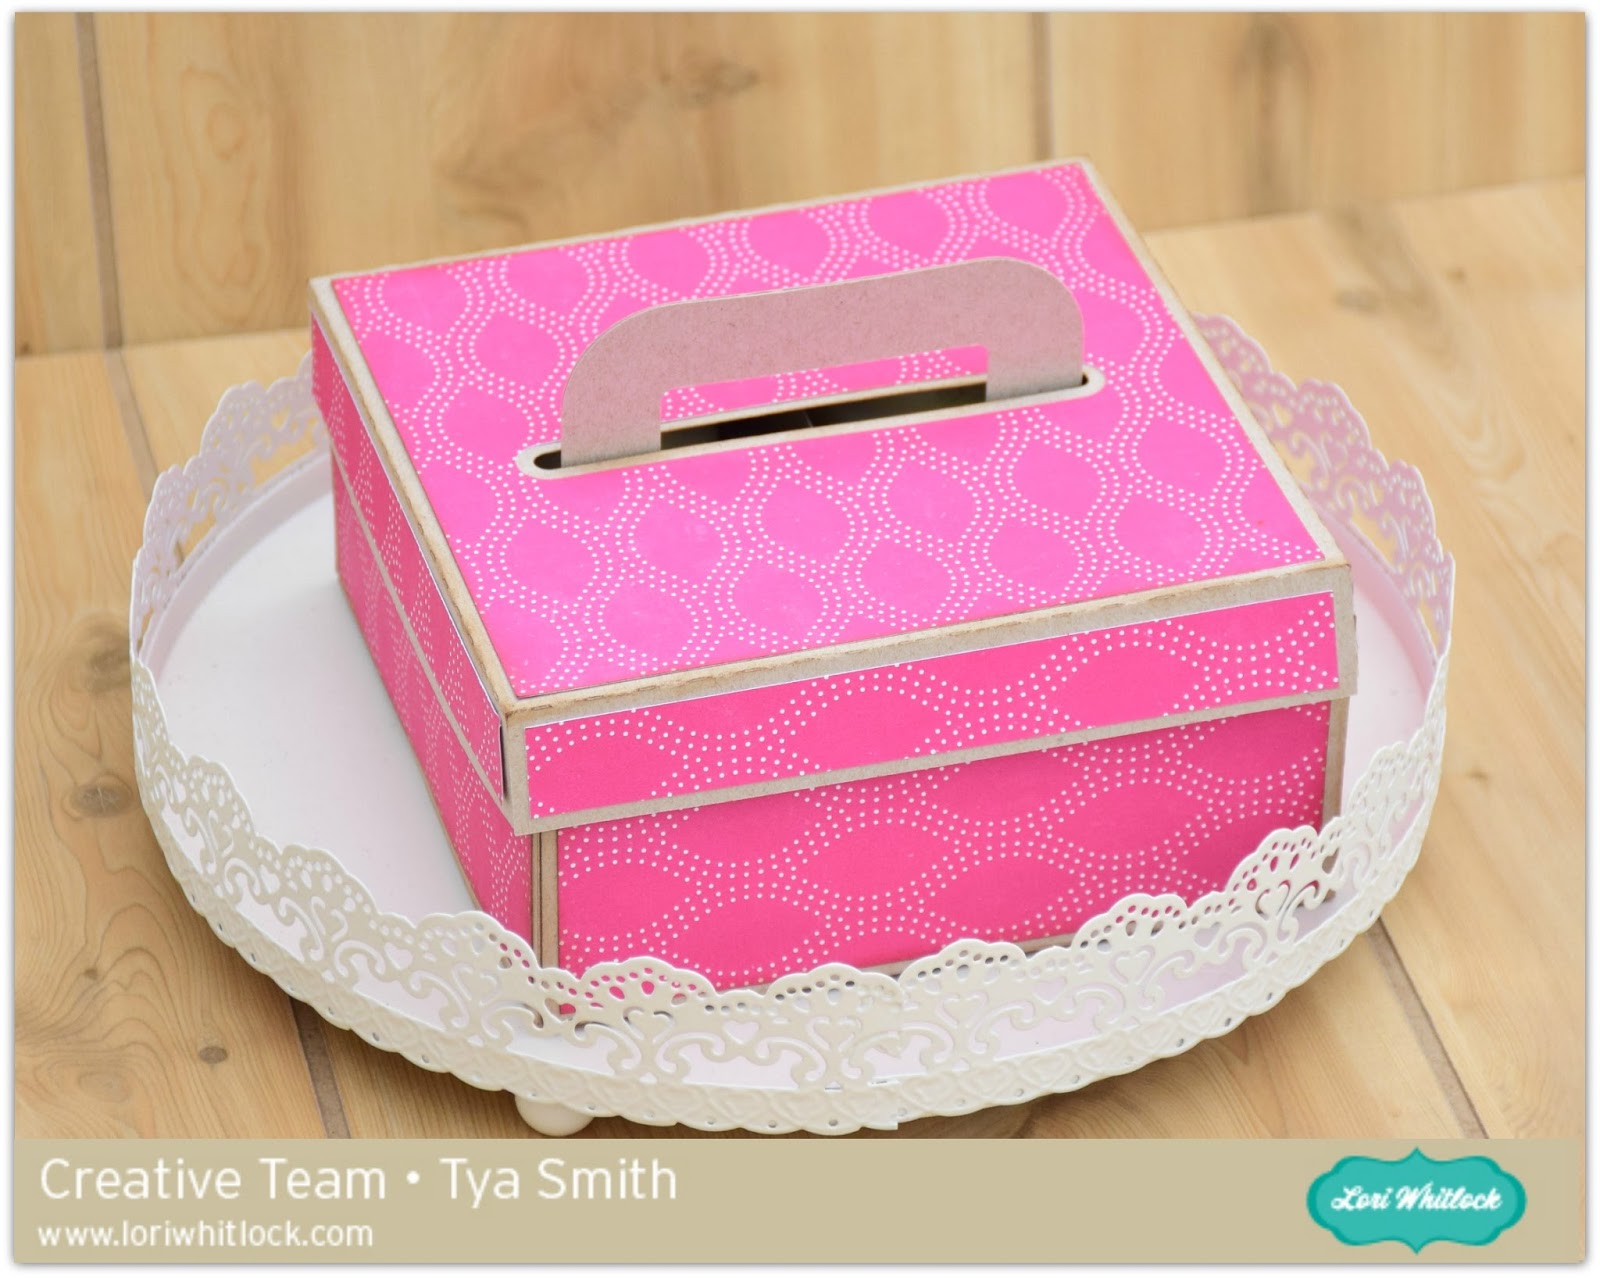
Here’s the box all put together.
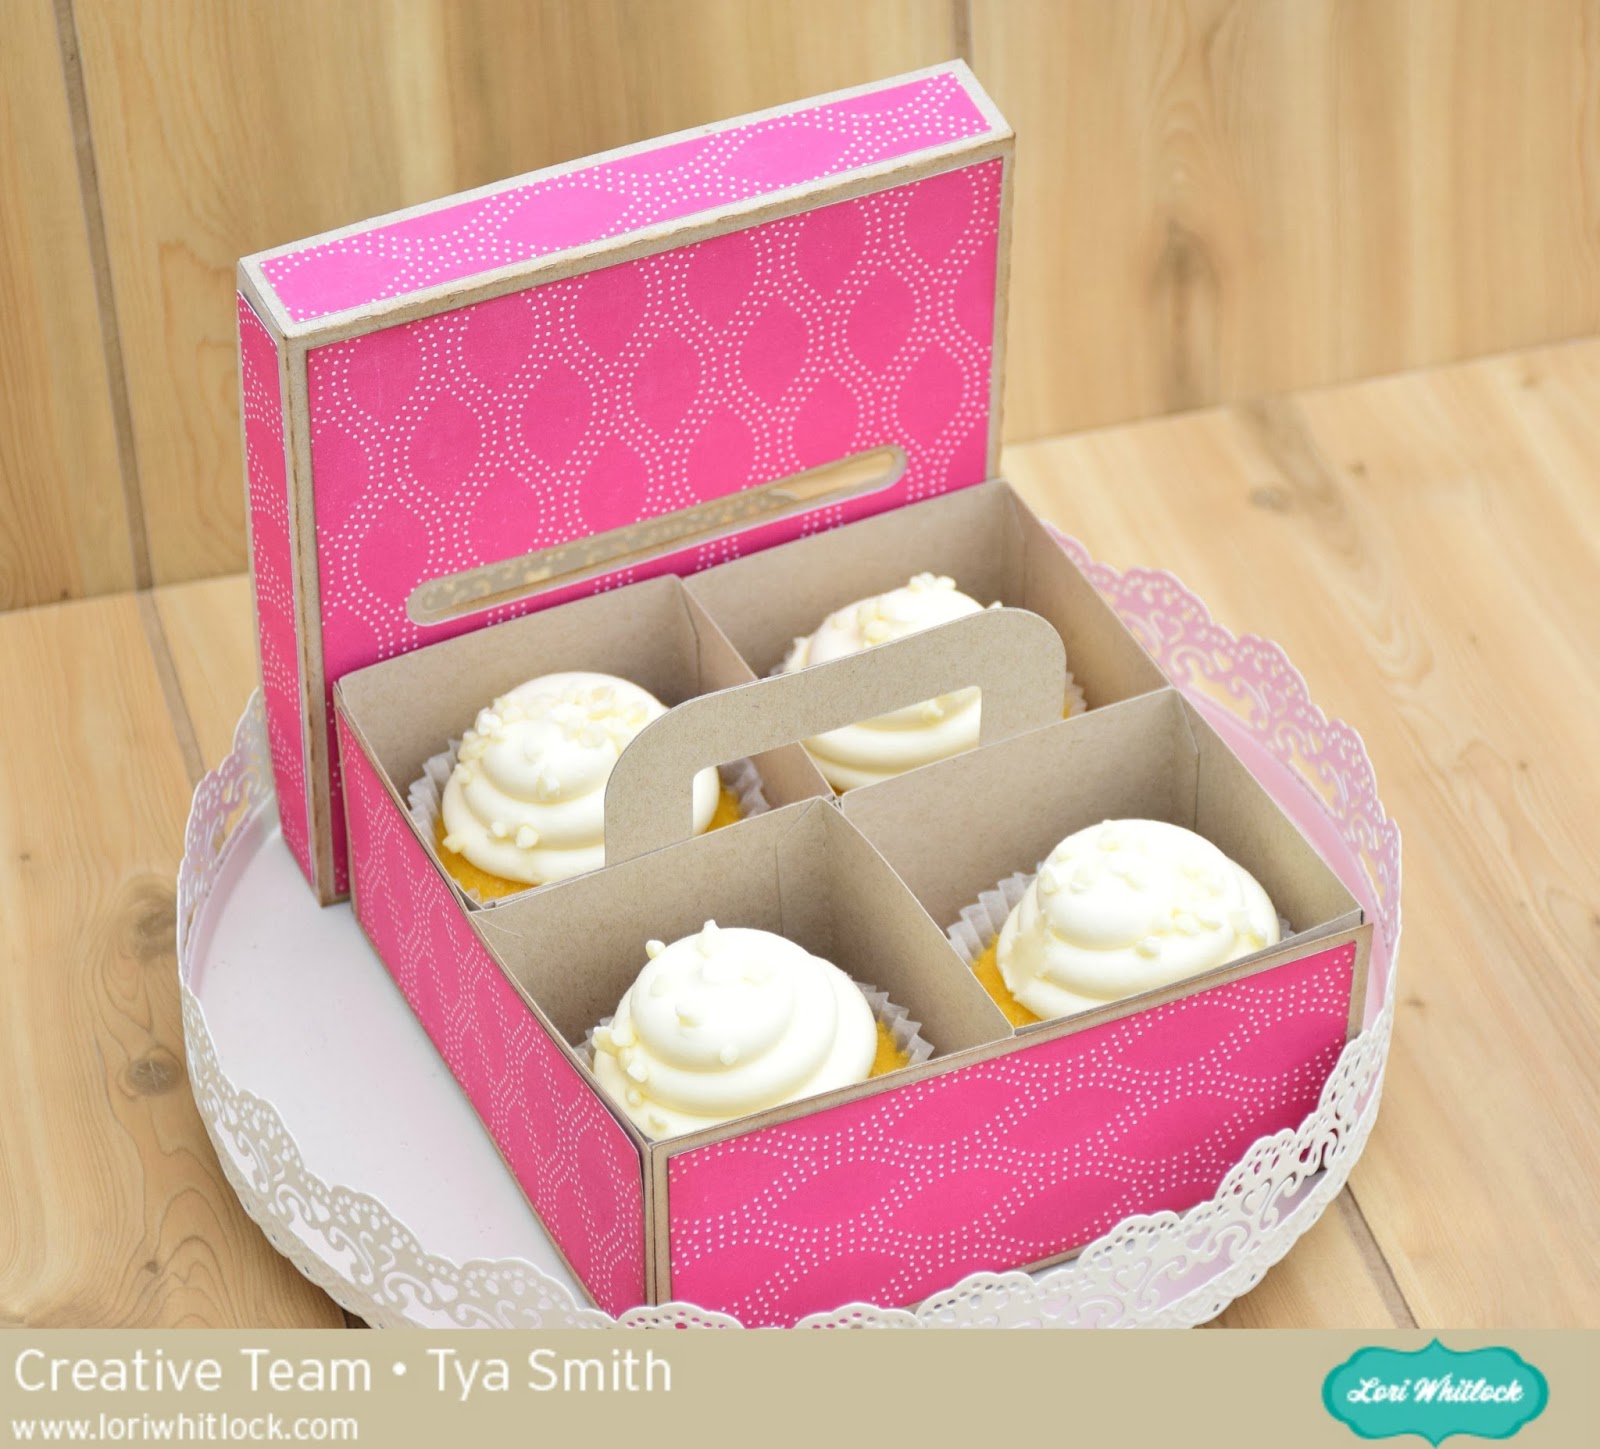
I added some yummy cupcakes to the boxes, but you could add cookies, candy or other small gifts.

To finish off the box I cut out a tag from the 5 Hang Tags cut file. I added some pretty ribbons and some stickers and other embellishments from Lori’s Petticoats Line for Echo Park Paper. So pretty and feminine.

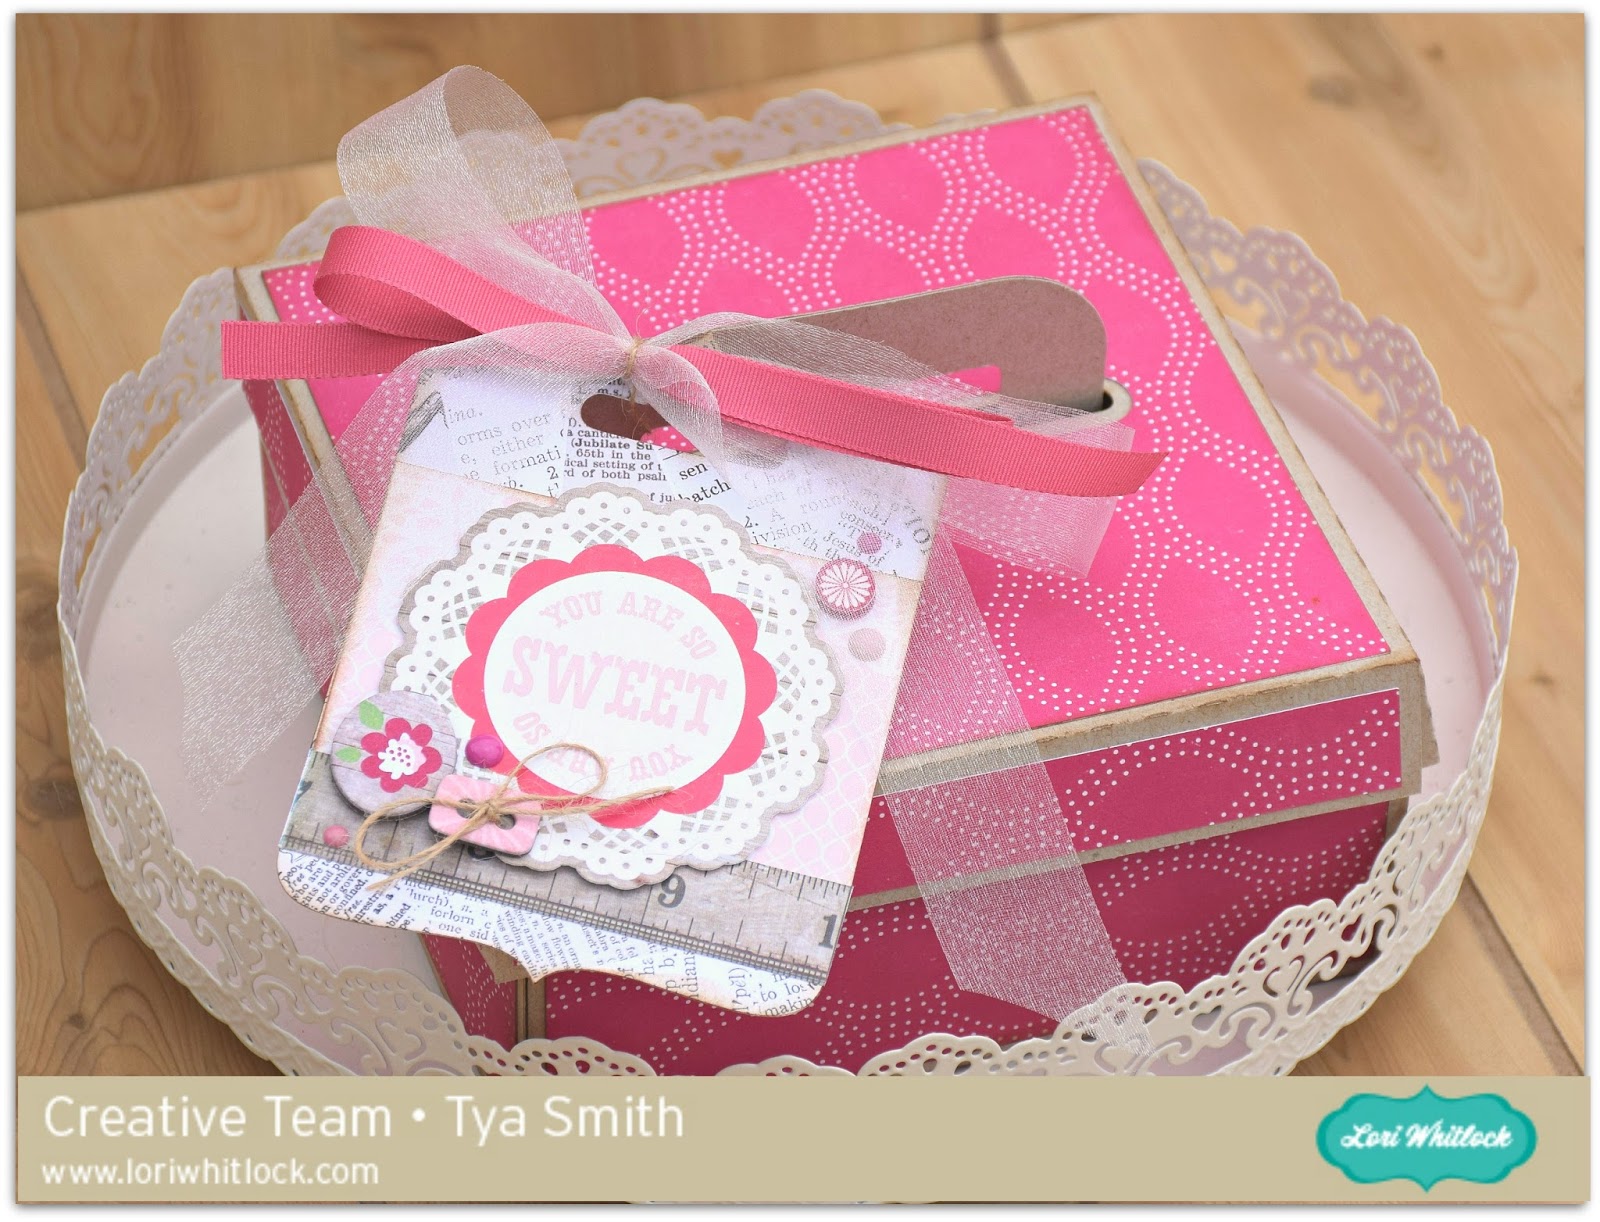
That’s all there is to it! Hopefully I have inspired you to create this box for your special someone! Have a great day!
*** For a video tutorial on the 4 x 6 Compartment Candy Box which is very similar to this box, watch this video! ***