
Growing up I always loved those sugary Easter egg dioramas…they were so cute, with their little spring scenes! When I saw Lori’s Easter Egg Diorama cut file (SVG, Silhouette) I knew I had to make it! The egg looks complicated but it really is easy to assemble, and it makes the cutest table decoration! Take a peek…

To start, cut your pieces and lay them out. I found it was easier to add the decorative panels to the egg base before assembling.

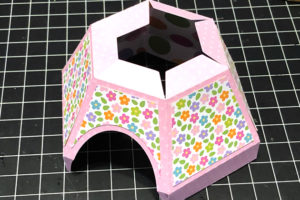
Start by folding all the pieces along the score lines. Then, for each of the egg pieces, glue the tabs that help curve the pieces into an egg shape. (see blue circle) Do this for both the tops and bottoms. There are tiny tabs around the diorama’s opening, make sure to glue them as well.

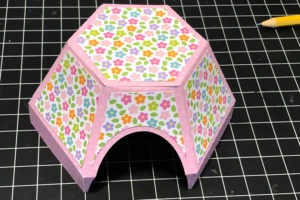
Next you want to form the top and bottom pieces of the egg. Start with the bottom two pieces. Glue them to form the egg bottom using the tabs. Once dry, glue on the bottom piece.


Repeat with the two top pieces of the egg.
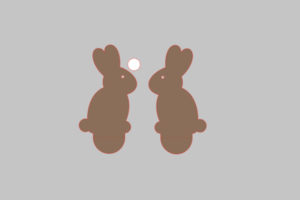
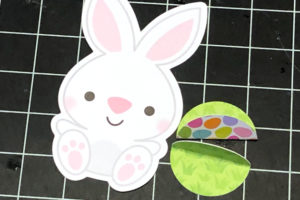
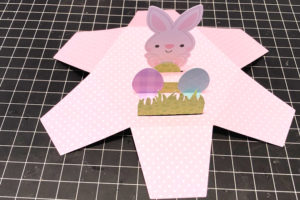
Next you want to assemble the insert portion of the egg. To make the bunny, glue both pieces back to back, making sure to add the white eye piece in between and do not glue the bottom half-circle pieces. These will be split open to use as a base to glue the bunny to the insert. I didn’t want a chocolate bunny in my egg, so I used a bunny cut out I had in my stash. I created my own base by cutting two circles, folding each in half and gluing to either side of my cutout.
Insert the grassy piece through the front slot in the insert base and glue the inserted piece to the back side of the insert. Next, fold the other grass piece, glue the eggs to the front, folding out the rounded half circles. Glue to base. Finally add your bunny by inserting the half circle pieces into the back most slot, opening up the circles and gluing to the backside of the insert. See pictures for details.
Once your insert is complete, add a little adhesive to the “spokes” and fit it into the bottom of the egg, spokes down as shown.

Add adhesive to the bottom tabs of the egg top and fit the top and bottom together. You will want to press from the inside of the egg to secure.

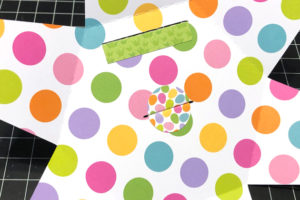
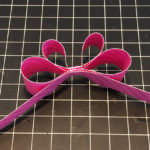
Lastly you want to create the bow for the top. Start by cutting the bow pieces and curling them as shown. I ran a pencil along the pieces to do this.

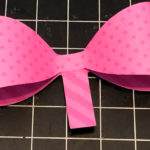
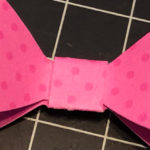
Assemble each of the bow pieces by first gluing the end tabs into the center. Then wrap the middle tab around the bow center and glue. Stack the bow pieces and glue together.
Glue bow to to top of the egg.

So cute!


If you make one of these cute little eggs, be sure to tag Lori Whitlock on Facebook and Instagram. We would love to see what you create! That’s it for me today, thanks for stopping by to peek!

how can i get a copy of the little white bunny and eggs
Hi Kelly,
The eggs are part of the cut file, they were cut from patterned paper. The bunny is from the Doodlebug Hoppy Easter Odds & Ends pack.
Thank you so very much!