

I worked on a series of videos to show you how I am using Lori Whitlock’s digital life cards in my Project Life binder. I combined the videos into the one below and will add another in two weeks showing how far I have progressed in a very short time.
binder. I combined the videos into the one below and will add another in two weeks showing how far I have progressed in a very short time.I had started a Project Life binder in 2012 and had it very well organized, but then I never kept it up. Since it is now so much later, I have decided that I won’t organize the binder by date. Instead I will just work through all my images and journalling using digital life cards and make my binder look nice and complete the project.
I downloaded a bunch of Lori’s digital files from Snap Click Supply Co.
I literally have hundreds of files to work with so I need to organize them before I get started. I used Adobe Photoshop Lightroom to do this because it makes it so easy to find what I need. Also, if I want to tag elements for specific topics or themes, Lightroom makes this very easy. The image above shows how the thumbnails look in Lightroom.

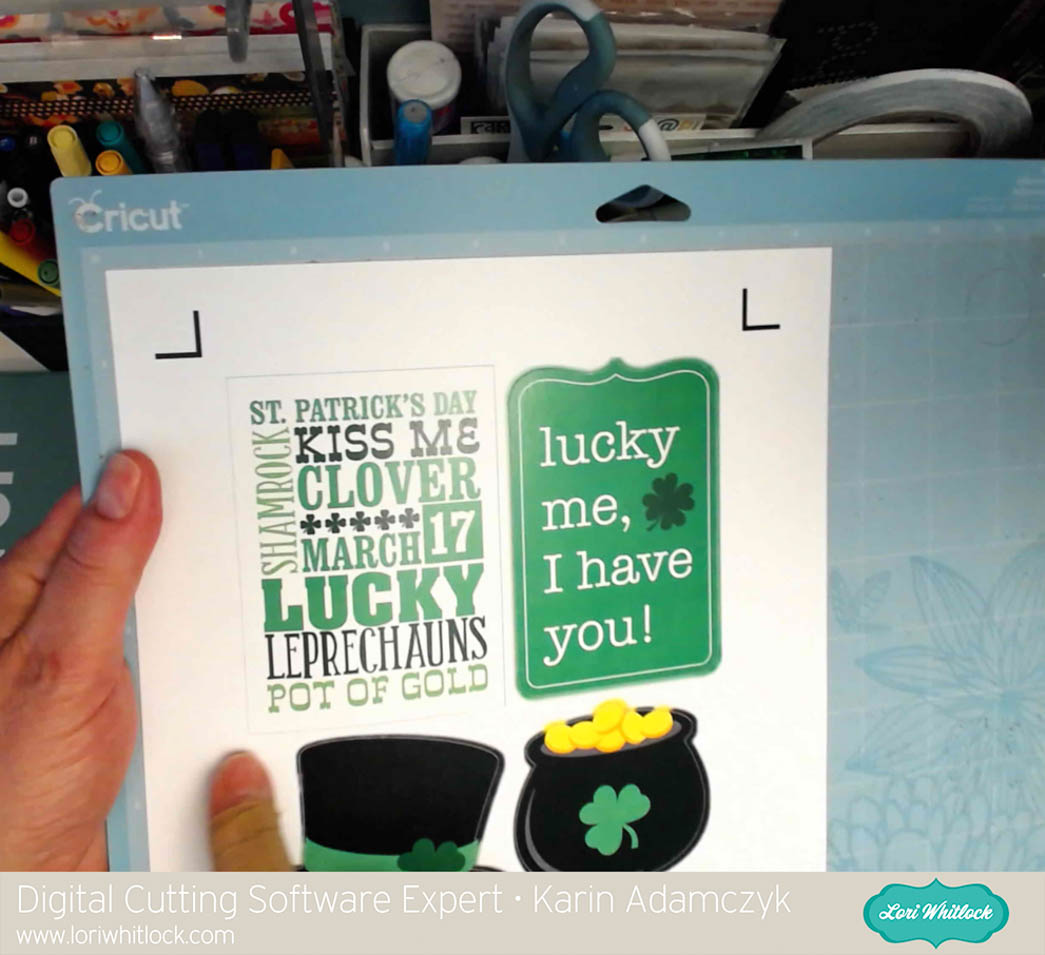
The image above shows how I took an element, uploaded it into Design Space, cleaned away the outer white area to have the scalloped edge and inner portions as a print element that I cut out with my Cricut Explore.

In my video, I show you how I set up the element in the upper left corner of the print then cut image above to use it as a card in a 3×4 pocket.

This image shows you how the cutting line goes around the outside of the card.
Thanks so much for stopping by. Be sure to check back in two weeks when I post a flip through of my Project Life binder so far.
One Comment
Comments are closed.