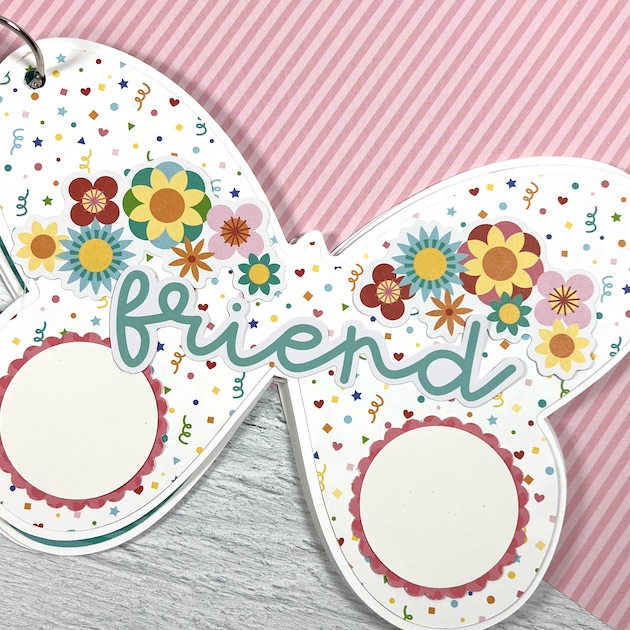
Hello! We got the dreamiest paper in the mail last week and I couldn’t wait to create with it. Echo Park’s Have A Great Summer designed by Lori Whitlock has all the best colors and papers. It made me think of how fun this layout would be with these papers.
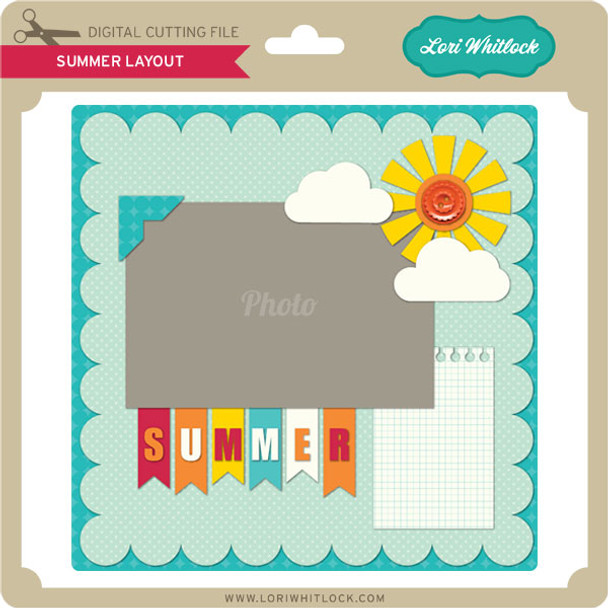
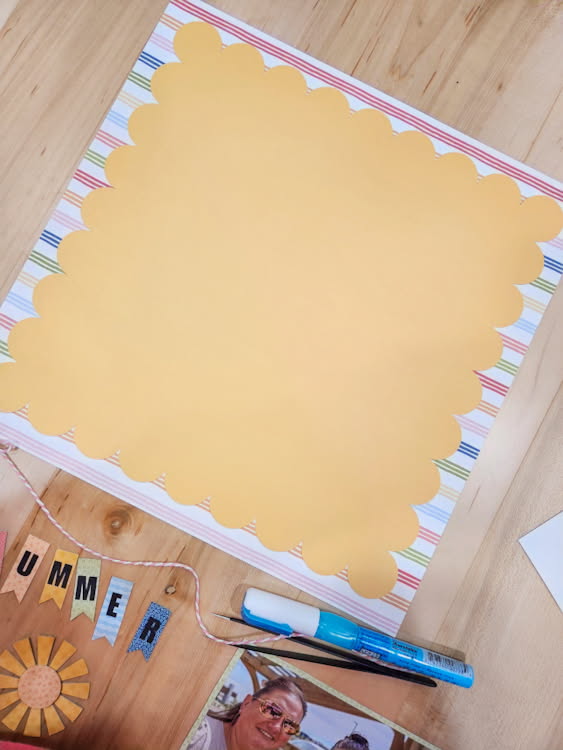
First I decided on papers and made my cuts. (*If you are making this on cricut, check your sizes, my scallop page cut 7×7 so I had to adjust.)
I went ahead and inked all my little pieces
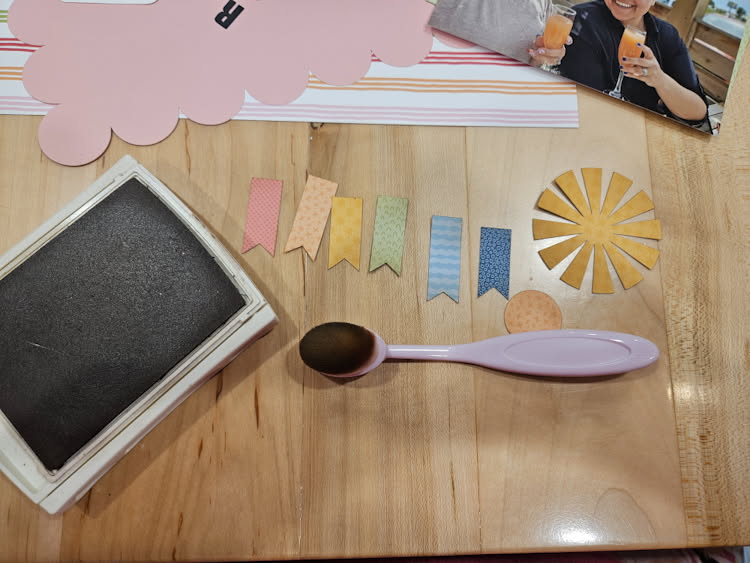
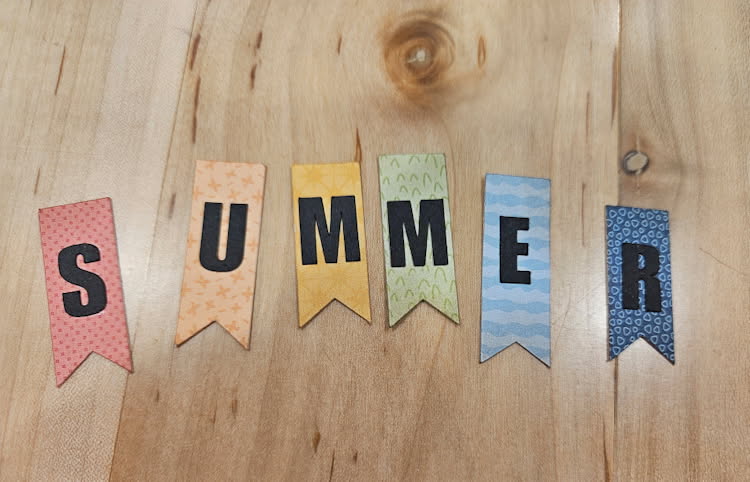
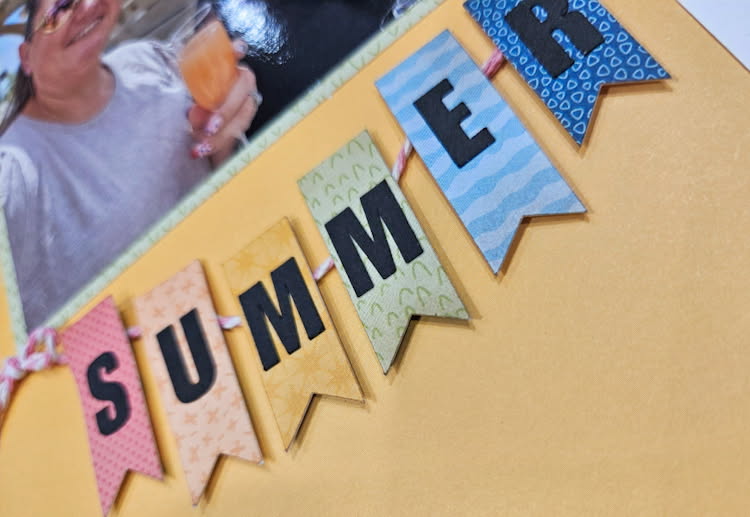
And then I added letters to the banner pieces.
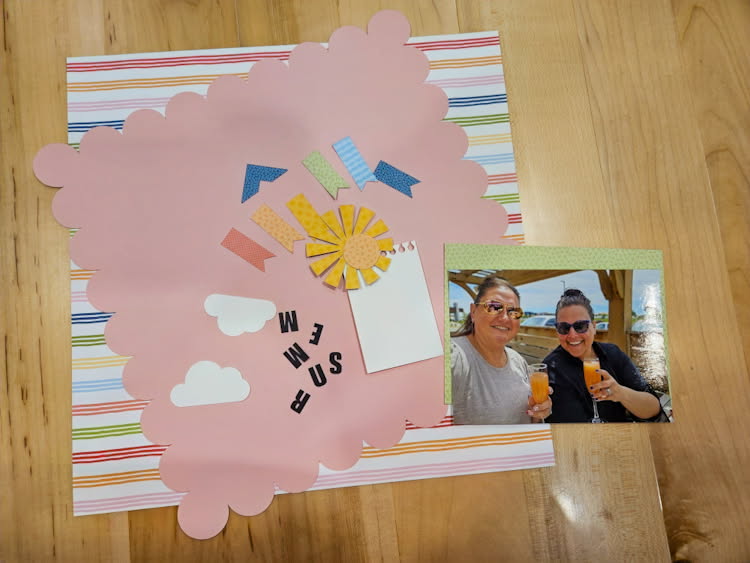
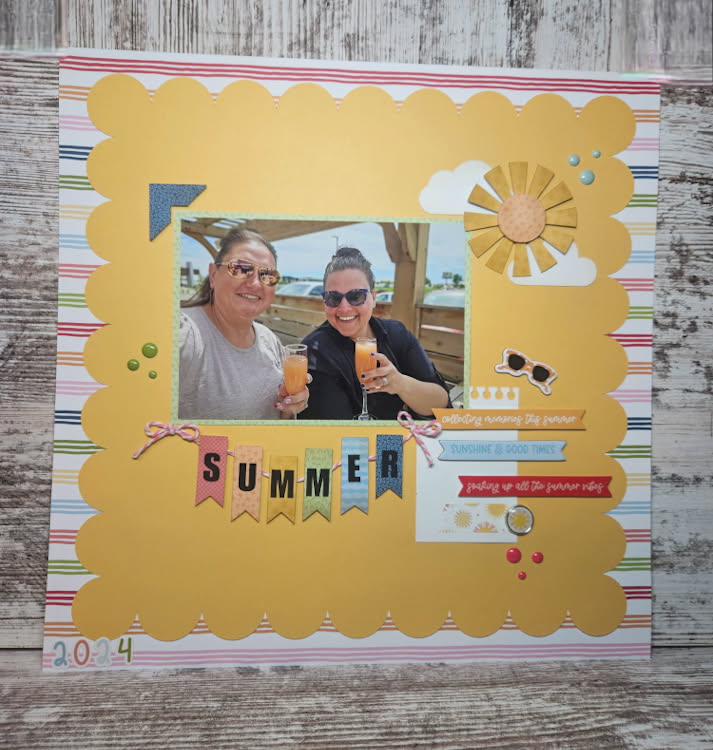
One thing I’ve learned over the years is it’s never a bad things to flip the paper over. I had originally thought I wanted to use the pink side of the solid paper, but it just wasn’t as summery so I flipped it and used the yellow. I love that I did. So bright and fun.
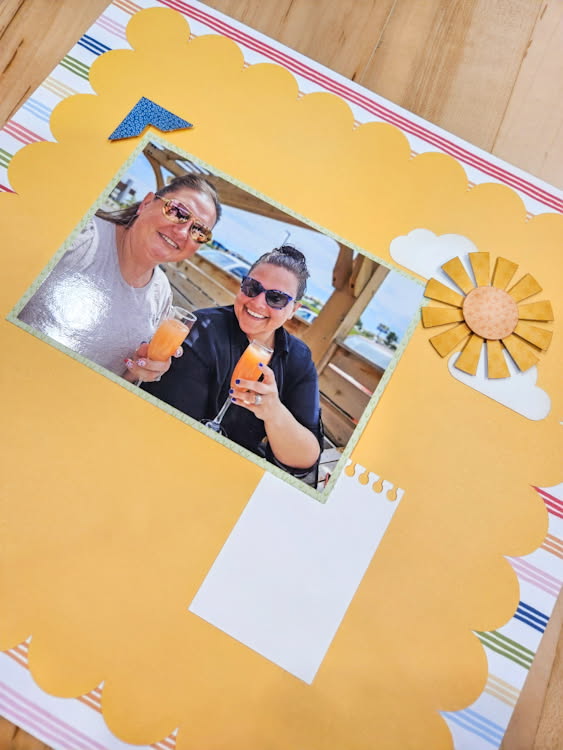
I added my photo and took a few liberties with positioning the other elements. I made sure my sun was over my clouds so it wouldn’t blend into the background and popped the photo corner up on the outside of the photo.
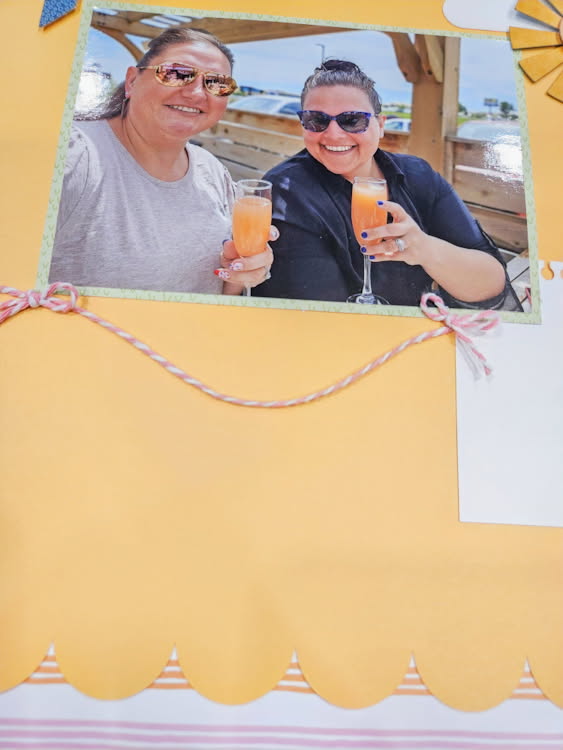
My banner I wanted on a string so I added my bakers twine and then popped the banners up over top of the bakers twine.
Finished off the layout with some chipboard and stickers from the Have A Great Summer line and a few enamel dots.
Thanks for stopping by and Happy Crafting!
Chelsea
.jpg)
.jpg)


.JPG)