Turn 4 File Folders into Cards

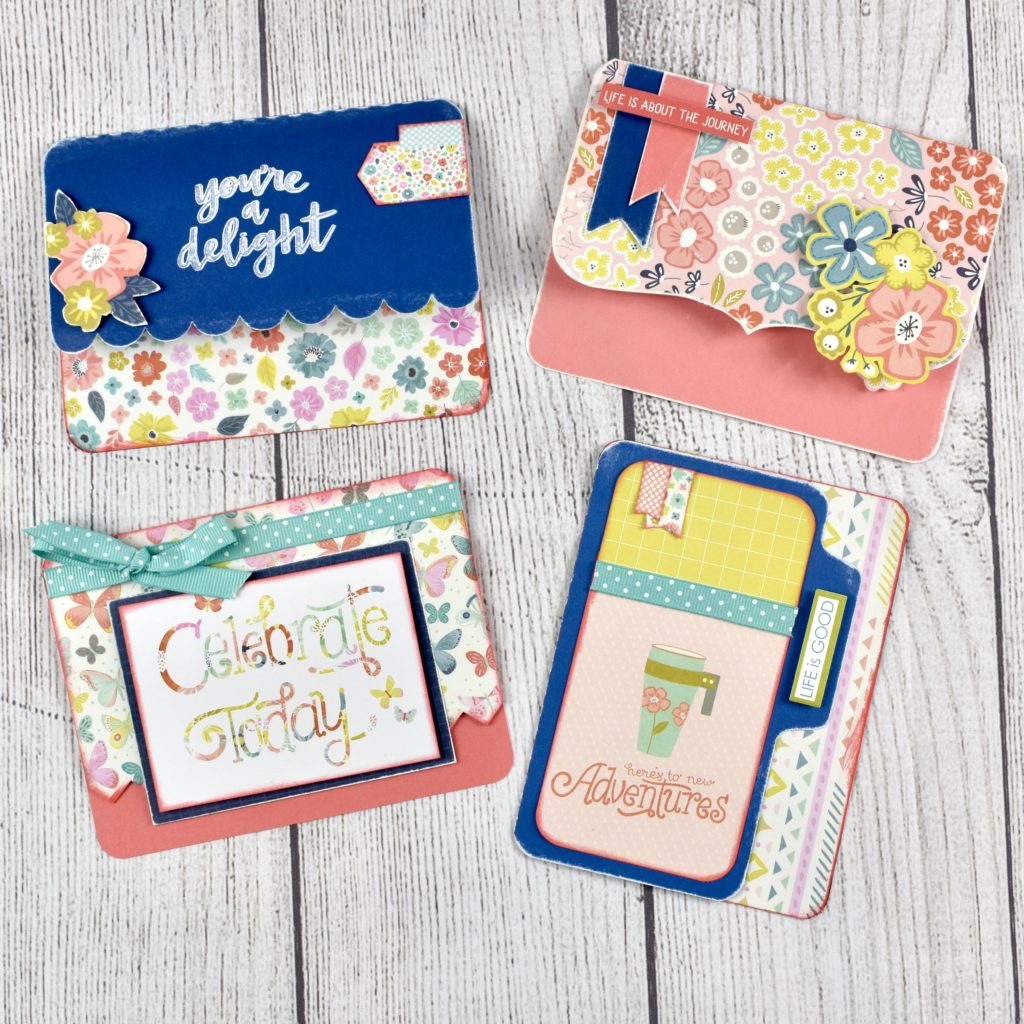
Hi there paper crafting friends!  It’s Michelle Starcher, aka the Bookish Designer, popping in on the blog to share four cards I made using 4 File Folders (SVG, Silhouette).  I got the idea to use the file folders for card making when I saw a card in a book.  The idea of the card was to trim the front of the card, so that inside of the card was visible when closed.  Since the 4 File Folders already have a shorter front, I thought they would be perfect for this style of card.

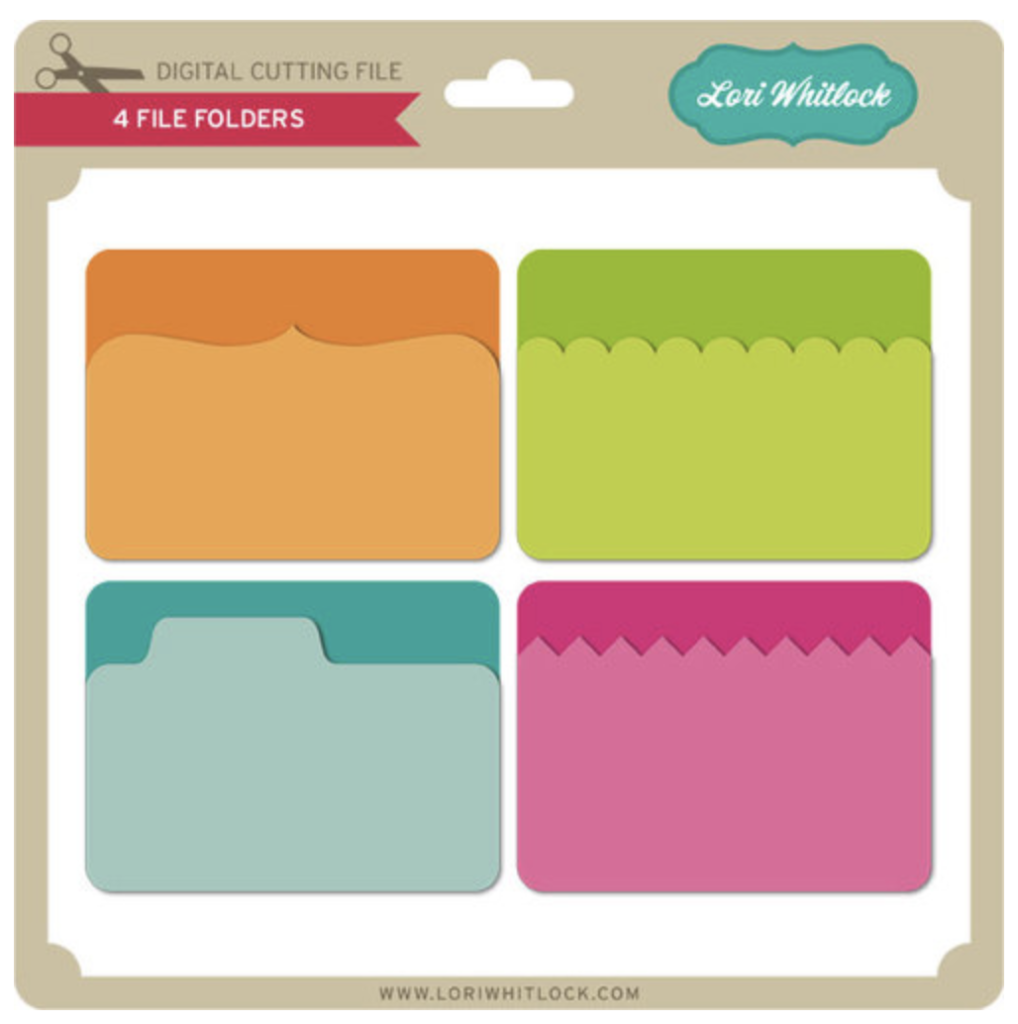
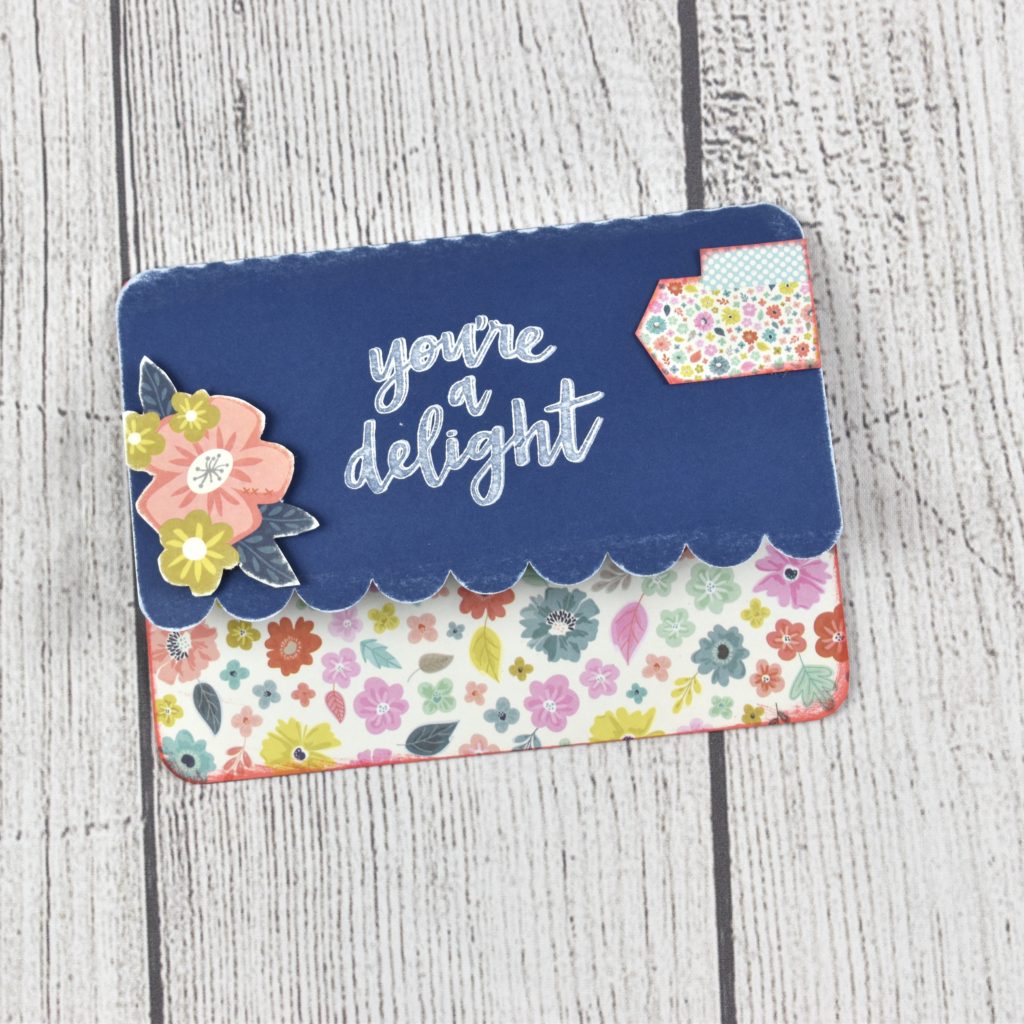
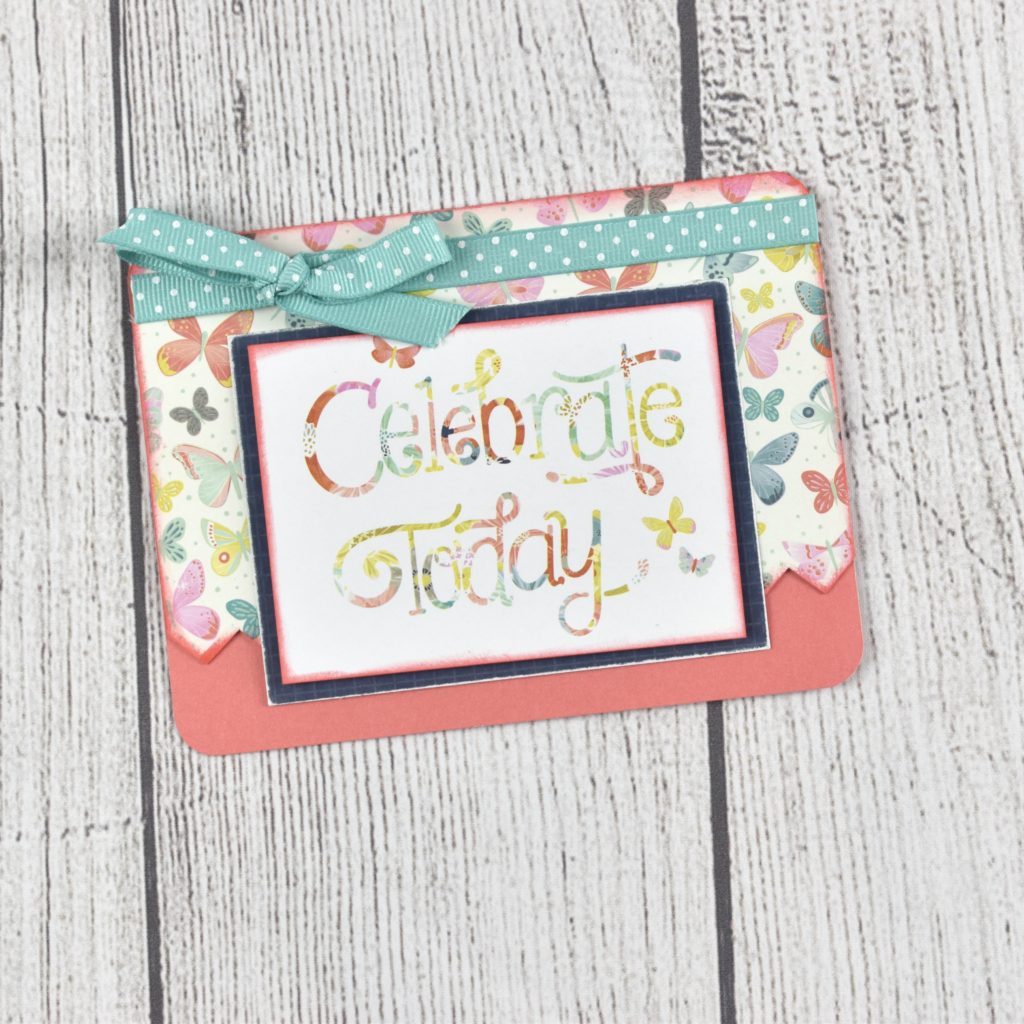
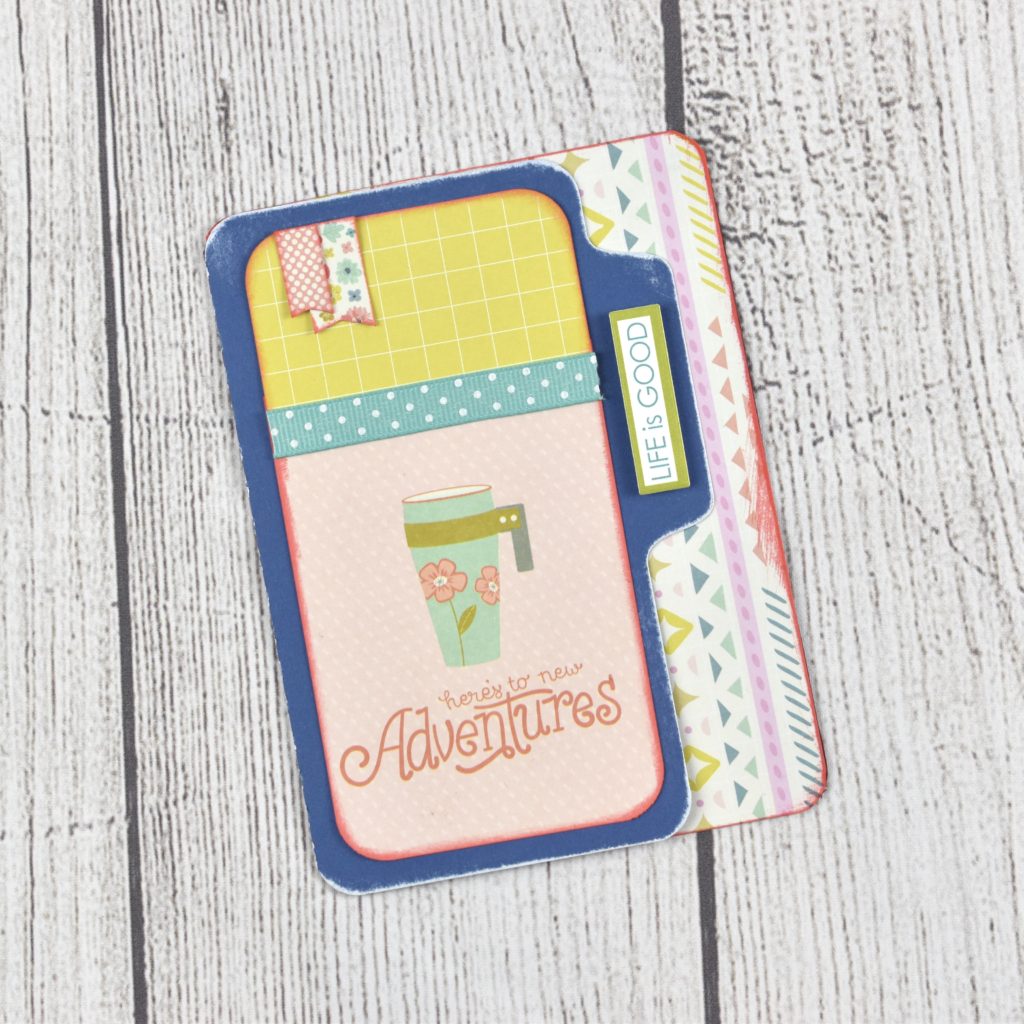
To make the card, I resized the file folders to be the approximate size of an A2 card (4.25×5.5).  In order to do this, I enlarged the canvas size to be about 11 by 14.5 inches.  I changed the colors so that I could fit two cards on a 12X12 cutting mat.  Once I had the file folders cut, I used extra Project Life cards as the patterned paper and accents on the cards below.  For two of the cards, I added a 4×6 Project Life card to the front, traced the shape, and trimmed with scissors.  For the other two cards, I added a 4×6 Project Life card to the inside and trimmed as needed.  This is a create way to stretch your supplies by using up extra Project Life cards or scraps of paper in your stash.

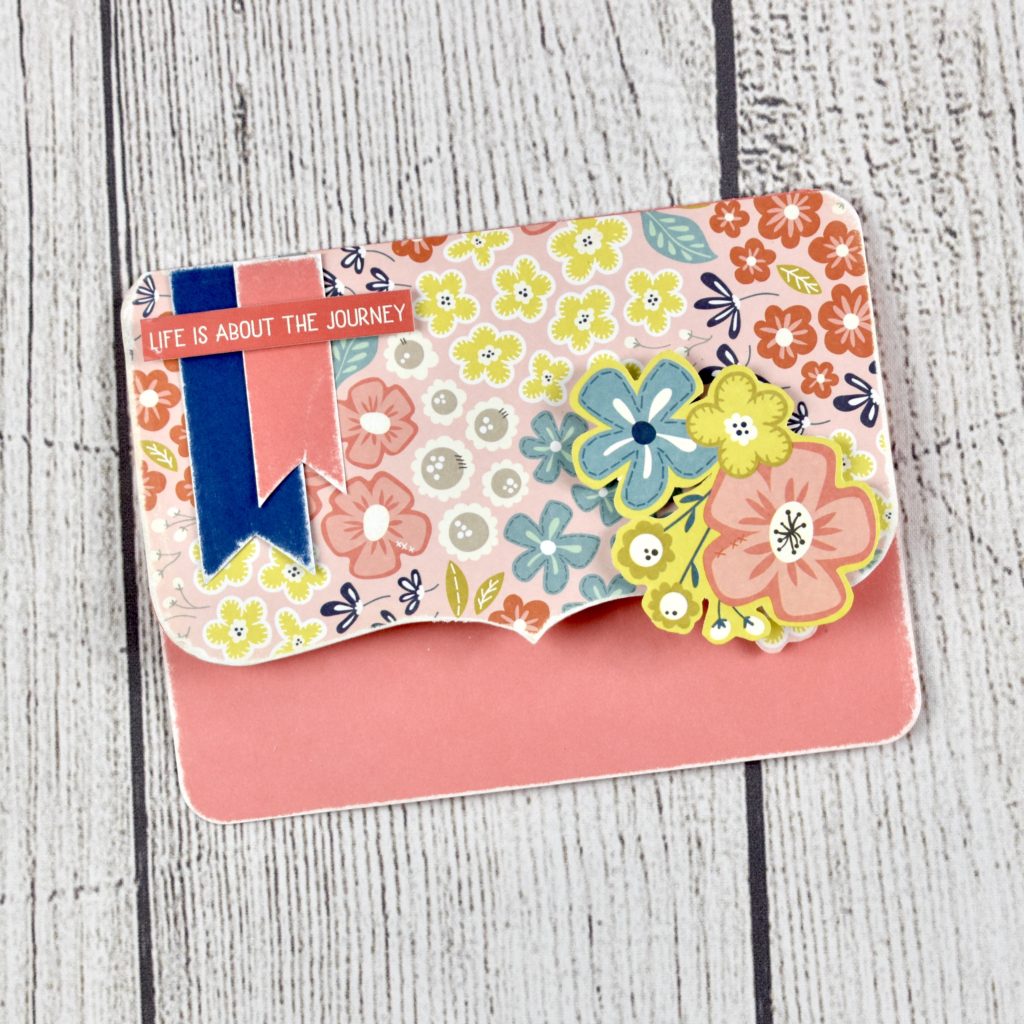
I hope you’ll pick up the 4 File Folders (SVG, Silhouette) and make some beautiful cards for your family and friends.

Until next time,

Michelle

Life Cards Flip Through

Hi Everyone, it’s Karin today and as promised in my last post, here are the pages I have completed in my Project Life binder. The page above shows a number of Lori’s Office Oriented Life Cards and the following images include life cards and various other Lori Whitlock digital elements.

The next two pages are from my last post in which I used St. Patrick’s Day life elements

Using the Lori’s digital images from Snap Click Supply makes fast work of my pocket pages!  Thanks for stopping by today!

Digital Life Cards and Print Elements with the Cricut Explore with Karin

20160708-2016-07-08_17-00-04-Edit


I worked on a series of videos to show you how I am using Lori Whitlock’s digital life cards in my Project Life binder. I combined the videos into the one below and will add another in two weeks showing how far I have progressed in a very short time.
I had started a Project Life binder in 2012 and had it very well organized, but then I never kept it up. Since it is now so much later, I have decided that I won’t organize the binder by date. Instead I will just work through all my images and journalling using digital life cards and make my binder look nice and complete the project.
I literally have hundreds of files to work with so I need to organize them before I get started. I used Adobe Photoshop Lightroom to do this because it makes it so easy to find what I need. Also, if I want to tag elements for specific topics or themes, Lightroom makes this very easy. The image above shows how the thumbnails look in Lightroom.
20160708-2016-07-08_17-00-52-Edit
The image above shows how I took an element, uploaded it into Design Space, cleaned away the outer white area to have the scalloped edge and inner portions as a print element that I cut out with my Cricut Explore.
20160708-2016-07-08_17-02-13-Edit
In my video, I show you how I set up the element in the upper left corner of the print then cut image above to use it as a card in a 3×4 pocket.
20160708-2016-07-08_17-02-59-Edit
This image shows you how the cutting line goes around the outside of the card.

Thanks so much for stopping by. Be sure to check back in two weeks when I post a flip through of my Project Life binder so far.